Andrea's blog
I did it before...and I'll do it again! - Week in the Life (Spring)
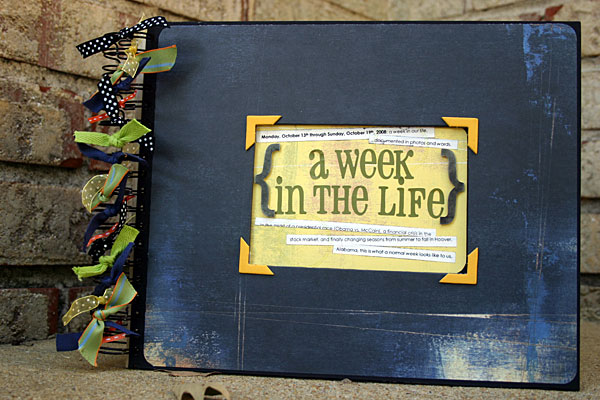 While I was pregnant with Paxton, I participated in a project called "Week in the Life", a token "Ali Edwards" style album. It was a lot of work, but continues to be one of my favorite albums - because it's SO REAL.
Since my last take on the project occured in the fall, and before we added Paxton to our family, I thought this week would be a good time to do it all again, since life will really be different next year when Ayla goes to school full-time. I wanted to document our daily life with a 4-and-a-half-year-old and almost-2-year-old in the spring.
So, get ready for lots of irritated looks from Ben (he hates this project in progress, but I'm sure he secretly loves it when it's a finished book he can look at), lots of mundane pictures of me at my computer, and plenty of photos of what the kids do ALL DAY LONG.
Charge those camera batteries, and take a crash course in how to use a self-timer. It's time to document! Starting first thing in the morning, I'm documenting A WEEK IN THE LIFE of the Steed's. I double-dogg-dare you to join me! :)
Ben's Trip to Ecuador with Compassion International
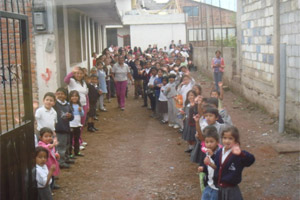
 Back in December, Ben had the opportunity to take a tour of several Compassion International projects in Ecuador as part of a marketing campaign on Heartlight. Compassion wanted to give the web-marketers who support and promote Compassion on various Christian web sites a first-hand experience of the work they're doing all over the world, but especially in this case - Ecuador.
Along with a small group of Christian web-savvy businessmen & women, Ben experienced a life-changing, perspecitve-altering week amongst the kids, employees and volunteers associated with the Compassion International projects in Ecuador. While it would take days to re-tell every story of his adventure (literally...it took him days to show me all the photos and tell me all the stories when he came home), he has put together a few articles on Heartlight to tell the stories of some special people he met and describe the fabulous work that Compassion International is commited to in Ecuador.
 Take a peek at his journey here:
- A Fork in My Path
- It's a Small World After All
- We Exist
- Compassionate People
- From Surviving to Thriving
- and his Ecuador trip photo gallery on Facebook.
If these stories touch you like they have affected us, please prayerfully consider sponsoring a child through Compassion International or contributing in some way to their mission. It really does make a difference.

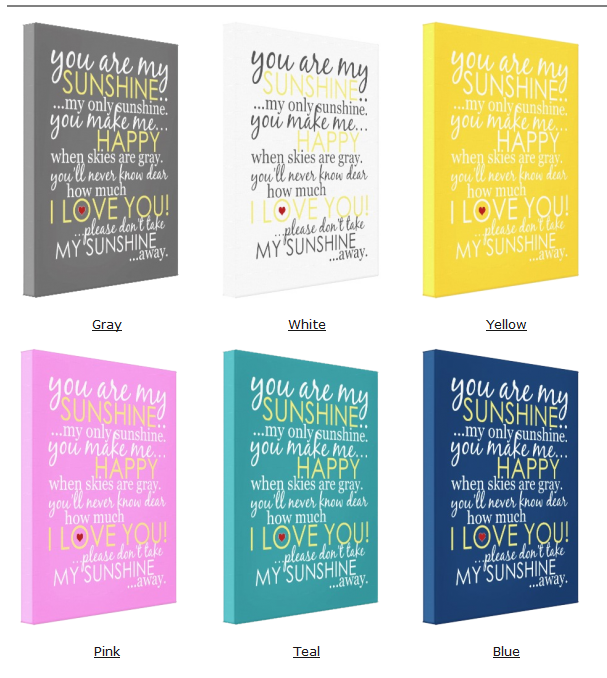
You Are My Sunshine - Canvas Art
I dare you not to smile (or at least sing the song) while you look at these photos. On this rainy, dark day, I think it's a perfect project to share:
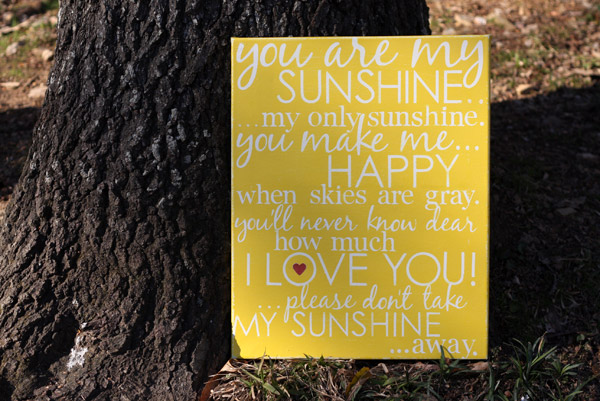
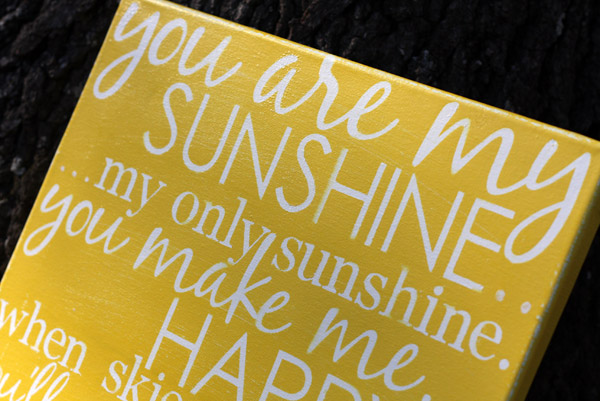
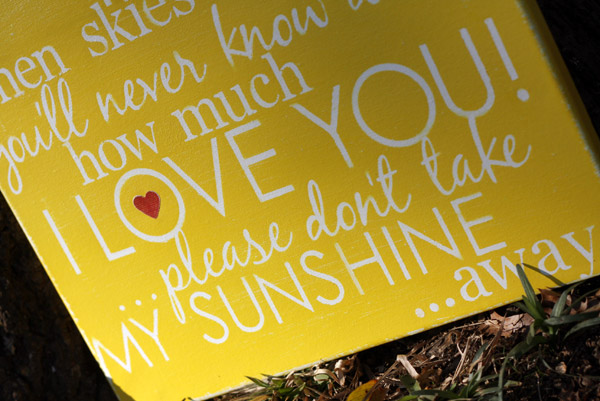
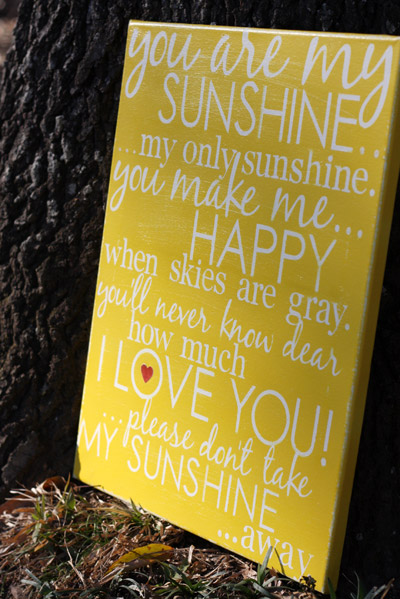
Painted on a 16" x 20" canvas for a client.
==============
I am no longer handpainting this design, but printed versions of it are available for purchase in my SignsByAndrea Zazzle.com store as a wrapped canvas or poster print!
Pendant Necklaces
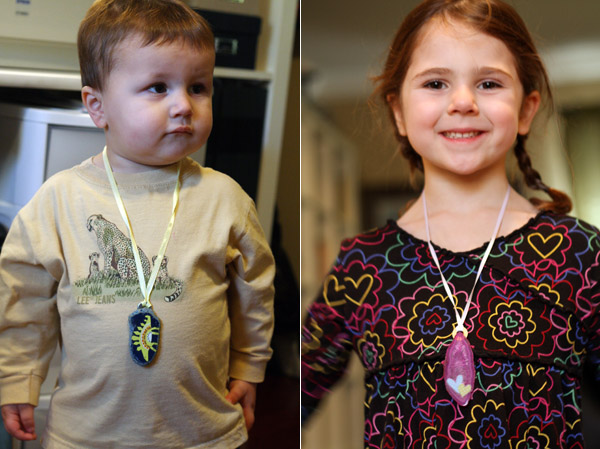
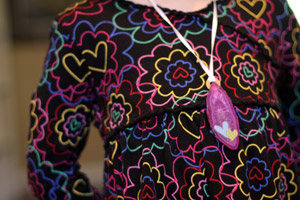 My mom brought the kids some flat, colored stones from Florida a few weeks ago. I wasn't sure what we could do with them that would allow the kids to enjoy the stones, without them becoming a tool of mass destruction in our home or another "something" to pick up. (Who am I kidding? everything becomes "something" to pick up)....
Side note: I LOVE grandparents and the gifts they give to our kiddos. And the kids LOVE the gifts. However, said grandparents may need a lesson or two in age-appropriate gifts. :) Breakables = no nos. Kids don't understand the difference between "decorative" and "toy". Sadly, we've lost several sweet and sentimental gifts to because-they-loved-them-so-much-they-broke-them "accidents".
Anywhoo...truly there's nothing wrong or breakable about these stones, and Ayla especially was very excited about them, so I wanted to come up with a good way for the kids to use them. Together, we came up with pendant necklaces.
Originally I was going to drill a hole in them, but my drilling skills are limited, the stones are SOLID, and my efforts did NOT produce anything more than a slight scratch. Plan B. Washers & E6000 glue. Yeah, that'll do it. Then I added some cute rub-ons (hearts for Ayla & a dinosaur for Paxton) and a ribbon, long enough to go over their big ol' heads!
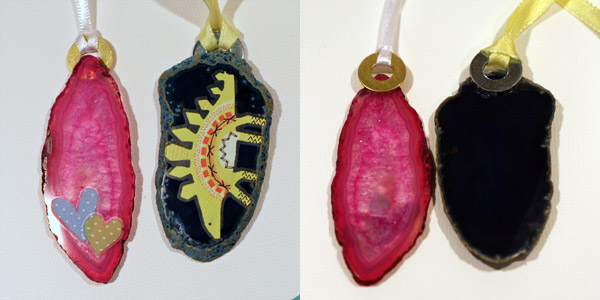
The kiddos were pleased. I wouldn't call this the most quality jewelry designing, but for a 4- and 1-year-old...it was just right:
Nope, that's not a basketball, that's his belly... :)
Baby Boy Gift Photo Album
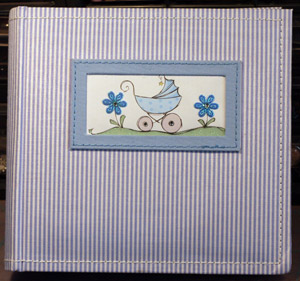
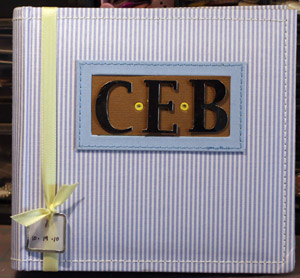
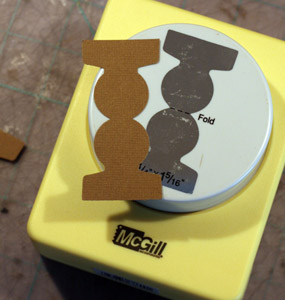
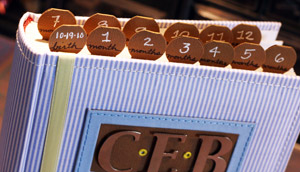
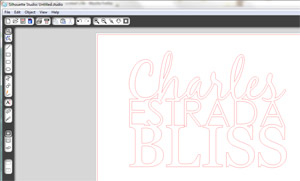
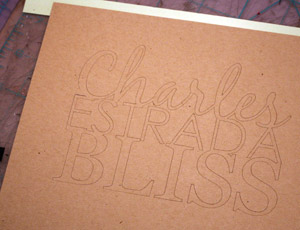
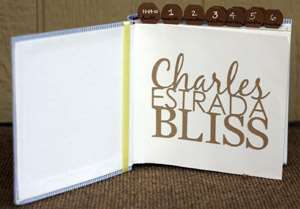
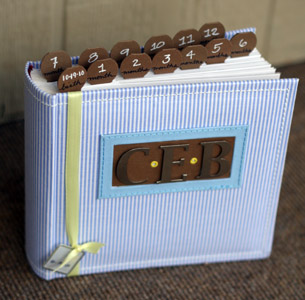
Photo Skins from Snapfish & SkinIt
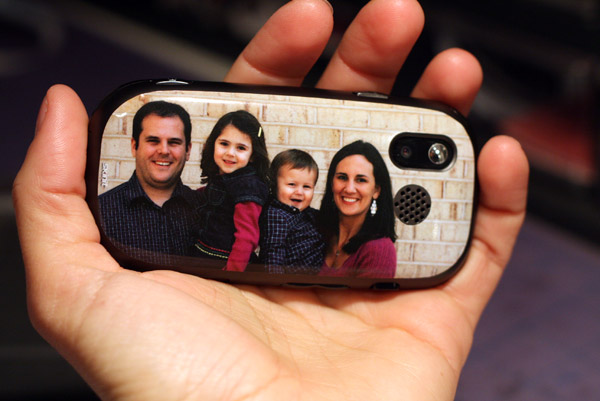
Last week I was browsing through the Snapfish.com web site as I made my monthly photo order, and saw that their new Photo Skins were 40% off. Well, since I have a snazzy new phone, and a great new family photo that I love, I thought it would be the perfect time to try this fun little product out!
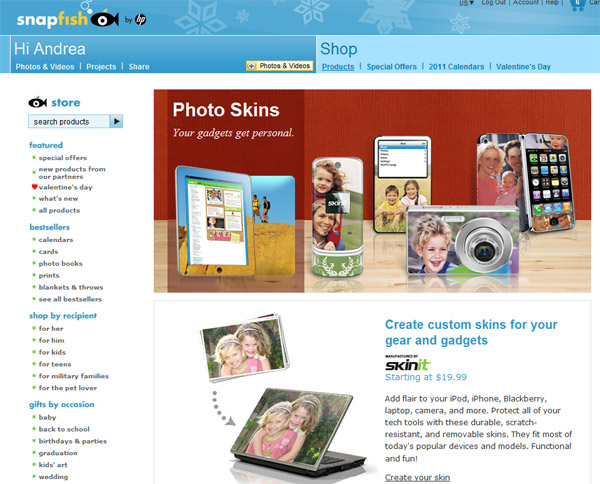
Snapfish has teamed up with SkinIt.com to make custom photo skins for all kinds of electronics, such as phones, laptops, PDAs, iPads, mp3 players - you name it. So, for only $15 shipped, it was worth a shot -- because you know I love to add a photograph to ANYTHING I can. :)
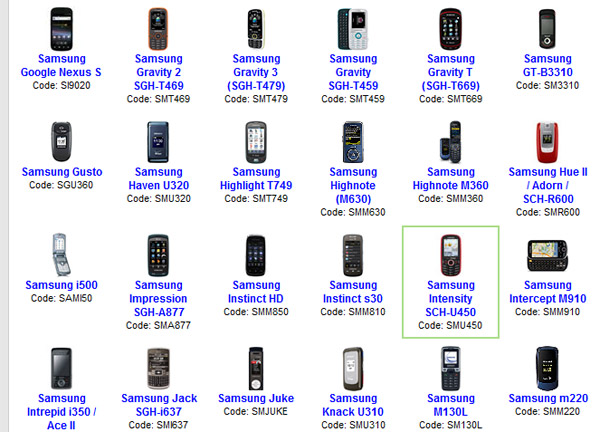
When you go to create your design, first you have to choose your device. They have TONS to choose from, and it was easy to find my exact phone (Samsung Intensity).
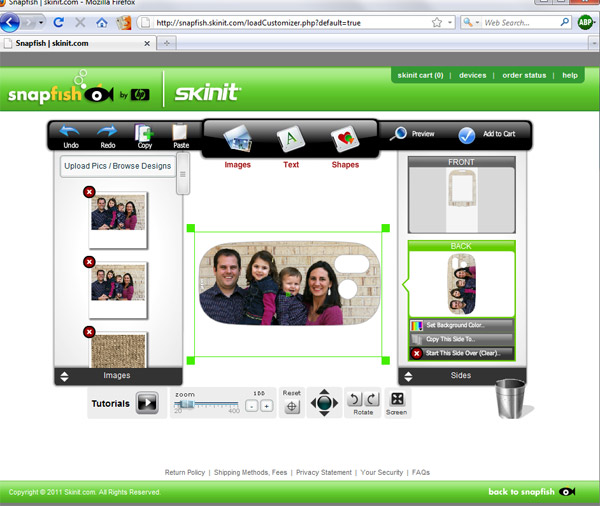
Then, you use the SkinIt online software to create your design. It links up with all of your Snapfish photo galleries, so you don't even have to upload any additional photos (unless you want to). I was able to test some different photographs, change the sizes and move them around to make it look just how I wanted it to look. You can also add text, textures, and pre-made designs, but I stuck with just a photograph for mine. The software allowed me to design a skin for both the front and back of the phone, so I did both...but when it arrived, I decided to only use the back photograph design, and not the front brick texture I had chosen.
Be aware that while you're creating your design, you are at the co-branded Snapfish.SkinIt.com web site, and your order will arrive from SkinIt - not Snapfish. So unfortunately, you can't include a photo skin with your regular Snapfish prints order. It has to be entered as a separate order. Not a huge deal, but a little confusing since I was in the process of a print order as well that particular day.
About a week later, my skin arrived in the mail! It was very easy to apply. Simply wipe down your phone with a damp cloth and let it dry. Then peel off the vinyl sticker and apply it to the phone. Since it's been pre-cut to fit my phone exactly, it was easy to place it. The vinyl is plenty thick and durable, and appears to stay stuck pretty well, and I had no problems getting all the bubbles out during application (just press down the center with your fingers and then out towards the edges of the sticker to remove any bubbles).
I had sort of expected the sticker to wrap completely around the sides of the phone, but instead it fits in the center. Ultimately, that was fine, but is probably why I decided not to use the front sticker on my phone, since the brick texture from the back photo didn't wrap around to the front at all. That made the front brick image look odd.
All in all, I think it's a fun little accessory to my phone. Think how cool it would look on a laptop!!
Handmade Holiday Gifts 2010
I believe they've all been delivered, shipped, and opened, so I can share this year's handmade holiday gifts:
First -- What else, but Holiday Signs!
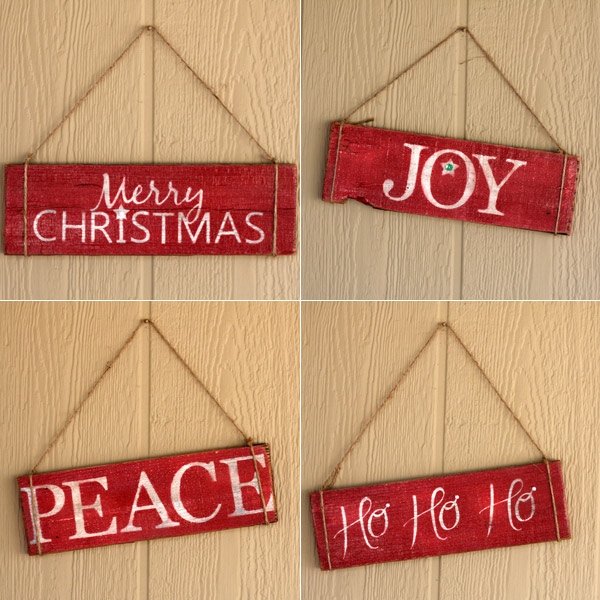
These 1ft x 4in signs hung with twine made fantastic gifts for teachers, nursery workers, and friends.
Next, bags of Aunt Dora Cookies for our neighbors:
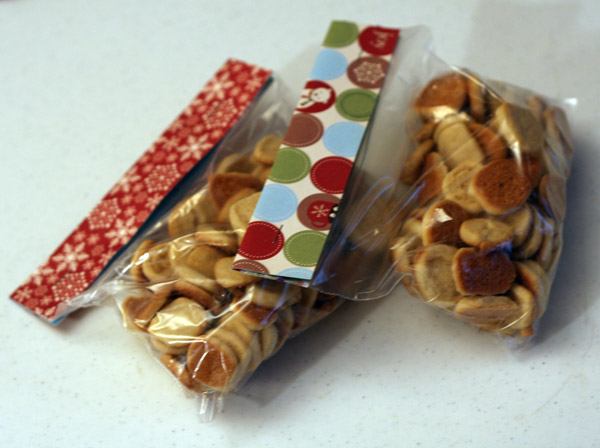
We put these tiny cookies into sandwich-sized ziplock bags and folded a piece of Christmassy patterned paper over and stapled it together over the zipper. Easy--and tasty!
And finally, Picture Pebble Magnets:
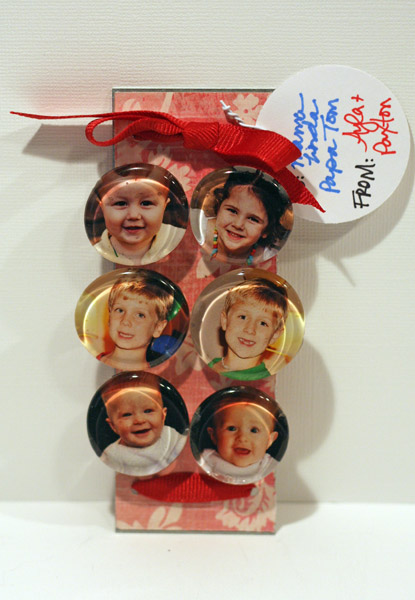
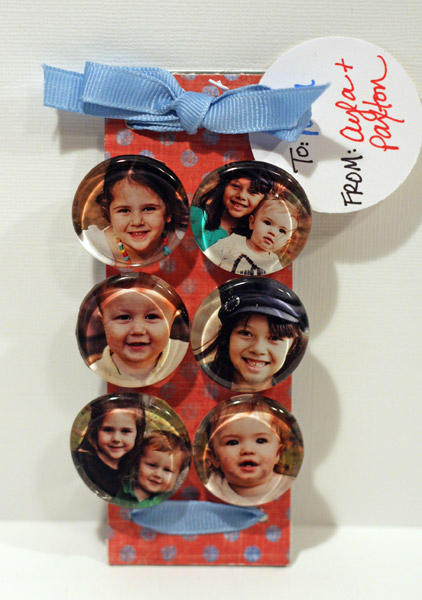
These were wonderful grandparent and aunt & uncle gifts since they featured all the grandkids/cousins, each on a magnet of their own. We made them for both sides of the family. Ayla was a great helper when it came to putting the patterned paper and magnets onto the metal plates.
Some tips for making these:
- Use flat, crystal clear pebbles. Iridescent ones don't look very good.
- E-6000 glue is perfect for gluing the photos to the pebbles & the pebbles to the magnets. Just beware of the fumes!
- Get strong magnets. Otherwise, why bother? :)
- Check the hardware store for metal plates with holes already drilled. I found these 4 1/2" x 2" metal plates at Home Depot for only $0.53 each and used the holes already drilled to thread ribbon through.
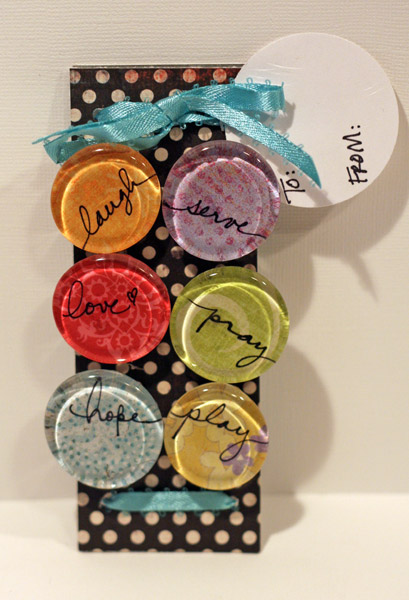
Photos worked great for these, but patterned paper and my Bic Mark-It markers made cut little sets too that a few of my friends received:
All this year's handmade presents seemed to be well-received...or else everyone we give presents to is really good at faking how much they love a gift!
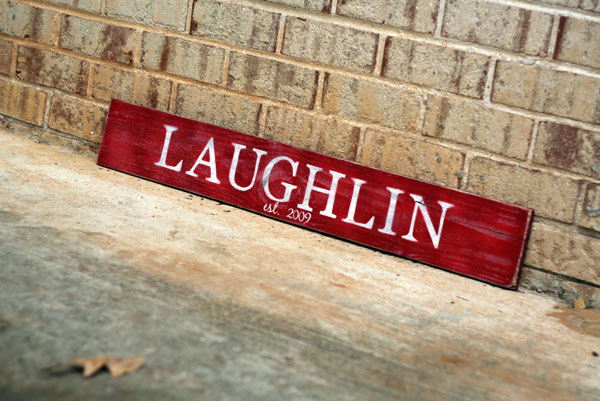
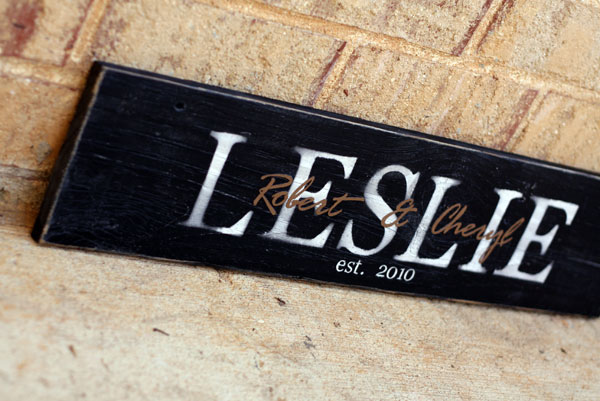
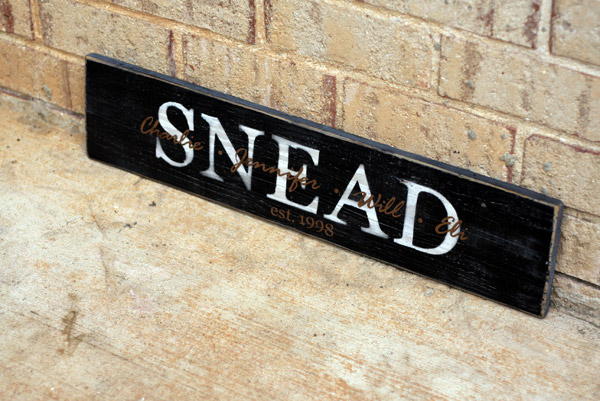
A few more signs...
I've been slowly adding all the signs I've made recently to my Facebook gallery. Here are a couple more unique ones ordered this month:
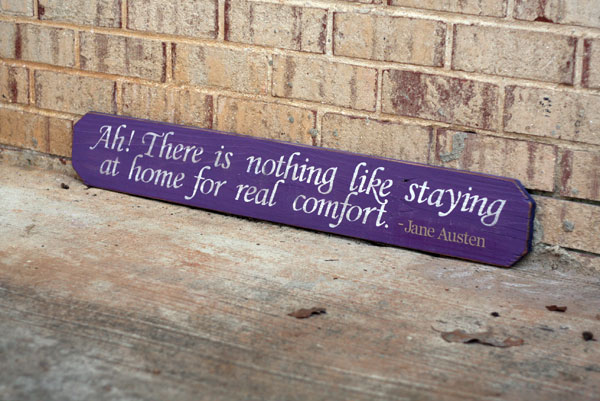
"Jane Austen" - 3ft x 6in - Beveled Edge - Custom Design
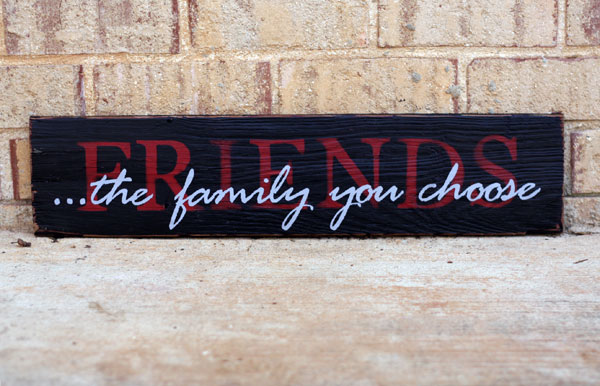
"FRIENDS...the family you choose" - 2ft x 6in - w/paper overlay
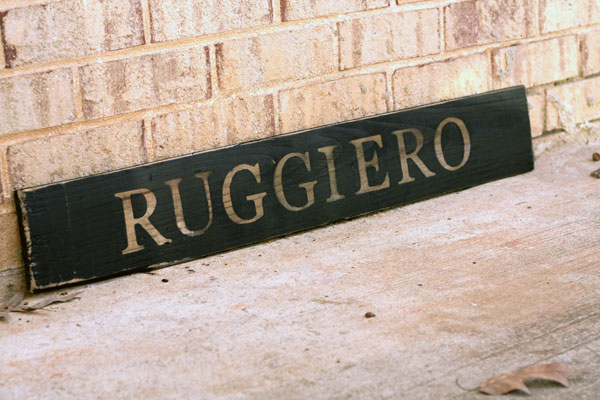
3ft x 6in - w/natural wood letters
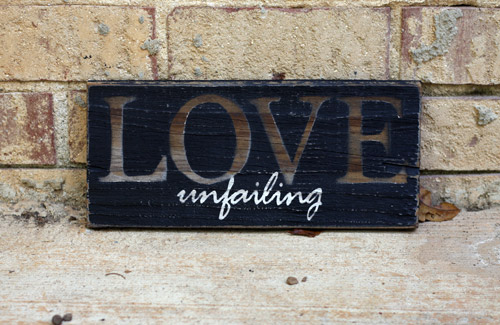
"LOVE unfailing" - 1ft x 6in
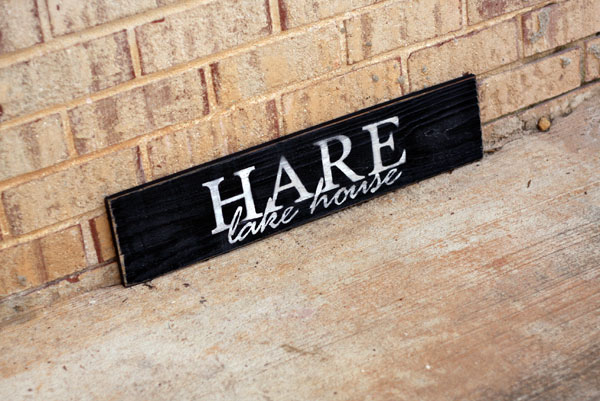
"HARE lake house" - 2ft x 6in
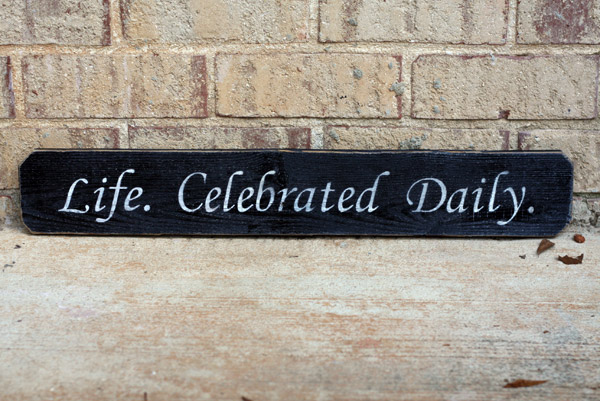
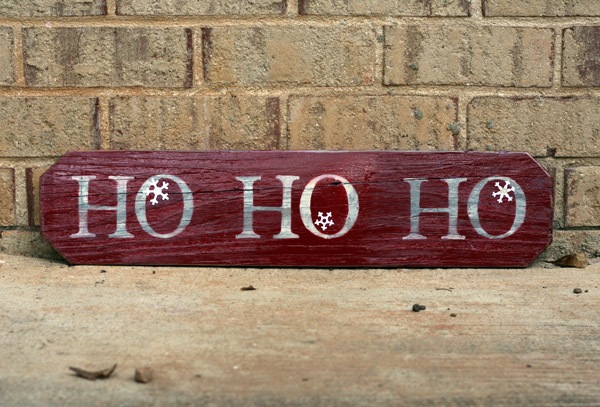
A few of my favorites...
It's been non-stop sign-making around here for the past two months. Here are a few of my recent favorites:
3ft x 6in
2ft x 6in - w/paper overlay names
2ft x 6in - beveled edge & paper overlay
2ft x 4in - beveled edge
2ft x 6in - beveled edge w/paper accent overlay
2ft x 6in - w/paper overlay names
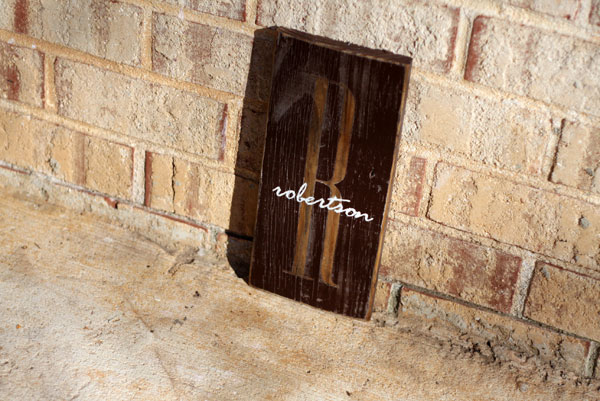
1ft x 6in - monogram/w painted overlay in brown
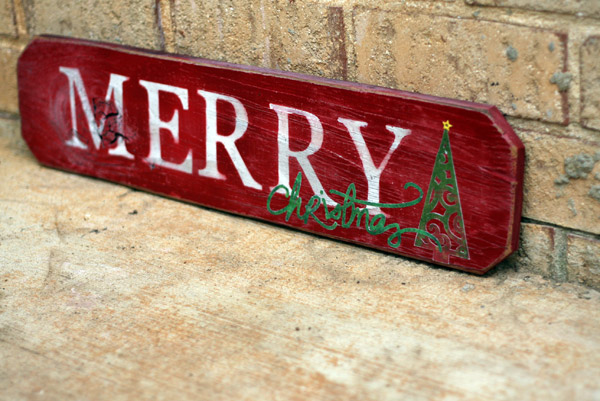
Whew...and that's just a few of the different styles I've gotten to try out. I'll post some more in a few days. Thanks to everyone for all your orders! I hope you have a very Merry Christmas!
Deck the Halls
It took several days - one to take the stuff out, one to open the boxes, one to put a few things out & set up the tree, one to put stuff BACk in the boxes so Paxton didn't destroy it all, and then finally a day to decorate the tree - but this weekend we managed to get our house decorated for the holidays:
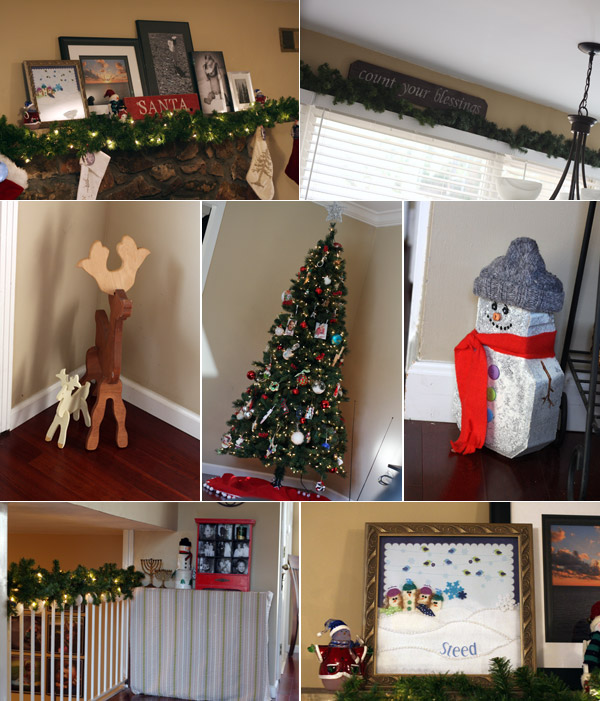
And in our house, it makes perfect sense to light the Christmas tree & the menorah on the same night. :)

Happy Holidays!