Andrea's blog
Week in the Life - Spring 2011 - Album Complete
Remember that Week in the Life project I did a few months ago? Well...it took me about a month to get the pictures printed & put into an album and then another month to finally "embellish" it, but I finally got it all finished up. I took the ULTRA simple route this time...nothing fancy, nothing complicated (and admittedly not as cute as the last time I did a Week in the Life project) - just pictures, handwriting, and my handy-dandy Silhouette did most of the work.
 First...the pictures & the project in-progress (in case you have no clue what I'm referring to!):
Then, after all that photo-taking of the mundane intricacies of our days...it was time to put it all together.
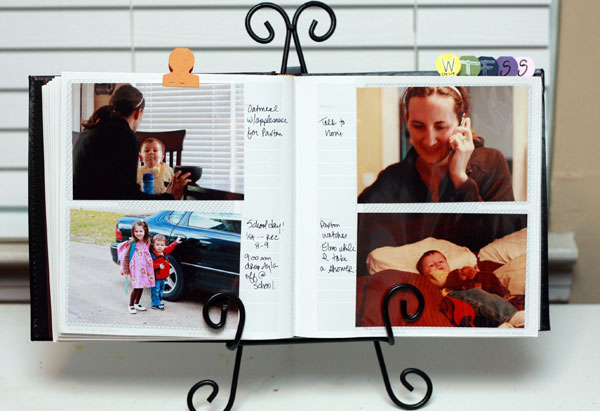
This time, instead of creating daily collage prints, I decided to print 4 x 6 photos for each day so you could see more of the details....which after 7 days of photo-taking left me with a VERY large stack of prints that I managed to whittle down to about 180.
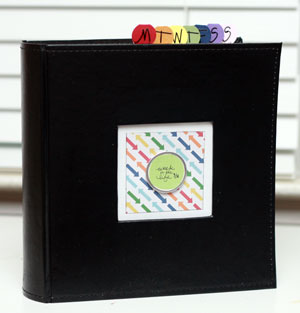
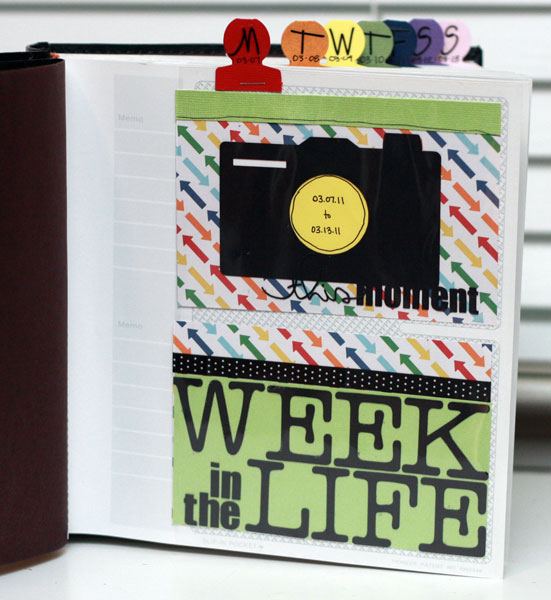
I used a standard 2-up photo album (like I did for our Disney Vacation Album) with tabs for each day of the week and a window in the front cover for a title. On the inside front page, I left two spots open to make a title page - which I cut completely from black cardstock on my Silhouette. Man I love that thing! Totally worthwhile purchase.
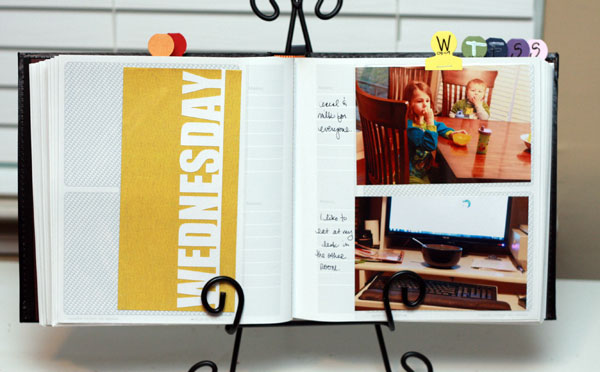
At the beginning of each day, I cut the day of the week from white cardstock and mounted it on corresponding colored patterned paper (to match the tabs for that day):
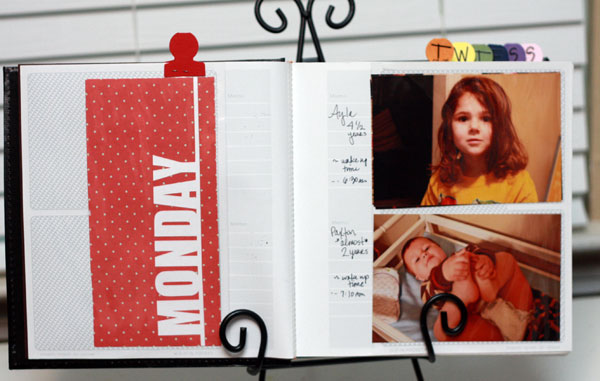
And, as you can see -- I kept the journaling VERY simple and basic and just hand-wrote captions telling what was going on in the pictures, what time it was, where we were, and who was pictured. Stuff I *think* I'd remember...but then again I forgot my grocery list at home today as I stepped into the store...so I tend to forget stuff. That's why I write it all down.
And there you have it. A finished album, showing off a regular-old week in our life in the Spring of 2011. If you're interested in doing a project like this, Ali Edwards is where I got my inspiration, and she's at it again, doing another round July 25th through July 31st, 2011.
You can read more about her approach and suggestions here. It's hard work, but I highly recommend it. The kids love looking at these albums. :)
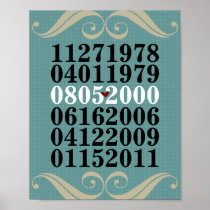
Zazzle Poster Sale Today - 40% off
I got an email from Zazzle today that all posters are 40% off! Use the code 2DADDYSDEALS at checkout. It's good on ANY posters at Zazzle, but if you've been eyeing any of mine, today is a great day to buy. :)
Signs By Andrea Posters & Gifts via Zazzle.com


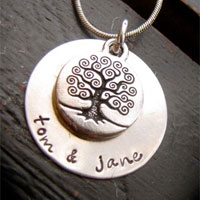
Frostings Handstamped Jewelry - Winner & Discount!
Congratulations to Alexis! Her comment was randomly drawn and she wins a piece of hand stamped jewelry from Frostings in this week's giveaway!


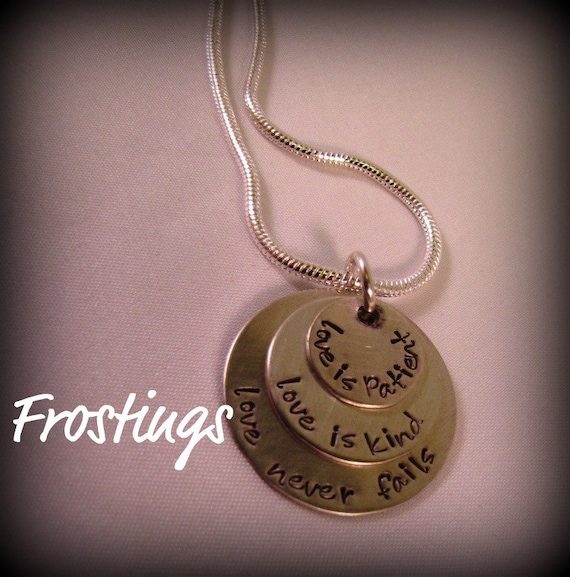
Everyone's a winner though! Don't forget to use the discount code by May 31st to get 10% off your custom handstamped piece of jewelryl
Just use code SIGNME10 at checkout in the Frostings Etsy Shop or at checkout when ordering on the Frostings website*. This code is good through May 31st, 2011. *If ordering on the website, the 10% discount will be refunded after purchase.
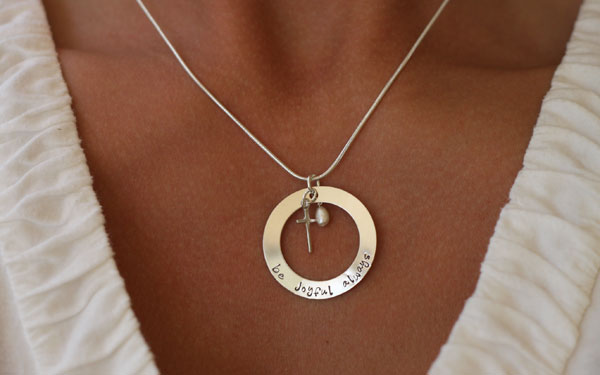
Be Joyful Reminder & Frostings Hand-Stamped Jewelry Giveaway
Discount
Natasha has generously offered a 10% off discount for you!
Giveaway
-
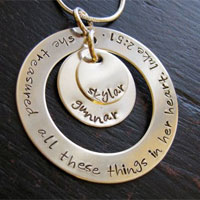
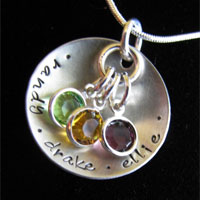
Visit the Frostings web site and comment here telling me what piece is your favorite.
(Required entry.) -
For a second entry, become a fan of the Frostings Facebook page.
(Leave a separate comment here to let me know you became a fan.) -
For a third entry, follow the Frostings blog by signing up for their RSS feed.
(Leave a separate comment here to let me know you did.)
I'll announce a winner on Thursday morning, May 26th -- so go start shopping!
Imitation is the Best Form of Flattery
The crafting world is full of projects that have been remixed, remade and inspired by all kinds of people. So when I see something that I made pop somewhere else, I get excited that a project I came up with inspired another crafter. I mean, why else would I post tutorials and info about how to make the things I make?
Anyhoo...here are a few places I've seen my work inspire others lately:
http://redhenhome.blogspot.com

http://retrohipmama.wordpress.com


http://fiftytinytoes.blogspot.com

http://ashleydavis.wordpress.com
Thanks to these ladies for showing off their inspired pieces! Have YOU made anything inspired by my posts? I'd love to see it!
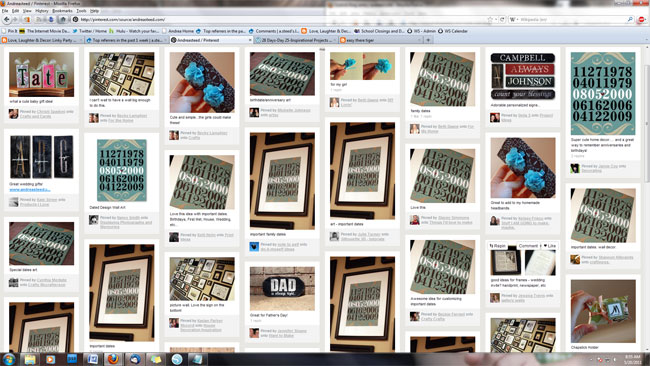
And then there's the folks on Pinterest (which is my new time-sucking inspiration-filled favorite web stie) who are saving the ideas for later:
Baby Girl Blocks
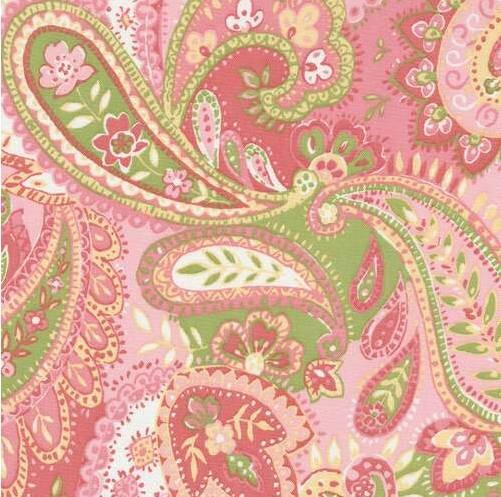
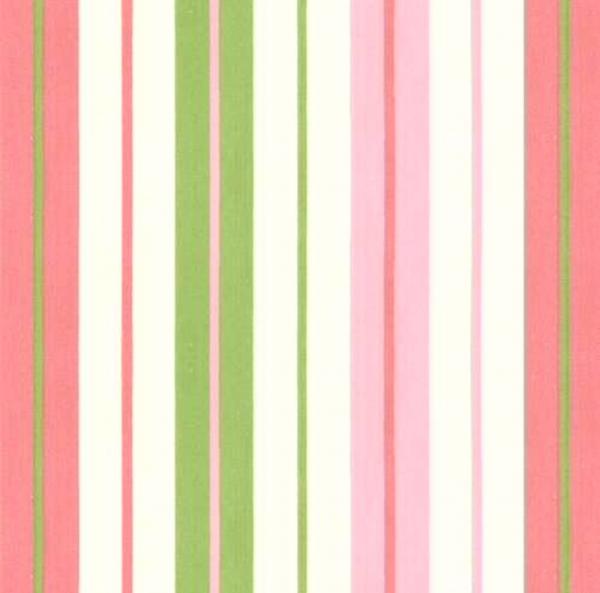
Recently, a friend of mine asked me to make her some wooden alphabet blocks for her new baby girl (arriving in July). She gave me some color guidelines, a link to a style of block she liked, and some swatches from the nursery bedding:
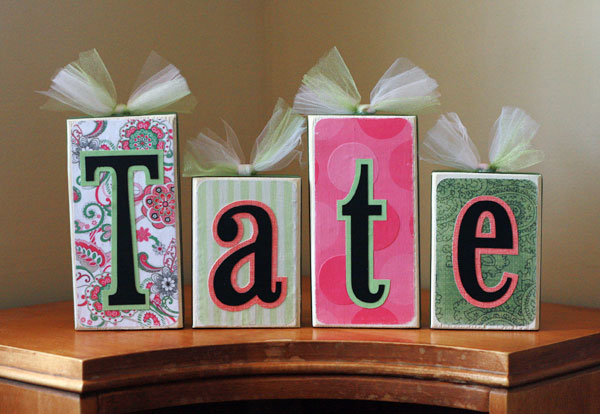
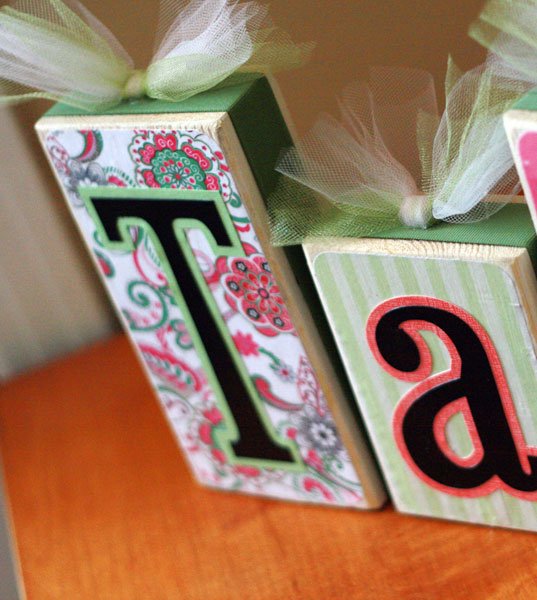
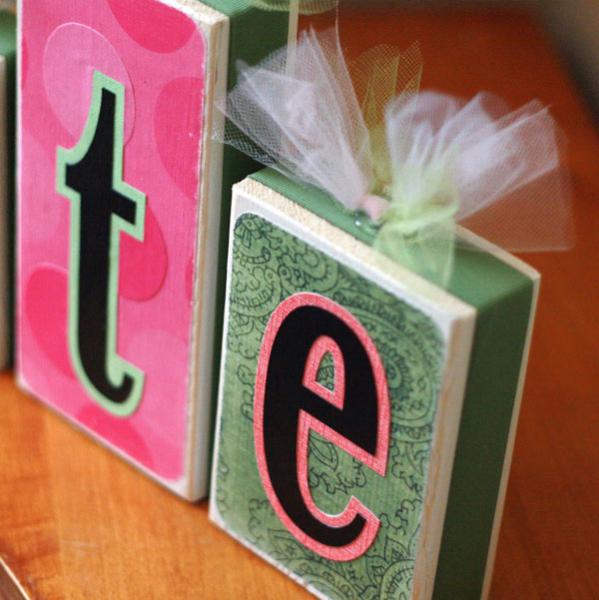
And off I went to create this:
Gotta love that Silhouette machine. In the old days, I would have had to cut those letters by hand and then eyeball the matting (or pull out the old Magic Matter!)
Here's a tip if you ever decide to make something like these: You won't find the blocks at a craft store. After visiting Michaels, JoAnns & Hobby Lobby, I finally headed to the hardware store, where I should have gone in the first place. These blocks were made from a piece of scrap 2" x 4" wood found in the scrap bin (at the back of the lumber section) at Home Depot. And the lovely lady working in lumber even cut them for me. Sweet.
measurements: 7" tall large blocks & 5" tall short blocks
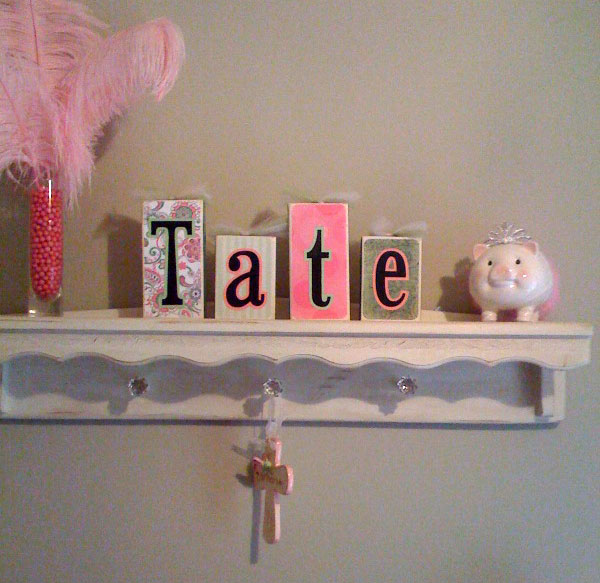
Let me tell you...creating a project for a room you've never seen, using colors you've only seen on a computer screen is a little nervewrecking. There was about a 50% chance my colors would be WAY off from the room. Thankfully, it appears to have all worked out just fine. Here they are, living in their new home on a shelf in the nursery...just waiting for Baby Tate:
Pink & Blue Birthday Banner Tutorial
My sister-in-law Rachel asked me if I would mind making my niece & nephew a birthday banner for their 1st birthday party. Did she even need to ask??? Of course I would!
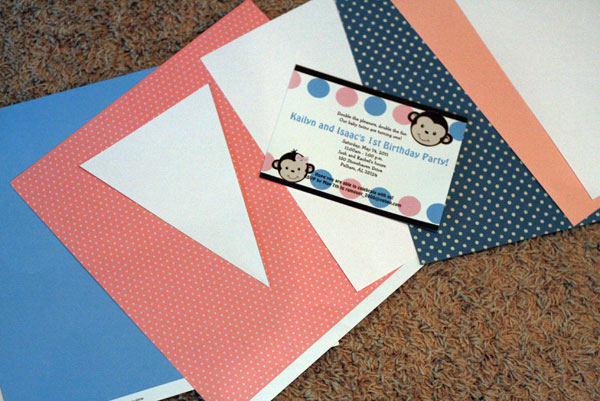
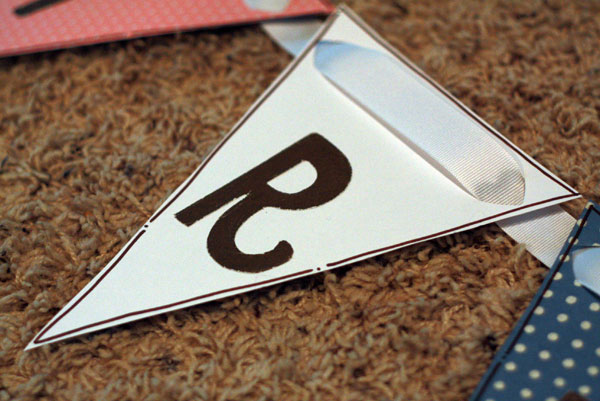
First step: Choose papers that match the color scheme. I used their invitation as inspiration and chose 5 different papers - solid blue, polka dot blue, solid pink, polka dot pink, and white.
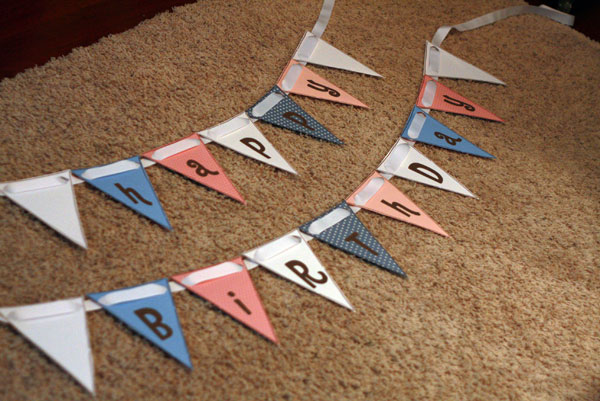
Second step: Cut a stencil for the pennant and cut each of the triangles and lay them out in order. The pattern I used was WHITE - SOLID BLUE - PINK POLKA DOT - WHITE - BLUE POLKA DOT - SOLID PINK - WHITE. There were so many letters in "HAPPY BIRTHDAY" that I decided to make a double-decker banner, so I used 7 triangles for the "HAPPY" banner and 10 for the "BIRTHDAY" banner so that I could have a blank white triangle on each side of the letters. The pattern happened to work out perfectly that way.
Third step: Cut the letters with my Silhouette. I used brown cardstock for the letters and chose the font "Oh Photo Shoot" from the talented KevinandAmanda.com blog.
Fourth step: Outline each banner with brown penwork -- just for a little bit of added detail and definition.
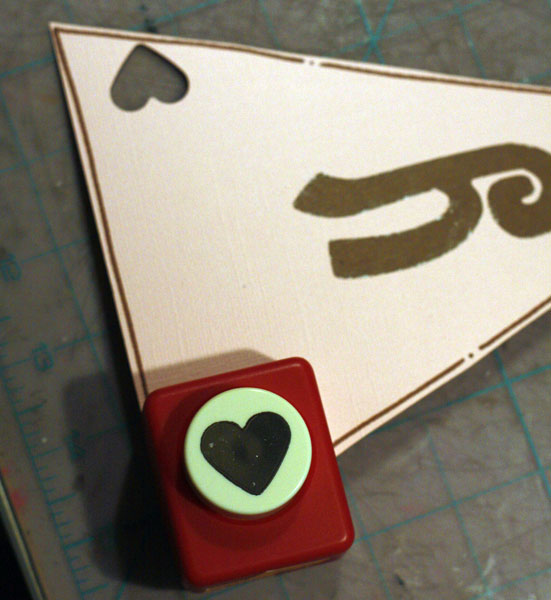
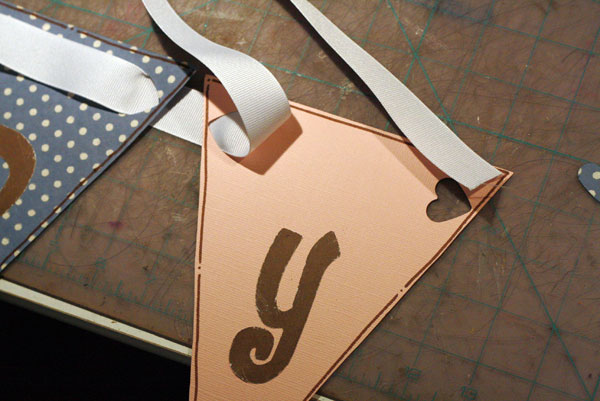
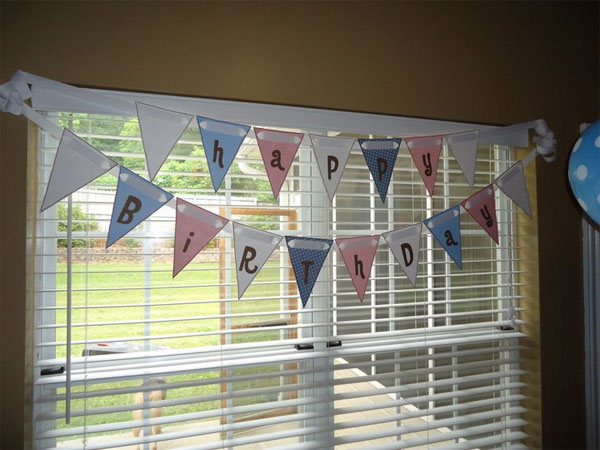
Fifth step: Figure out how to hang it and attach the triangles together! I ended up using a heart-shaped punch to make a large hole on either corner of the triangle, and then weaving wide grosgrain ribbon through the holes. It worked perfectly!
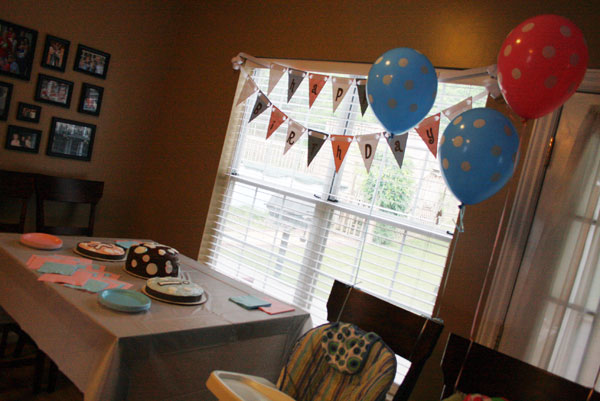
It's a pretty simple banner, and it turned out to be a really cute backdrop for the pink & blue polka dot twins 1st birthday party. Unfortunately the banner was rather hard to photograph "in action" since it was displayed against a window...but in person it looked great!
(Thank you J & R for a better photo of the banner!)
Guess now I'll need to make one for Ayla's birthday party that's coming up in a few weeks...plans and decorations for that shindig coming soon! ;)
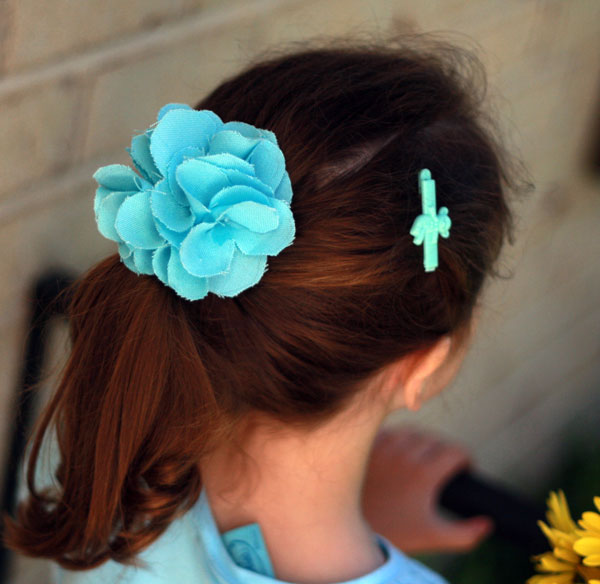
DIY Fabric Hair Clips
 Not long ago, I saw this fabulous tutorial for how to make fabric flowers and knew they'd make great little-girl barettes.
With a little girl birthday party coming up for a little girl with ADORABLE pig tails, it seemed like a good time to try it out.
I raided my stash of random fabric scraps and pulled out this turquoise fabric that I used in both kids' bedrooms. I'm a sucker for turquoise. I bought lots of extra...
Here's how it's done (remember, not my original idea...I followed this great tutorial):
-
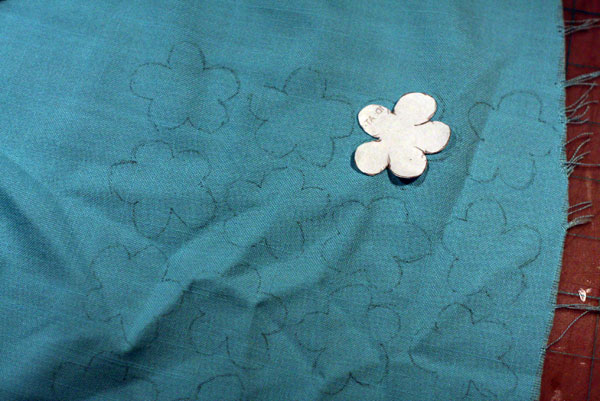
Cut a flower template from scrap paper and trace it onto the fabric and cut them out. You'll need 6-8 flowers per bloom.
-
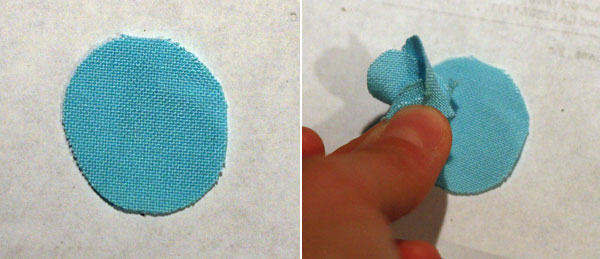
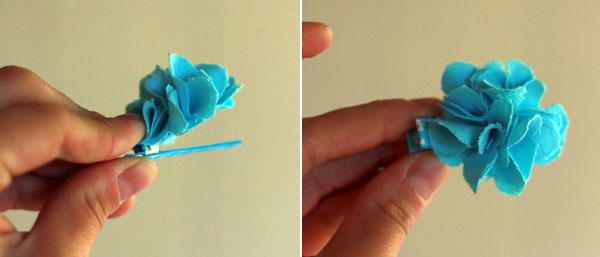
Cut a circle from the fabric to use as the base for the bloom. Then fold each bloom into half, then again into thirds. It helps to trim the point with scissors before then using hot glue to attach it to the circle. Keep adding flowers around the circle with hot-glue until you have a full bloom.
-
Use hot glue to attach the bloom to a ribbon-covered hair clip. I actually bought these at Target, and they were already covered with ribbon - score!
-
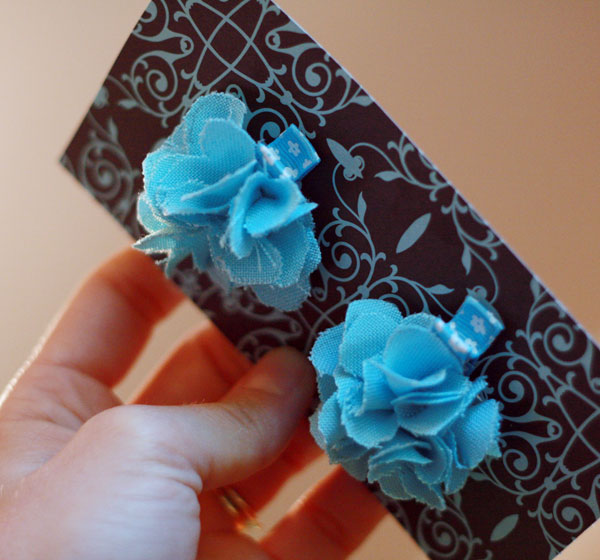
To present it as a gift, I just cut a piece of coordinating patterned paper and made slits in it to add the clips:
Love it! I will definitely be making more of these...in fact, I made a larger version for Ayla:
Looks like maybe I should branch out to some different colors & materials though. :)
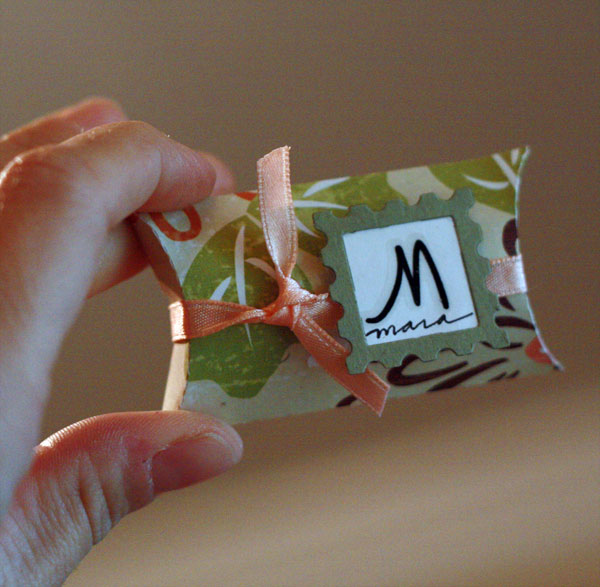
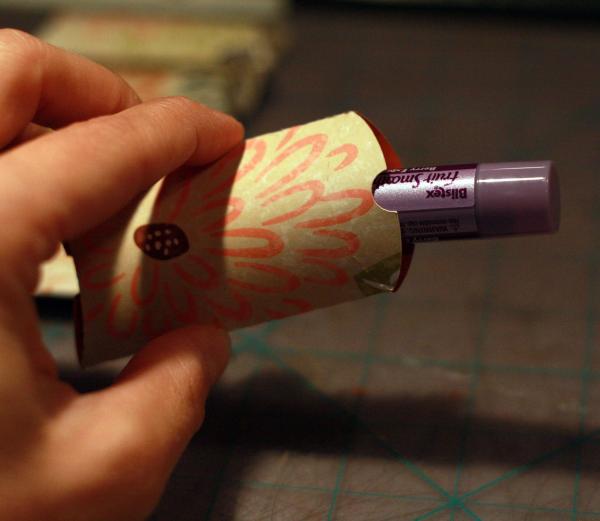
Teacher Appreciation Gift - Chap Stick Pockets
This week is Teacher Appreciation week, so we sent little gifts to all of Ayla's teachers at school. One of the projects I made was a very simple paper pocket for a small tube of chap stick. Take a look:
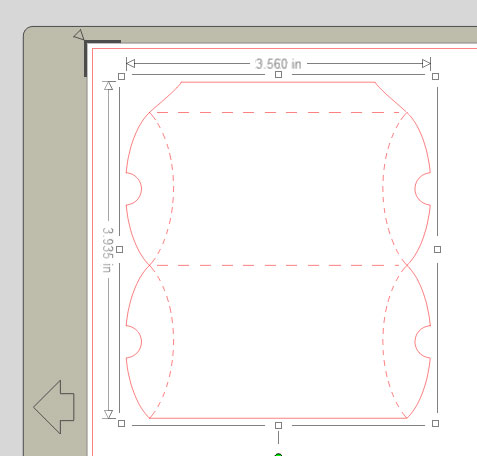
First I cut several pillow boxes with my Silhouette from some pretty patterned paper:
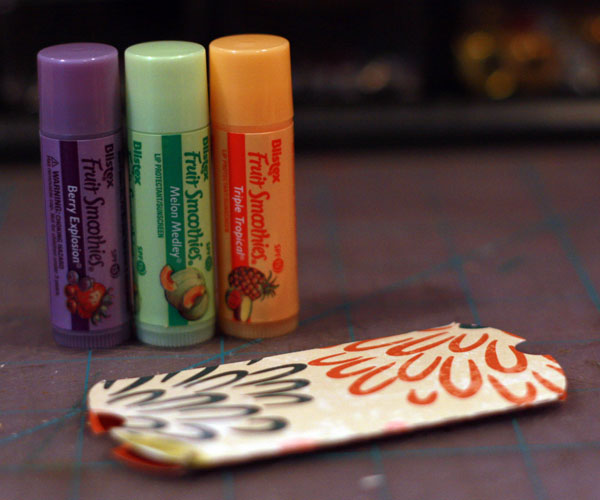
Then I inserted the chapstick and closed up the sides:
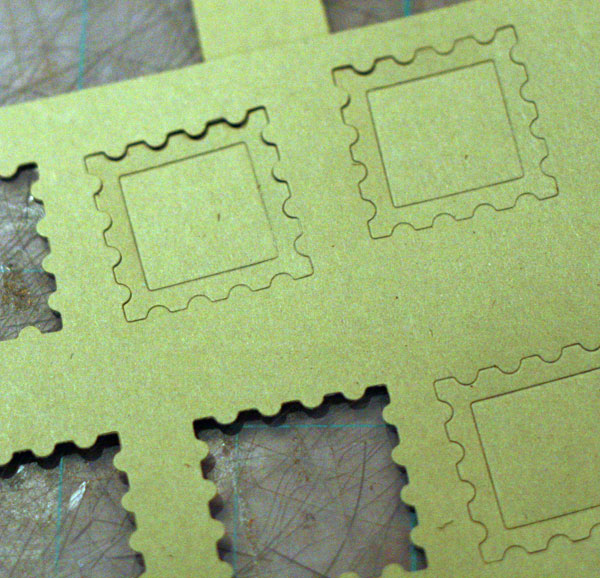
Made some quick labels with this postage stamp QuicKutz die cut and some alphabet stickers:
Then tied ribbon around each box and labeled it:
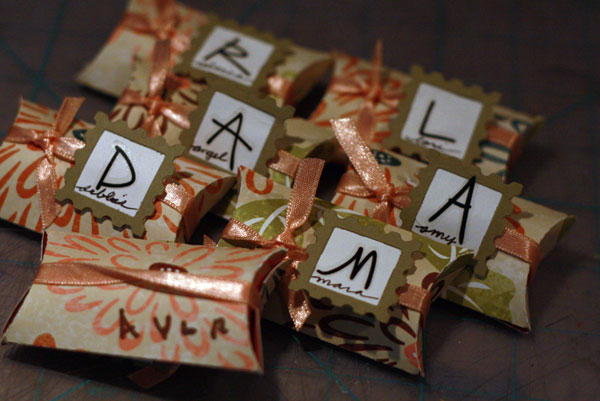
Easy peasy. And cute. :)
Dad is always right. - Father's Day Sign Special
I know my dad would have no trouble agreeing with this "Dad is always right." sign. And darn it, it's usually true, too. He *is* always right!
Wouldn't this make a great gift for your Dad's office, man-cave or hanging right next to his "throne" in the house? You know the one -- that big ol' recliner in the den that everyone wants to sit in, but jumps out as soon as he walks into the room because it's "his" chair. Then again, I could totally see my dad carrying this baby around with him so he could whip it out as "proof" at a moment's notice!
Dads are hard to shop for at Father's Day, but I guarantee this will make him smile!
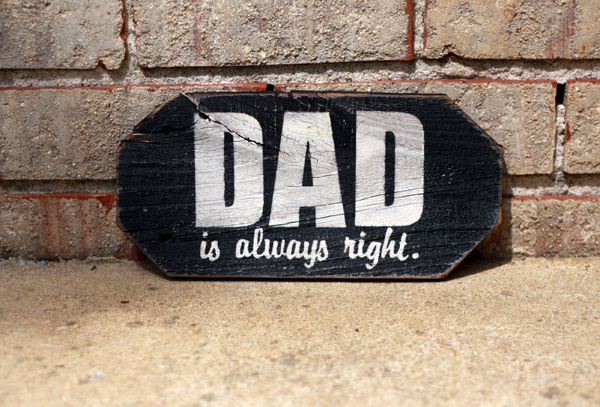
$20 Father's Day Sign Design
1ft x 6in. Available in black or brown background with or without beveled edges.
Place your Father's Day sign order by Friday, June 10th to ensure delivery by the big day.
To order: Choose the 1ft Monogram sign option and add "Father's Day Sign" in the comments section of your order. Shipping is only $5 for this special design!