Pink & Blue Birthday Banner Tutorial
My sister-in-law Rachel asked me if I would mind making my niece & nephew a birthday banner for their 1st birthday party. Did she even need to ask??? Of course I would!
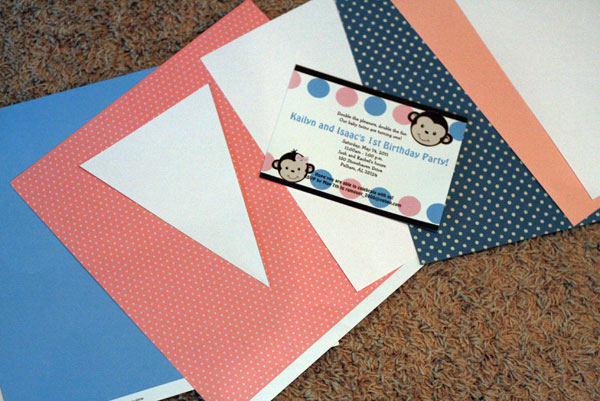
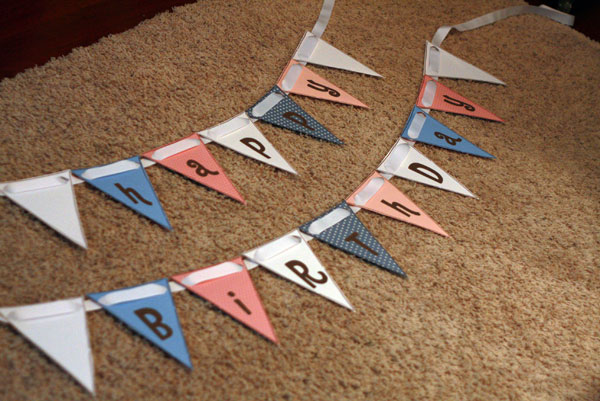
First step: Choose papers that match the color scheme. I used their invitation as inspiration and chose 5 different papers - solid blue, polka dot blue, solid pink, polka dot pink, and white.
Second step: Cut a stencil for the pennant and cut each of the triangles and lay them out in order. The pattern I used was WHITE - SOLID BLUE - PINK POLKA DOT - WHITE - BLUE POLKA DOT - SOLID PINK - WHITE. There were so many letters in "HAPPY BIRTHDAY" that I decided to make a double-decker banner, so I used 7 triangles for the "HAPPY" banner and 10 for the "BIRTHDAY" banner so that I could have a blank white triangle on each side of the letters. The pattern happened to work out perfectly that way.
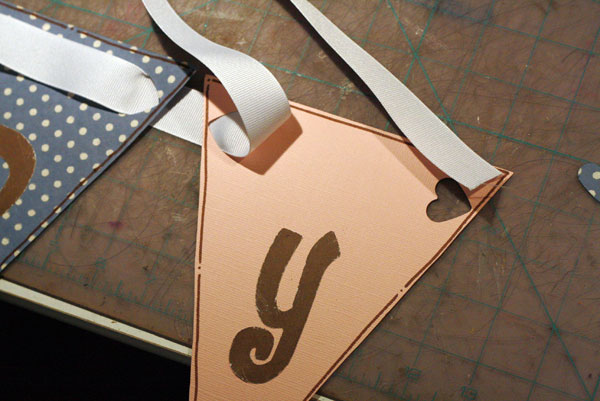
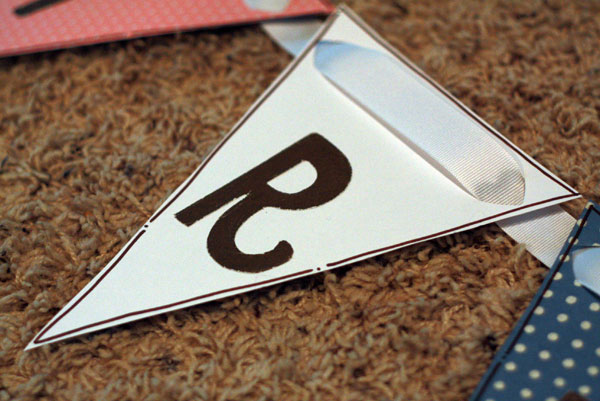
Third step: Cut the letters with my Silhouette. I used brown cardstock for the letters and chose the font "Oh Photo Shoot" from the talented KevinandAmanda.com blog.
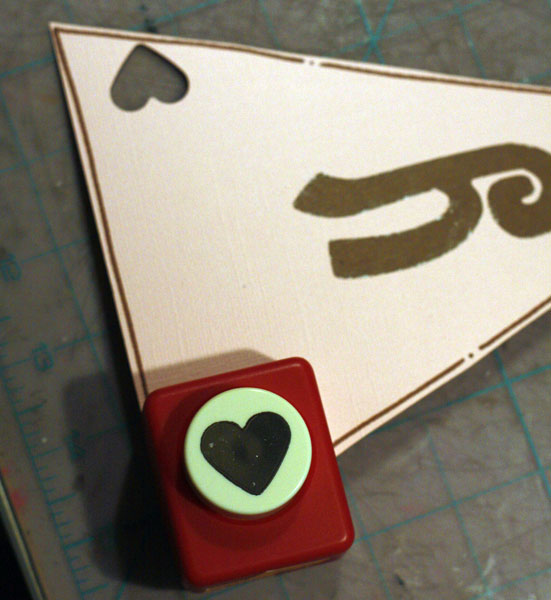
Fourth step: Outline each banner with brown penwork -- just for a little bit of added detail and definition.
Fifth step: Figure out how to hang it and attach the triangles together! I ended up using a heart-shaped punch to make a large hole on either corner of the triangle, and then weaving wide grosgrain ribbon through the holes. It worked perfectly!
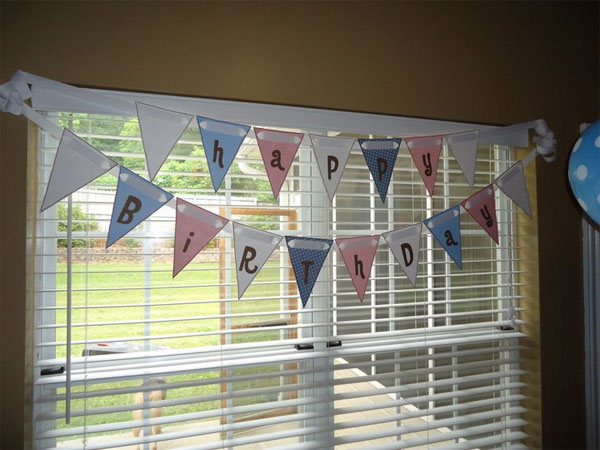
It's a pretty simple banner, and it turned out to be a really cute backdrop for the pink & blue polka dot twins 1st birthday party. Unfortunately the banner was rather hard to photograph "in action" since it was displayed against a window...but in person it looked great!
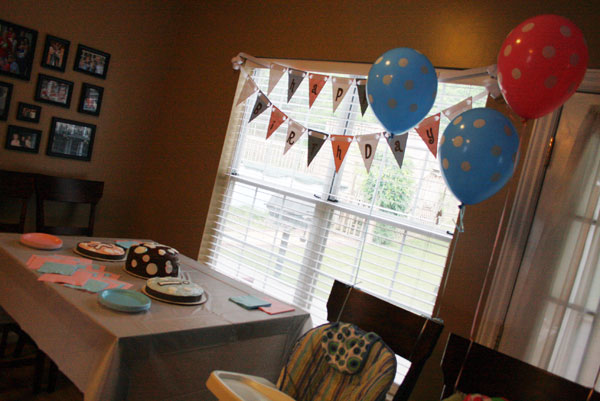
(Thank you J & R for a better photo of the banner!)
Guess now I'll need to make one for Ayla's birthday party that's coming up in a few weeks...plans and decorations for that shindig coming soon! ;)


2 comments so far:
Airah said:
Wow! Very creative!..
I will try doing this design when we have some celebration.
Thank you for sharing!
Airah
joshsteed said:
I'm so glad you enjoyed doing this, because it would have taken me a week and lots of stress:) It turned out wonderful and saved the time and energy of additonal decorations (and writing Happy Birthday on the cake)!
Rachel
Post new comment