Andrea's blog
Frosty the Doorstop
I went to my friend Patricia's house today for a Cookie Exchange, and the crafty girl that she is....she had a holiday craft all ready for us to make and take home with us. Gotta love that! I came home with a bowl full of cookies and a really cute snowman doorstop (idea courtesy of Family Fun magazine).
First, the cookies...YUM...
And here's my finished Snowman...
I used a trimmed off wool sock that sadly hasn't had a "match" for well over a year as the hat. A rolled paper cone made the nose. The main portion of the snowman is made from a keyhole-shaped paver...and I believe they only cost about $0.75 or something like that. Cheap, and cute!
Patricia's 10 year old daughter left us all in the dust though...she thought a penguin would be more fun, and I LOVE how it turned out. So neat how kids can take an idea and totally make it their own.
Thanks Patricia for a fun morning!
Decorating for the Holidays - on the cheap!
A few crafty projects and just a couple of dollars turned some old Christmas decorations into a festive atmosphere around here this week.
First, my favorite, a wreath for our front door made with some garland we found in the storage spot above the garage at our old house. The lights on this strand didn't work anymore, so I took them off and put half the garland onto a wire wreath holder that my mom brought me over Thanksgiving when she was getting rid of a bunch of craft stuff. Then I added some gold beaded garland (also from the old house garage treasures) since our front door has some gold on it. Then finally, I picked up these red berry bushes at Wal-Mart for $1 each and hot glued them onto the wreath. Then I realized I had no way of hanging the wreath on the door. Now, I know the wreath hangers are only about $1 some places (I've seen them recently), but I couldn't go out right then, and I just *knew* I could come up with something from around the house. So...here you go. A wire coat hanger became my wreath hanger with just a few snips & bends.
Next, the centerpiece on our island is usually just a blue vase and a green plate. Our craft project at MOPS the other night included a small wreath and these pine-cone accents, so instead of making the original craft project, I decided to dress up our centerpiece for the winter:
Next, the dining room table. This I had to keep super-simple because little hands are always grabbing everything on it. So, I used a white candle (also picked up at my MOPS meeting for the would-be craft project), a clear candle holder we already had, and I picked up the little berry wreath at Dollar Tree for just $1. The Santa Claus placemats were made by a former boss/friend in Arkansas (Thanks Lora! We still use them!). Don't mind the trivets..not really a part of the decoration, but for some reason we store them there, and I didn't move them. Although I did move the napkins, salt & pepper to a nearby shelf. Not sure it was the most useful choice of items to move...but whatever. Just pretend the trivets aren't there.
Then, the kiddie table...which came upstairs from the playroom for Thanksgiving dinner, and fit so well, we decided to keep it there a while. More garage treasure garland (this time with working lights), some $1 silver ornaments, and two stuffed animals make Ayla very happy when she sits at her table.
In my office, I have a mini-tree on my bookshelf, decorated with chipboard stars that I made last year for neighbors...these were the extras.
Then, of course, some Christmas layouts from the last two years displayed in my Picture It PageFrames:
And finally tonight, the finishing touch....our tree. This 7.5 ft tree we picked up from some people at church who were giving it away. Talk about lucky! I did buy about $4 worth of silver and red ornaments and a $1 star from Dollar Tree to add to our family ornaments.
There you have it. Our VERY inexpensive holiday decorating....works for me!
Jazzed Up Camera Strap
I ran across this Camera Strap Slipcover Tutorial last week, and was excited to give it a try. Even though I am VERY challenged in any sewing-machine related crafts, I decided this looked simple enough for even me to try.
I did a "rough draft" try with some scrap fabric and my own sewing machine. It didn't fit and looked awful. But...I also didn't measure or iron the fabric, so what did I expect?
Then today, I snagged some scrap fabric from my sister-in-law (who has a treasure chest of fabrics to choose from) and borrowed her snazzy sewing machine and expertise while I tried to make a "final draft" version to actually use.
Well...make that 2nd draft. I had to tear out all the seams after I realized that I didn't put the fabrics' "right sides" together like you're supposed to. But that was a good extra round of practice for me, because once I finally got it all sewn together right, it slipped onto my camera strap and looks pretty good.
I did omit the last step of top-stitching around the whole thing because it didn't look like I'd have enough space left to slide the strap inside with two more seams. But I'm happy with the end result anyhow.
It only took me 2 hours (said with a roll of the eyes, because this should really be a 30 minute project MAX). But I didn't cry, and I didn't throw away the end-product, so I guess that makes it a successful project in my book!
Princess Magnet Board
This afternoon I put together a little magnet board toy for Ayla. It's basically a build-a-scene magnet board. It has a 12 x 12 background scene and several 3-D chipboard magnets made from chipboard stickers and rubons on cardboard (these are made by Imaginisce). The 12 x 12 scene can be slid into the large photo corners (which are adhered directly to the magnet board). This way, the scene stays put, but can be changed out for other scenes (which I have yet to make).
This project is actually a test-run to see if she likes it and uses it (because it's all made from paper and chipboard, I doubt it will hold up well). If she does, I'll make several scenes and buy her several sets of magnets in different themes. And I'll try and make them from more durable stuff...laminated papers, mod-podged chipboard, or even plastic magnets.
So far, she was pretty excited about it. Ben hung it up in her playroom downstairs after she woke up from her nap today and she shuffled the magnets all around...
Throwback...to the Scrap Tutor days!
 Not too long ago, Scrapbook.com made the Scrap Tutor lessons and videos available for free to watch online.
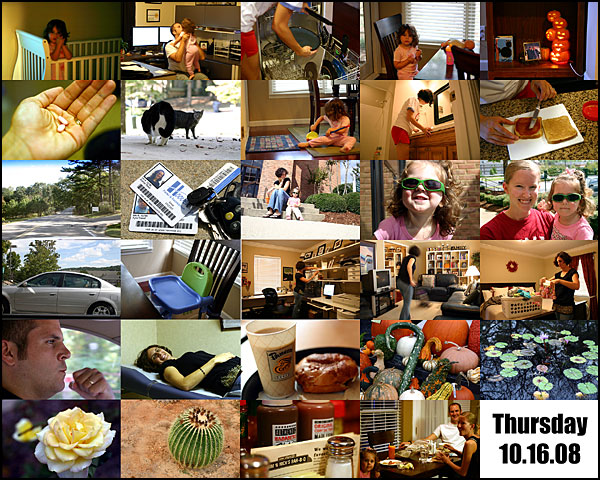
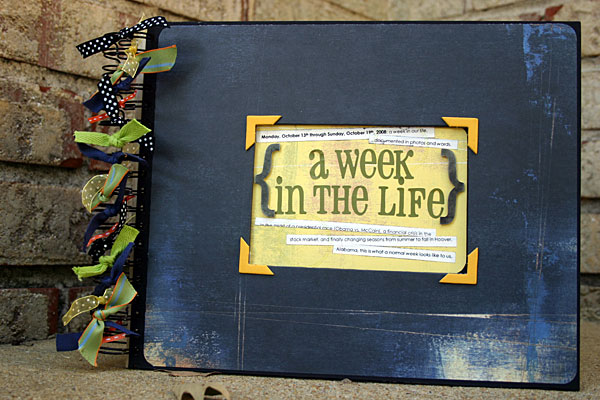
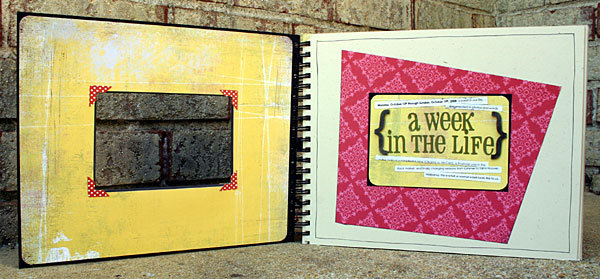
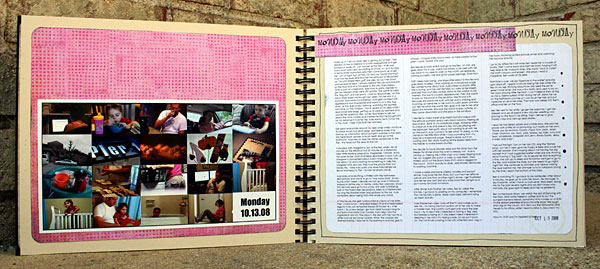
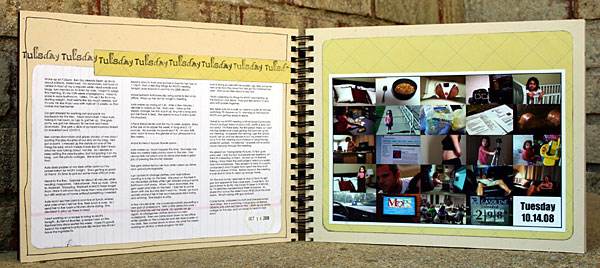
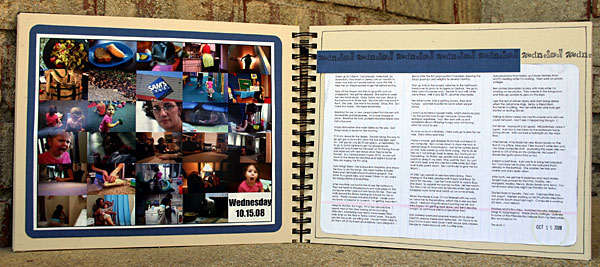
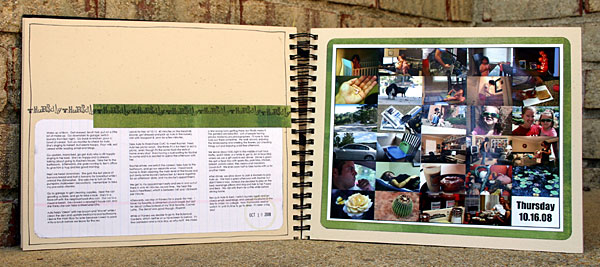
Week in the Life Album Completed
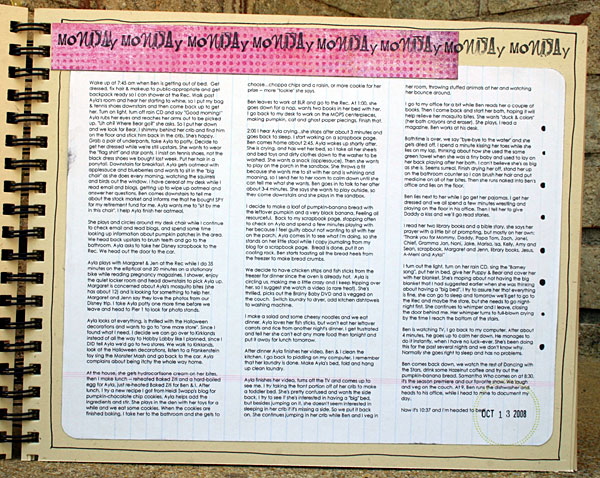
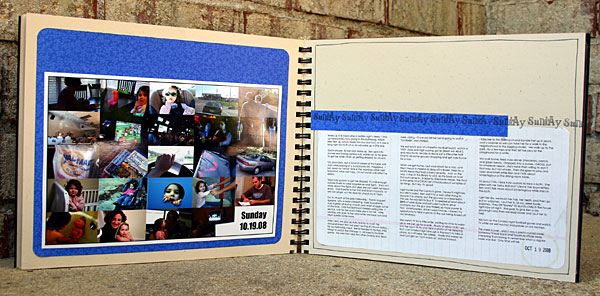
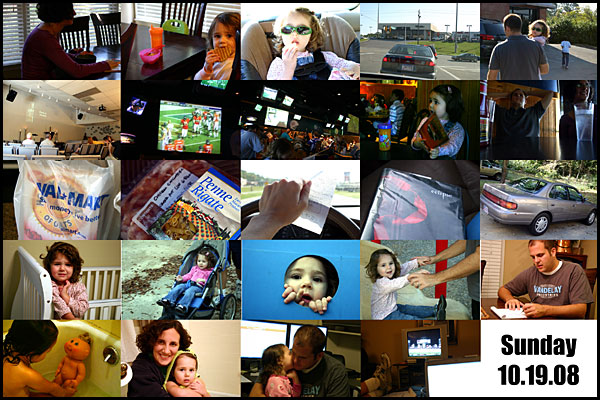
Week in the Life - Sunday
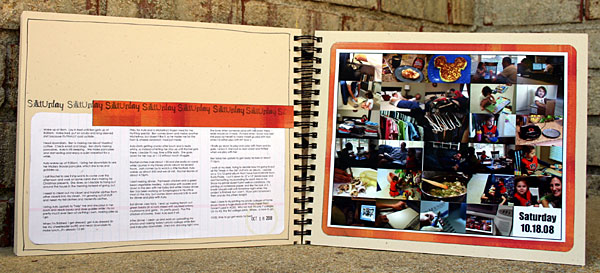
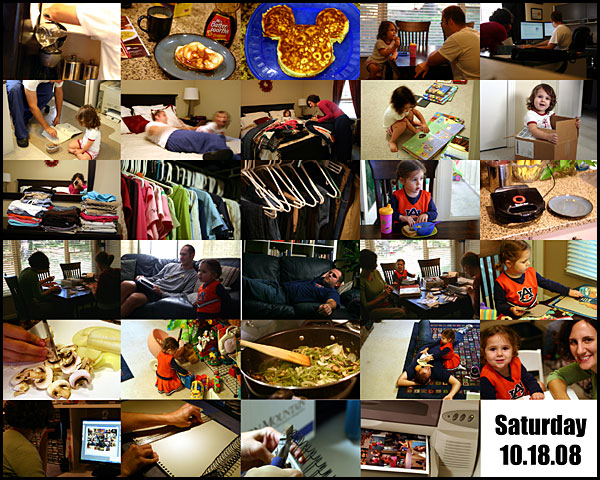
Week in the Life - Saturday
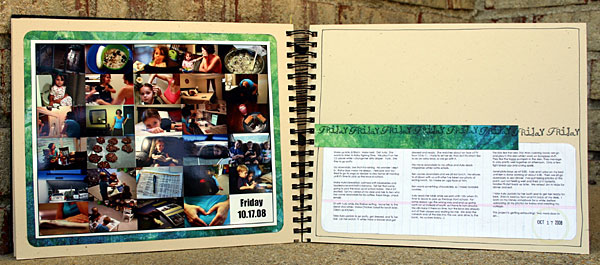
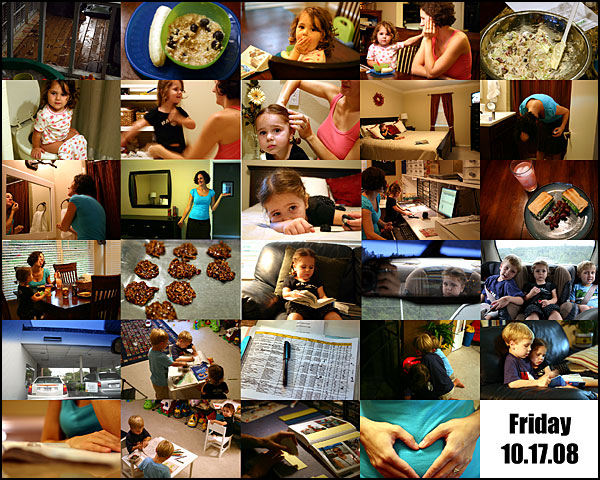
Week in the Life - Friday
Week in the Life - Thursday