Andrea's blog
Fear of the Mirror
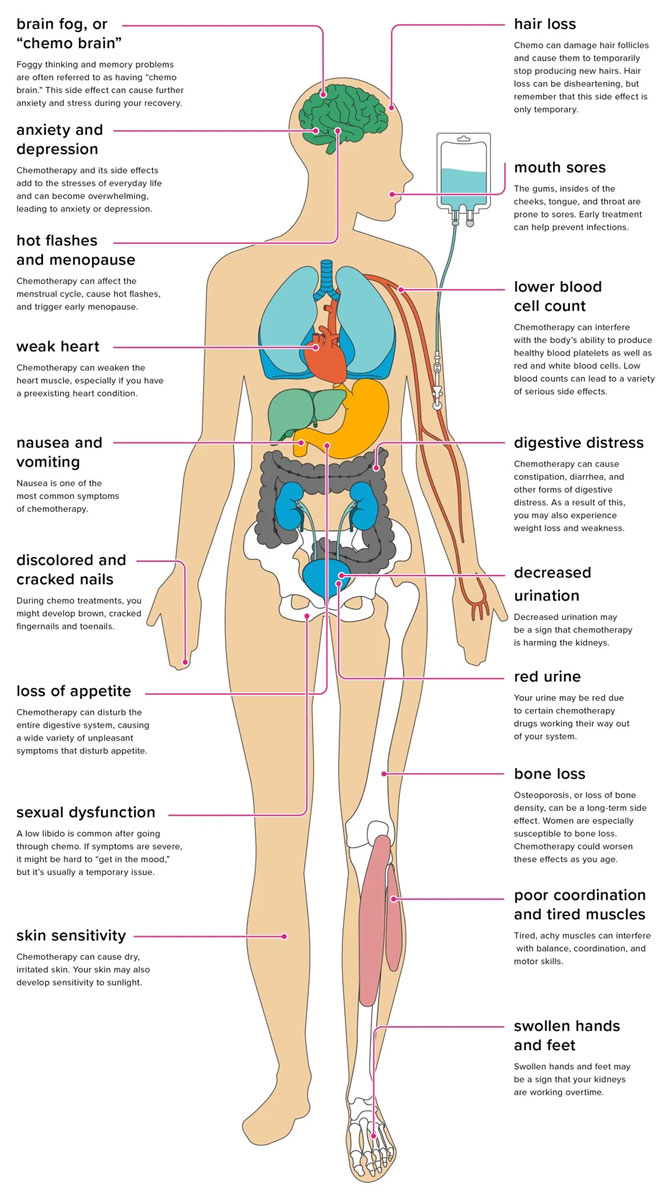
When I hear "chemo", I immediately think of a bald head, frail muscles and bones, hollow eyes, pale skin, and a tired body.
I'm scared of the changes to the way my body feels and looks. It's vanity and it's superficial, but it's still very real.
So I'm trying to let myself go through the emotions of knowing that my body is about to undergo some major changes--some of them permanent, and letting myself be sad and scared about it before I face and tackle it. I can't know exactly what side effects and physical changes I'll go through yet, but I know some of what it *can* include, and there's just nothing "pretty" about them.
After spending the past three years trying to recover from feeling so weak and terrible when I was first diagnosed with Graves Disease, knowing that an even worse wave of physical and emotional challenges is about to hit me is really really really hard for me.
I like my curly hair. It's kind of my signature. It's going to be hard to see it go...and then have to start all over.
I like being strong and fit and physically capable. I do burpees for fun. My workout is my favorite part of every day. Having muscle and endurance is a big part of what makes me feel confident and resilient.
I like dressing up and accessorizing and wearing high heels when it's not practical. I don't always dress for comfort -- I like the wow factor, the sparkle and the shine.
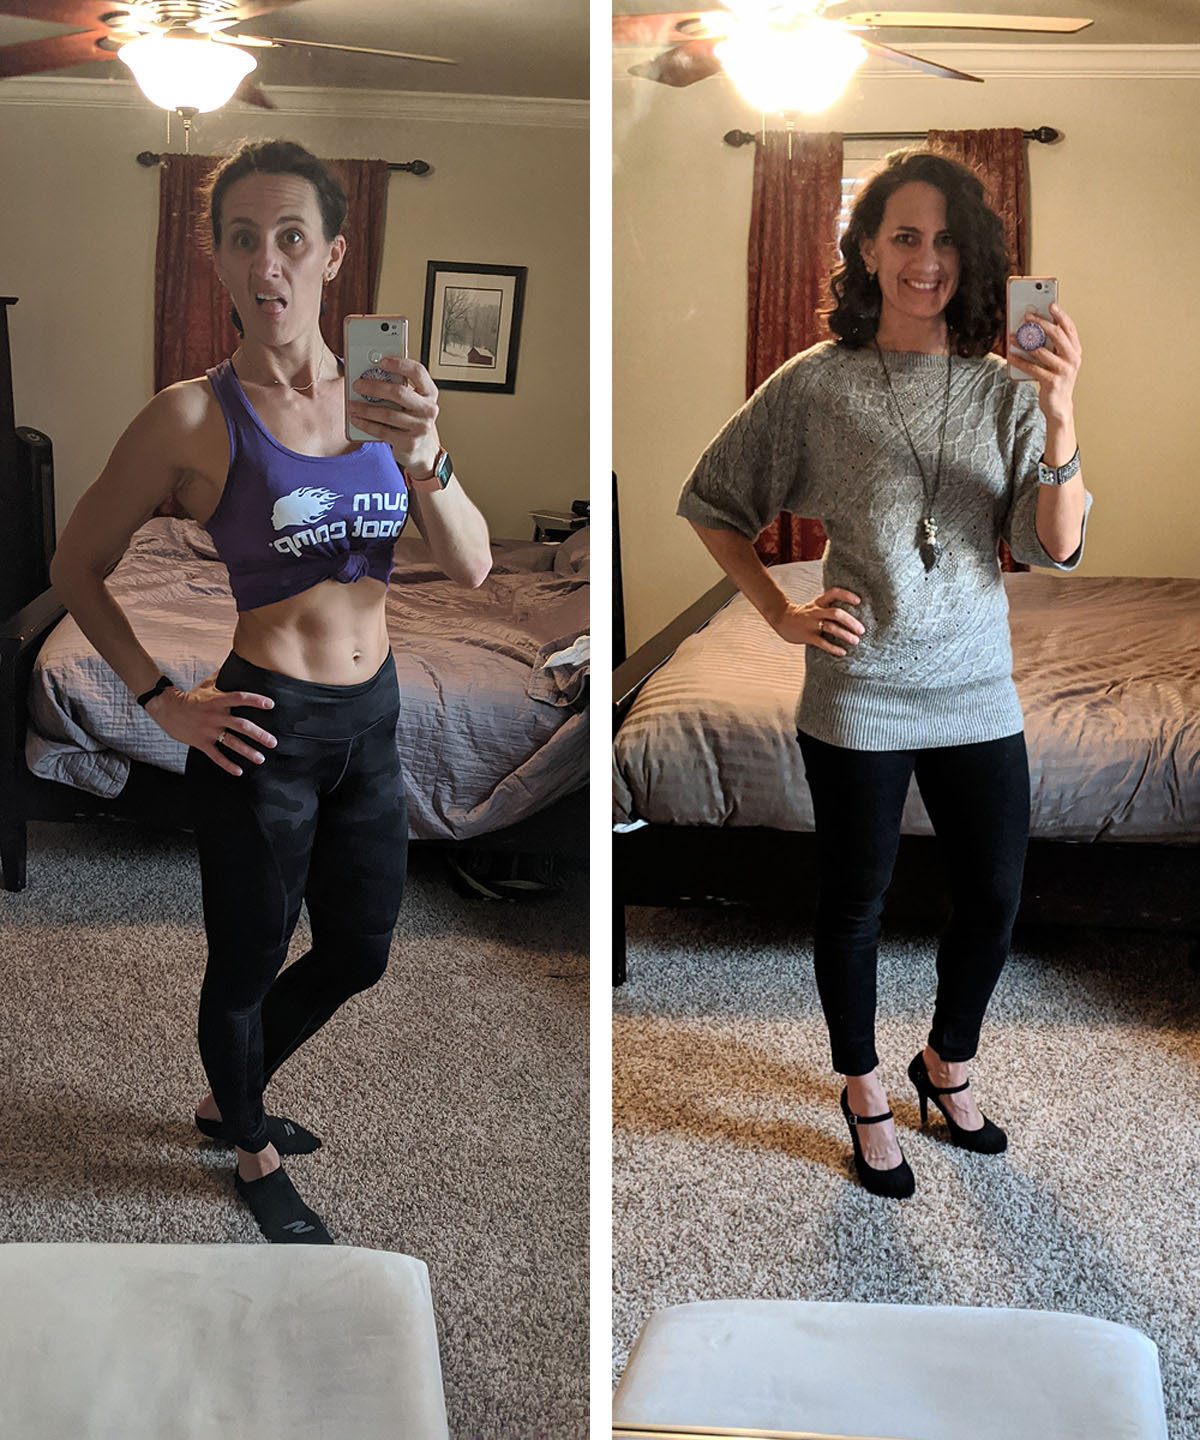
Can you wear heels to chemo? Will I want to?
I know it's not forever. I know it's not the end of the world and in the grand scheme, it's a small thing to be doing what I can to be cancer-free. But when I look at my body in the mirror today, I like what I see, and so I'm scared and sad and angry at what I know is coming.
I'll do what I can to make the best of it. I'll rock a fedora and funky earrings with my bald head, and learn makeup tricks to try not to look so pale and hollow. I might even end up with a fancy and perky new set of ta-tas at the end of all this.
But getting there is going to be tough. And I'm not going to pretend it won't affect me. It will. It already has. So today I'm sad about it.
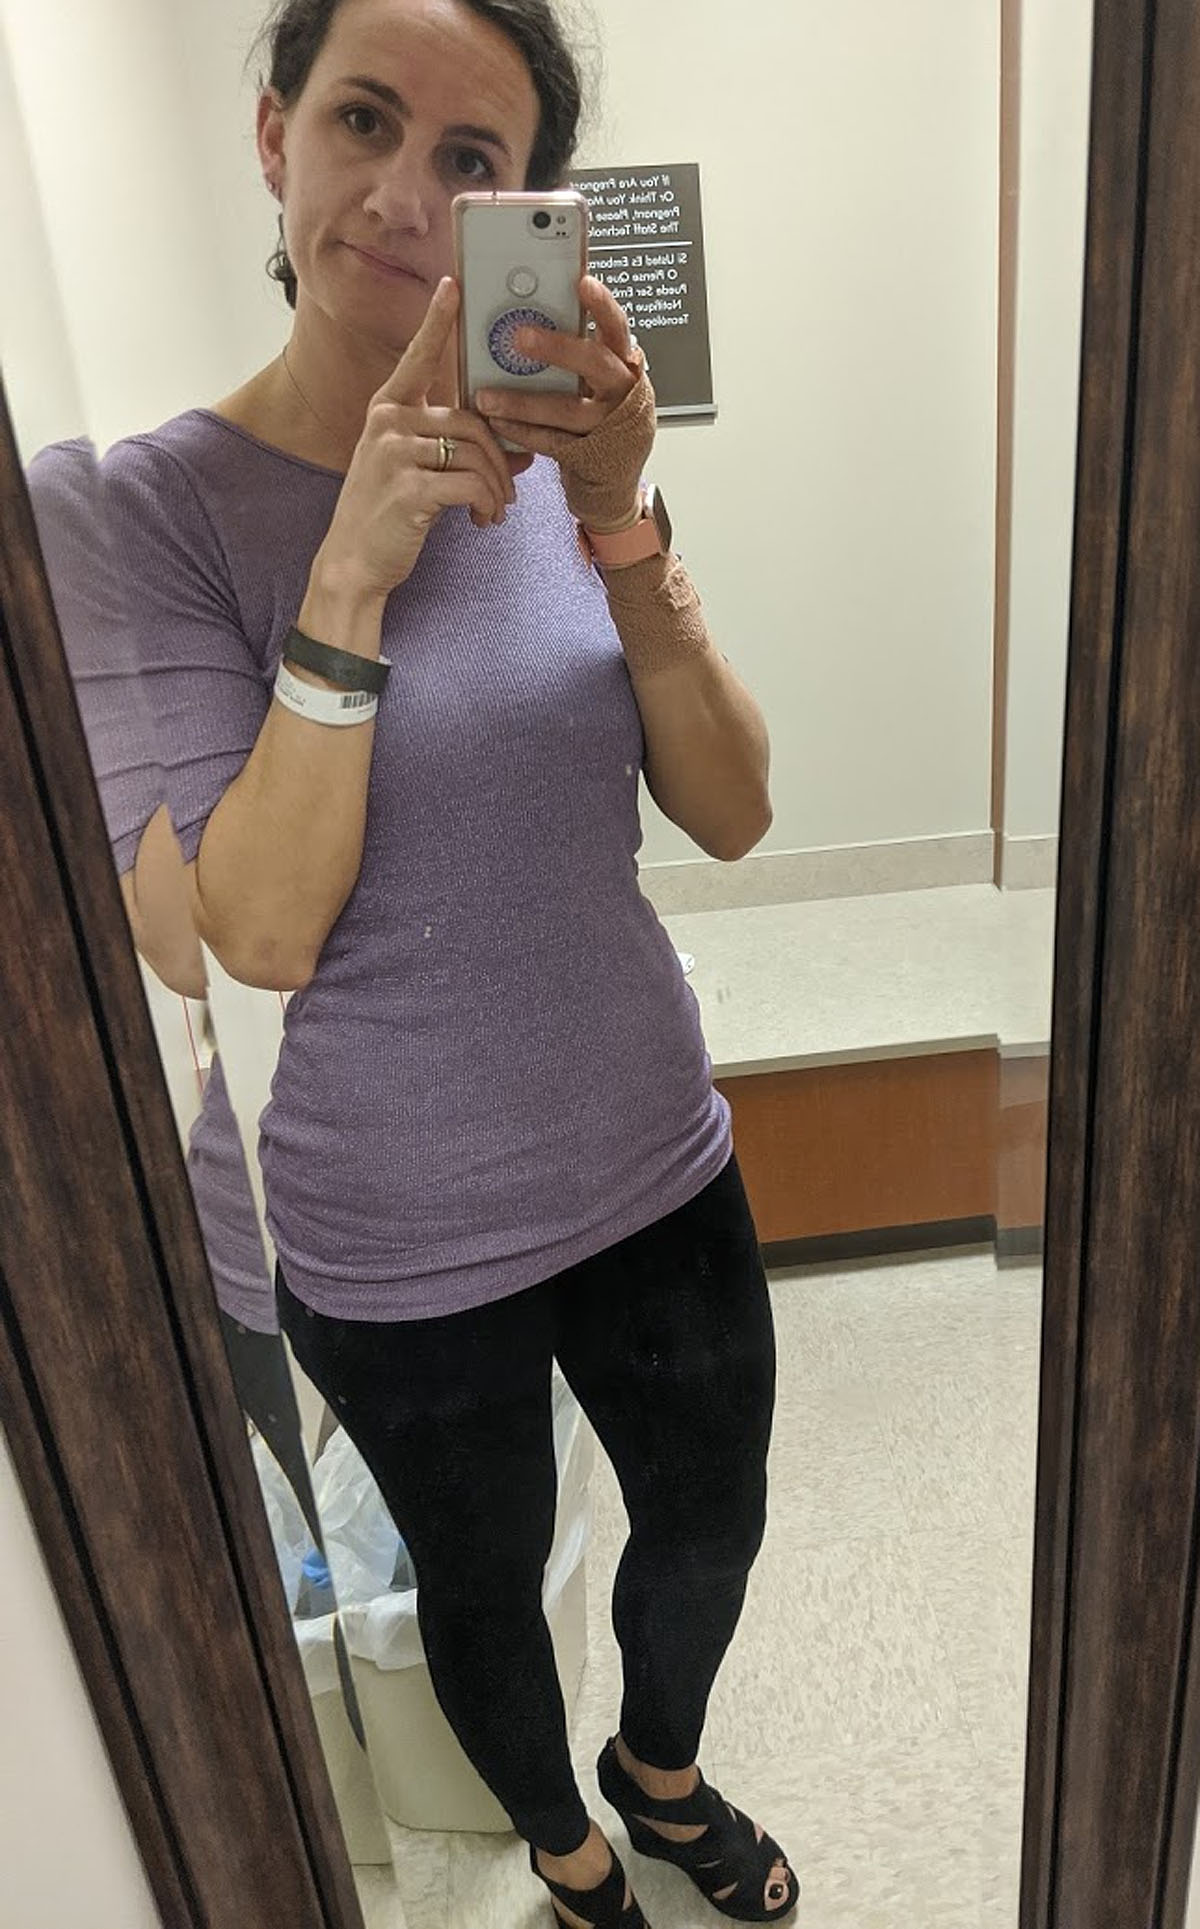
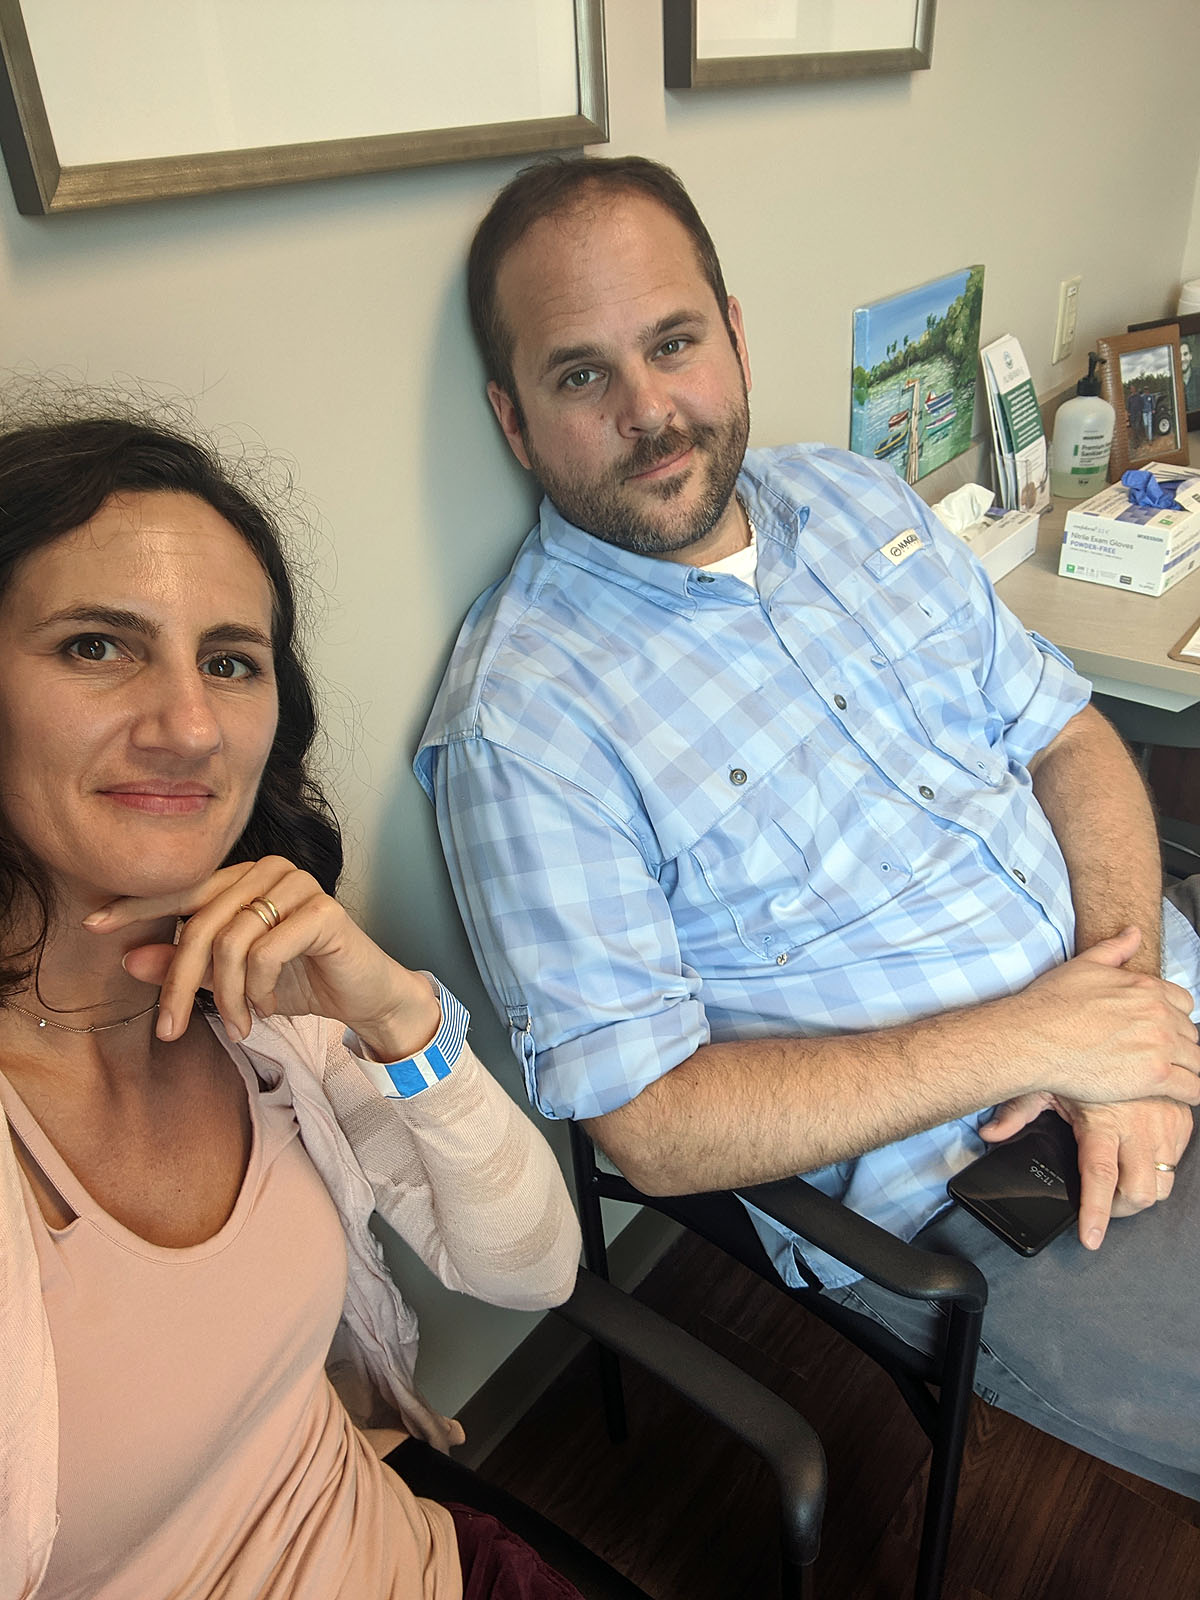
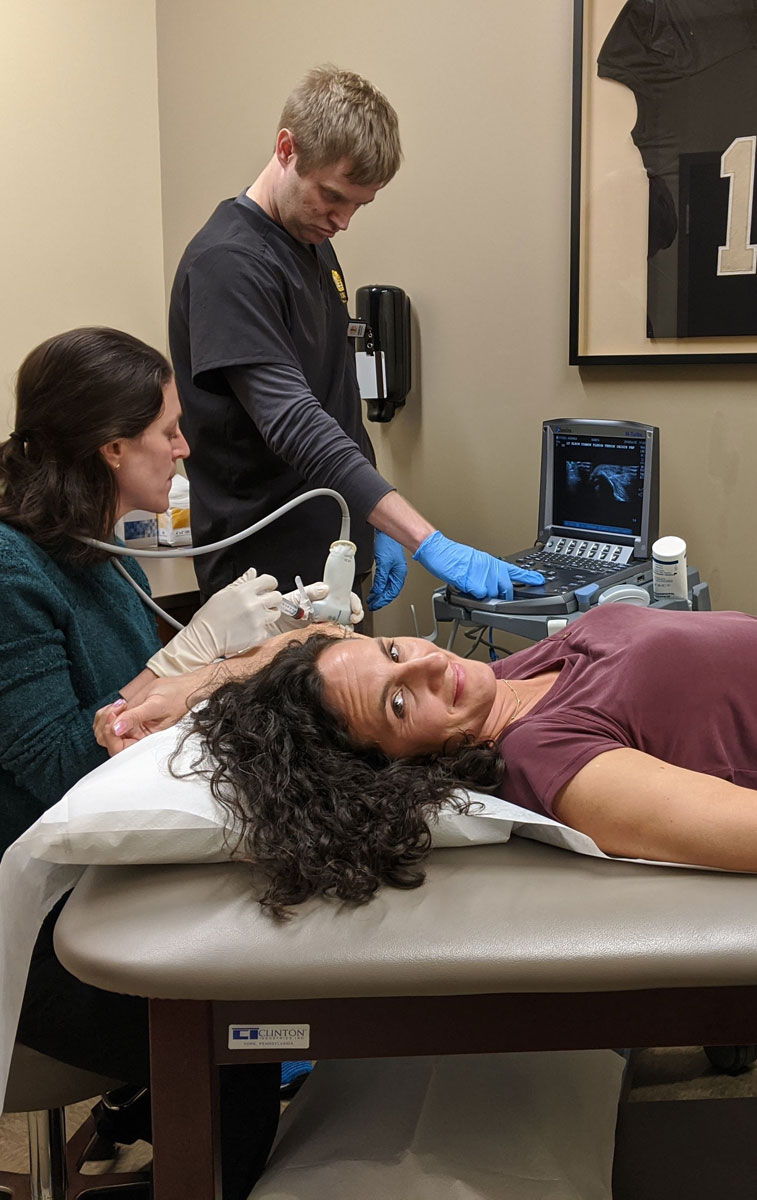
Axillary Lymph Node Biopsy
First -- I received a phone call this morning from Kristi with my MRI results. The imaging doesn't indicate any lymph node involvement (GREAT news) or any cancer on the right side or anywhere else they weren't expecting to see it. It appears we are currently dealing with a localized tumor (also GREAT news).
But still...we were going to go ahead with the axillary lymph node biopsy just be certain. So I headed into the hospital for that procedure this morning. The hospital was even MORE empty this time. We were screened for Coronavirus before being allowed into the hospital. Ben wasn't allowed to come back with me at all and ended up having to wait in the car. Things are getting straight other-worldly out there!
I had the same team of nurses & doctor from my first biopsy, and the process (while slow) went fine. It's awkward and a little uncomfortable, but not painful. And I was able to watch on the ultrasound the entire time so I could see what they were doing and what the lymph node looked like.
This time of course they all KNEW I have cancer (and they knew *I* knew) so they were much more forthcoming about what they were seeing. Or maybe I asked better questions. In any case, we all knew I was now an *actual* cancer patient.
Based on what they saw on the ultrasound of my lymph node and the information from my MRI results, the doctor said he thought it was very likely the biopsy results would show no cancer cells.
So we're hoping that's true.
I have an appointment with a surgeon on Wednesday when I hope to have more information about the order of events and severity of the surgery portion of the process.
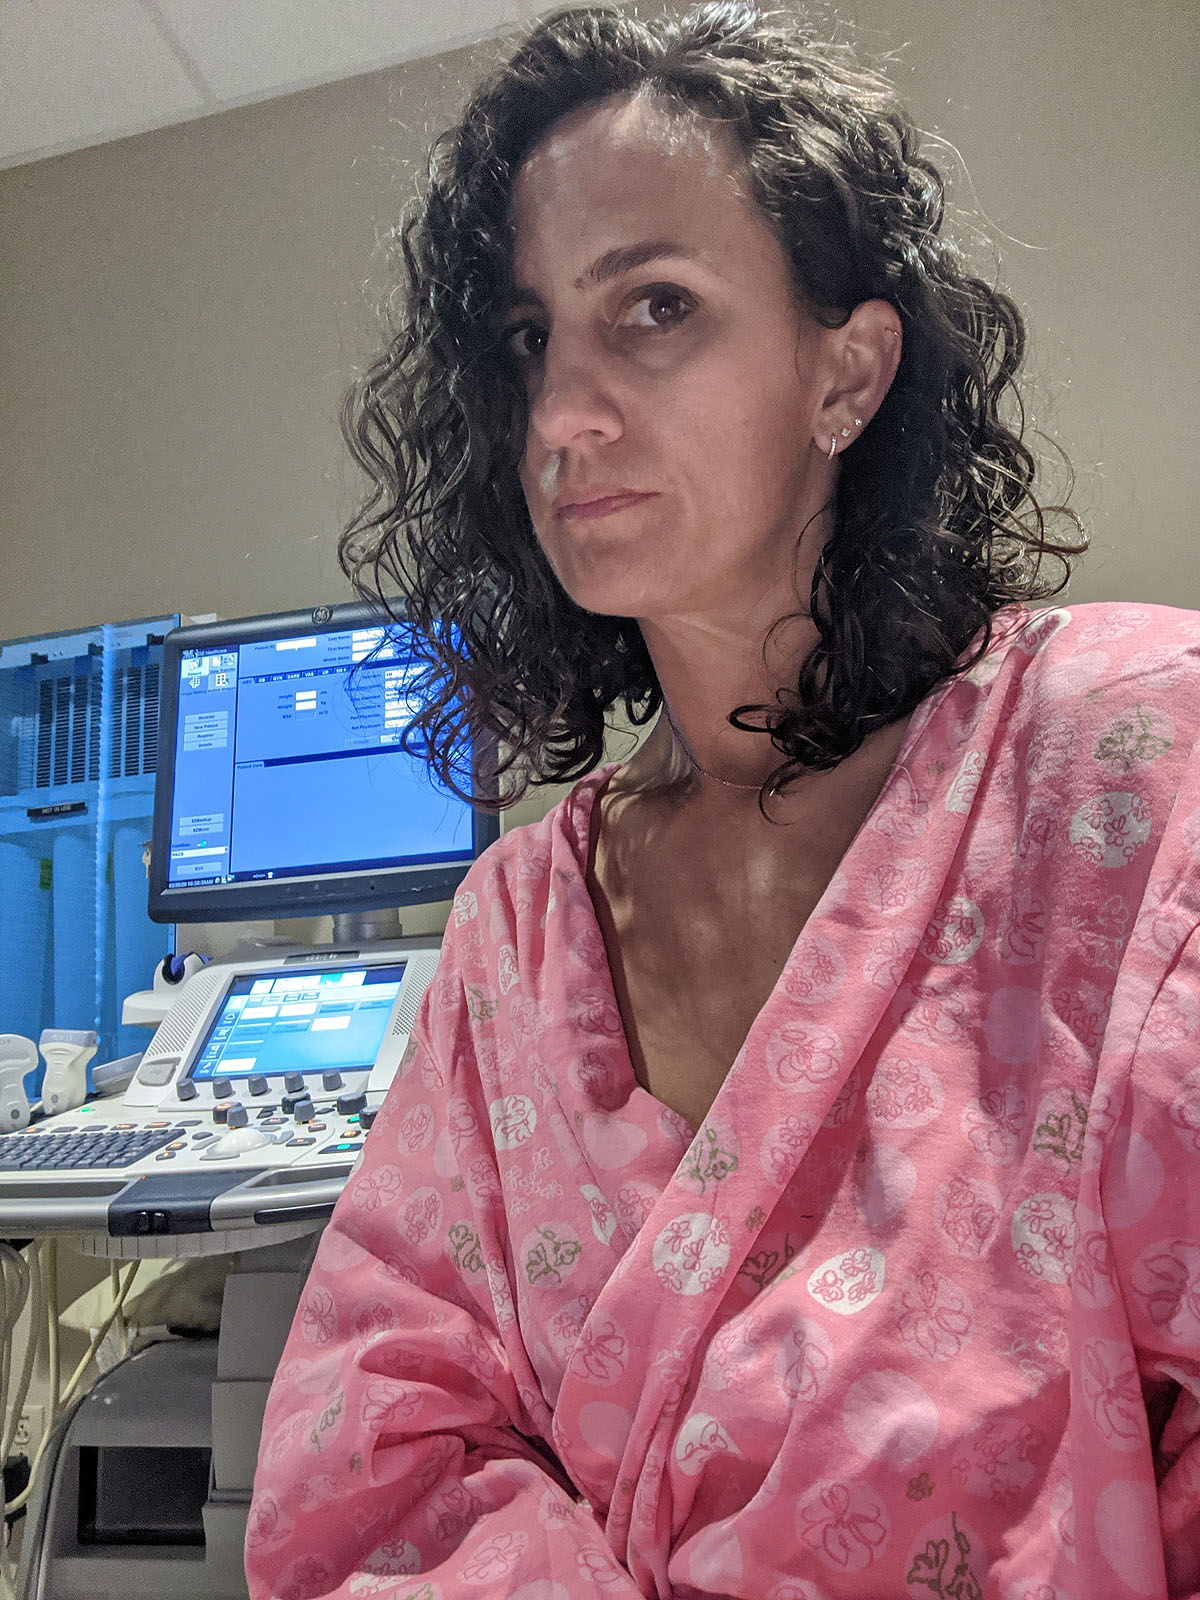
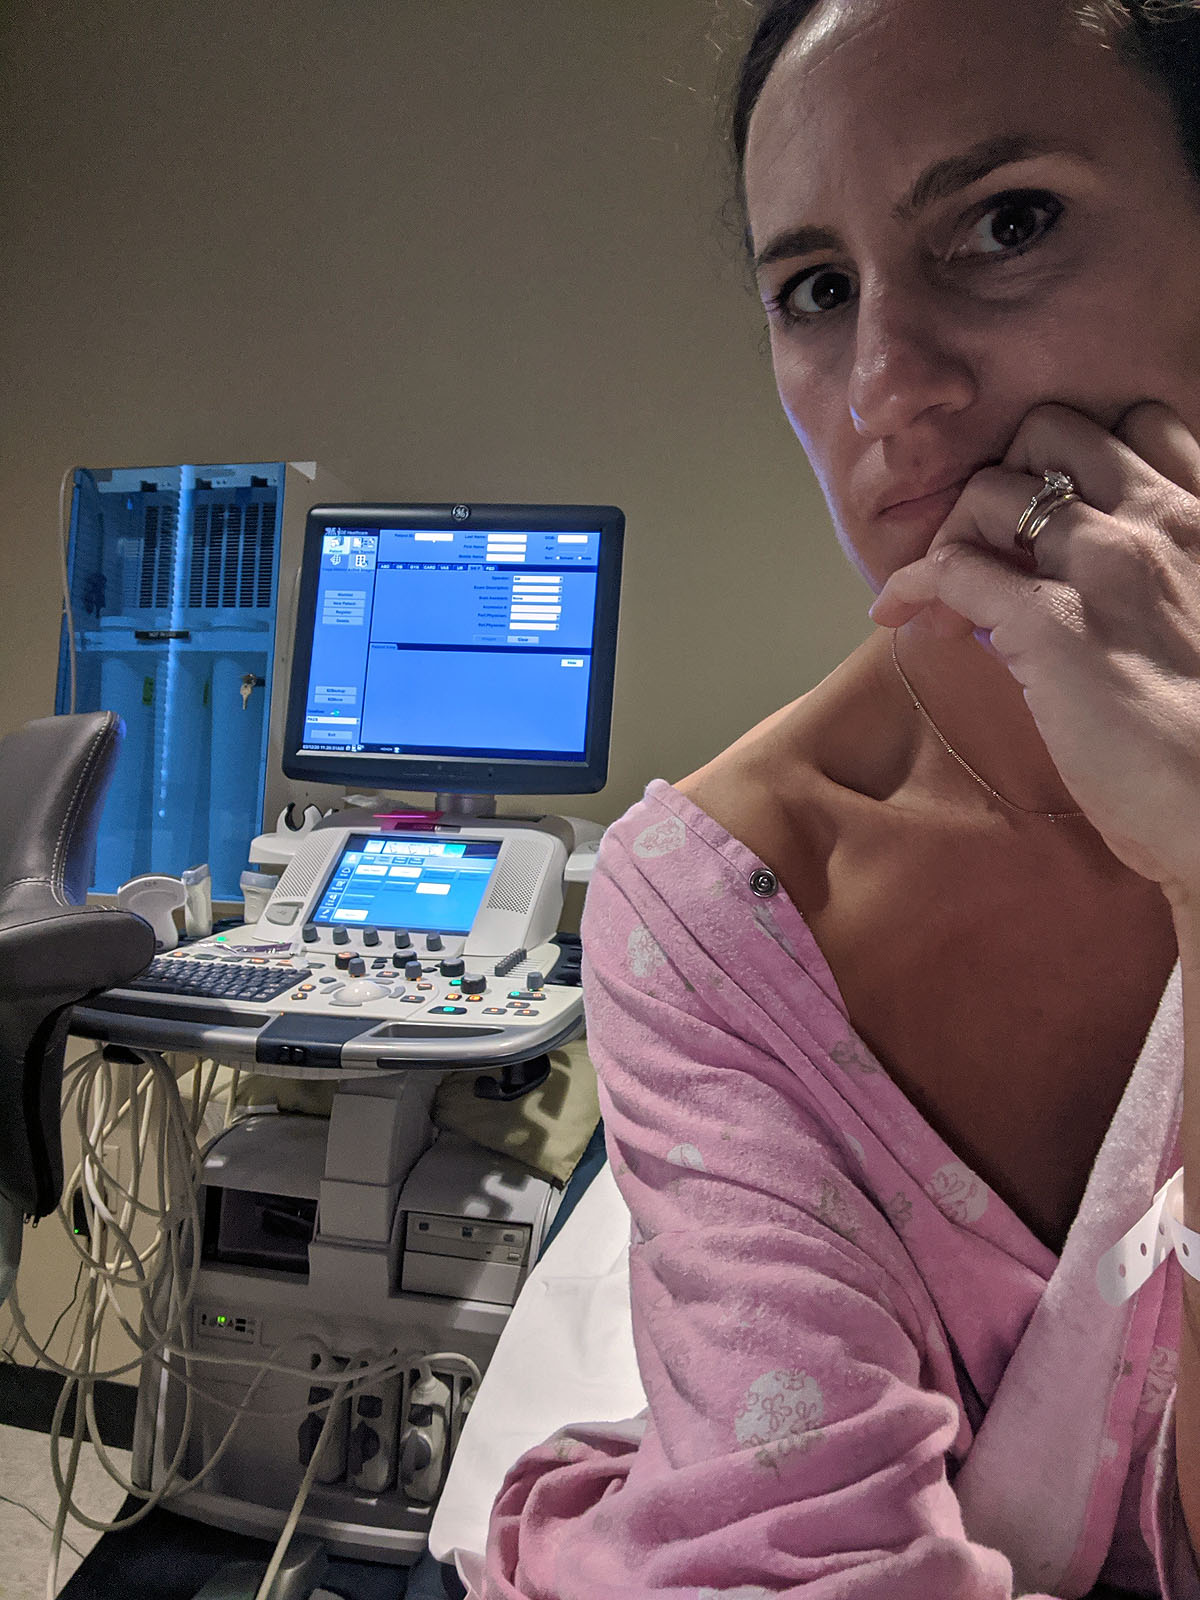
Contrast MRI
My bilateral contrast MRI was this morning. That means I got to go to a nearly empty hospital (bizarre) and get an IV of dye (had to be stuck twice to get it right) and take a really really loud 25 minute nap on the weirdest massage table (without a massage) ever.
None of it was painful or even that uncomfortable, but that dye going through my veins was crazy strange --it feels COLD.
I'm hopeful the images they get will tell us more about whether my cancer has reached any lymph nodes or not...and hopefully it hasn't!
Telling People
Telling people that I have breast cancer, before it's obvious that I do, is a strange and surreal feeling. Because *I* don't totally believe it yet. But I decided early on I want to be open and forthcoming about it. I wanted people to be comfortable asking me questions, and feel as un-awkward about interacting with me as possible. I know what it's like to feel like you don't want to upset or offend someone by bringing up a sensitive subject, and I don't want people to NOT talk to me because they don't know how to interact with me.
So here's my disclaimer:
If you're curious, ask me about it. Talk to me about it. I don't mind, and that lets me know you care about me. And if I'm not in the mood to talk about it, I'll let you know. And we can talk about it later. Deal?
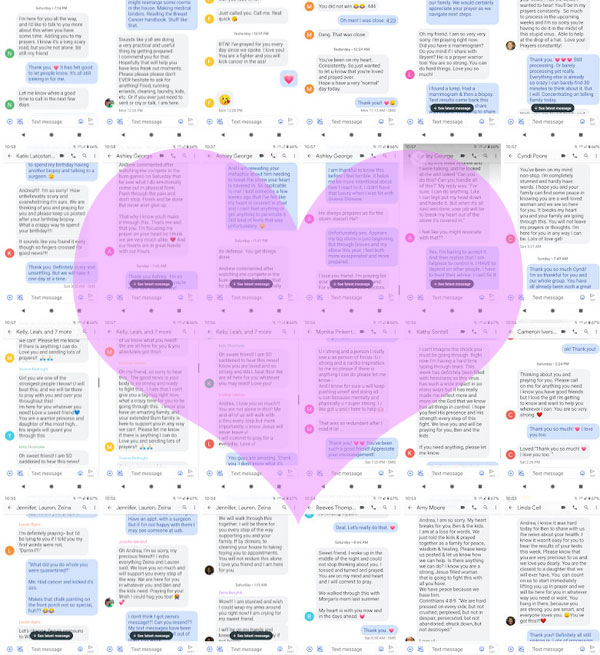
I started with calling all of our family -- my parents & siblings. Then a handful of close friends, both local and all over the country. Then we told Ayla and Paxton, which we were nervous about, but which went well. Then church friends, and co-workers, and bible study groups...the circle widened.
Each time I told a new person or group of people, I was so thankful that I had done it. While everyone had slightly different responses and reactions that matched their own personalities and life experiences, they were ALL so kind and caring, heartbroken for me and offered unconditional support and assistance in any way they could. Some people cried. Many people were speechless and shocked. Everyone was genuine. I have never felt so loved by so many people in my entire life.
Because our world is so physically separated right now with the coronavirus quarantine, I've only been able to tell Ayla & Paxton in person. Ben told his parents in person. But everyone else has been over the phone or through a text message. While the text messaging method isn't always *right* for something like this, it did mean that I was able to keep a written record of how so many of my people responded--and for the scrapbooker/journaler in me that is a priceless keepsake for me to have.
What's really weird about all of this happening with a backdrop of a worldwide pandemic is that other than my immediate family, I have not (and probably won't) receive a hug from anyone else, maybe in months. That's all kinds of strange, and a little sad.
Instead of hugs, I guess I'm getting gifts!
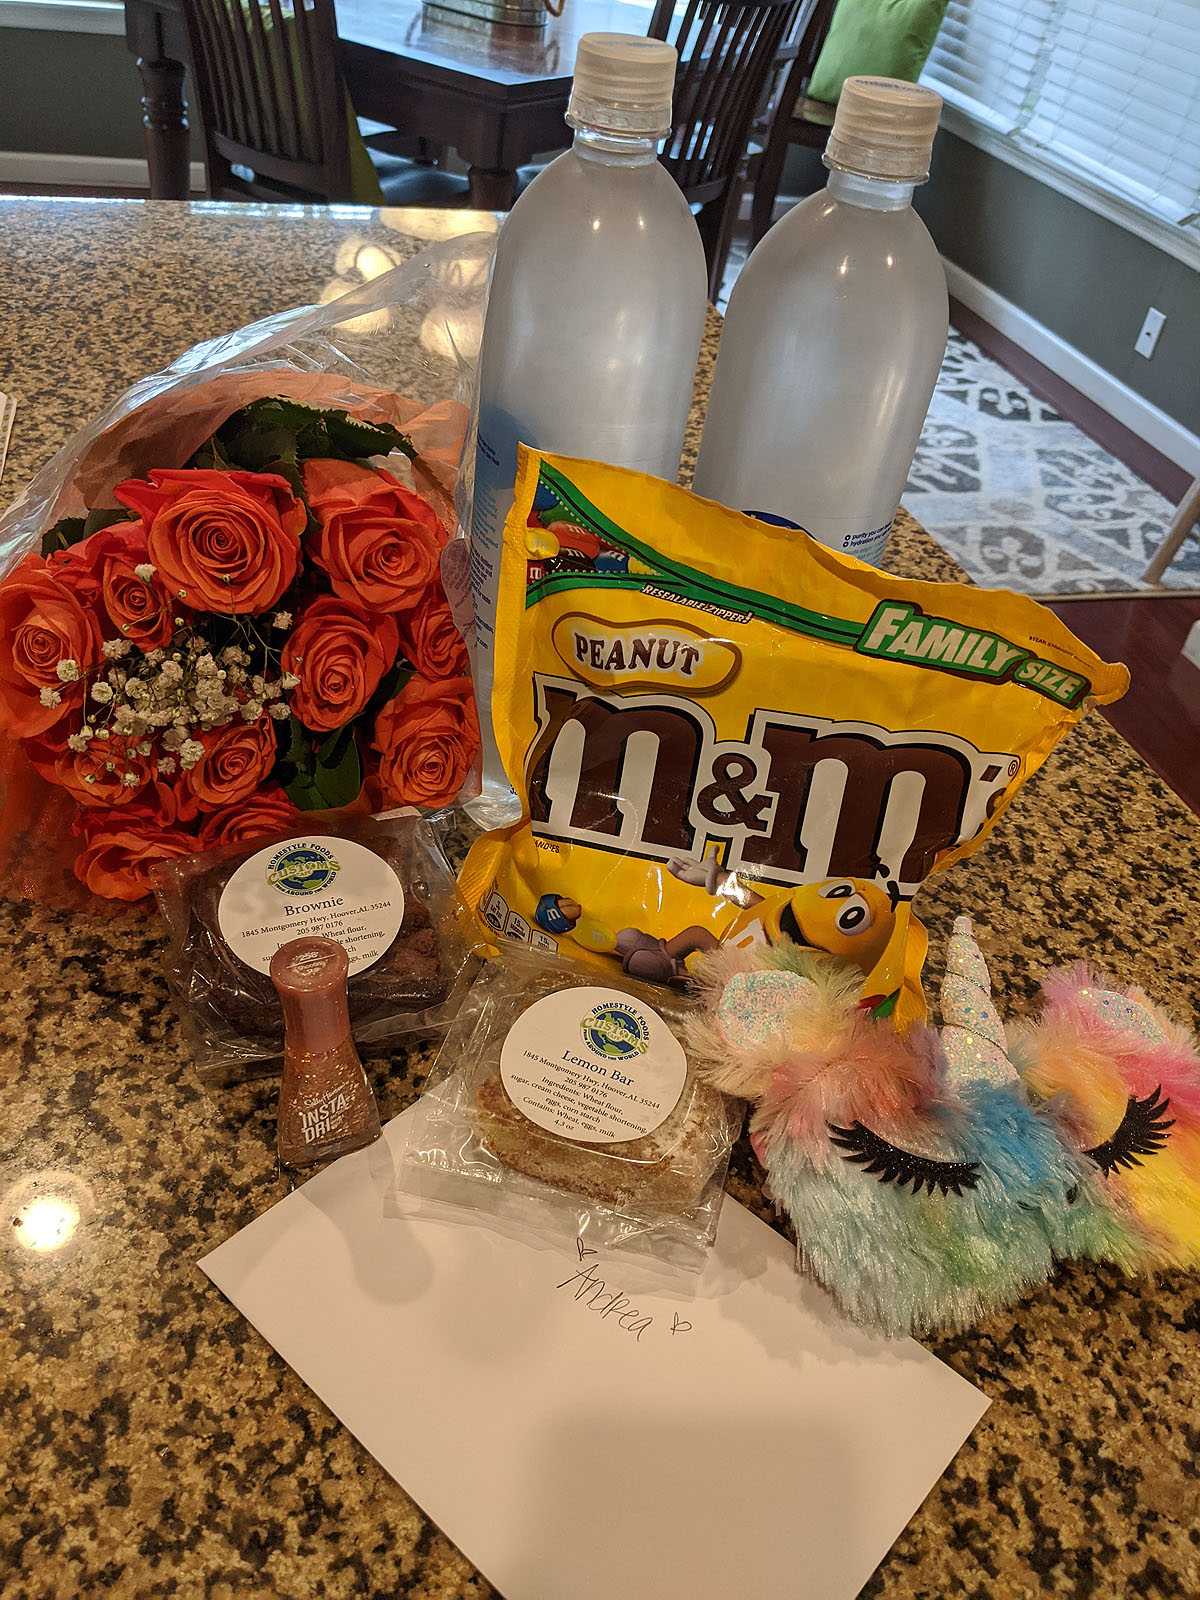
Little treats keep showing up on my doorstep from my friends and family.
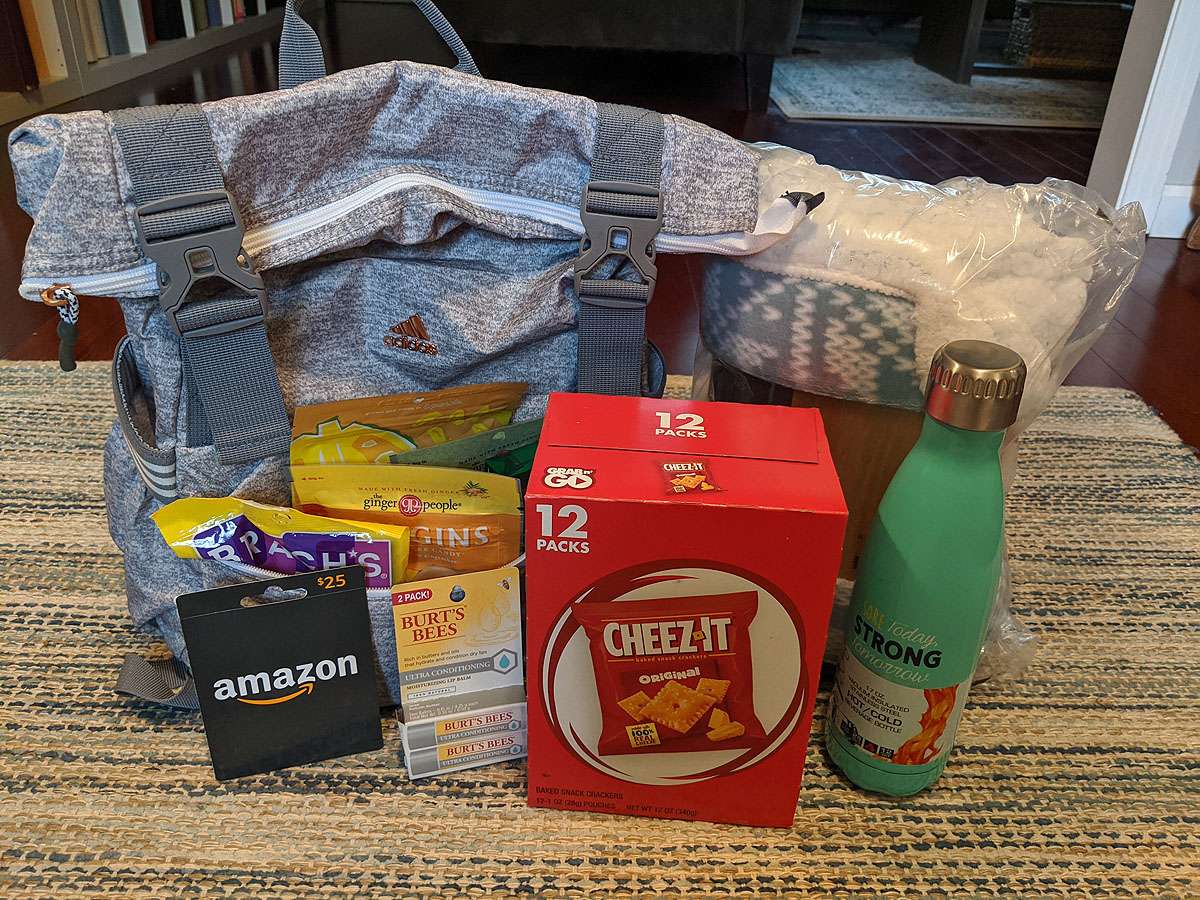
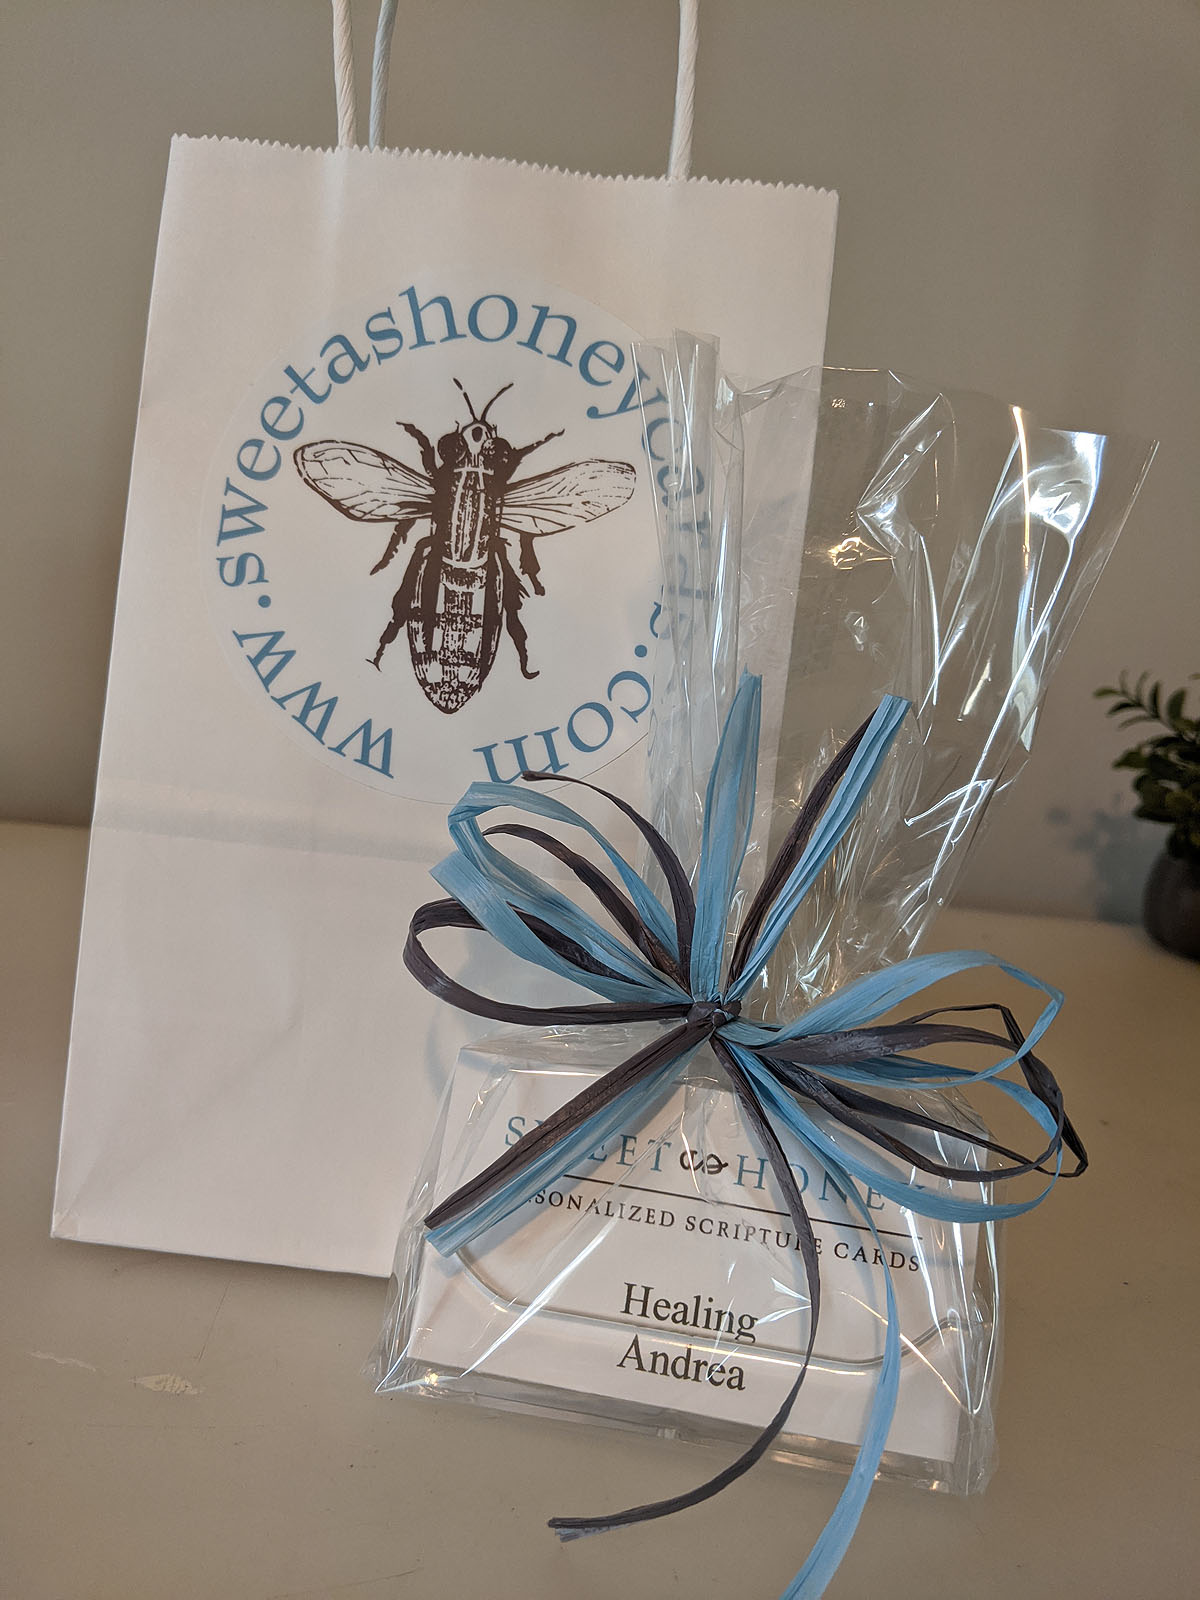
Things to cheer us up, things that will be helpful down the road, and things that are just plain silly and "extra" because -- well, it's for me -- and I'm a little extra sometimes. :)
I don't think I really ever fully realized how wonderful my tribe is.
What are we dealing with?
Ben came with me to my meeting with Kristi and the medical oncologist this morning. We left the kids at home in quarantine and braved the outside world (that's really how it felt) and took ourselves to the hospital. Signs everywhere warning you to wash your hands, not to enter if you're feeling sick, people trying their best to stand far away from each other. That was the first time I'd been out since the previous Friday afternoon, and my anxiety was definitely elevated and I was overstimulated with everything around me.
Kristi is wonderful. She's kind and assuring, and gave us all kinds of great information and I believe she will be an advocate for me to get the best care I can possibly get. She is also going through breast cancer herself and recently had a lumpectomy and is about to begin her own radiation treatment. So most of what she described sounded like a surgery & radiation treatment plan--a few months. Not great news of course, but not too terrible either, and definitely treatable and beatable.
She administered the BRCA gene mutation blood test as soon as we got there, but unfortunately we won't have results from that for a few weeks.
Then (after an eery parking lot waiting room and coronavirus temperature and questionnairre screening before we were allowed into the building) we met with the medical oncologist in the Cancer Center, who talked more specifically about MY tumor and situation. While he too, was very kind and gave us detailed information that was almost all brand new to us...he seemed much more concerned about my situation than anyone had up to this point.
He used words like "I worry" and "I'm concerned" in regard to my age (young), the tumor size (2.5cm) and the growth grade of the tumor (grade 3).
He also dropped the chemo bomb. Which I was not expecting. And which immediately sent my body into a fearful panicky feeling.
He said because of those factors, he wanted to kill the seed, not just pull the weed (he had a long lawn care analogy to go with his recommendation that resonated perfectly with Ben). Surgery could remove the tumor (weed), but if the seed (cancer cells) were out there where you couldn't see them and you didn't kill them, you'd end up with more cancer in other places later on. Particularly if the BRCA genetic test came back positive, and particularly because I am only 40, which leaves a lot more time left in my life for recurrence.
He didn't care whether I chose a lumpectomy or a mastectomy. That was up to me. But he wanted to kill the cancer cells with chemo -- probably before surgery ever happened. The surgery & radiation treatment plan I'd been expecting went from 2-3 months to the better part of a year, plus all the chemo side-effects no one wants to experience.
Then he started talking lymph nodes. I have an axillary lymph node under my left arm that feels like a little pea-sized knob. It's been there as long as I can remember. But since he could feel it, he wanted to have it biopsied to see if the cancer had spread to my lymph nodes. Until he had that information, he said he couldn't stage the cancer. And lymph node involvement would mean a more difficult surgery, higher risk of lymphedema (which I learned more about later and is frankly more scary to me than chemo--because it's permanent and would affect my dominant arm).
After that, we were essentially sent on our way with an appointment for an MRI & a lymph node biopsy & a meeting with a surgeon for within the next week and a half.
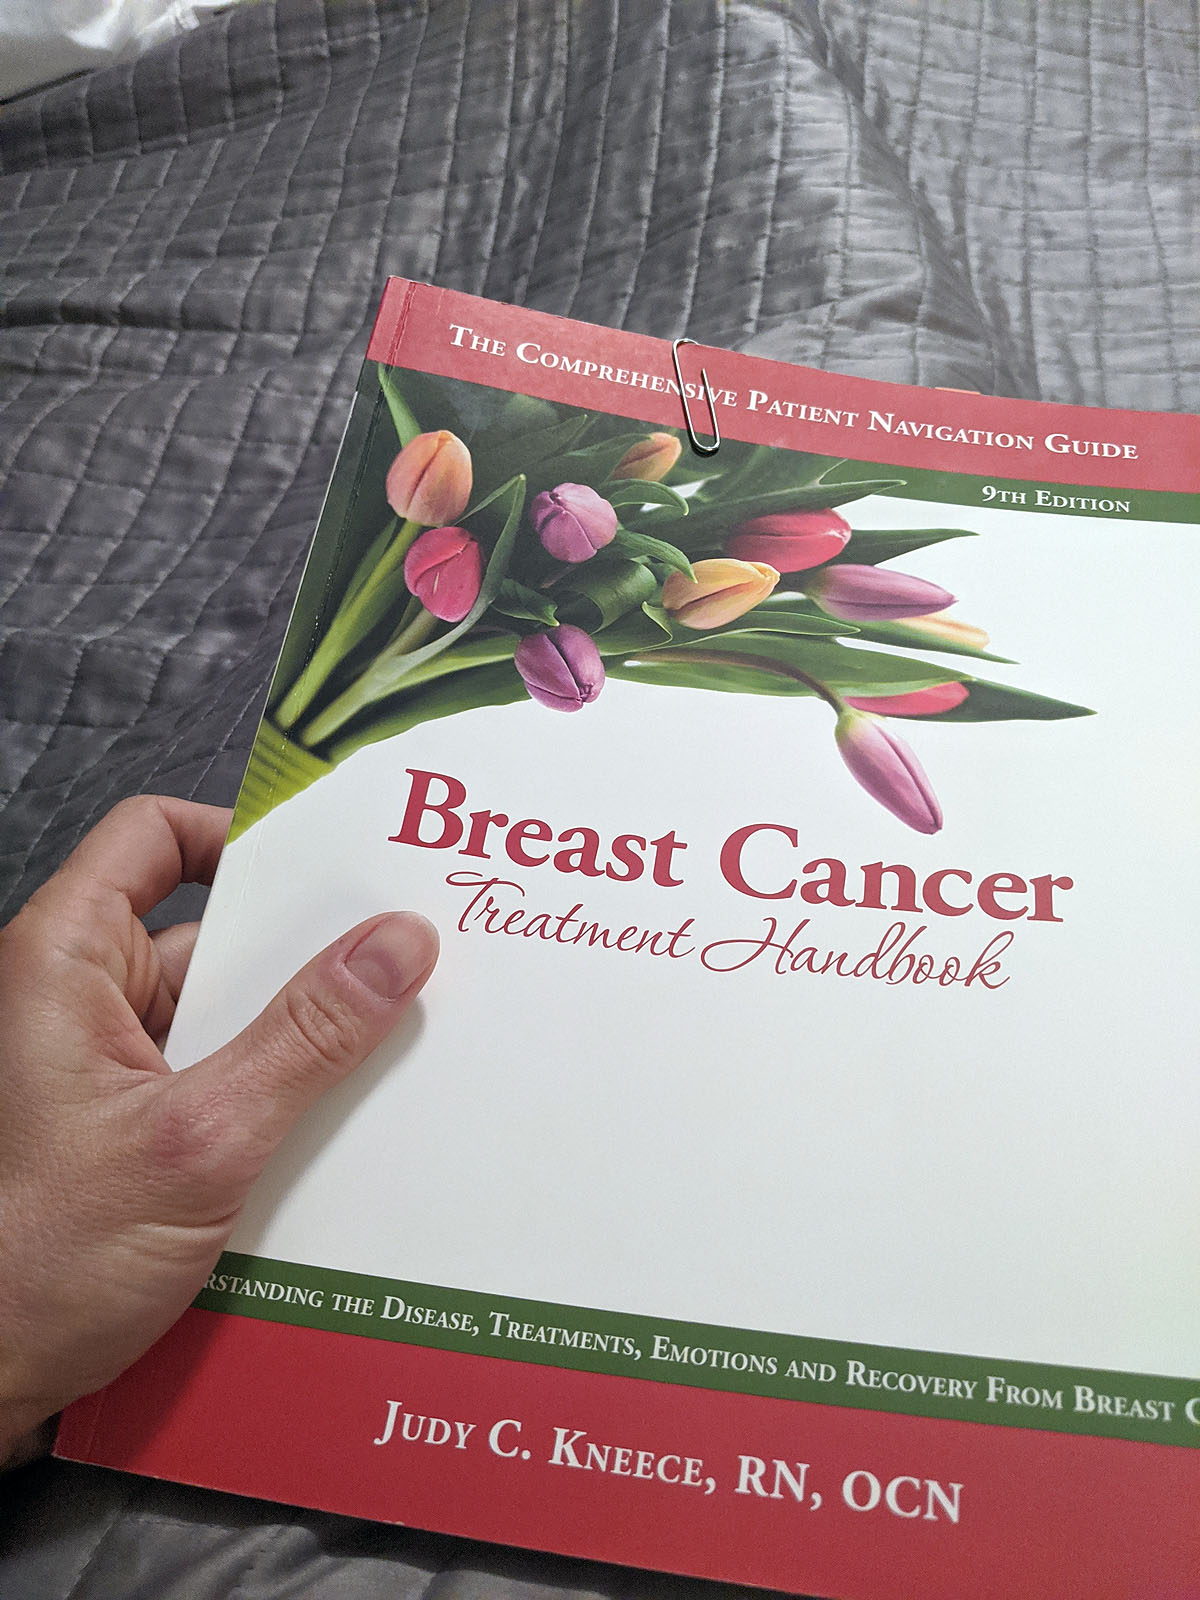
And now, I have a new reading companion, the Breast Cancer Treatment Handbook (which is VERY informative and a must-have if you are ever diagnosed) and a very long journey ahead of me that I wasn't expecting at all.
Breast Cancer Diagnosis
So, I received some pretty upsetting news today. I've been diagnosed with Breast Cancer. In the middle of a coronavirus quarantine, when *everyone's life* is in a strange state, my own life has been turned completely upside down.
But let me back up to the beginning.
First, I found a lump in my left breast--I don't remember exactly when it was. Maybe January? Maybe February? I didn't think much about it, but made note of it. When Ben noticed it a few days (or weeks?) later, I decided it was maybe more prominently noticeable than I thought. So I called to see if I should have my mammogram a few weeks earlier than scheduled, just to check it out and make sure it was nothing. I'd had a baseline mammogram at 35 years old. But this was going to be my first one since then. Last year I wasn't quite 40 when I had my annual exam, so my doctor said it was fine to have it at my next year appointment instead. So, since I was scheduled to have one anyway in mid-April this year, I wasn't too concerned about bumping that date up a little. No big deal. They scheduled a mammogram and ultrasound for me right away.
The mammogram went fine. They did lots of imaging on the left side where I'd found a lump, regular imaging on the right. Everyone said, "oh, it's moveable, so that's a good sign." and no one seemed overly concerned. There were lots of things that it could be.
I had an ultrasound, and could see where the mass was and what it looked like. It wasn't *totally* round, but it looked oval to me, which seemed like it could definitely be a cyst or a fibroadenoma (I'd been googling).
A few days later, I got a call that said they wanted to do some extra mammogram imaging on the RIGHT side because of some dense tissue and asymetry between my original scan and the current ones. They also wanted to schedule a biopsy on the mass in my left breast to test it to see exactly what it was.
That had me a little concerned. Mostly about the right breast, honestly, because it sounded like they were concerned about it if they wanted to see more imaging.
And then I remembered my dad mentioning a long time ago in passing that his mother died fairly young of breast cancer. We don't talk about his family or childhood much, so it wasn't information that is just "known" in our family. But breast cancer *can* be genetic (although only 5%-10% of breast cancer diagnoses are genetically based). And, in light of that, things started feeling a little more serious at that point. What if it *was* cancer? But still, I wasn't going to worry until there was something to worry about. So, I went to the next mammogram for my right breast (which turned out to be fine) and then had a biopsy on the mass in my left breast.
As I was watching the ultrasound and listening to the doctor and nurses talk about what they saw, it sounded like a mass that looked partially cystic and partially solid (a complex cystic mass). No one said cancer. No one acted concerned. It wasn't painful, just odd and a little uncomfortable, and watching the needle jab away at me on the ultrasound certainly looked like it SHOULD hurt, but it really didn't. They just took the samples and kindly told me to put some ice on the injection spot because it would be a little swollen and sore and I'd hear results in a few days. They didn't seem worried or alarmed. So, I didn't worry.
That was on Thursday, March 12th. The next several days were a blur of coronavirus talk, school being closed for three weeks, a volleyball tournament being canceled, everyone starting to get scared about the virus and what that meant, learning about social distancing, and canceling EVERYTHING in our lives...so I put the biopsy in the back of my mind until Monday afternoon, when I still hadn't heard anything. I called this morning (St. Patrick's Day) to see if there was any information for me, but had to leave a message. So I went back to work...
When my phone rang this afternoon and I saw it was from my doctor's office, my stomach did a little drop. I answered and Kristi (my Breast Care Navigator) told me, my biopsy results were in, and unfortunately, it was cancer.
That was NOT what I expected to hear.
I hardly remember the rest of my conversation with her and I was shaking so much I could hardly read what I had written down as she was talking. Here's what I wrote:
- It's Invasive Ductal Carcinoma.
- It's HER2 negative, PR negative, and ER+ (mild to moderately).
- I would need to meet with Kristi tomorrow as well as with a medical oncologist to go over my results, treatment and receive a book to tell me all about the entire process.
- I'd need to have a BRCA genetic test to see if I have the breast cancer gene in my DNA.
- I'd need to have a bilateral contrast MRI in the next week or two.
- I'd need to schedule an appointment with a surgeon to discuss removal options.
- Surgery would be necessary.
- Medication would be necessary.
- Radiation would be necessary.
- Chemo was not a guranteed necessity.
Floored. I was completely floored. Especially because I feel healthier and stronger now physically than I have in the past three years after dealing with Graves Disease through most of 2018 and finally (mostly) healing my elbow that was injured the majority of 2019. I was finally back to my "peak" performance self. Cancer was not on my radar.
But, it is now.
Platelet Rich Plasma Therapy - Golfer's Elbow
I hurt my elbow at the beginning of July, taking apart a huge fence for my sign wood. It's been diagnosed as "golfer's elbow". I've tried modifying, resting, icing, anti-inflammatories, physical therapy and a cortisone shot. But, 5 and 1/2 months later, it's still not any better.
So, next step...Platelet Rich Plasma Therapy and a *hope* that this will kickstart the healing process.
I'll continue to update the healing process here...
Day 1 (12/19/19) - Can't use my left arm for anything. Throbbing, aching, and sometimes shooting pain. I'm really glad Ben drove me to my appointment. I never would have been able to drive home.
Day 4 (12/22/19) - I'm doing my best to avoid using my left arm at all. Any pressure or weight on or in that hand hurts. Still taking tylenol and occasional Tramadol. Range of motion is slightly better than it was immediately after the injection, but I have trouble and paint when bending it to touch my face, or straightening it to reach for something. I find myself constantly thinking about it and protecting it around other people, which has been tiring.
Day 9 (12/27/19)- I don't feel like I need to protect my arm quite as much today and it hasn't dominated my every thought all day long. I have only taken tylenol once in the past 24 hours. While it's still tender and stiff, my range of motion is much better, and I can do most normal activities without much pain, though I'm still not lifting more than a pound or so with that arm. Still difficult to use a fork with my left hand, wash my face, put my hair in a ponytail, etc. Mobility and strength is still is not even to where it was right *before* the PRP injection, so doesn't feel healed in any way, but it's not SO much worse and unuseable like it has been over the past week.
2 Weeks (1/2/2020) - I'm able to do most normal movement. I still have pain when my arm is fully extended or fully bent. Putting pressure on anything still triggers pain, and my elbow is still tender to the touch. BUT, it's closer (though still a little worse) to how it was before I went in for PRP two weeks ago. Still taking tylenol once a day. Still trying not to lift anything with my left arm (when I forget, I switch hands). It's stiff in the morning, but feels much better when I'm exercising and it has warmed up. I've done some walking, bike riding and a few non-arm-using HIIT workouts.
3 Weeks (1/9/2020) - Not taking tylenol regularly anymore. Am much more comfortable driving. Wearing a wrist brace when doing a lot of phone-holding, typing or writing to remind myself to keep my wrist neutral. Range of motion is nearly full, but still hurts some at fully extended and fully bent. Putting pressure on anything is still painful. But I can at least partially brush my teeth with my left hand, which is pretty exciting (the motion and fully-bent angle is rough). Forearm muscle is starting to hurt some, which probably means I'm using my arm too much. Doing some fist-squeezing exercises throughout the day to start strengthening it, which may be making that muscle tweak.
5 1/2 weeks (1/28/2020) - Started physical therapy again last week. Initially it felt stronger after two days of therapy. Then very sore for two days. Then stronger and less irritated today. So, pressing on... At my doctor's visit last week, she said that if in two weeks we aren't noticing improvements, we may need to talk surgery. But if the therapy seems to be helping even some, it would be worth pressing through on that. Still not painting and trying to keep from doing any lifting or repetitive activities. Still having pain when brushing teeth, washing face, opening & closing doors, typing, etc.
7 weeks (2/5/2020) - Started painting again this week, although I'm not sure there's been much significant healing progress beyond where I was before the PRP injection. While my arm muscles seem to be getting stronger again (though they have severely weakened in the past 7 months from lack of use), the tendon injury itself is still very tender and sensitive to even slight pressure. Maybe my expectations are too high? Maybe it'll never be better? Maybe I need surgery? Maybe I'm just impatient. But at this point, I'm getting used to it just hurting and modifying everything that I do to accomodate it.
8 weeks (2/14/2020) - Well, what do you know? Within the last week, I've finally noticed significant improvement. Physical therapy exercises twice a day, and lots of firm pressure massage on the muscle in my forearm seem to finally be making an impact. I feel much stronger than I have in a long long time, and have worked up to 5lb weights when I'm doing my PT exercises. Full extension and bending of my arm just *barely* hurts now, and I can even put weight on my arm in a plank position without irritating it much (though I'm doing that VERY sparingly right now to ease back in). I can carry groceries in that arm now, close the car door with that hand, hold a plate, wash my face, brush my teeth, and boost myself up off a chair or the floor using that arm (at least partially) without feeling like it was straining my elbow.
11 weeks (3/6/2020) - This is the first week that I've felt like I could do almost all my normal-life activities without thinking about my arm. Including a full week of HIIT workouts. Because my upper body strength has diminished and my elbow is still slowly gaining strength, I'm still modifying pushups, burpees, and using lighter weights. BUT, I could *do* almost everything to some capacity. While I still have a nagging soreness or pain occasionally, it's definitely healing.
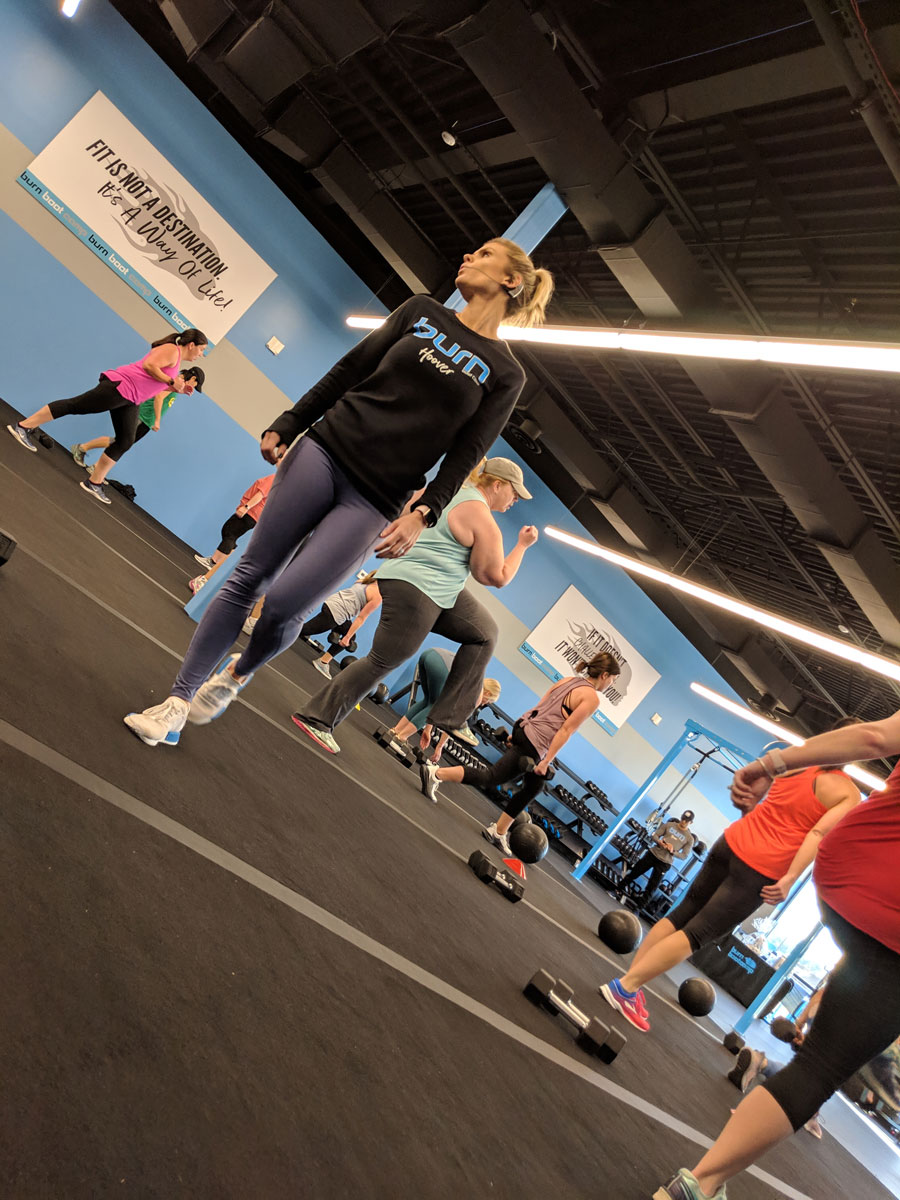
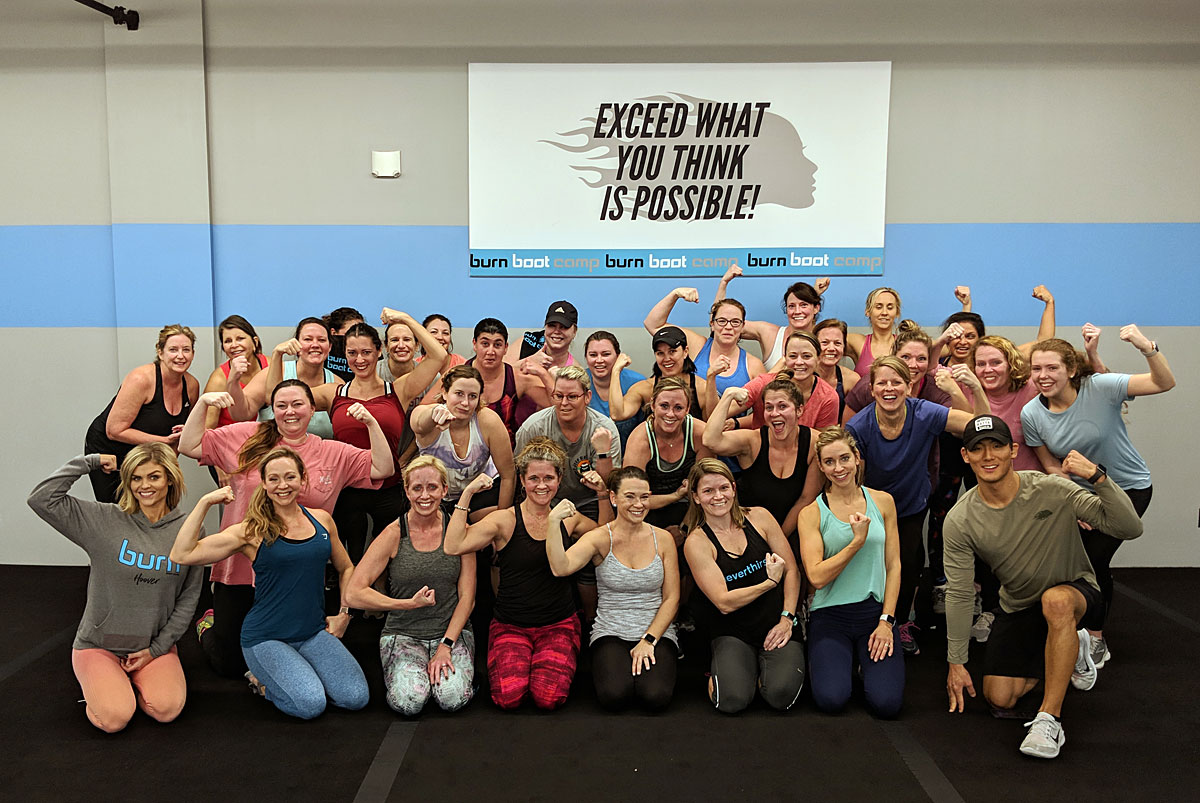
Burn Boot Camp Burn Ambassador
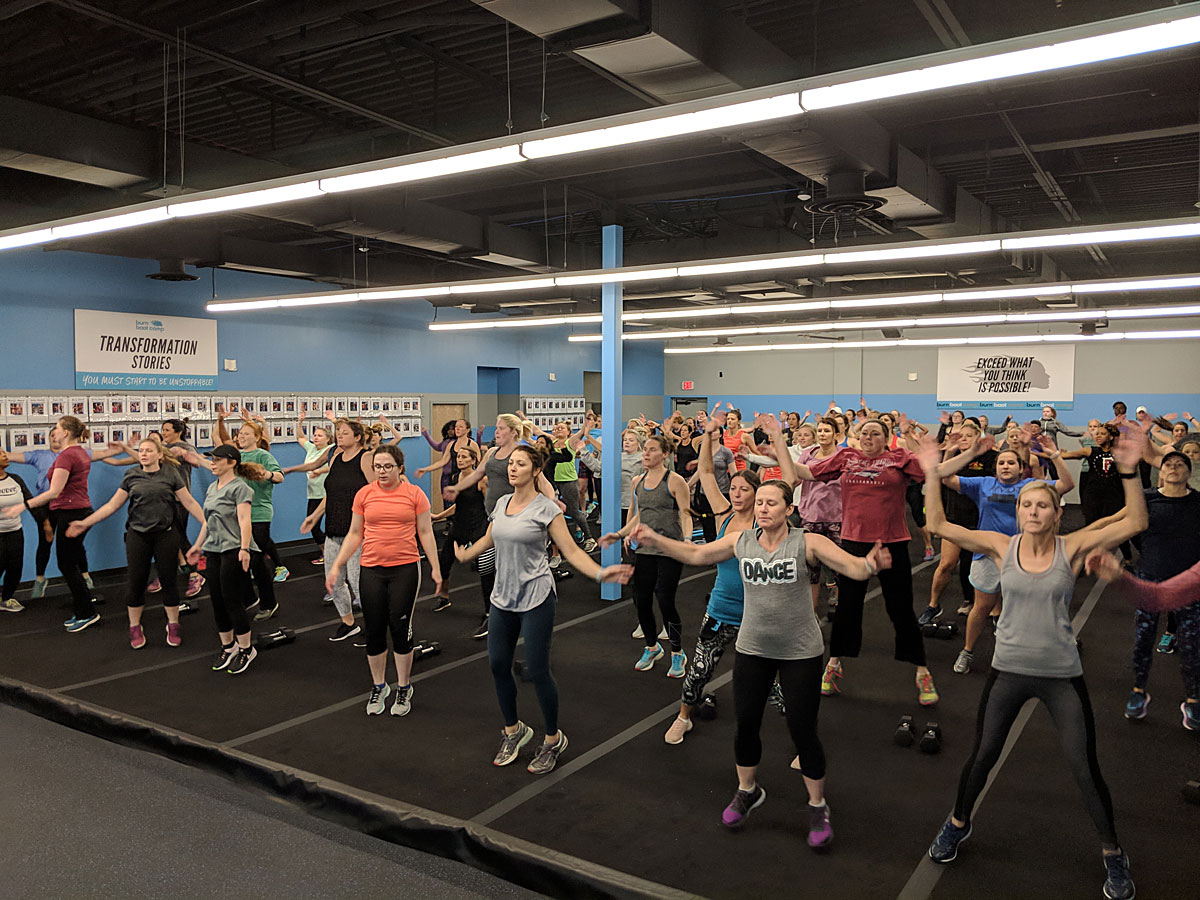
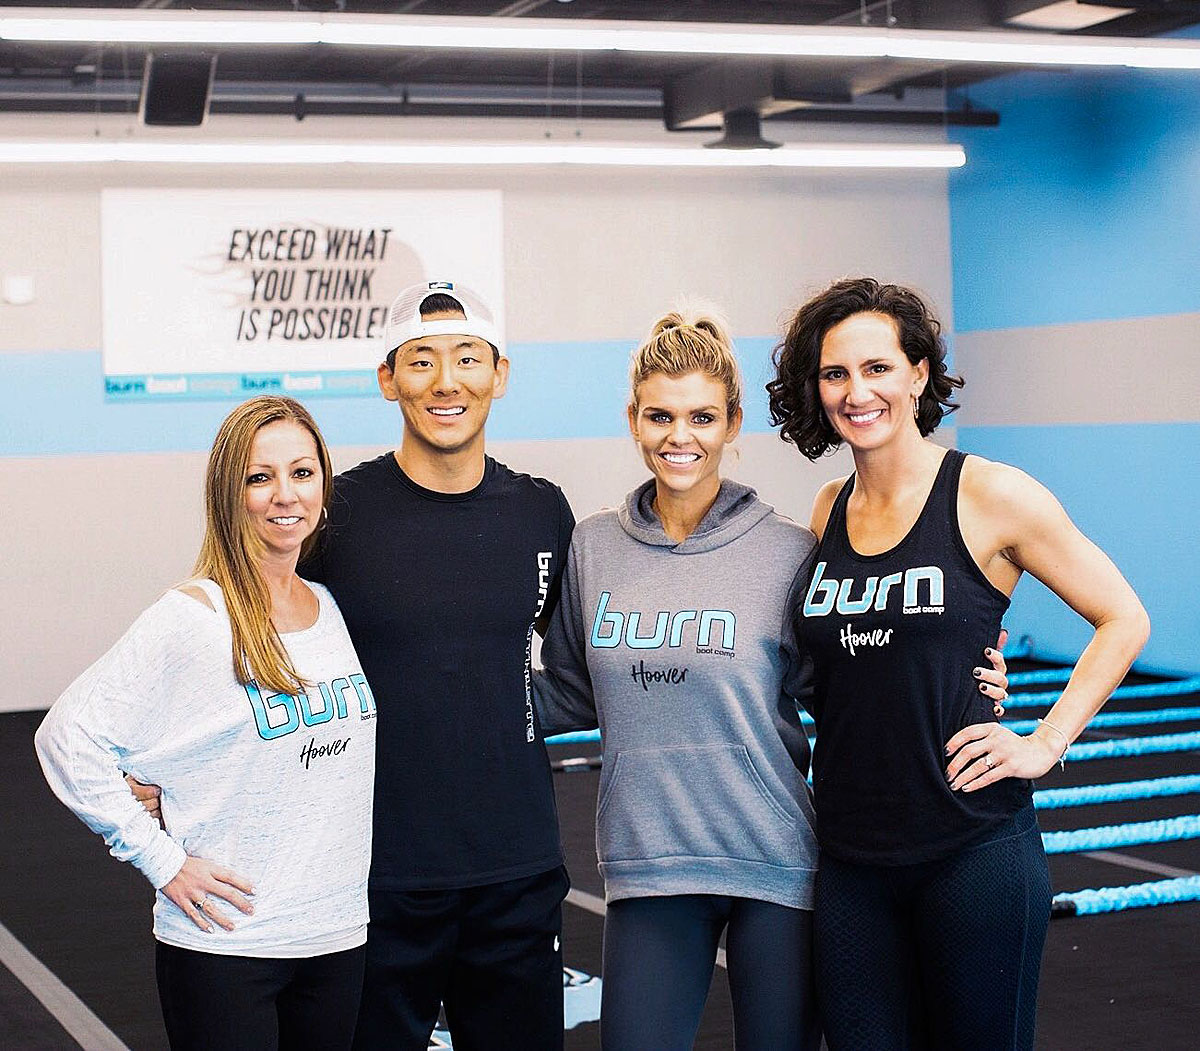
Back in August, my friend Magen introduced me to a gym that she'd be working for as a trainer in 2019 called Burn Boot Camp. It's a primarily all-women's gym that focuses on creating confidence, strength and community. I knew they'd be offering a 30-day free trial when they opened in Hoover after the new year, so I decided to sign up and support my friend.
In the meantime, I learned all about the company, the workouts, and the culture, and I became completely enamored with it.

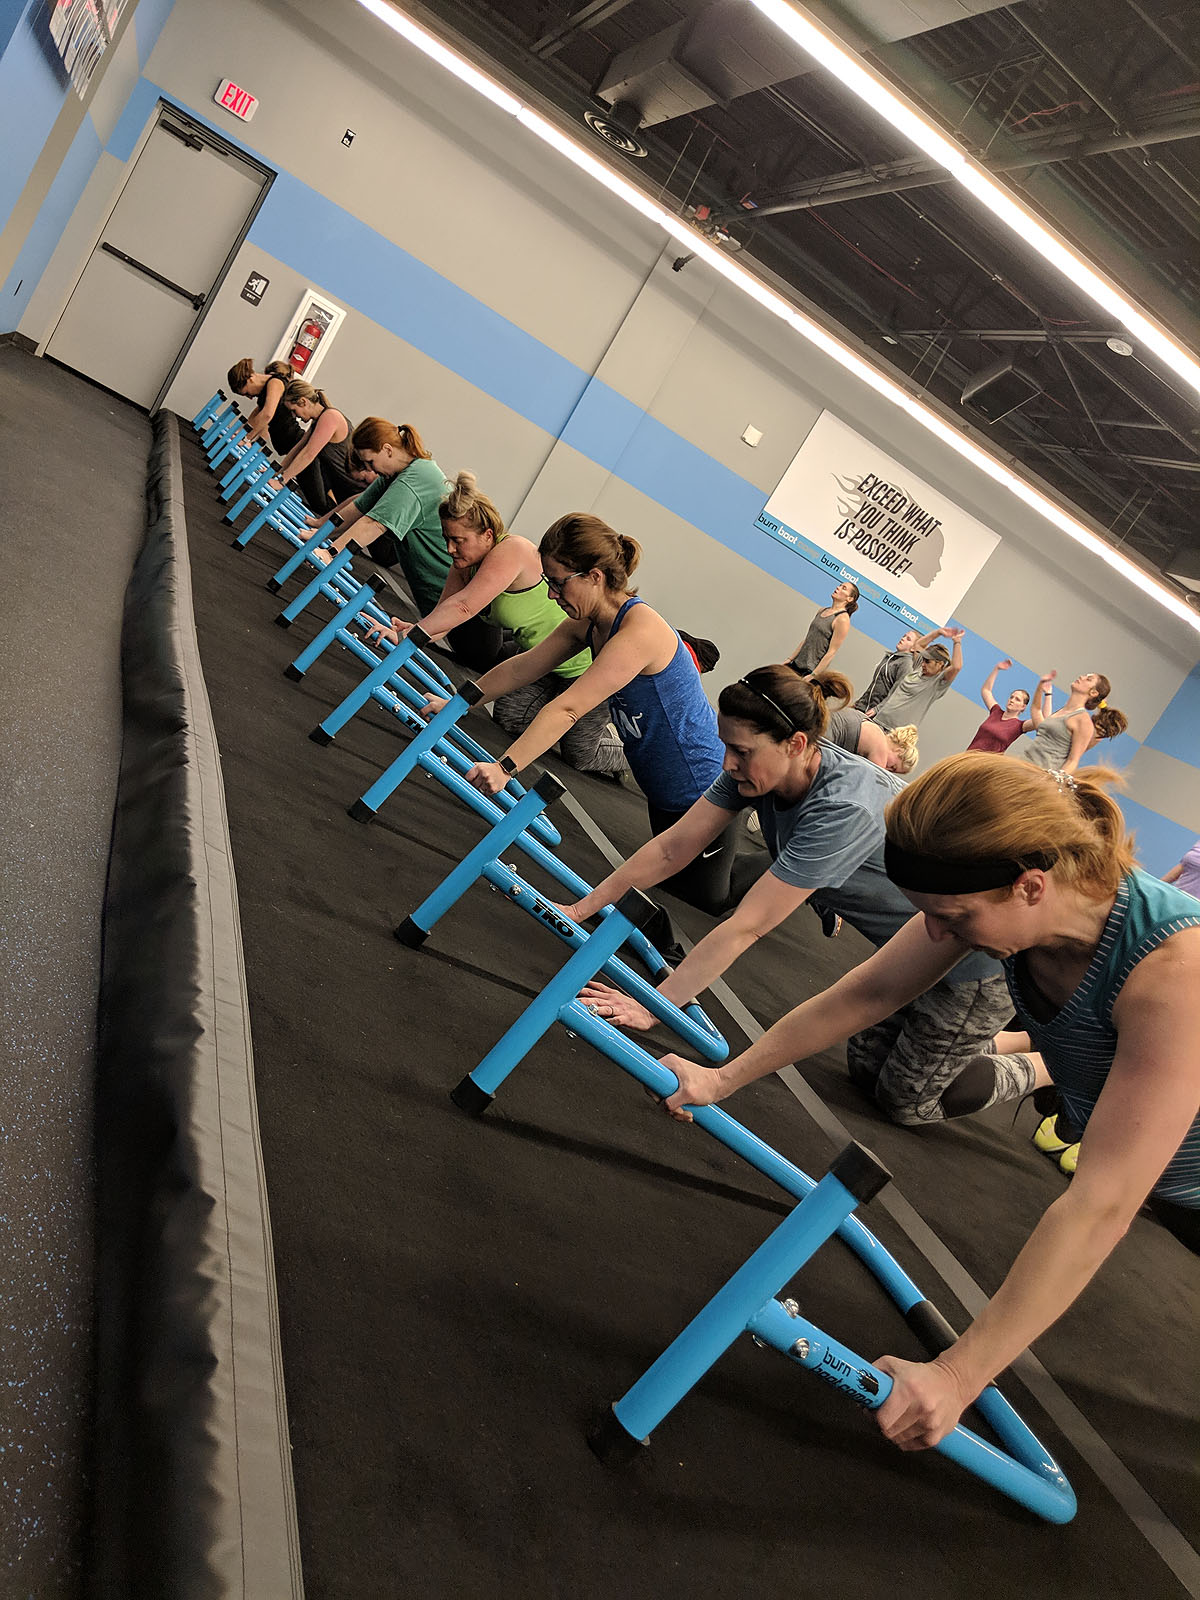
The workouts were fun, unique, fast-paced, perfect for any fitness level, and focused mostly on high intensity intervals, dumbbell weights, and bodyweight exercises – all things I’ve been doing and really enjoying for years.
What impressed me more than ANYTHING though, was the incredible community and encouragement and sisterhood that seemed to be connected to *every* Burn Boot Camp that I read or heard about. The culture is what got me. They’re about being the best YOU from the inside out. Not just in terms of fitness and nutrition, but mentally, emotionally, and socially. They understand that you can’t serve your family, friends and community well if you aren’t at your best. And they do everything they can to support and encourage and push you toward doing just that.
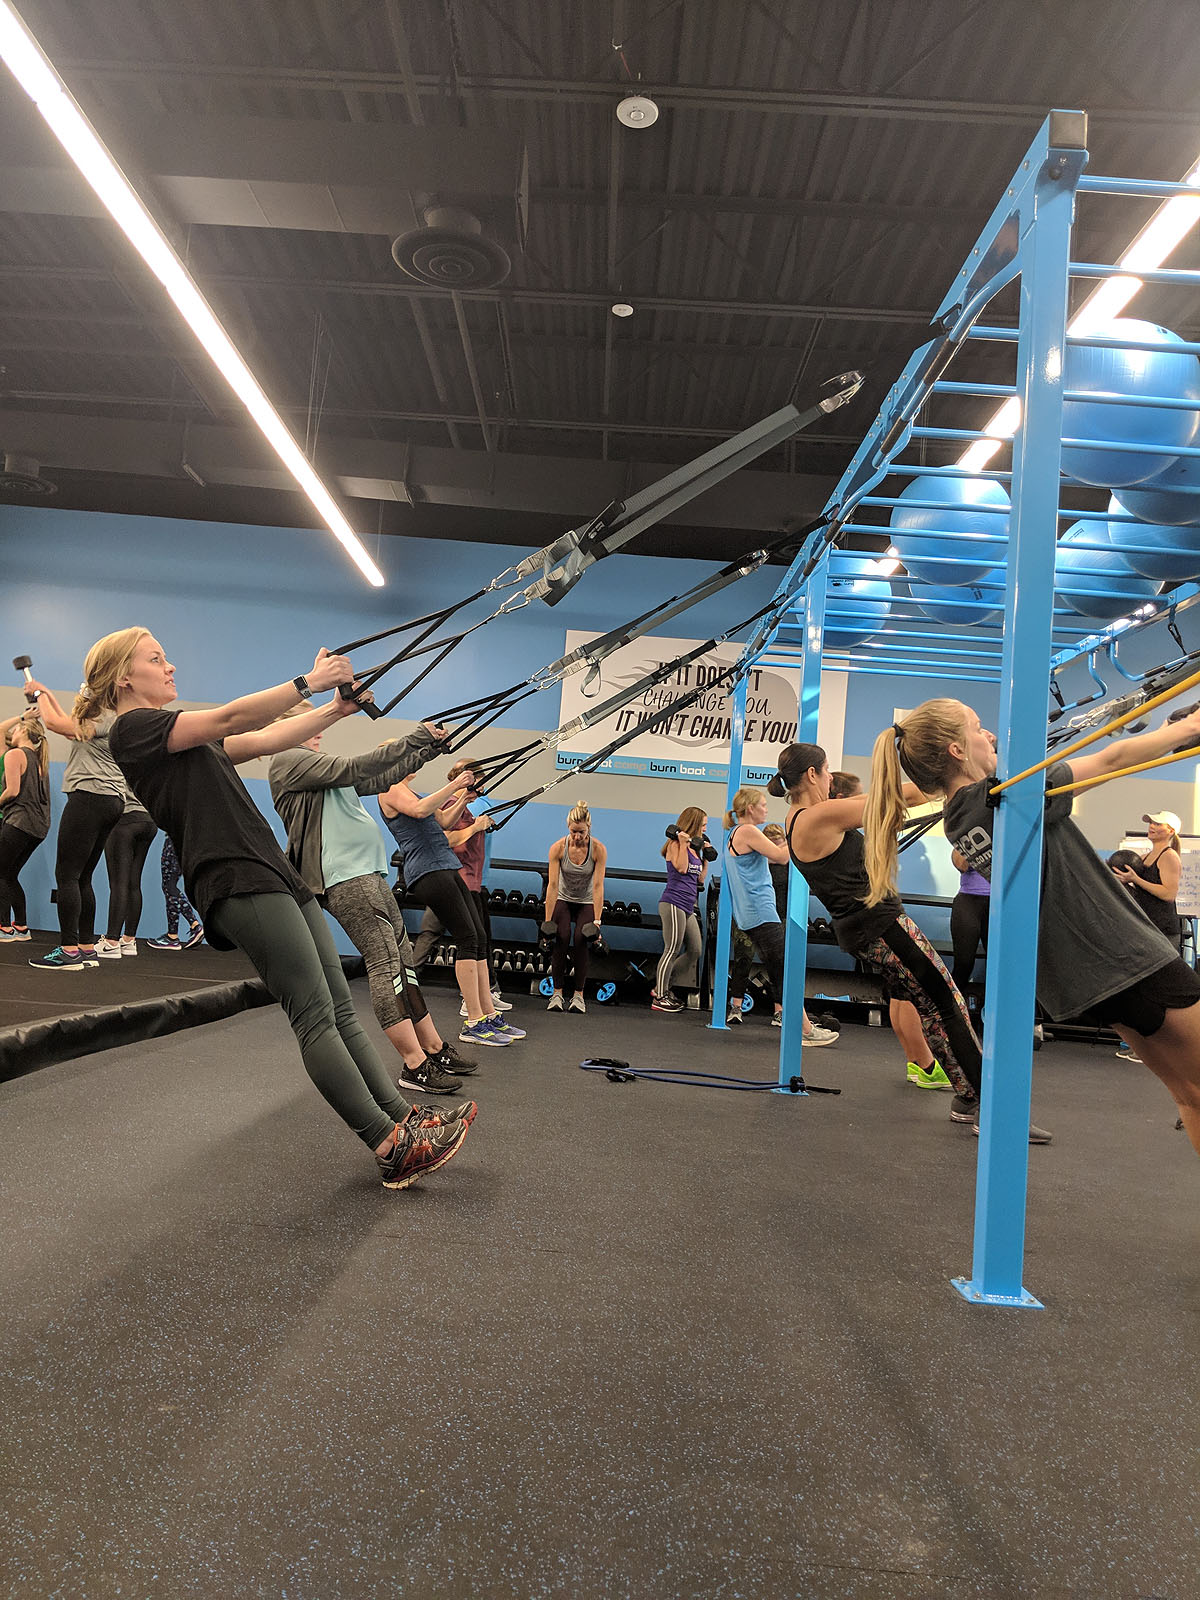
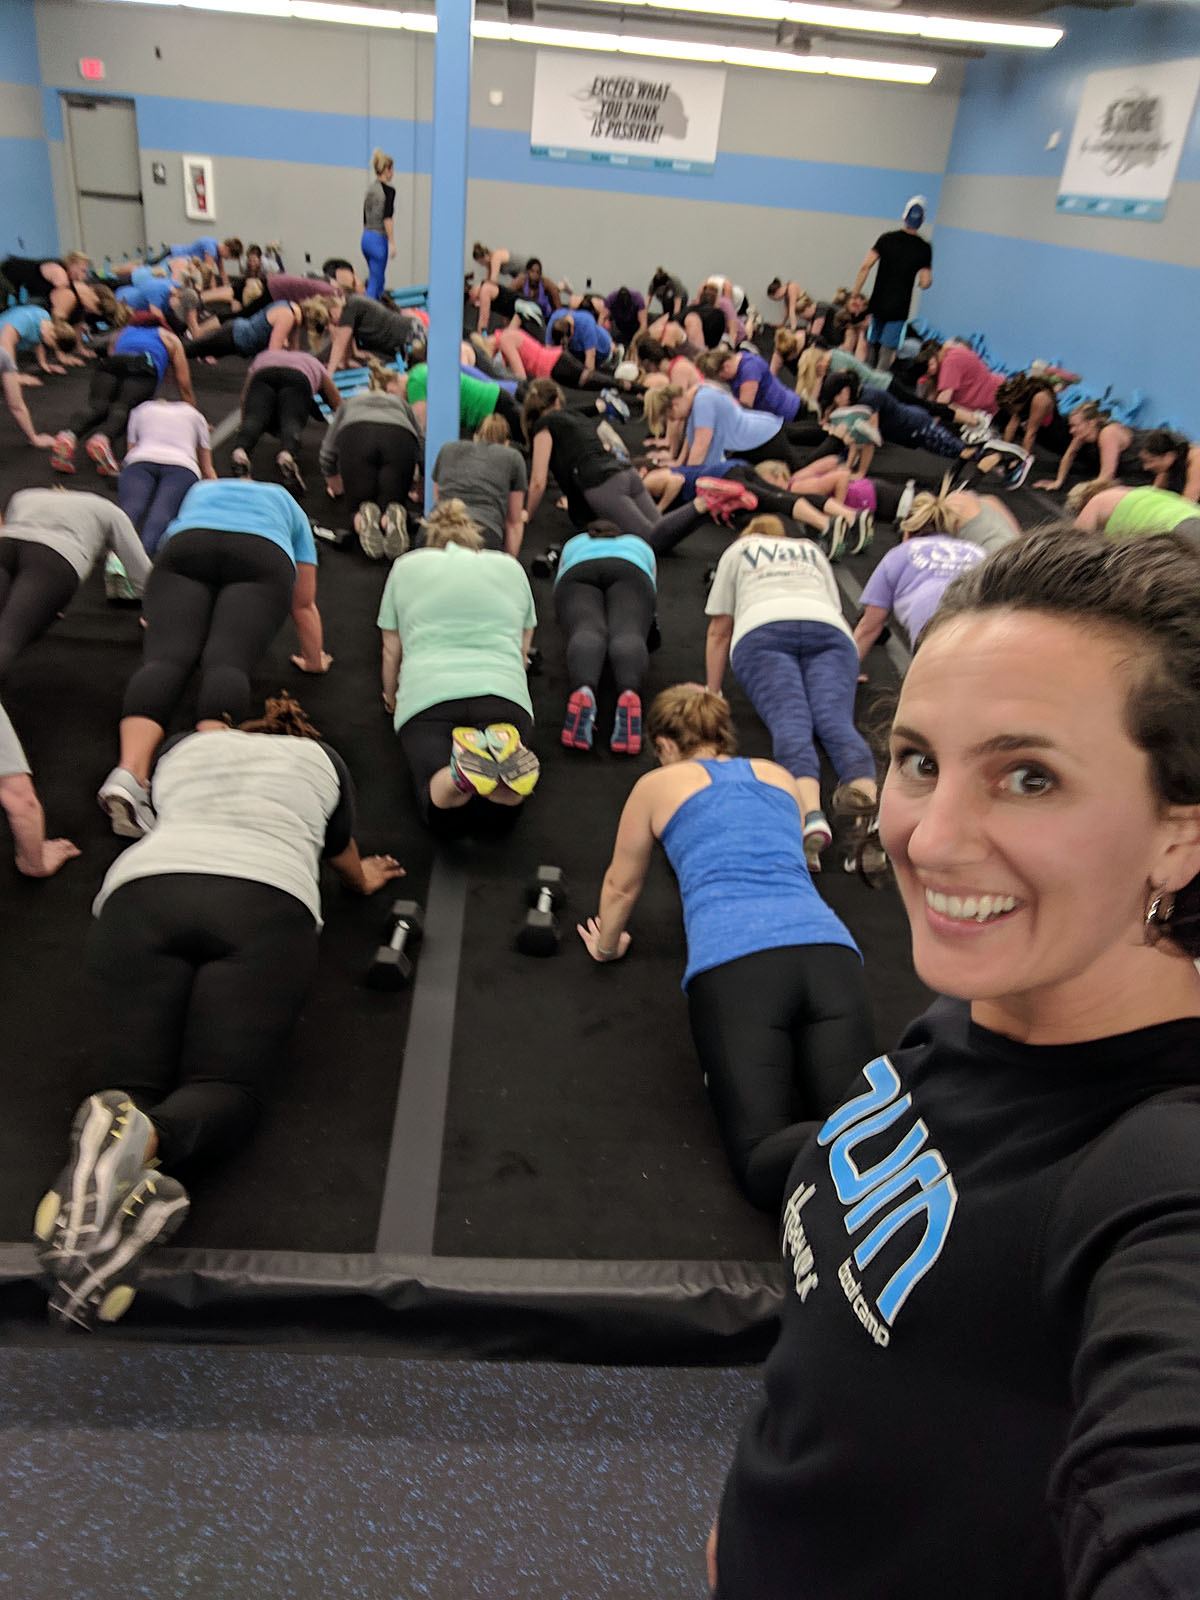
I would leave the Pop Up camps that they offered leading up to their grand opening on a euphoric high after spending 45 minutes sweating with perfect strangers who immediately felt like friends. The trainers know your name. They encourage you to meet the other ladies in your camp. You work as a team. You encourage each other. And there are LOTS and LOTS of high fives given all around.
As much as I love my at-home workouts, I can’t get that social environment just doing my own thing.
I got lucky and won a 3-month membership in one of the Hoover location’s promotions over the holidays and was THRILLED to get to spend a little more time in 2019 doing something that got me so excited! But the doors hadn’t even OPENED, before I had told everyone I knew about how excited I was about giving this new gym a try. I even joked to Ben that being a Burn Ambassador (basically a front desk/social media/promotions position) would be a perfect job for me.
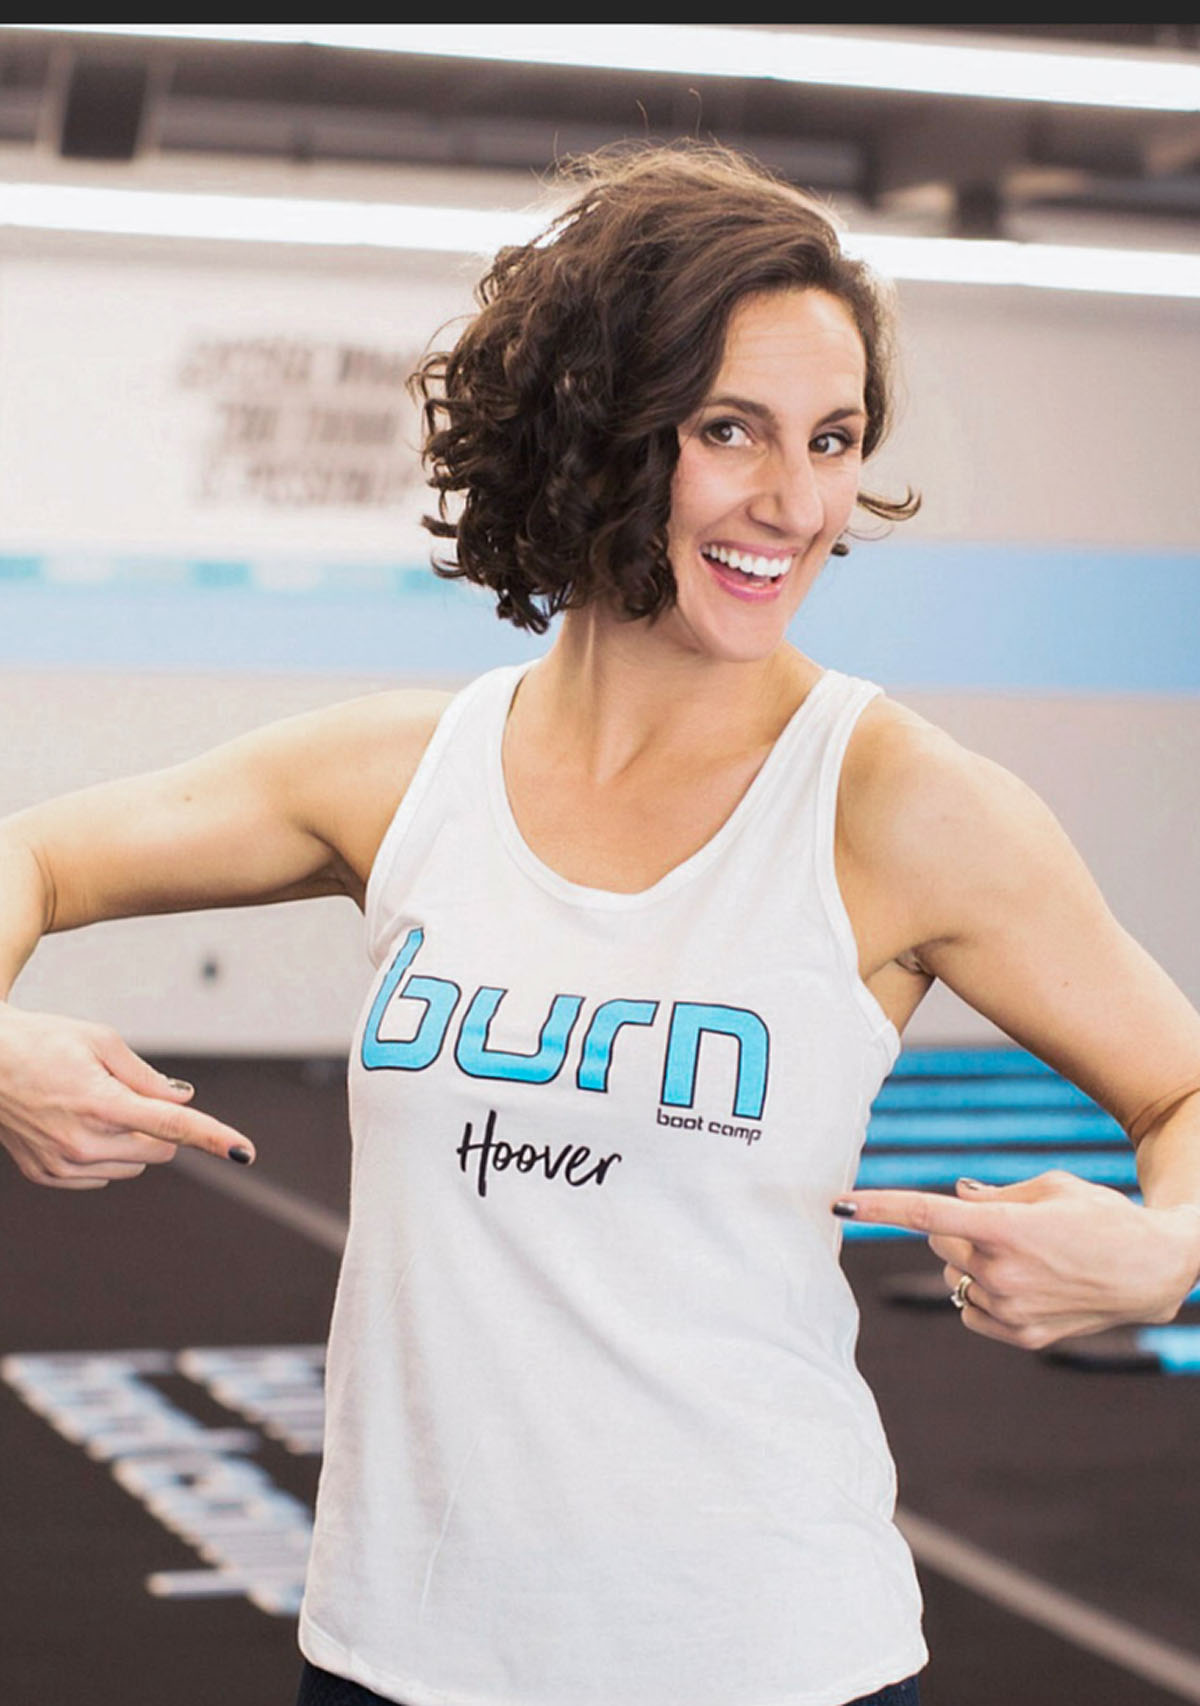
Within two days (without me having asked about it), Magen told me that the Head Trainer thought I’d be a great Burn Ambassador. She was just being nice and complimentary--She didn’t realize I’d actually want to DO it! But my response was – if there’s a position available, I might want it! It turns out there *was* a position--and they asked me to do it.
Apparently working out for free for three months wasn’t enough for me. I couldn’t just enjoy it for myself, I wanted to champion it! I wanted to make it the experience I was so excited about for everyone ELSE who was giving it a try too.
So...sometimes you have to just trust your gut and jump into something that makes you giddy with excitement, even if it doesn't make sense on paper.
I’ve been in a bit of a rut work-wise and knew I could use something new to get excited about--not to replace my Signs By Andrea work (because, while being a Burn Ambassador is fun, it’s definitely not going to make me rich), but to give my brain a new exercise in creativity. It'll be part-time and kind of a "hobby job" for me, but definitely a fun thing to add to my work experience (kind of like those Maurices days).
This past week was the Hoover, AL location's Grand Opening week. And WOW! Not only have the last 5 days of workouts been fantastic, but I have had the opportunity to work with, meet, encourage, and get to know a TON of women in our city--not to mention seeing so many of my *already-friends* on a daily basis!!! There's something about sweating and working side by side that creates instant bonding. Evidently that makes us "Burn Sisters" now.
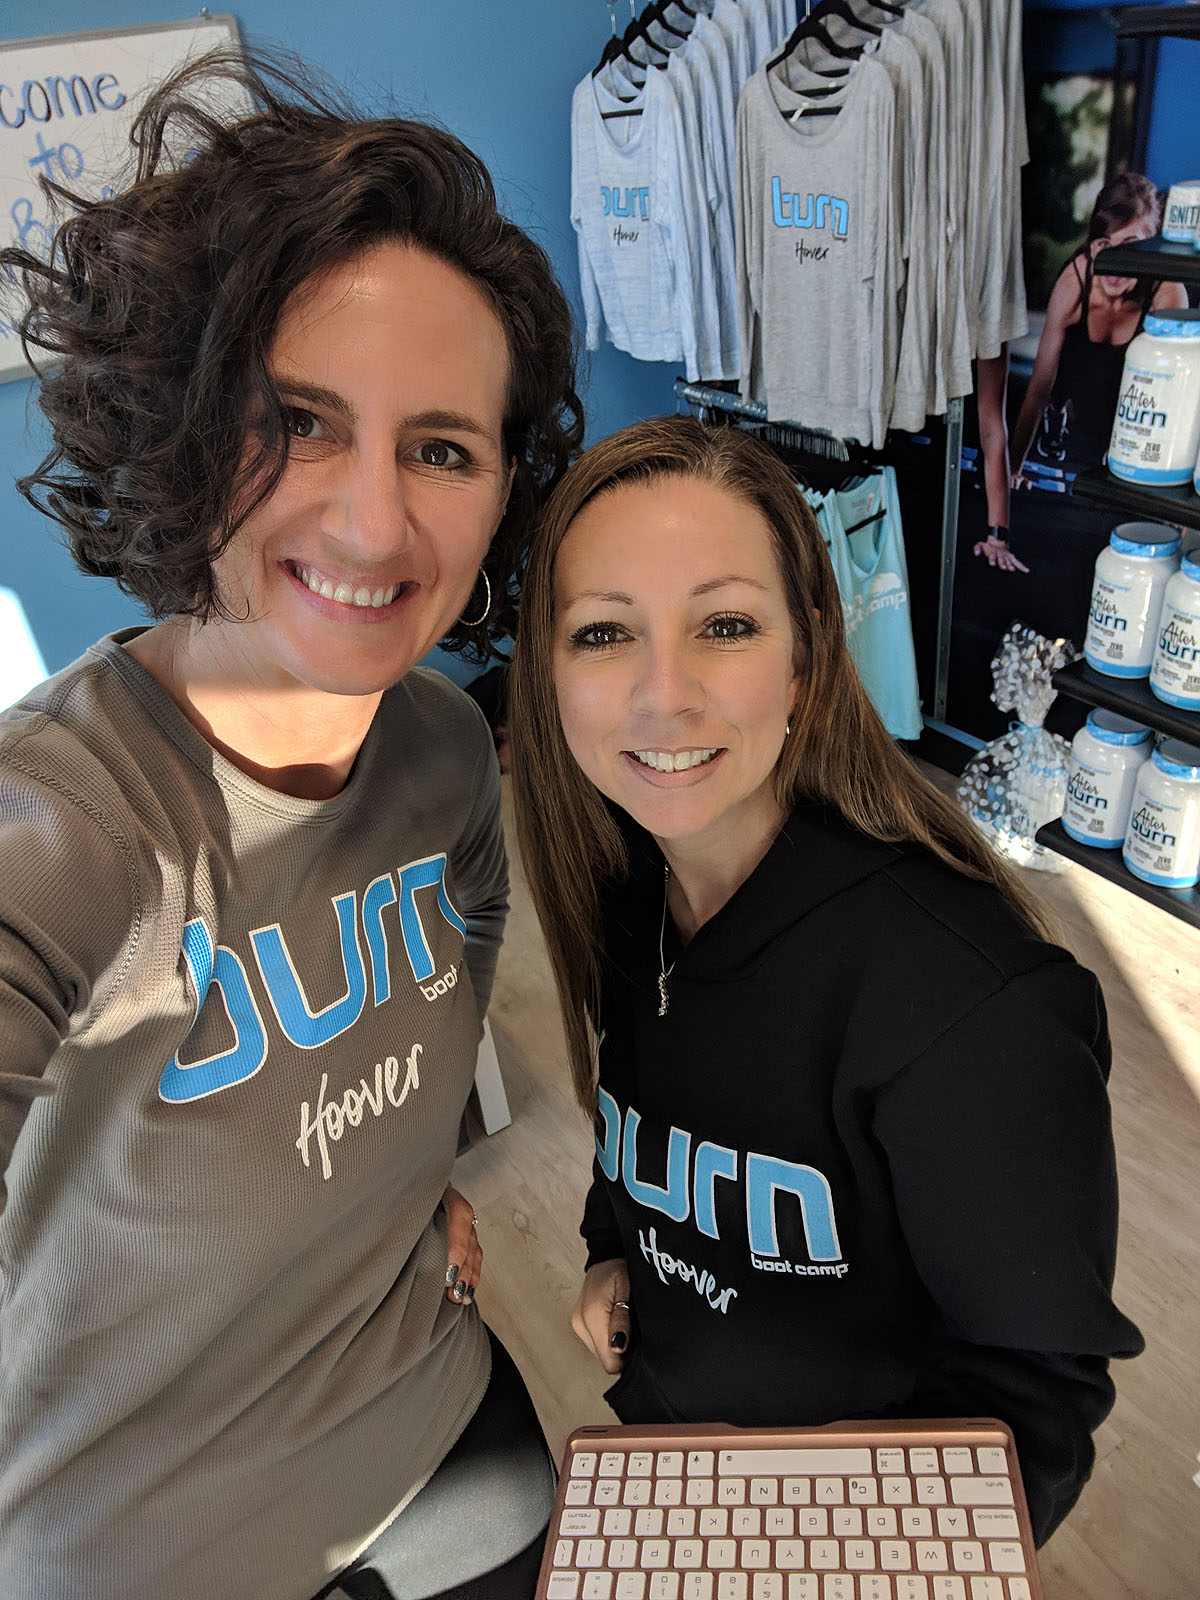
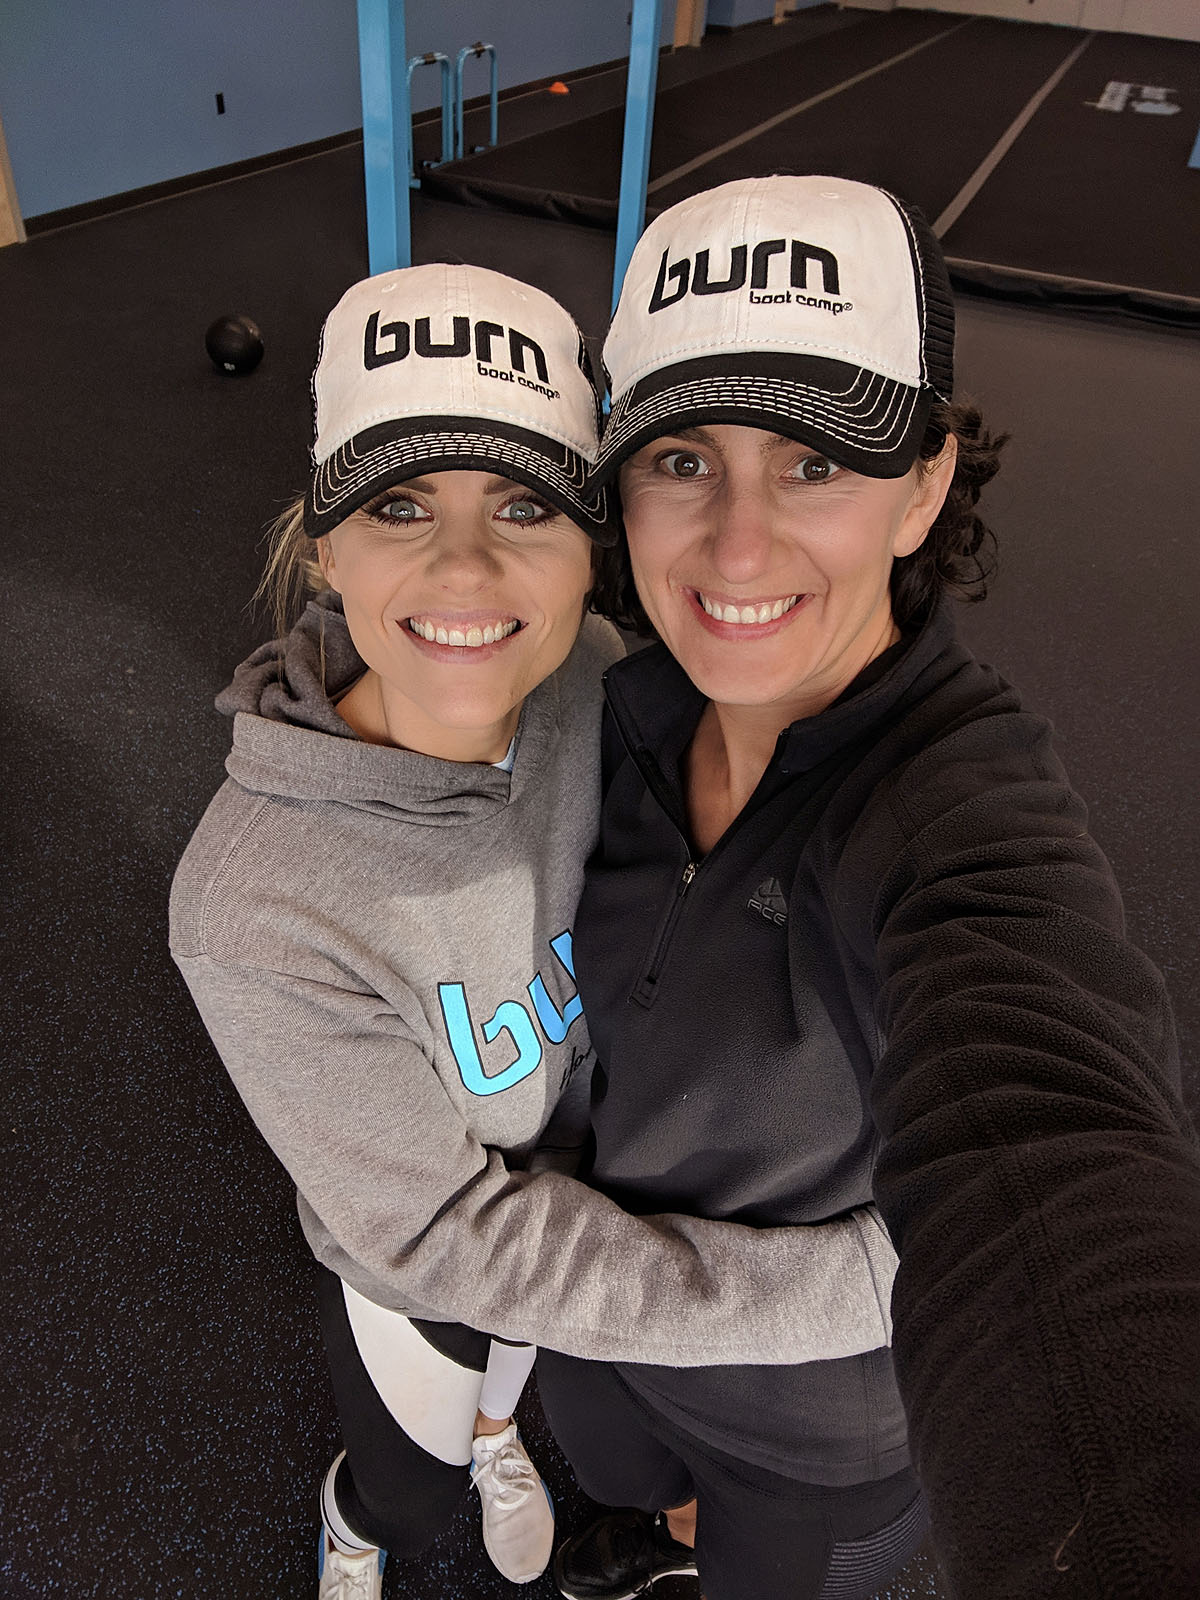
And working alongside one of my best friends is a pretty great perk too. :)
If there's a Burn Boot Camp near you, try it. You won't regret it. It's unlike anything I've seen and I'm excited to be a part of it.
Happy Holidays 2018 - From the Steeds
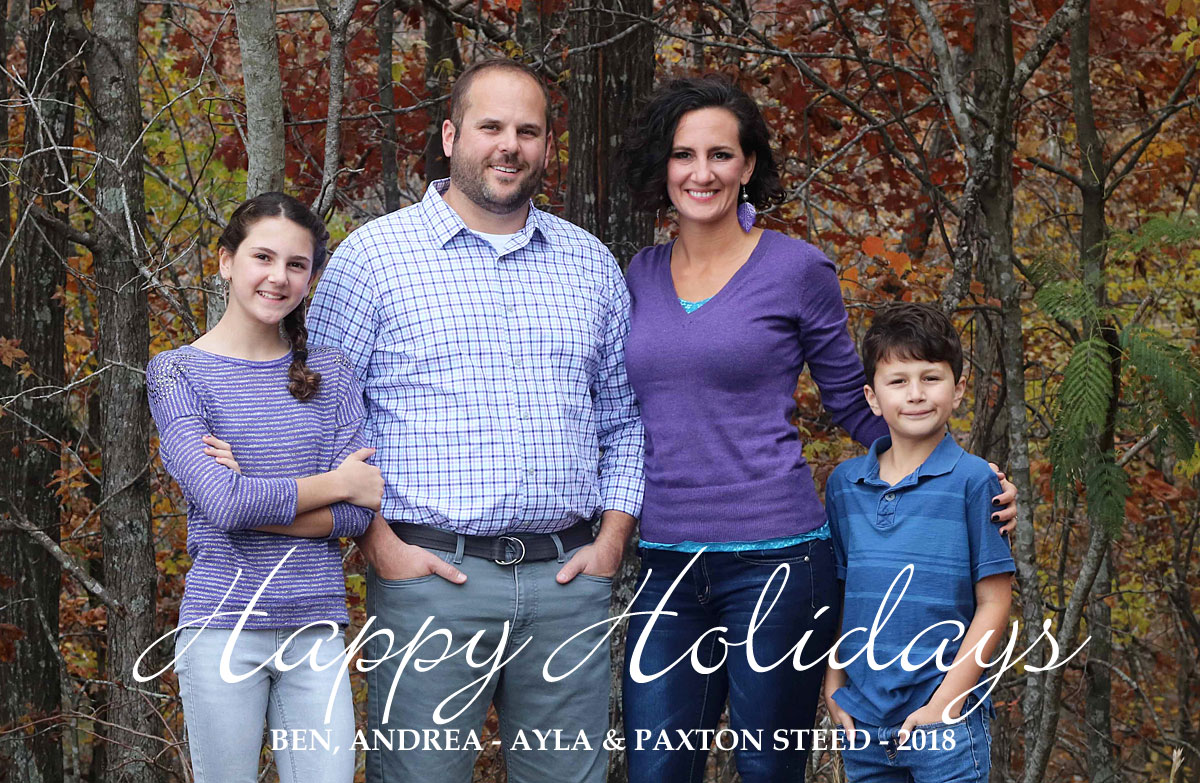
Here's a quick look at our 2018 in a non-sensical minute:
(you'll need to log in to see each post)
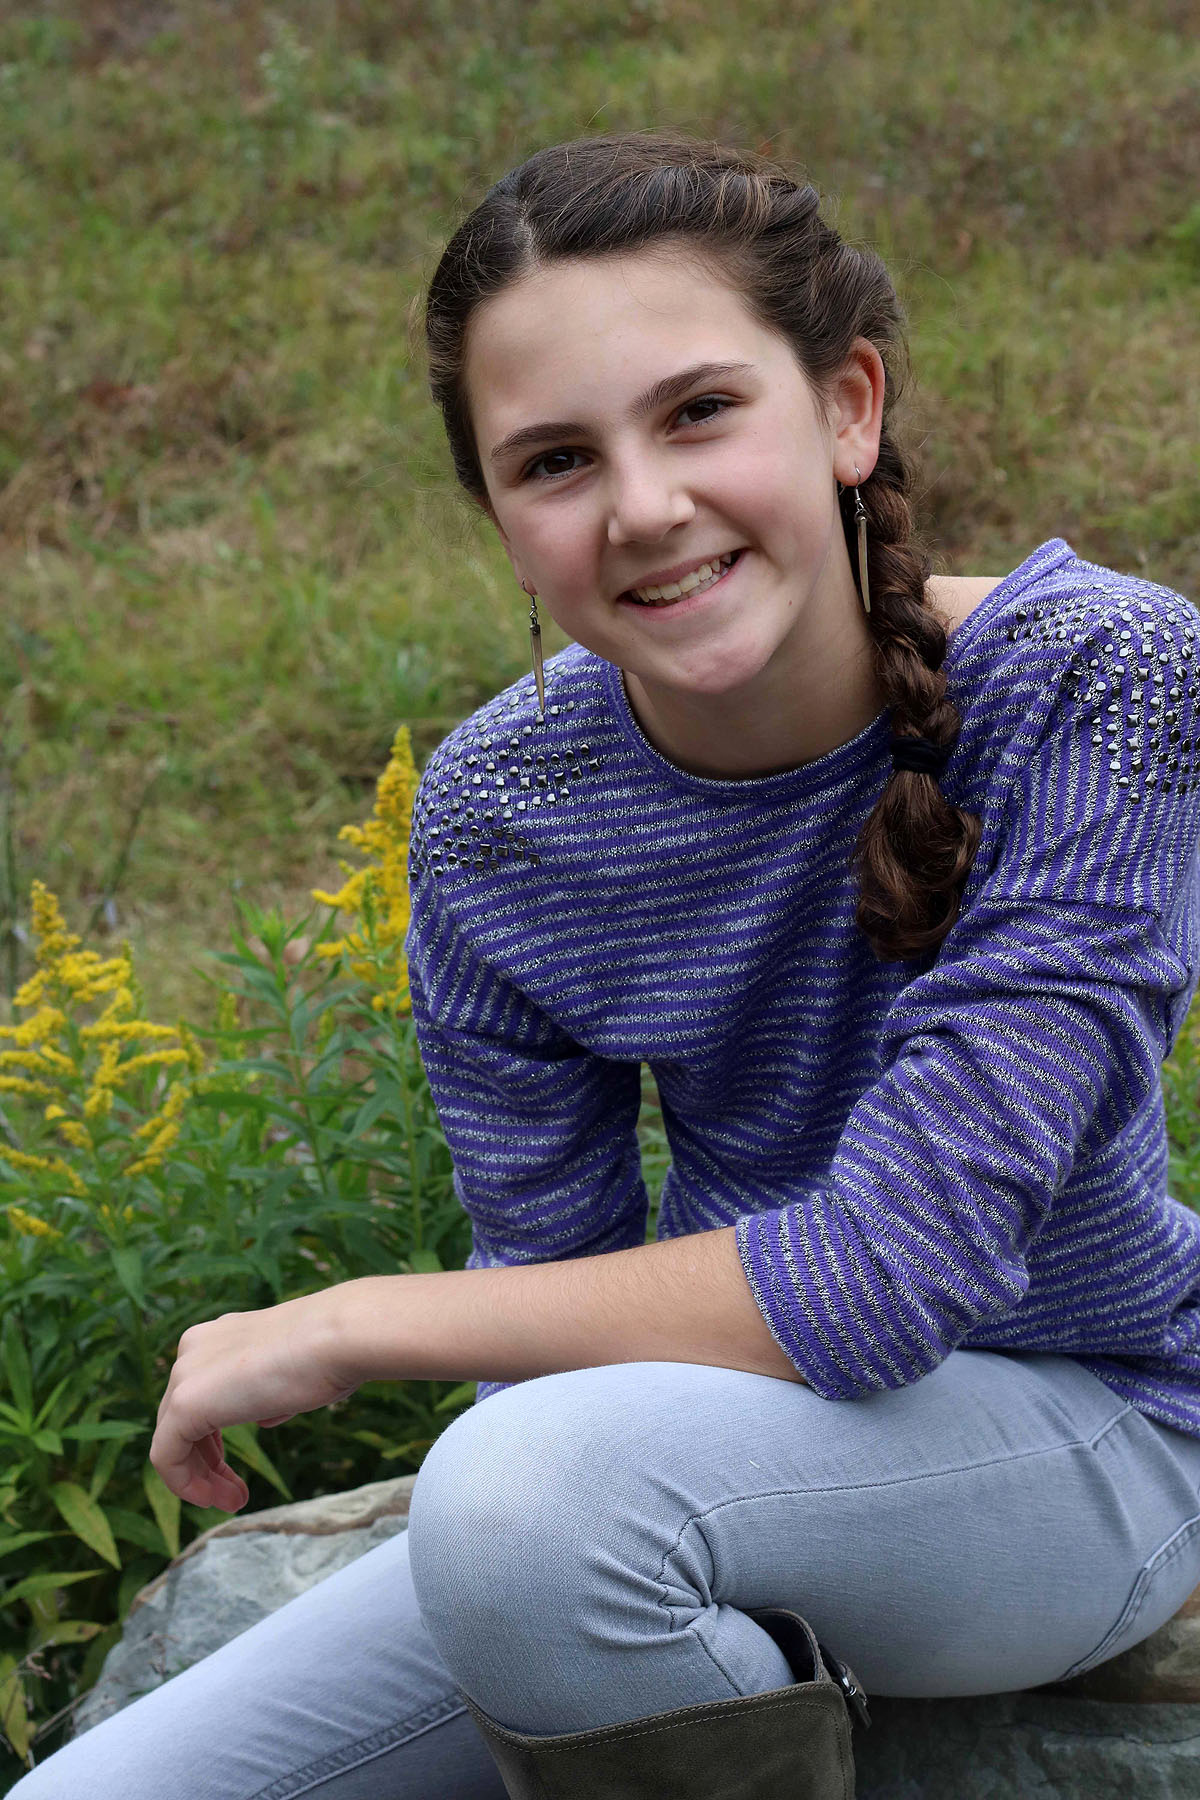
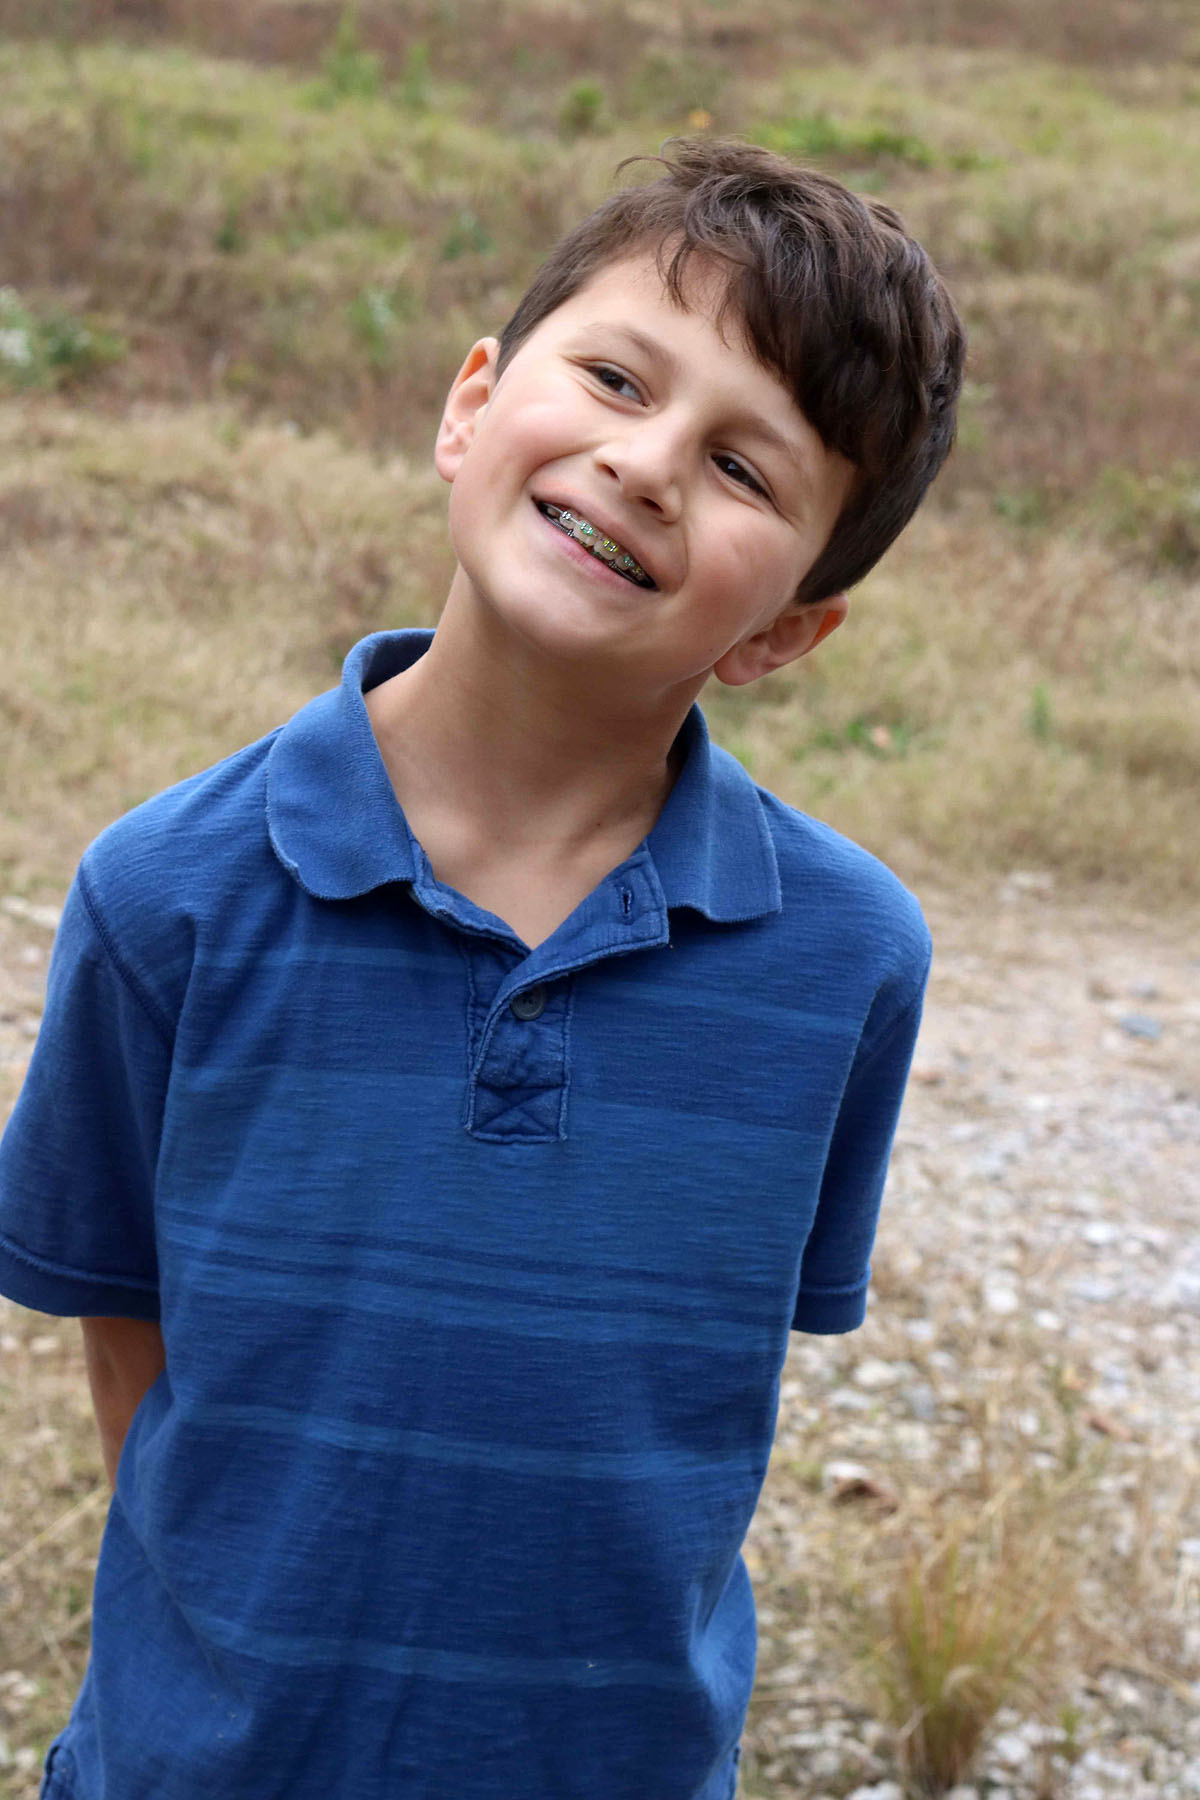
He got braces, we skated, we retreated and vacationed. She made the team while he tickled the keys, but Graves had me grounded while he made the meat. We said goodbye to Perkins and welcomed some kittens. We traveled a little to visit our family, started new school years, and chopped off lots of hair. We worked and we played, sometimes in costumes, and she got to go to the Capital City! And wouldn't you know it, 40 came fast, and no one's surprised we like it best on the ocean!
2018 has not been quite what we hoped it would be. While there were certainly plenty of good times sprinkled in there, it ended up being a year threaded with emotional and physical hardship in many areas of our lives and in the lives of the people closest to us. Looking back, that sounds much more dramatic than it probably is, so don't get too concerned, we're doing just fine!
So, while there were more downs that we would have liked, it made us appreciate the highs more than ever. And through it all, we learned some lessons, experienced a lot of growth, and matured a little more along the road.
We're thankful to God for taking care of us in the good times and the bad, and for the friends and family that enrich our lives everyday with their presense. We're looking forward to 2019 as a little older, a little wiser, and hopefully a little stronger too.
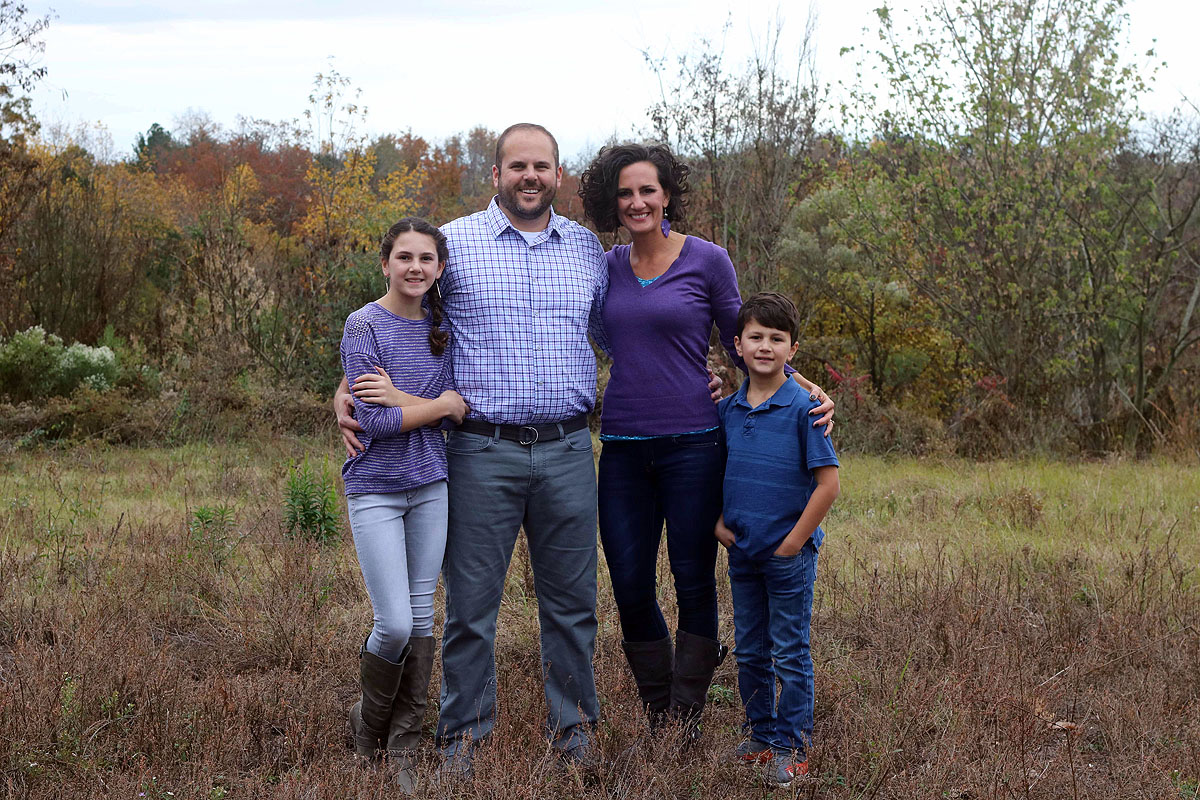
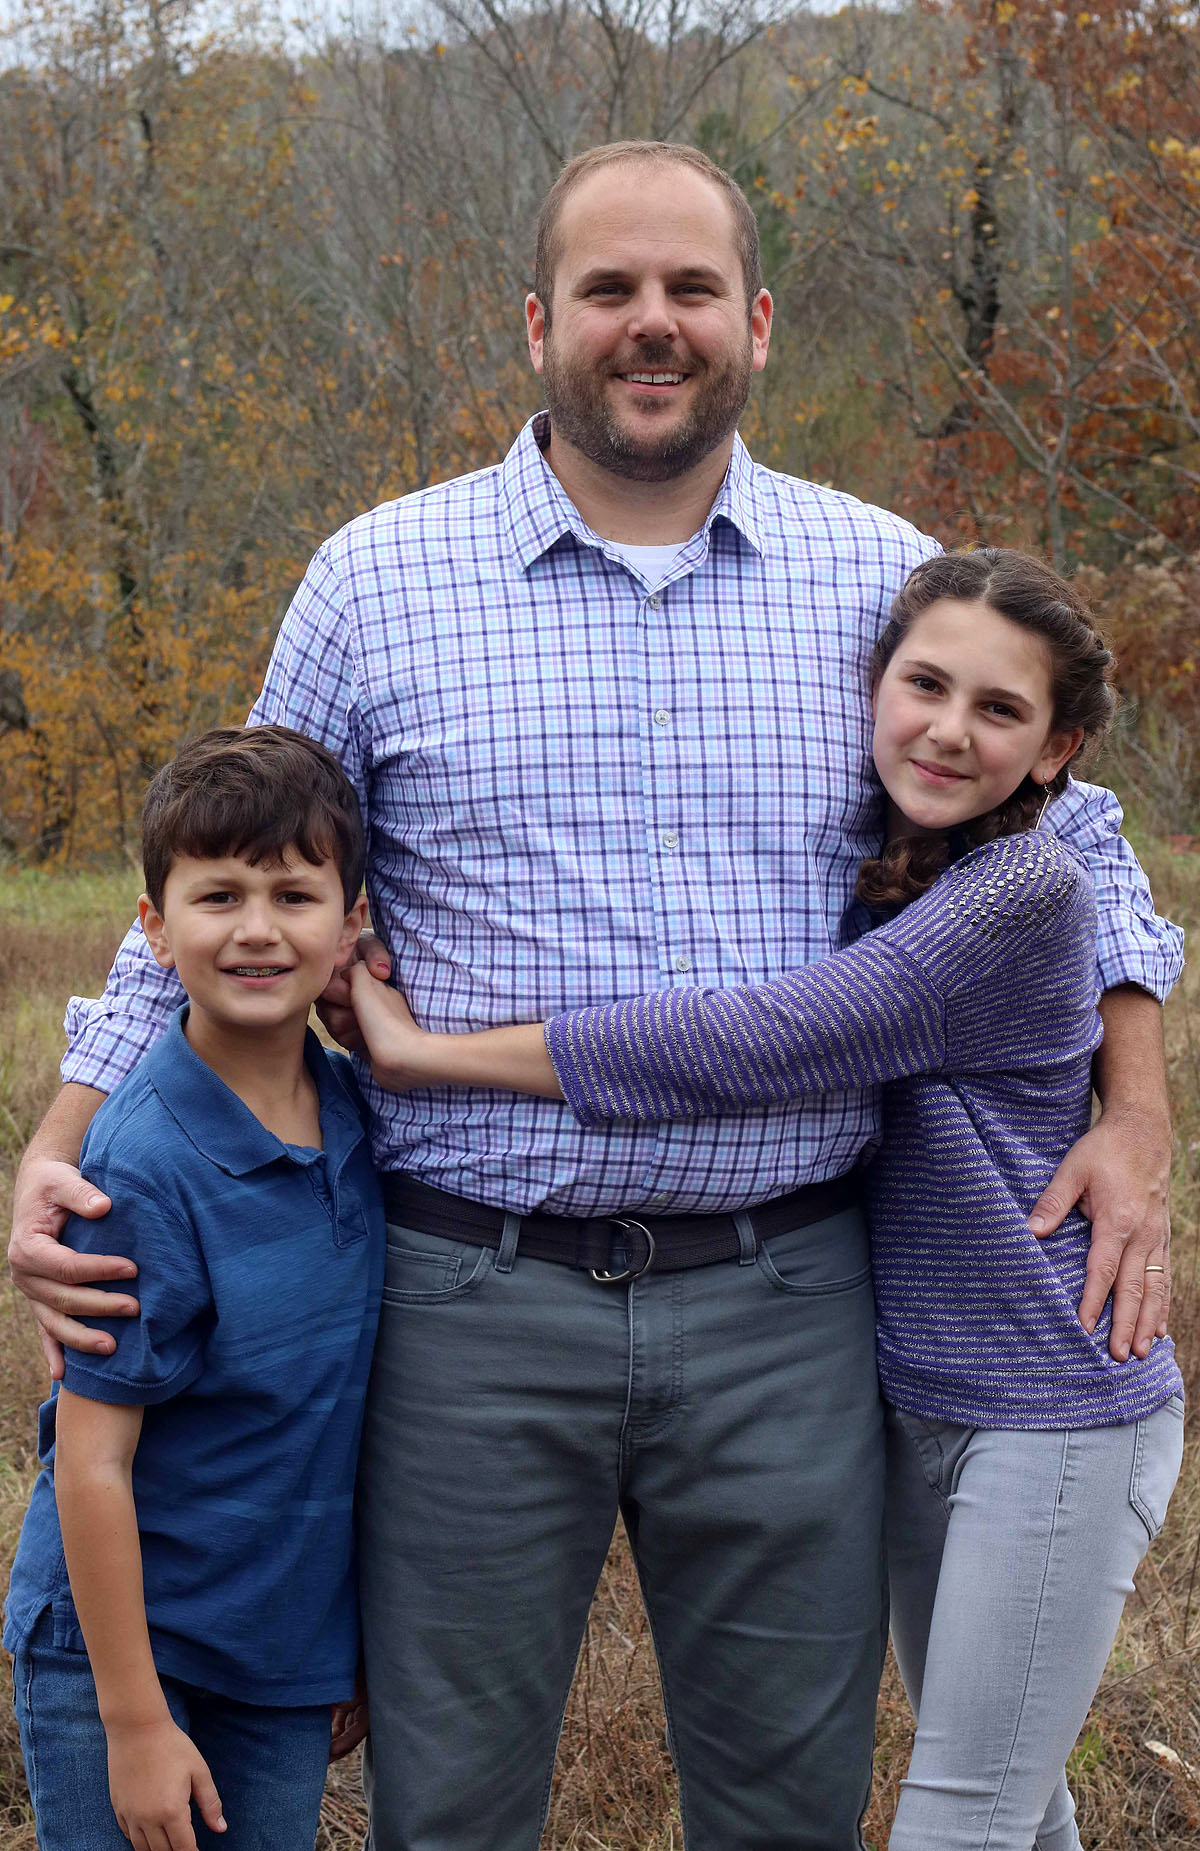
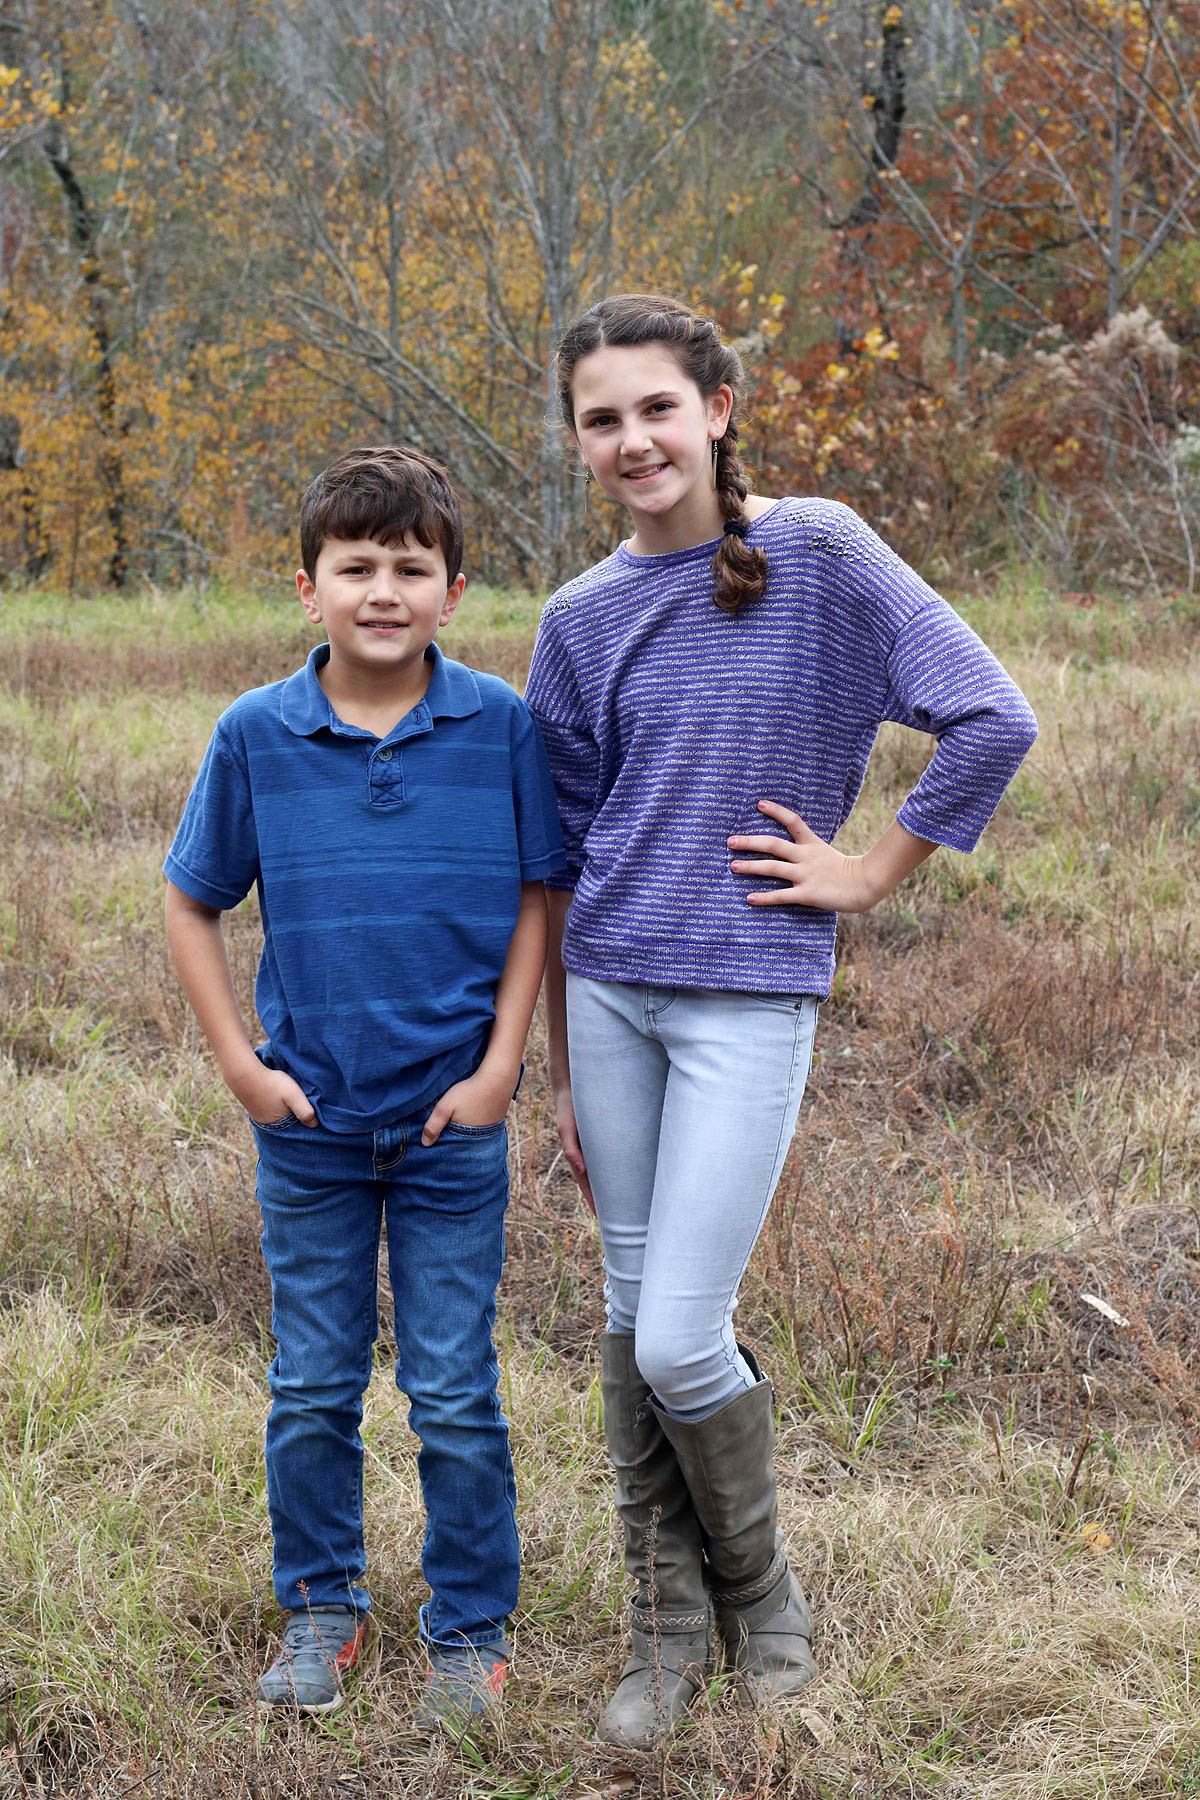
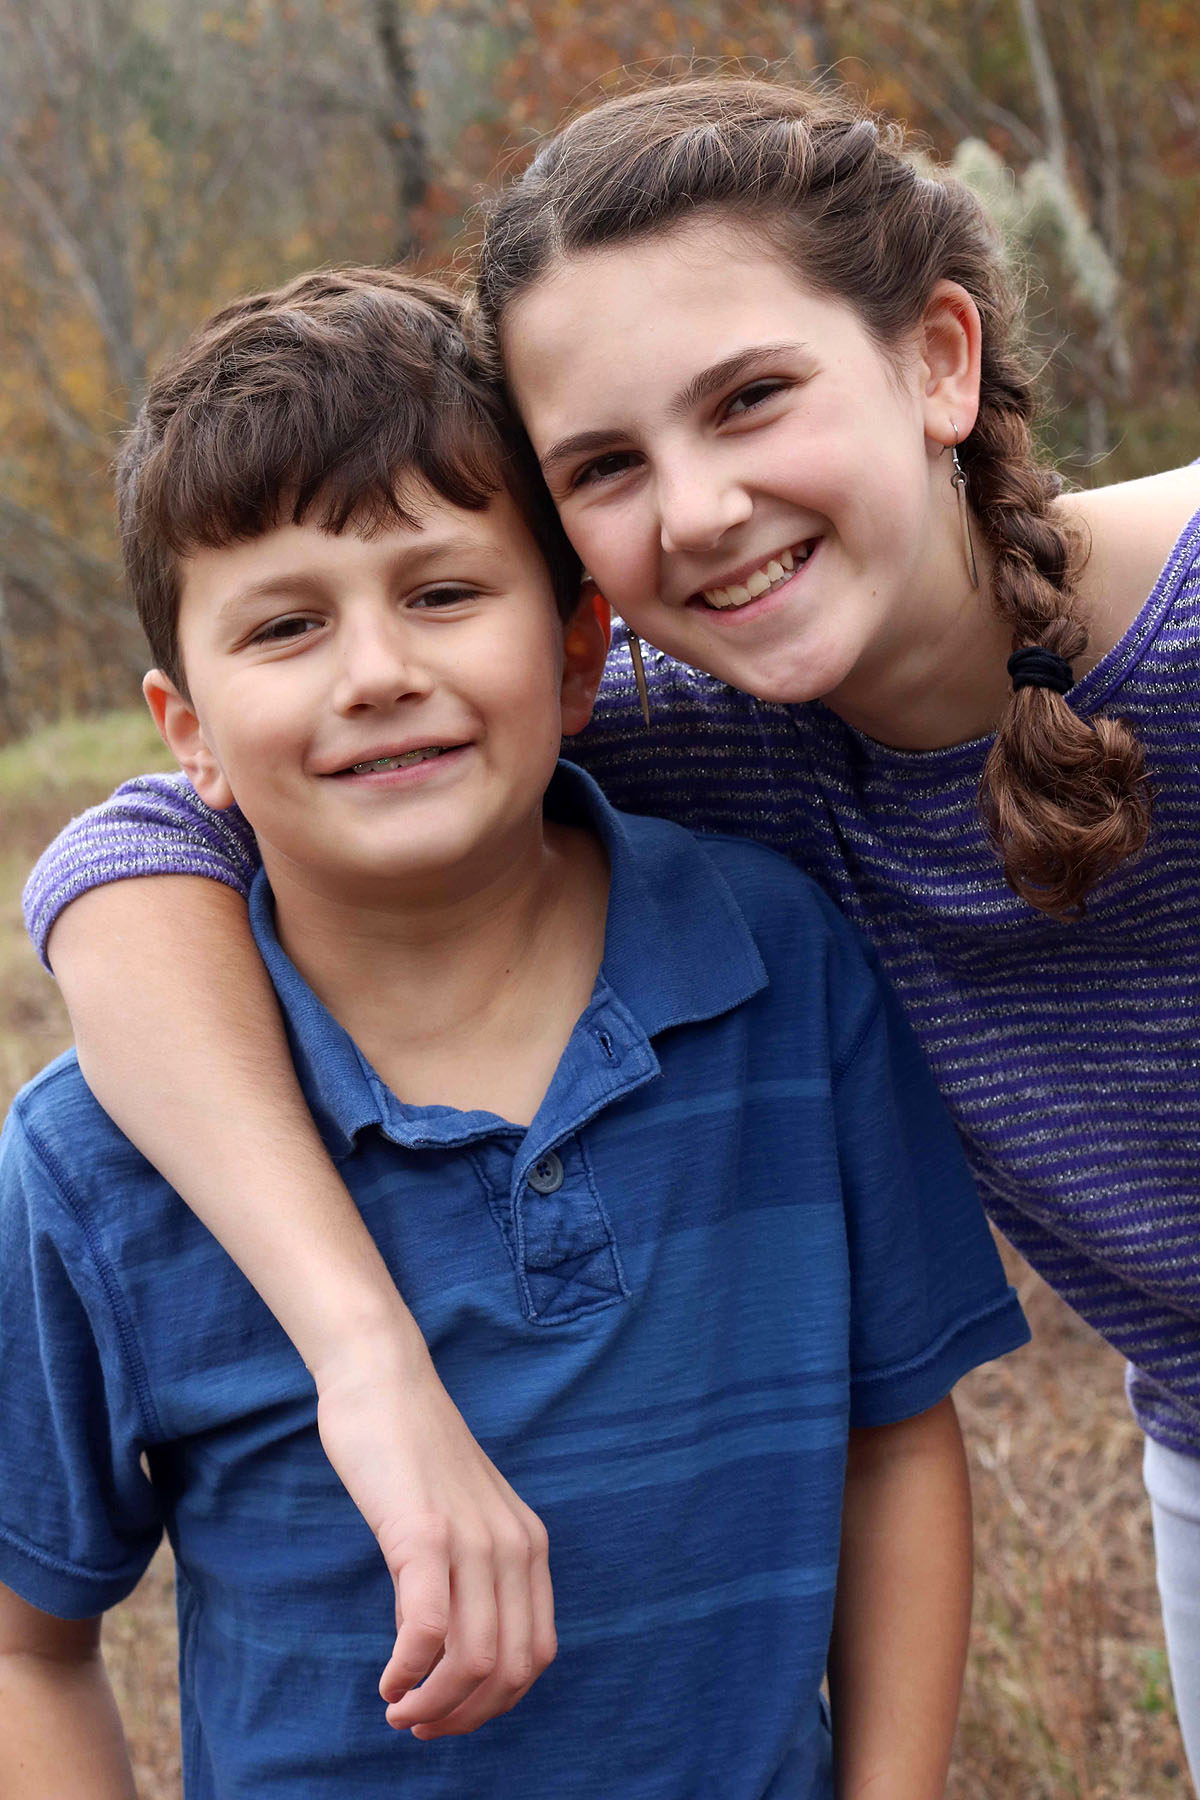
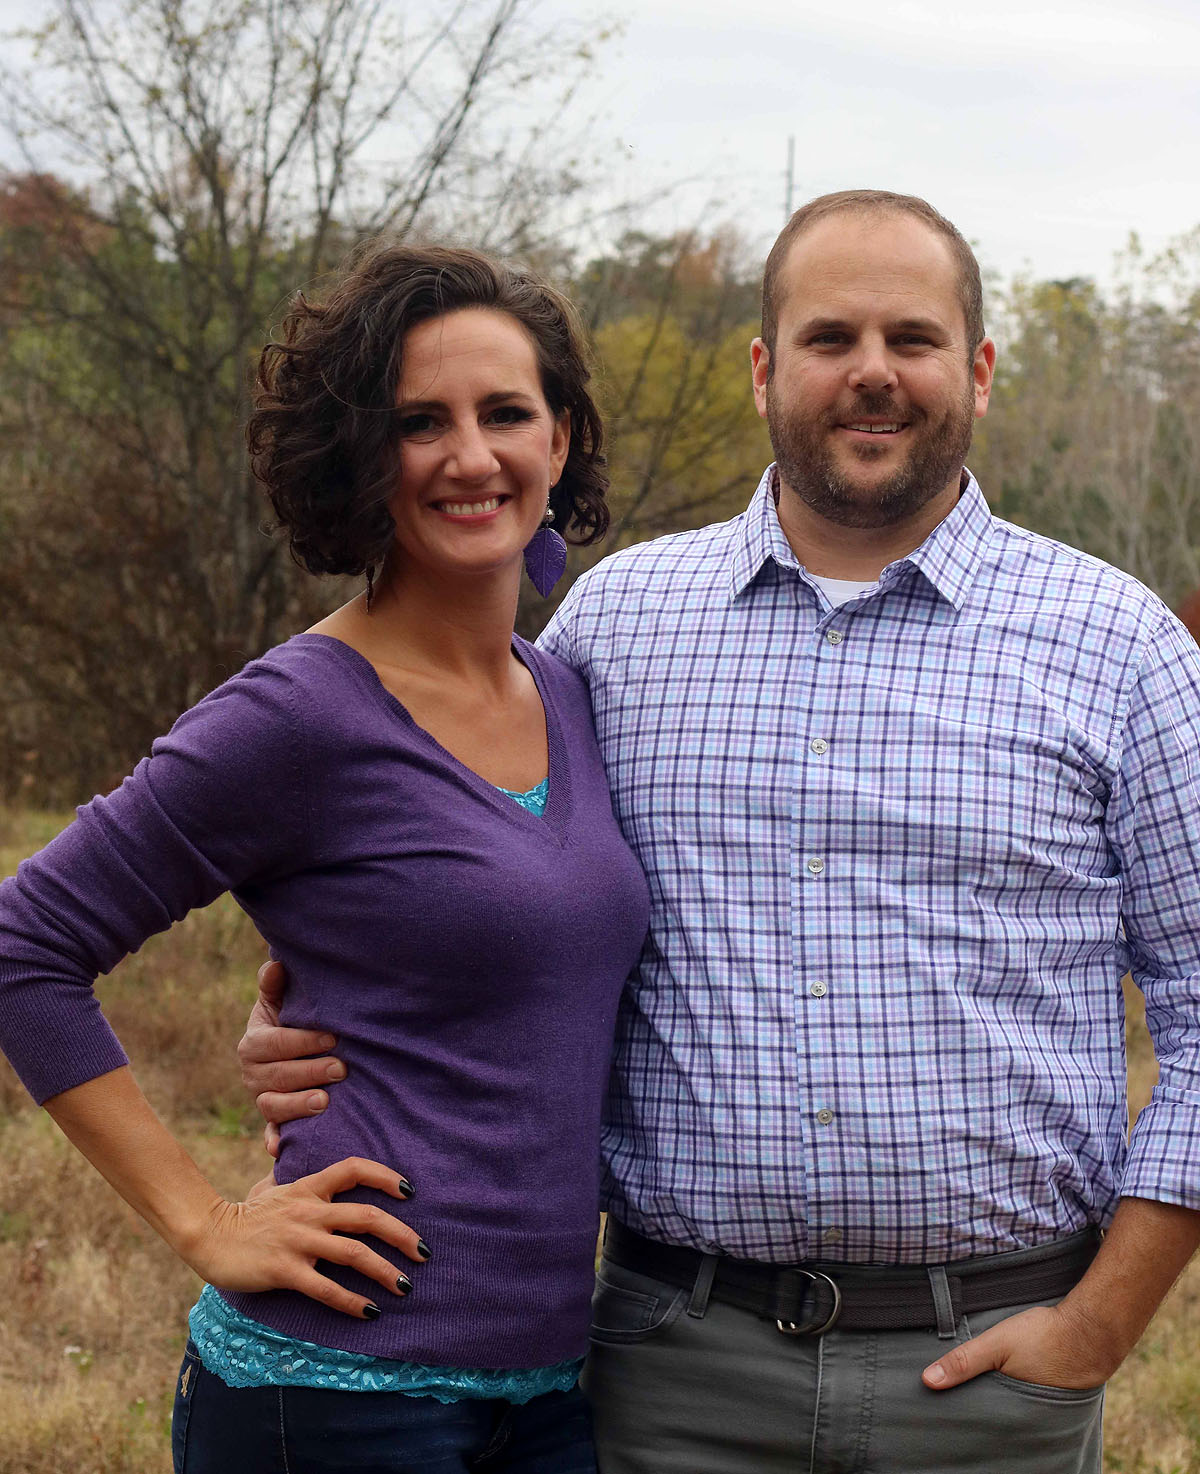
And lest anyone think a family photo shoot is easy -- remember this: No one needs to know how many outtakes there are for one good family photo.

Wishing you and yours a happy holiday season and 2019.
Love, Andrea, Ben, Ayla & Paxton
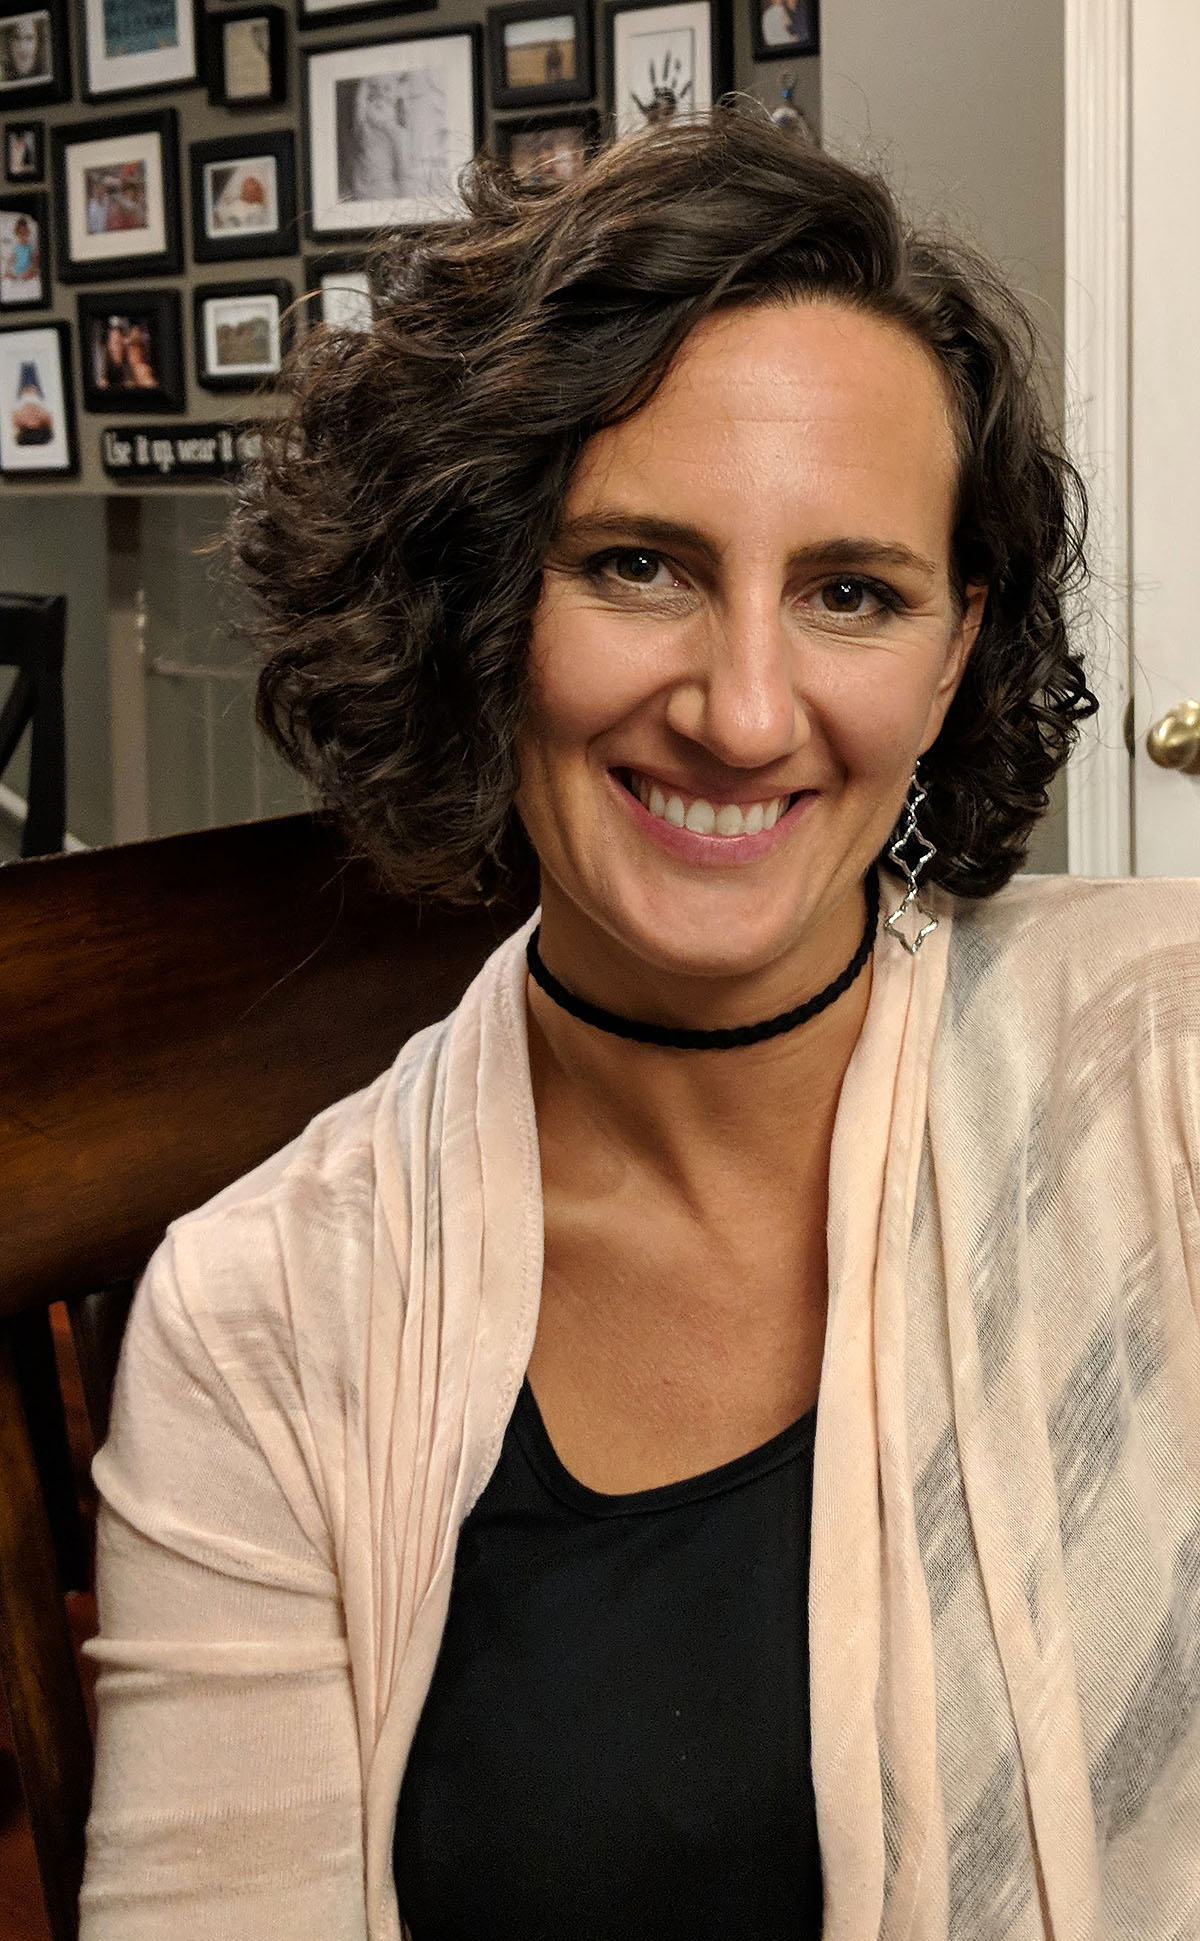
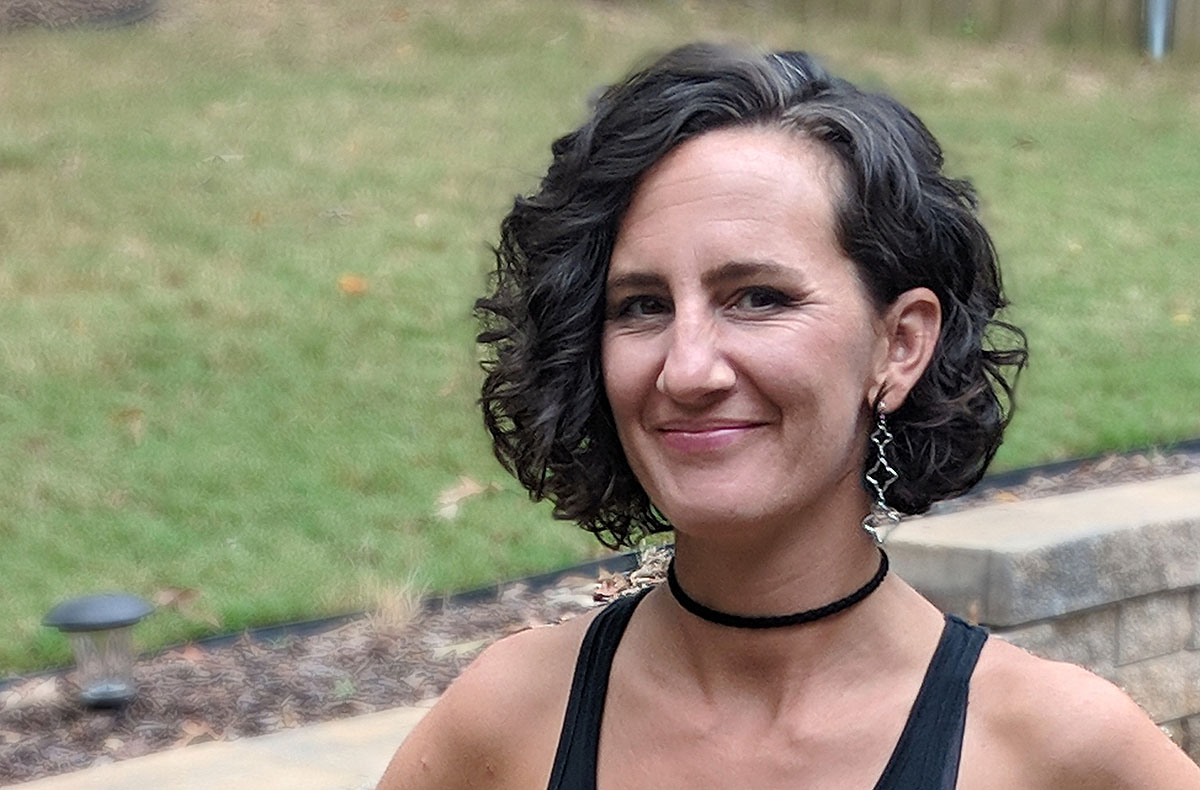
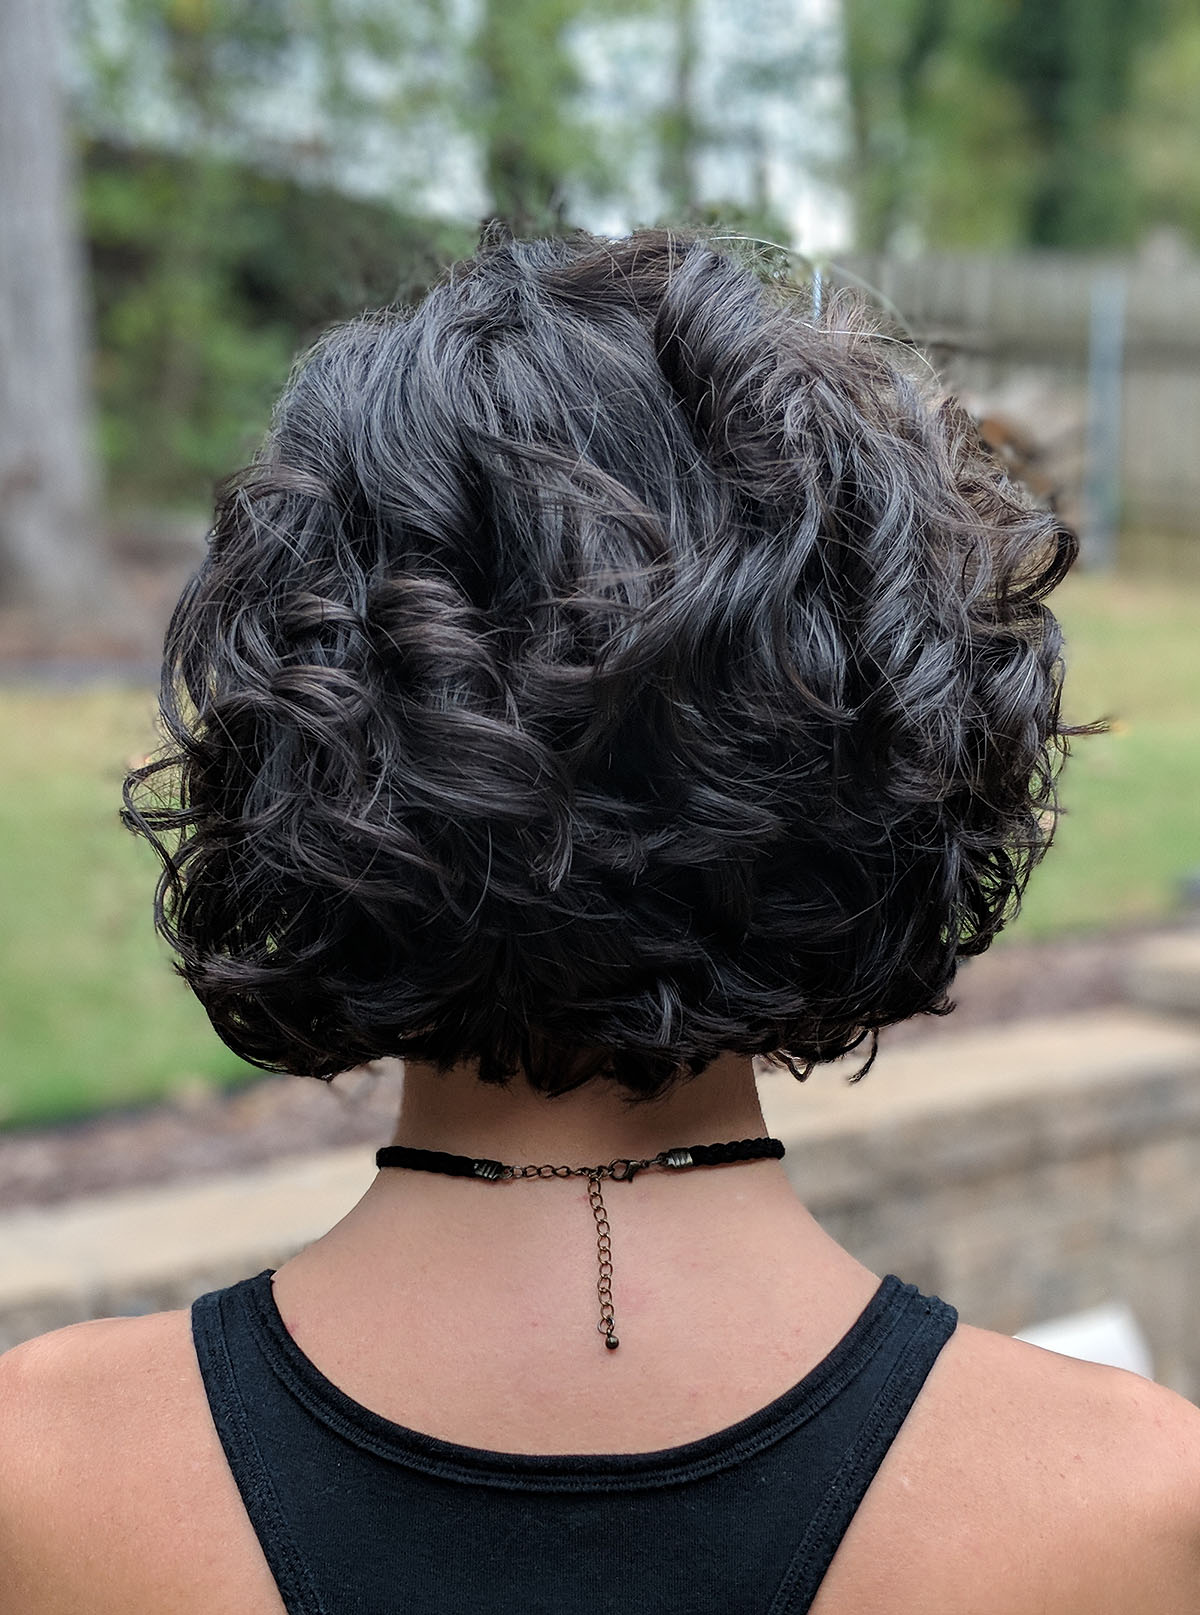
A little bit shorter now...
When I cut several inches off my hair back in August, I knew it wouldn't be long before I was ready to chop it MUCH shorter. In many ways, the inbetween length was to get the people around me ready to see me with short hair again!
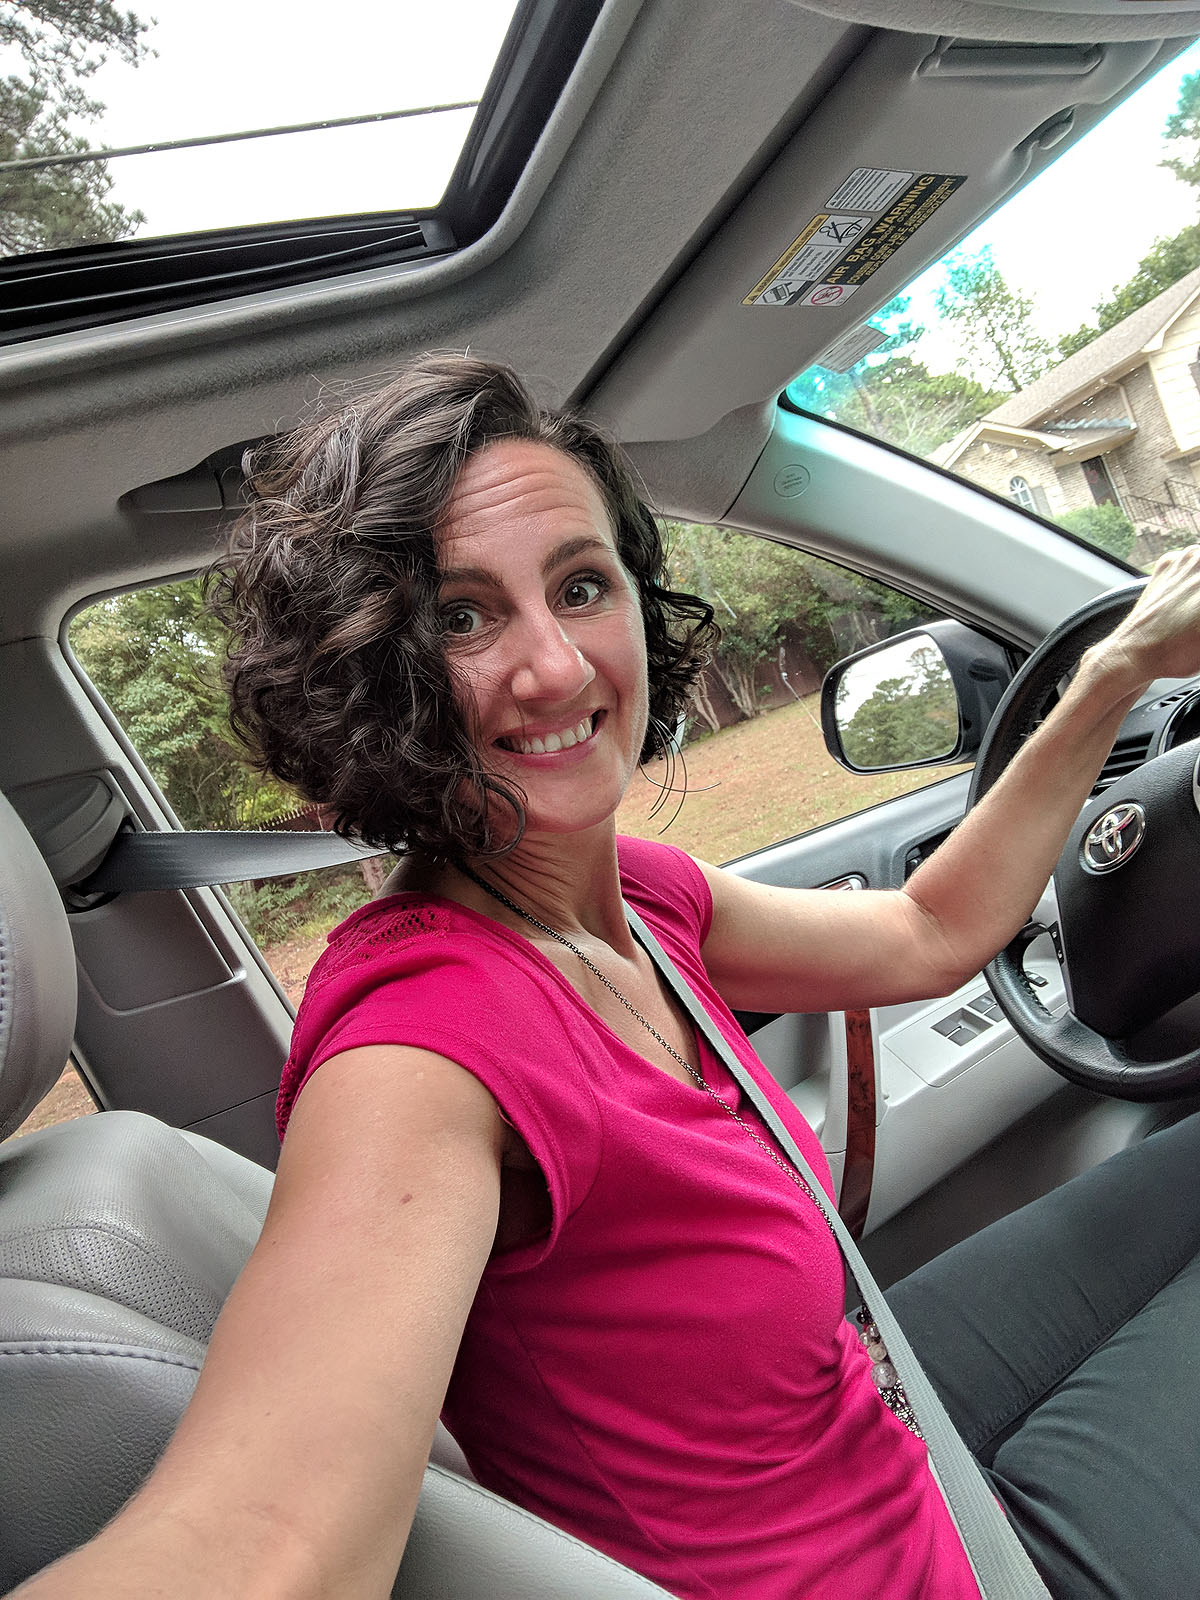
There was nothing wrong with my longer hair (or mid-length either), I was just kind of tired of dealing with all of it, and wanted it off my neck again. And even though it's been a LONG time, I'm no stranger to short hair...

(circa 2008, pregnant with Paxton)
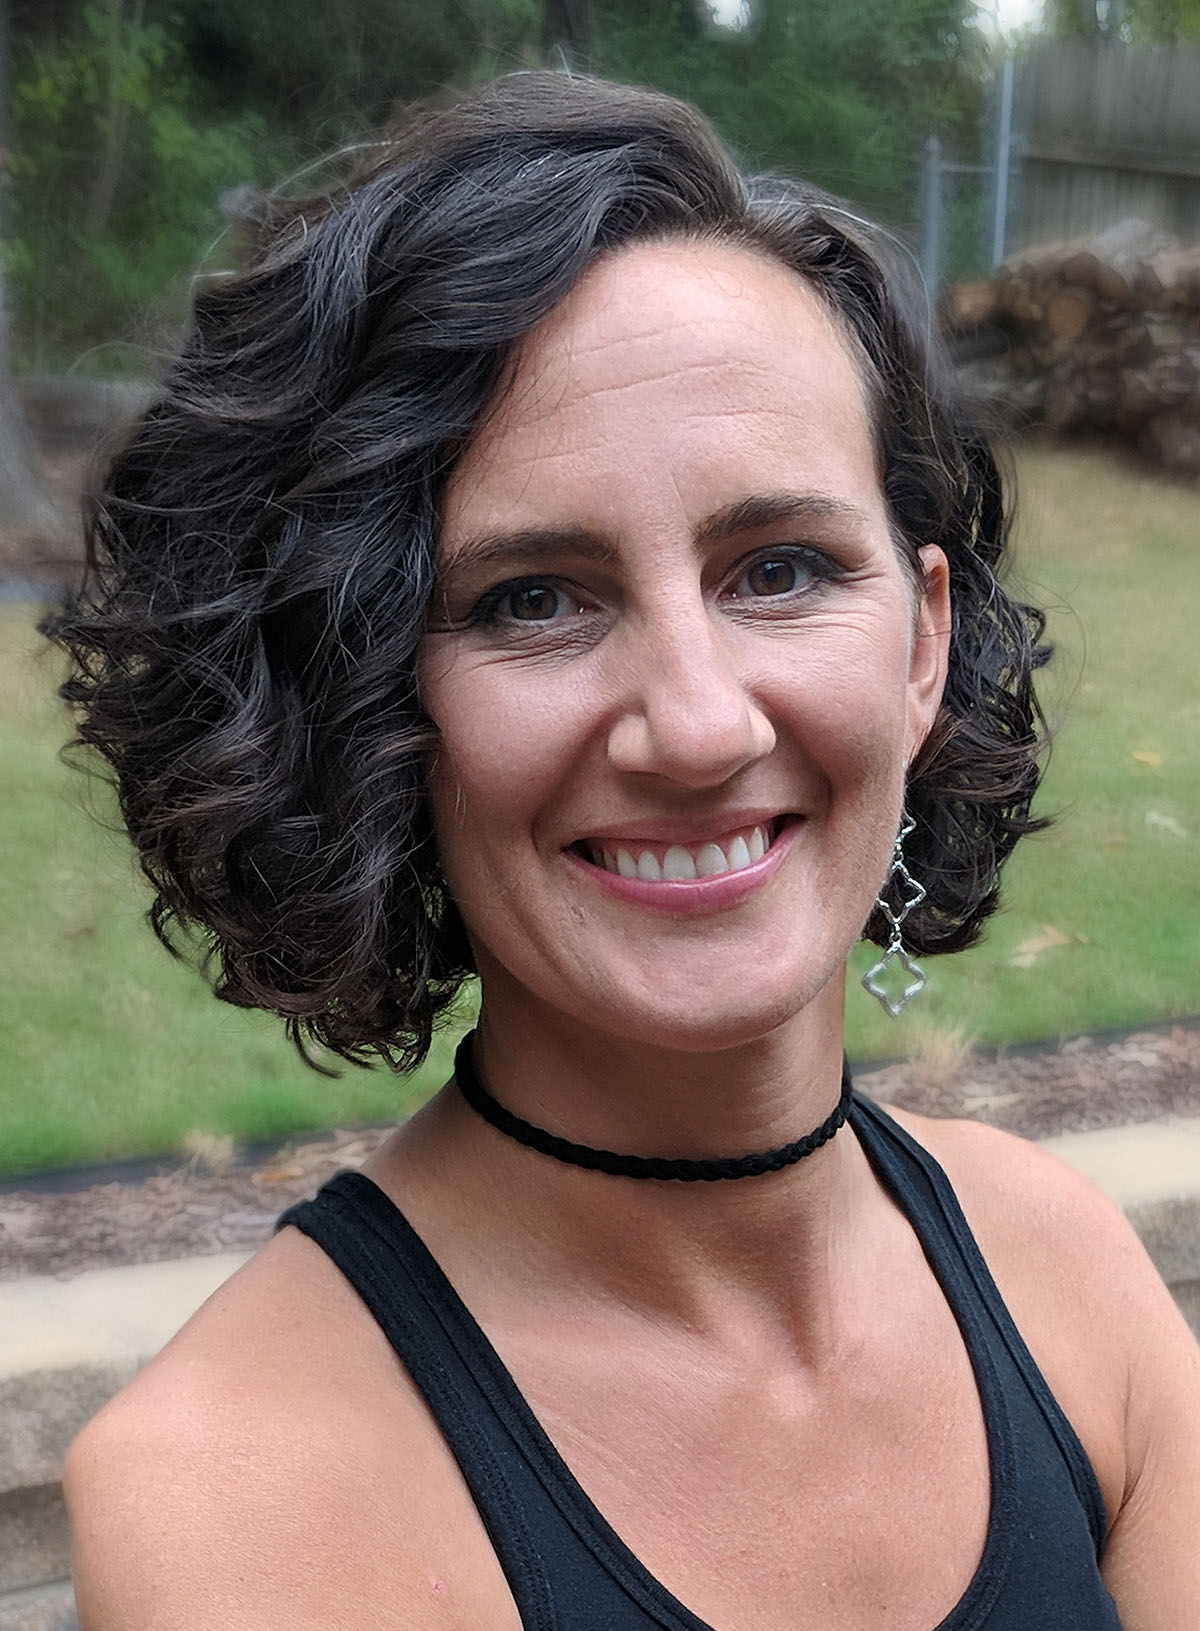
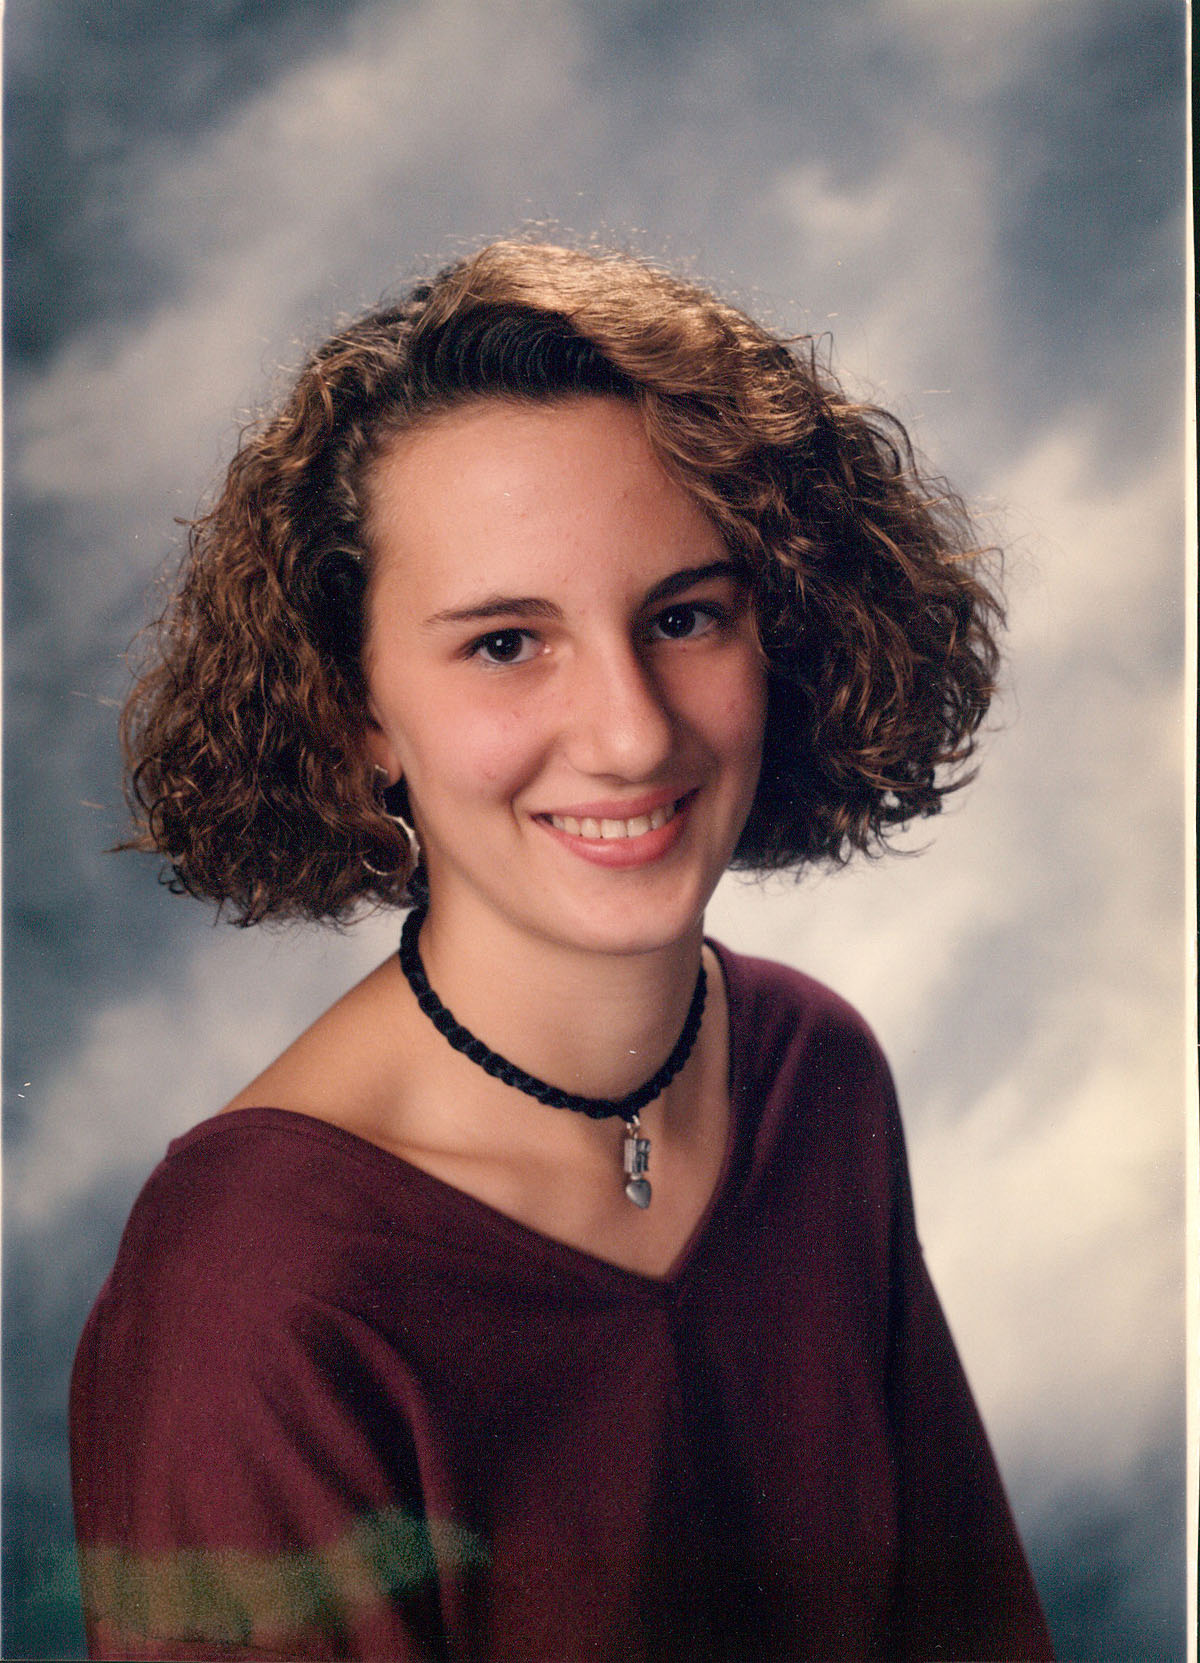
And now that I've been taking care of my curls and using better products and techniques to style it with natural curl, I feel like I can make it look a little better than my freshman year of high school triangular perm... (circa 1994)

So, maybe I'll be "Andrea Nokes circa 1994" for Halloween? Chokers are back in style you know...
Thankfully, Ben wasn't too shocked by the change (since he looks at me the most) and I think he even likes it.
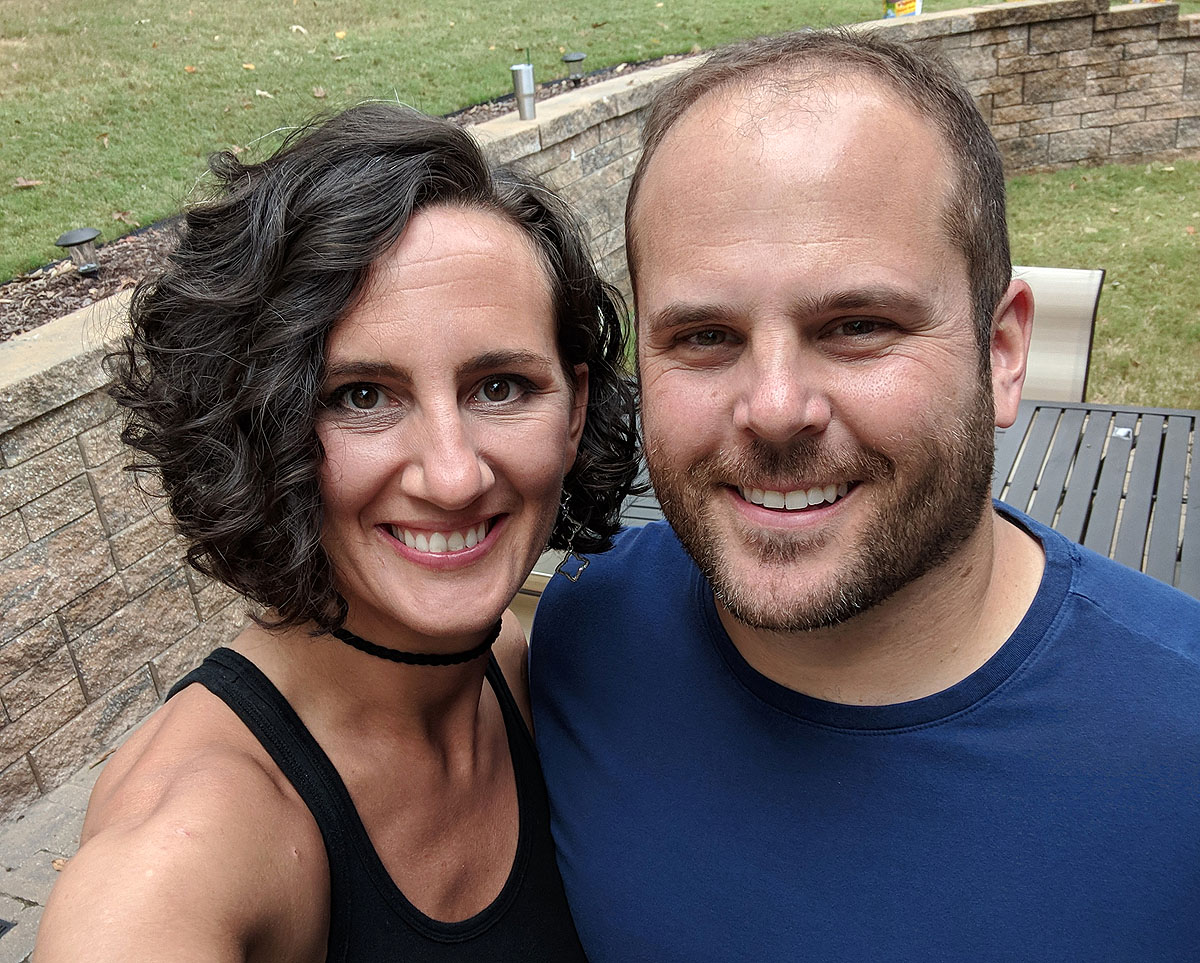
I, for one, LOVE it and am so glad I did it.