Andrea's blog
Graves Disease/Thyroid Update
So, time for a "Graves" update, because there's been a lot going on. This is long and detailed and not that interesting to most people (unless you too have Graves Disease), but I'd like to keep a record of this whole process while I'm going through it.
First -- if you're catching up, I was diagnosed with Graves Disease back in June this year (2018).
For those that this means something to, here are my stats and bloodwork results at my diagnosis appointment:
- T4 - 3.08 (normal is.76 to 1.46)
- T3 - 16.48 (normal is 2.18 to 3.98)
- TSH - <.005 (normal is .358 to 3.740)
- BP - 111/75
- HR - 94 (resting heart rate!)
My endocrinologist put me on Methizimole 10mg, an anti-thyroid to reduce production of my thyroid hormones and Propranolol 20mg (3x per day), a beta-blocker to help ease all of the insane symptoms I was having like tremors racing heart rate.
Within a few days, I could tell an improvement in how I felt, and was even able to do a little bit of exercise. I continued to eat a TON of food everyday to keep up with my overactive metabolism. But even so, if I tried to accomplish too much, I'd pay for it later in headaches, fatigue, soreness, and crabbiness. I continued to have less, but still present, issues with my voice feeling weak, having trouble with word recall, and just not being able to accomplish even 50% of what used to be normal for me in a day.
At the end of June, I went in for more bloodwork.
- T4 - 2.54 (normal is.76 to 1.46)
- T3 - 8.50 (normal is 2.18 to 3.98)
- TSH - <.005 (normal is .358 to 3.740)
My endocrinologist (Dr. Callejas) increased my Methizimole to 15mg.
I continued to have trouble with weight loss unless I was eating over 3,000 calories a day. On days when I was tired, I couldn't keep up with eating, so I'd lose a pound by morning. I started adding protein shakes to my day to try and combat the loss of muscle I was experiencing.
If I was feeling up to it, I'd exercise--mostly light weights, so that I wasn't losing calories doing cardio.
By the end of July, I was feeling pretty good, and *almost* normal with pretty good energy levels -- which was supported on August 3rd when I went back for more bloodwork, which was just slightly hyperthyroid :
- T4 - 1.68 (normal is .76 to 1.46)
- T3 - 5.62 (normal is 2.18 to 3.98)
- TSH - <.005 (normal is .358 to 3.740)
Somewhere around the first week or two of August, I started noticing some jaw pain on the left side of my face. I figured I just chewed something weirdly and that it would go away. But I would notice it every once in a while start to hurt. I didn't think it was related...
I asked if I could stop taking the Propranolol (which I was still taking 3x a day) since my levels were almost normal. My doctor said I could, but just a few days off of it had me feeling shaky and having jumbled words and confusion, and my jaw started hurting pretty significantly during this time, so I went back to 2x a day.
After a full week of pretty severe jaw pain, which traveled to my throat and my ear (all on the left side), I went to my regular doctor to have it checked out. At the time I was eating only soft or liquid foods and having a lot of pain when chewing, talking, etc.
She looked in my ear, said it looked okay, but suspected maybe some sinus issues and drainage could be causing the pain. She gave me a steroid shot, told me to take Sudafed for a week in addition to my regular Flonase and Claritin and see how it did.
We also checked my white blood count (which was normal) and my B12, which was up to 482 (normal range is 193-986), so she suggested I double-up on the oral dosage of B12 vitamins.
After a few days, I wasn't getting any better, and my ear felt even worse. I was having sharp pains in my ear, particularly if I laid down. So I called her again, and she gave me a steroid pack to take and suggested I see my dentist about possible TMJ issues with my jaw.
My dentist took a look, thought a bite plate could help with the TMJ issues, but sent me to an Oral Surgeon for detailed x-rays. The fact that it was only on one side seemed odd to her. I bought an over-the-counter bite plate and began using it around 8/31. It started helping my jaw almost immediately, but my ear continued to be a problem.
I saw an oral surgeon a few days later, who said x-rays looked okay and he didn't see anything to be concerned about. He said to keep using the bite plate, and gave me a prescription for a muscle relaxer to take at night and Celebrex to replace the 6 naproxen I was taking everyday for the pain. He said to give that 2 weeks, and then see an ENT if I was still having trouble.
Which I was. My jaw improved quite a bit, so I'm guessing there WAS some teeth clenching going on at night. But my ear continued to be very very painful, all day long. Almost electric, burning, contraction-like pain throughout the day.
Meanwhile, on 9/7/18 I saw my endocrinologist for my 3-month checkup (I got really good at doctor's appointments this month)....
I had new bloodwork done:
- T4 - 1.3 (normal is.76 to 1.46)
- T3 - 3.57 (normal is 2.18 to 3.98)
- TSH - <.005 (normal is .358 to 3.740)
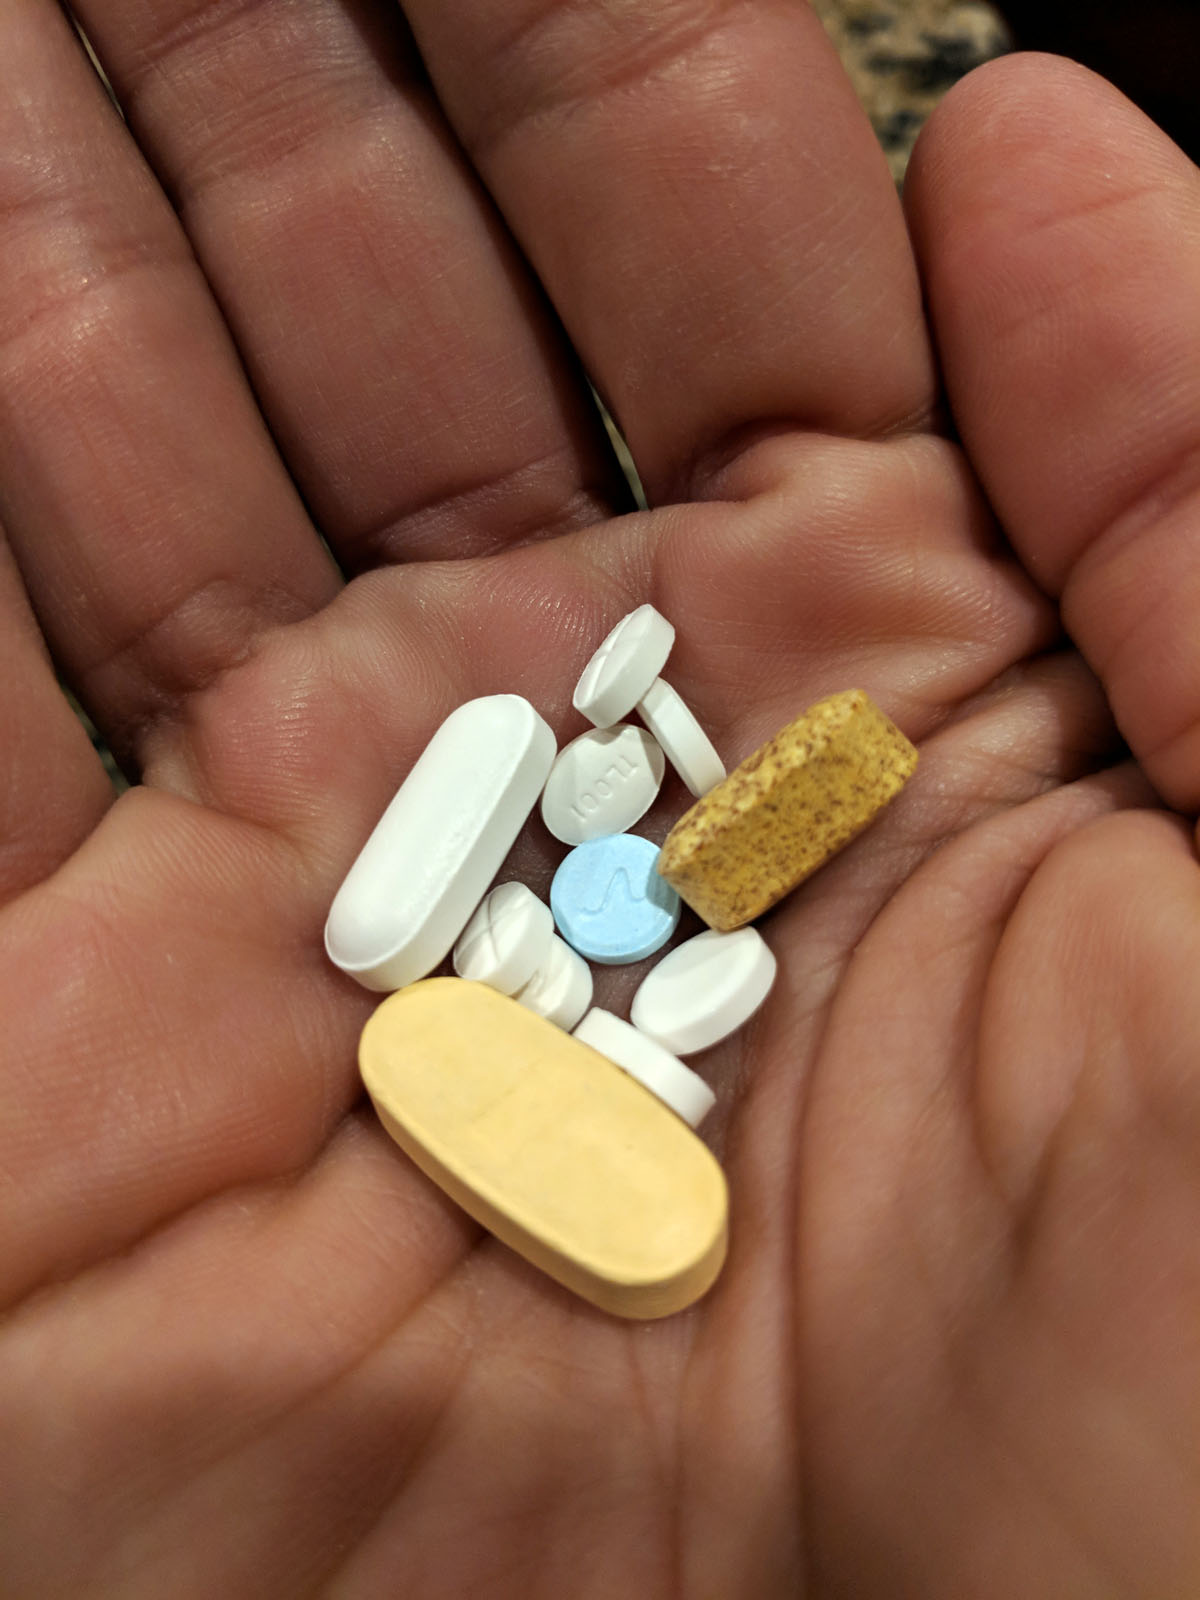
Good news, I guess. My T4 and T3 were back in normal range, so she reduced my Methizimole back down to 10mg per day. I was still taking Propranolol 20mg 2x a day. As well as a muscle relaxer at night and Celebrex to help with the pain. I felt like a walking drug store. Because, don't forget, I was still taking Flonase, Claritin, Sudafed, and vitamins....

And, on top of that, my endocrinologist suggested I ask my regular doctor to prescribe me some stronger pain meds while I was figuring things out. So then, I got to get the third degree from my pharmacist and REALLY feel like a druggie, taking Hydrocodone to get through the day. I only took a few of those over a period of a few days. They sufficiently terrified me of painkiller addiction, and really, they didn't help that much with my ear pain anyhow.
Since I hadn't been eating much (because of my jaw pain), I did notice around this time that my appetite slowed down quite a bit, and I was no longer losing as much weight. I've stayed pretty stable at about 4-5 lbs less than when I started this whole journey. Probably mostly muscle-loss at this point.
Around this time 9/10/18, I was so fed up with all the pills, I decided to start cutting back on my 2nd Propranolol, that I had been taking in the evenings. My endocrinologist had said I could wean off of them, and I figured that was one I could start cutting out. For a few days, I tried to go without at all, and later realized it was better to take one in the morning and that would get me through the whole day without having extra anxiety and heart racing. After a week or two, the one Propranolol a day felt ok.
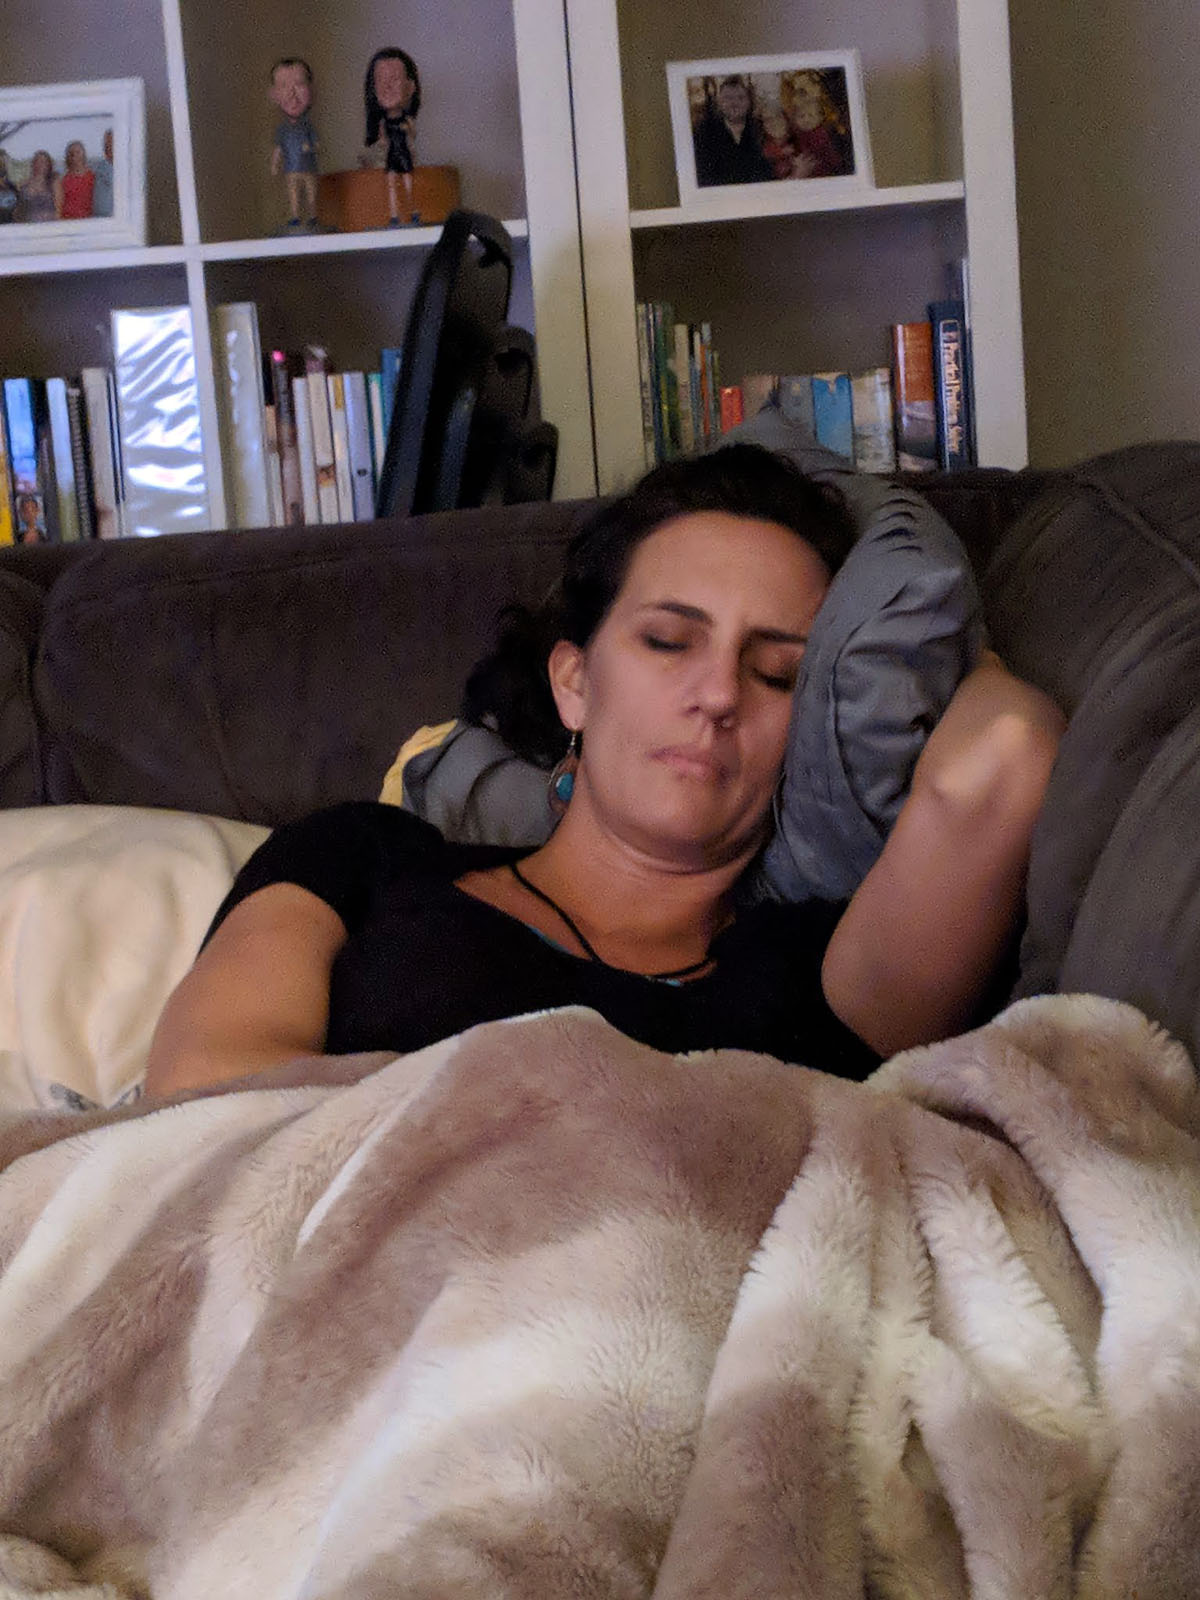
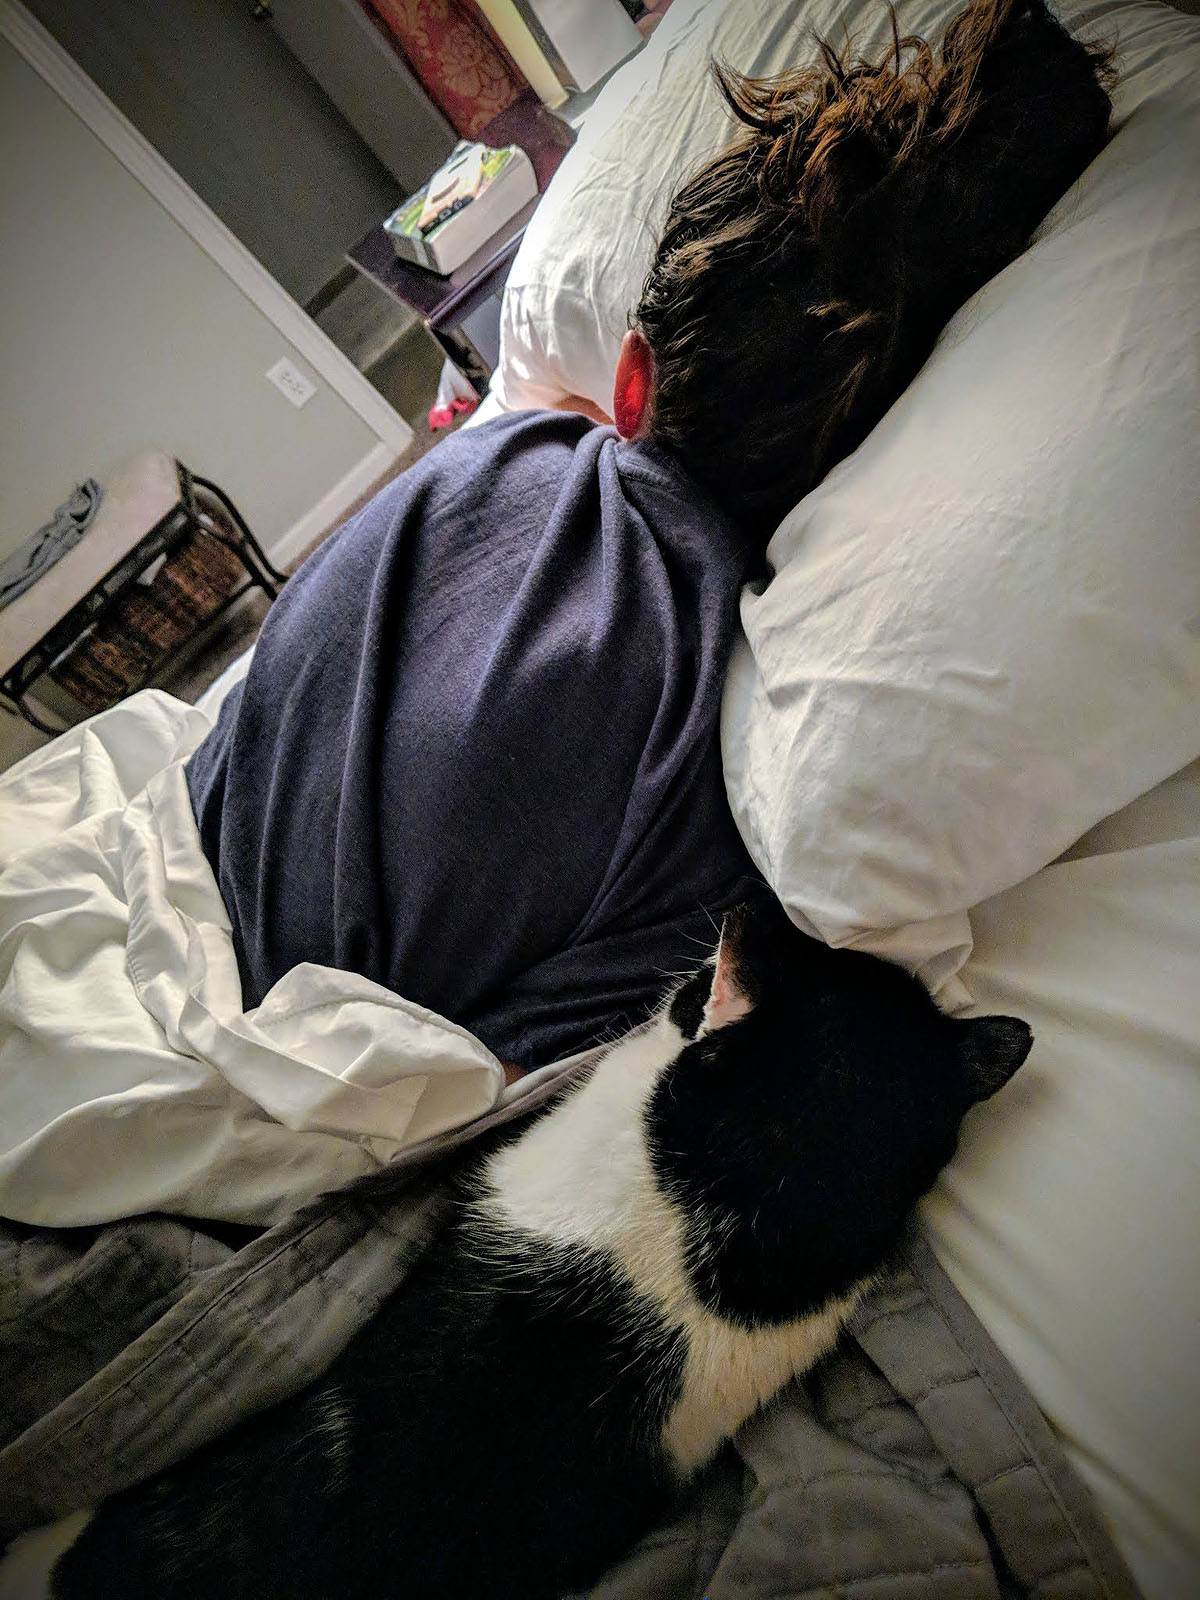
But otherwise, I continued to be completely exhausted and tired of hurting constantly. My ear continued to hurt, I was always sleeping (sometimes several hours in the middle of the day) and I was very very very grumpy.
I finally saw an ENT on 9/21/18. He checked my ear, my hearing, the pressure in my ears, and essentially said everything looked okay and it was likely stress-related. He gave me some ear drops to try for a week (without taking celebrex or naproxen or hydrocodone) and said to see him in 2 weeks if it hadn't improved and an MRI would be the next step.
I tried the ear drops, which mostly just made my ear feel full of gunk, and continued to feel awful and exhausted.
At this point, I was pretty sure all of this was stress and anxiety-related, exacerbated by my Graves Disease condition, and triggered by a lot of environmental and life factors -- family stress, stress of the fall schedule we were keeping, stress from changes at church, stress from being sick at all, and from trying to find dietary solutions to autoimmune disease, etc.
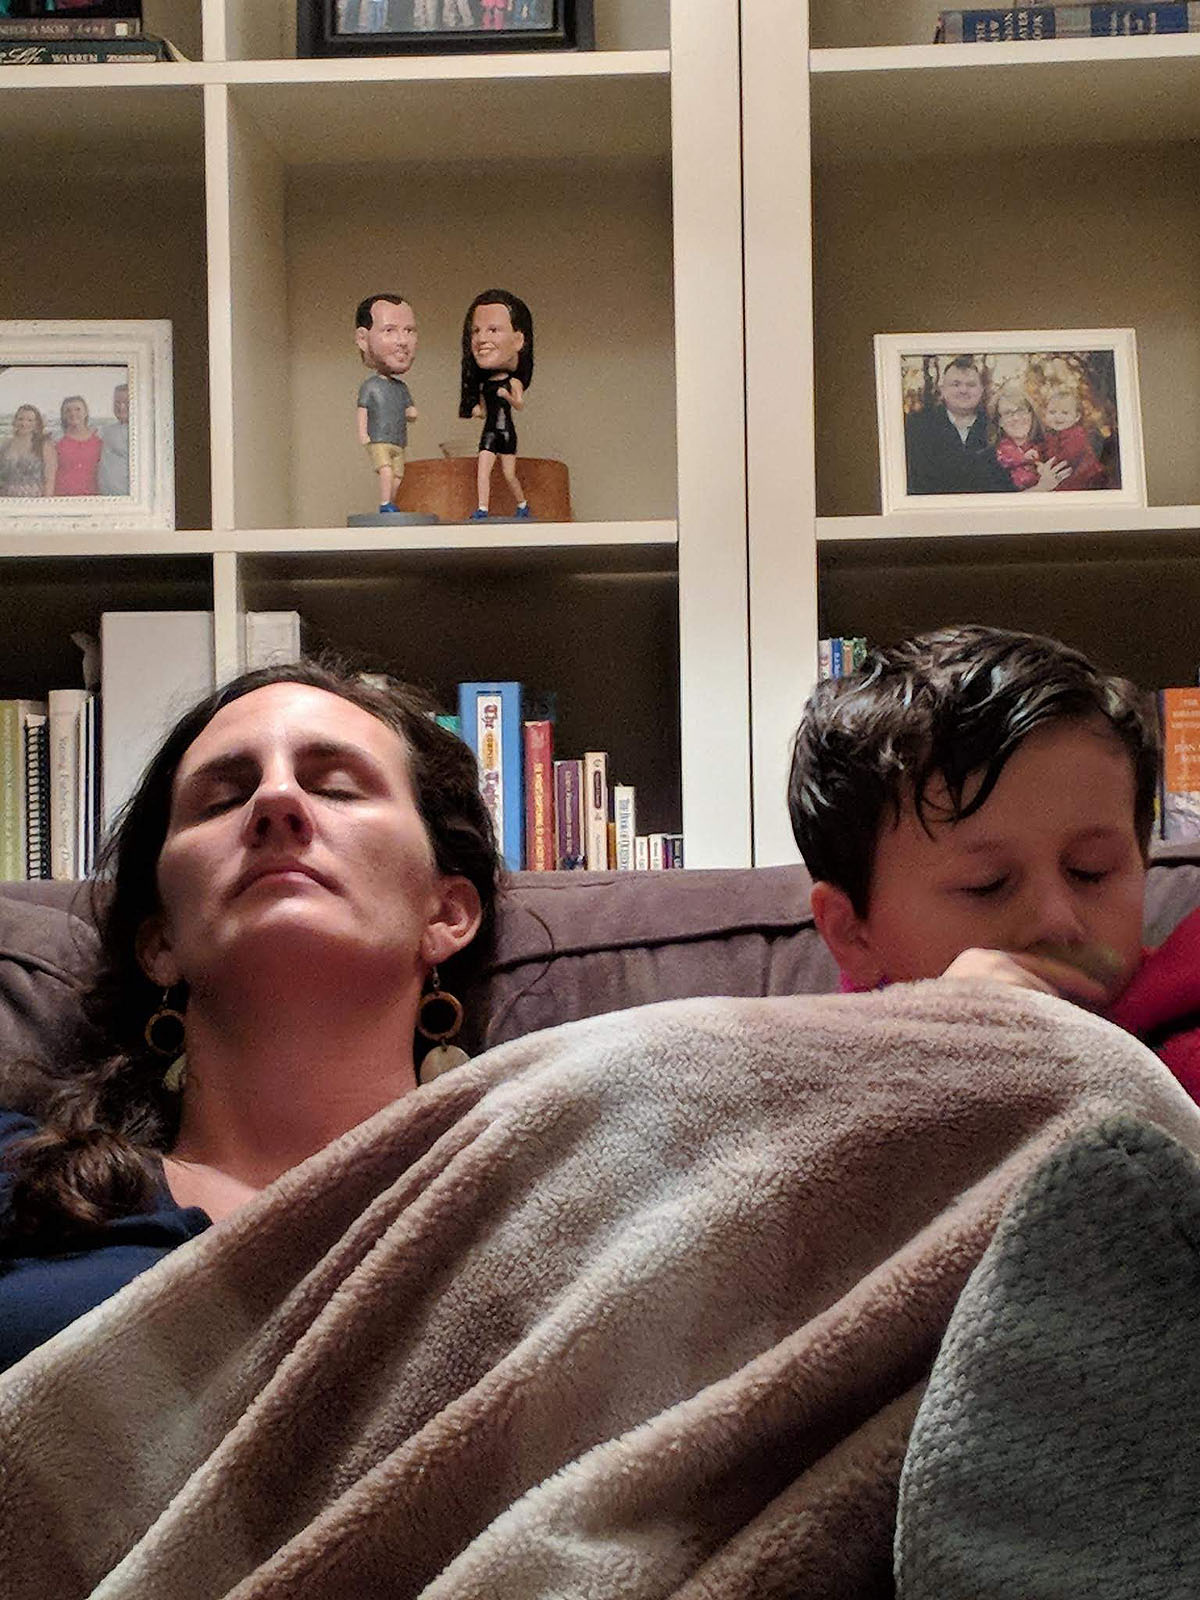
I found myself having to rest all day just to be able to perform and be present at the required event of the day -- usually one of Ayla's volleyball games.
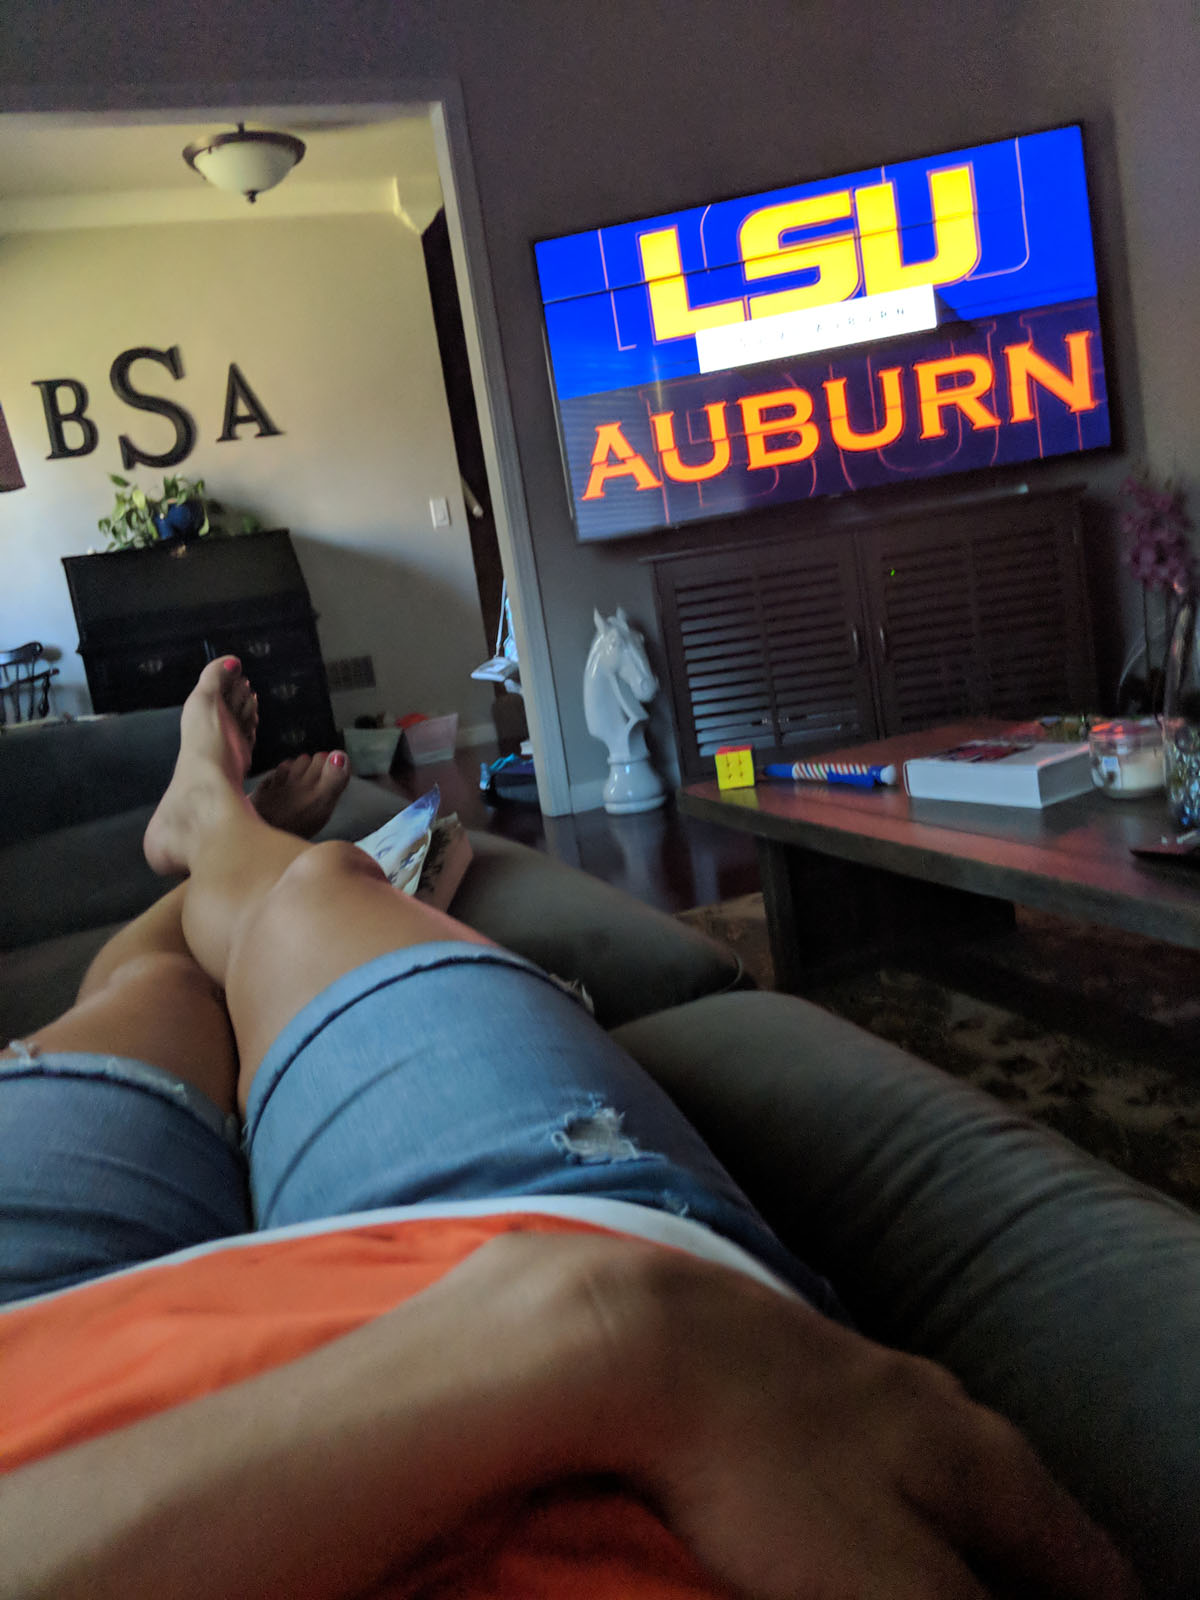
If I *could* muster up the energy to exercise, I tried to, because NOT being able to exercise stressed me out even more. But then, it made me tired and I had to recouperate. It was a terrible cycle.
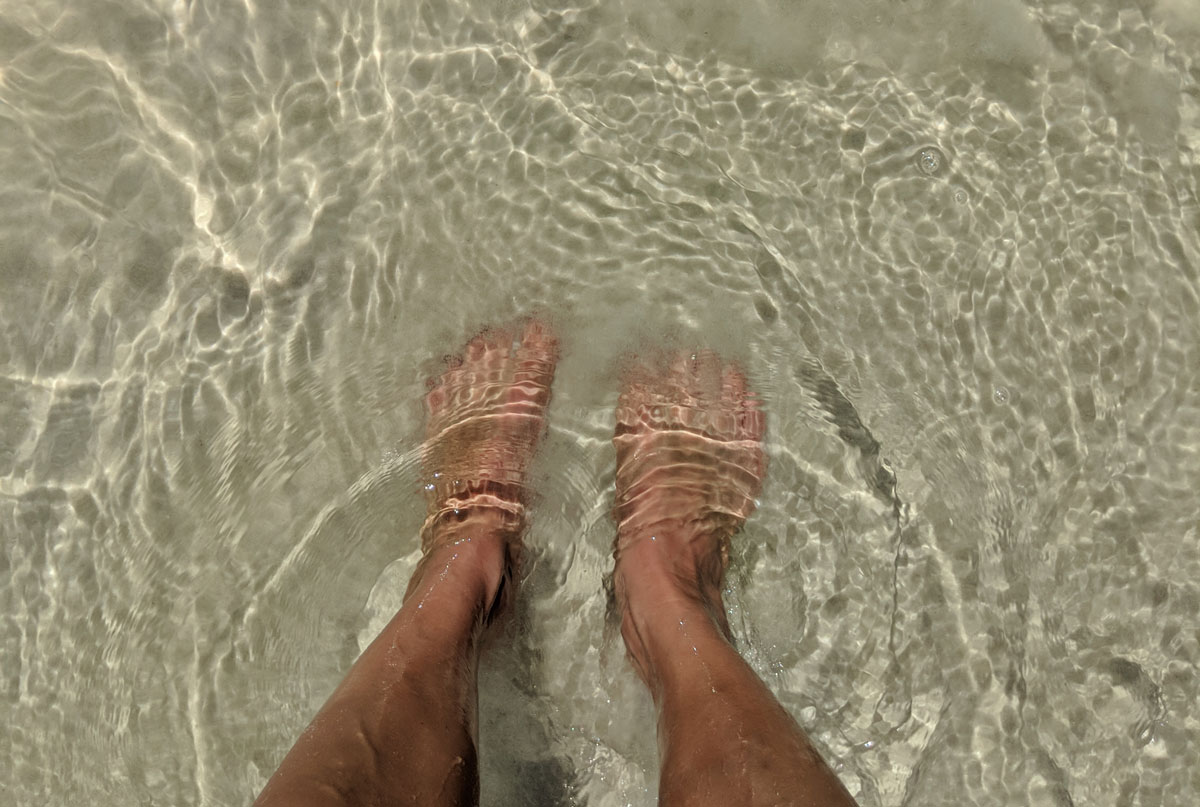
Finally, at the end of September, we decided to make an impromptu family trip to the beach for a long weekend. Ben insisted that I needed to competely relax and really we ALL needed a few days to be together. So we went.
Evidently, the beach is the best medicine. It took me over 24 hours to finally unwind, but then I could feel my jaw and my ear and my head all finally calm down and the stress I'd been carrying inside my body released.
(10/10/18 update)
We had a glorious and restful weekend, and when I came back I continued to feel quite a bit better. Occasionally my ear would tweak (particularly when thinking or talking about something stressful), or my throat would hurt a little, but I stopped taking any painkillers, wasn't needing to use the bite plate at night, and overall, have felt much much much better, even though I have still had some fatigue and headaches since then.
To continue my progress, I've been heavily researching the AIP Paleo diet, and starting to make substitutions and gradual changes in my diet that have helped other people with autoimmune diseases control their symptoms and prevent additional autoimmune diseases from developing. I'm not ready to go cold turkey yet (because honestly, I still need to mourn the end of my beloved cheez-it and sweets diet), but my hope is to try the strict elimination AIP diet at the start of 2019.
I read the book The Thyroid Connection by Amy Myers, MD., who also had Graves Disease and has helped many people with autoimmune diseases reverse their conditions through diet, supplements and lifestyle changes. I also have been going through the podcasts that correspond to The Autoimmune Wellness Handbook, which addresses nutrition, stress, sleep, exercise, and more. Both have been very helpful in understanding the full picture of living with autoimmune diseases, health and wellness--all things I've definitely taken for granted.
After seeing what Dr. Amy Myers recommended as far as supplements (she sells her own brand, of course), I've decided to test out some high-end multi-vitamins that are comparable, I think--but I'm no doctor, and my own experience results aren't in yet--to help fill-in nutritionally until I'm able to fully tackle my diet.
(I should mention here that I consulted both my endocrinologist as well as my primary doctor about taking these supplements. My endocrinologist has insisted that diet doesn't affect Graves Disease, as well as that supplements aren't regulated or well-studied, so she didn't seem to think they were necessary or helpful. While she definitely did not support or encourage that I take these, she did look at the ingredients and did say that she did not think they would be harmful. My primary doctor said they looked like pretty solid supplements and was interested to hear how they worked. She has been the doctor to encourage me to take B12 supplements in the past, both as injections as well as orally, since I was found to be deficient in B12 when I was initially diagnosed. Both doctors are part of the conventional medical field, and are not functional medicine practitioners, who will traditionally look more at lifestyle, nutrition, and environmental factors for healing.)
After reading this unbiased multivitamin ranking, and seeing that the multi-vitamin I *was* taking was number 87 on the list and scored only 1.3 on their efficacy scale, I thought it might be wise to try something more effective. If you believe in that sort of thing. Which, I'm VERY skeptical about, both in whether vitamins & supplements are necessary at all AND because the ones I bought are from an MLM company -- which I had promised myself for the past 18 years that I would not participate in purchasing from any MLM companies. It's against ALL my rules. (I don't like that the products don't just speak for themselves and that there's a business "sell" attached to them. It feels icky to me.)
But, the Shaklee Vitalizer Women's vitamin strip ranks #8 on that list, with an efficacy score of 8.2, they claim to be natural, they seem to have all or most of the things that Dr. Amy Myers suggested in her book, the company has been around for 60 years, I've felt like garbage for months, and nutrition and nutrients appear to play a significant role in healing. So, I guess I'll give them 30 days and see how I'm feeling.
That, in conjunction with an improved nutritional diet, rest, and stress reduction, I'm HOPING will begin to make a long term difference in how I feel while dealing with this disease.
Stay tuned...
12/5/2018 Update
I stopped taking Propranolol completely on 10/16/2018 with no ill effects whatsoever. I continued to take the vitamin strip I've been trying out (which includes a probiotic and omega-3s) for all of October and November. I also continued to take 10mg of Methizimole as prescribed and my daily Claritin.
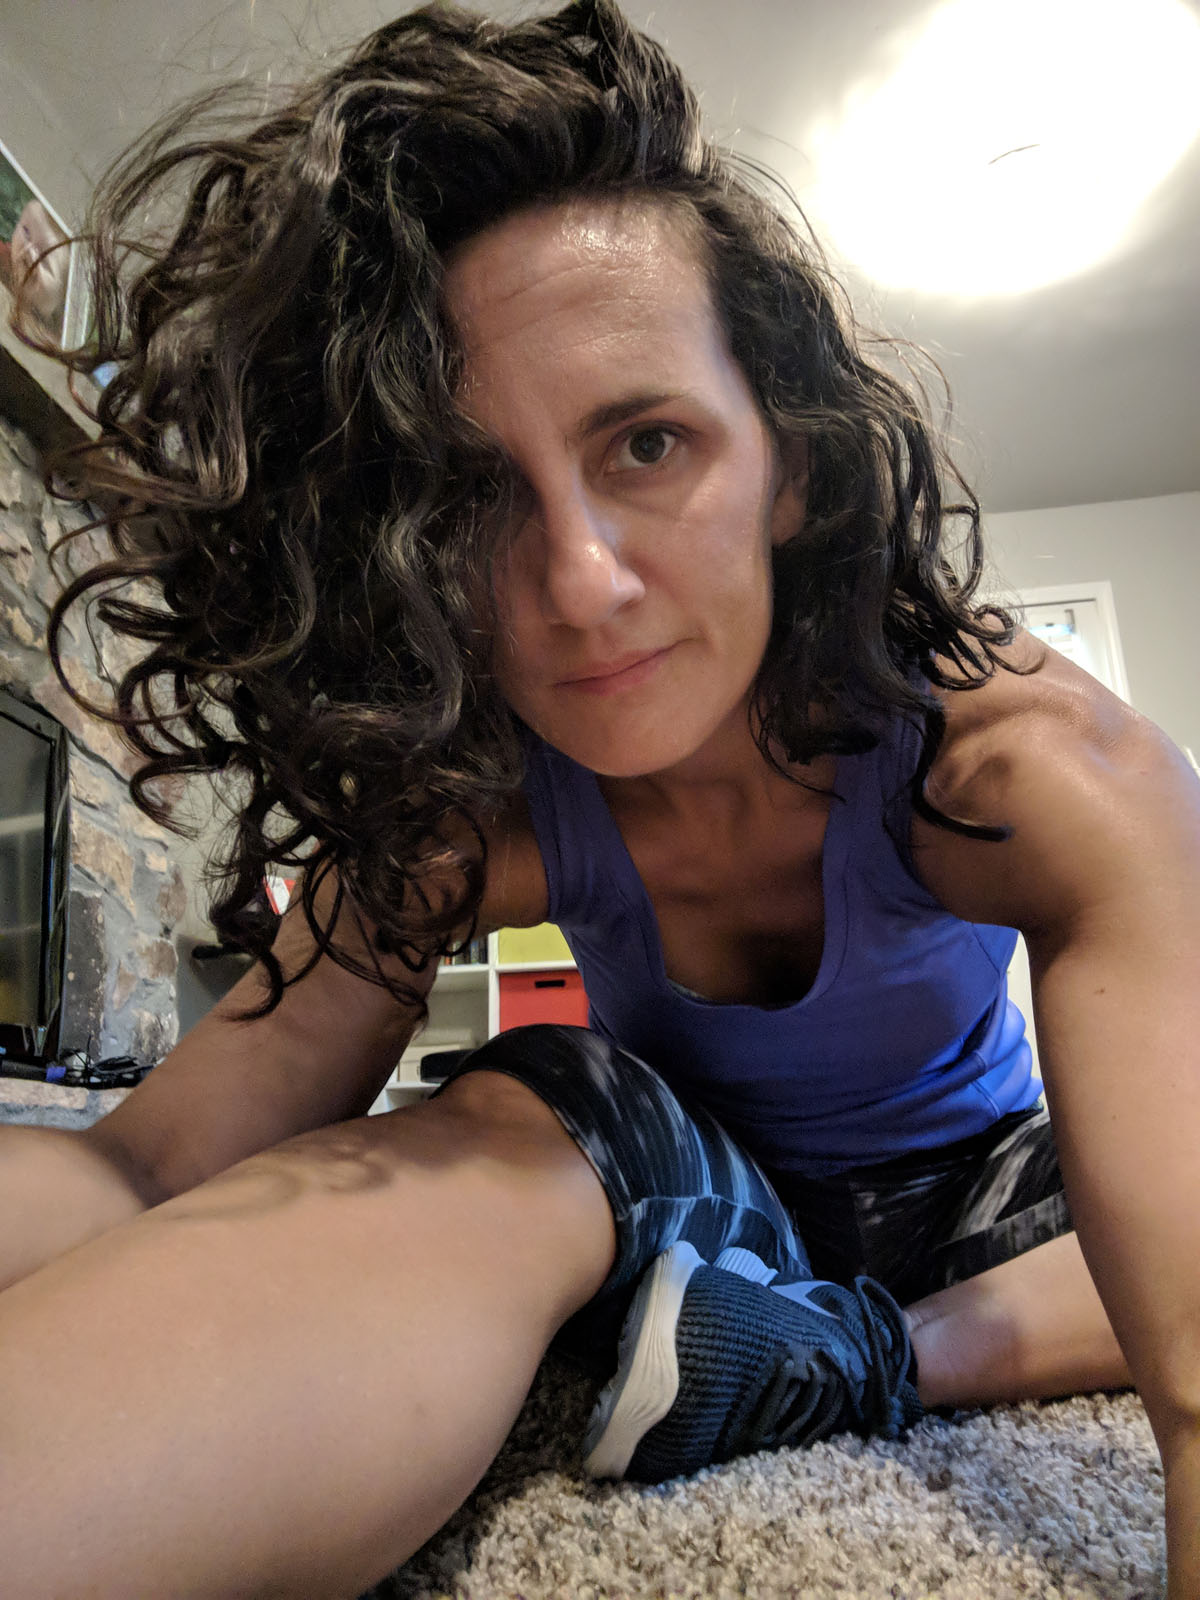
I felt fantastic for the rest of October and all of November. Better than what "normal" used to feel like for me. I was able to exercise 5-6 days a week, doing 20 minute HIIT workouts, lifting weights at the gym, or 2-3 mile runs in the neighborhood, depending on the amount of time and enery I had each day. I didn't feel like I needed a nap every day and was able to stay up later in the evenings again.
While I definitely ate better throughout those weeks (more whole and fewer processed) foods, particularly for breakfast and lunch each day, by evening, I definitely indulged in whatever was for dinner as well as my treasured box of Cheez-Its.
In general, my mood has been great, especially since I wasn't in pain or exhausted for what seemed like the first time in 6 months.
Was it the vitamins? Maybe. Feeling good definitely directly correlates to when I was taking them...but so did other life factors like less family stress, less on the schedule and better foods. So, in order to find out, I'm NOT going to take them in December and see how I do. So far...I've had headaches I had to take tylenol for two days since I stopped taking them, which I haven't had since the beginning of October. And I've been really crabby for the past three days -- but I haven't slept enough in the past week, so could just be normal tiredness.
12/10/2018 Update
Most recent labwork:
T3 - 2.72 (2.18-3.98 normal)
T4 - 0.80 (0.76-1.46 normal)
TSH - 0.424 (0.358-3.740 normal)
TSI - 637 (was 535 in June, should be <140)
BP - 112/54
HR - 70 bpm
12/20/2018 Update
Over the past three weeks, I've definitely been more worn down, a little crabbier, and tire more easily. Not SUPER significantly, but enough that I notice the difference. I'm also in the middle of a busy season of work as well as preparing for Christmas, which takes more energy and time than my normal routine. Also, I caught a cold. :(
So, again...stay tuned for my very non-scientific study. I'll update again in January.
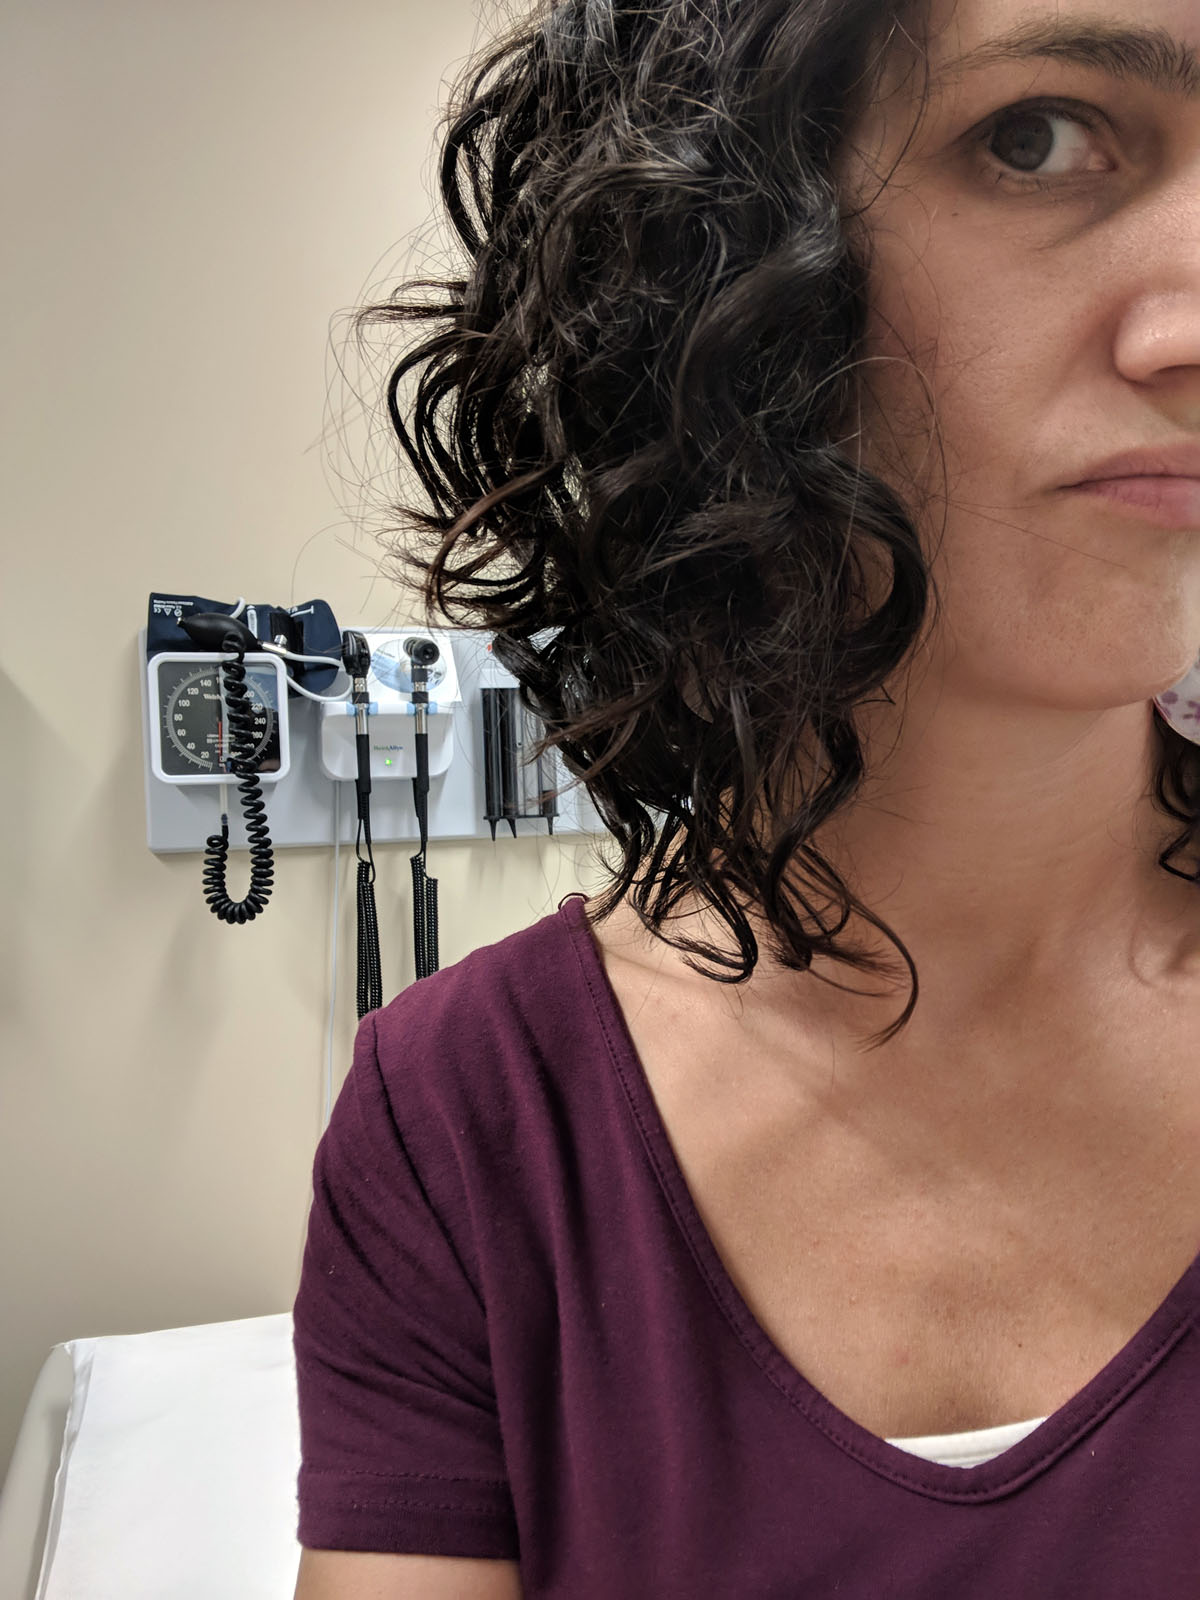
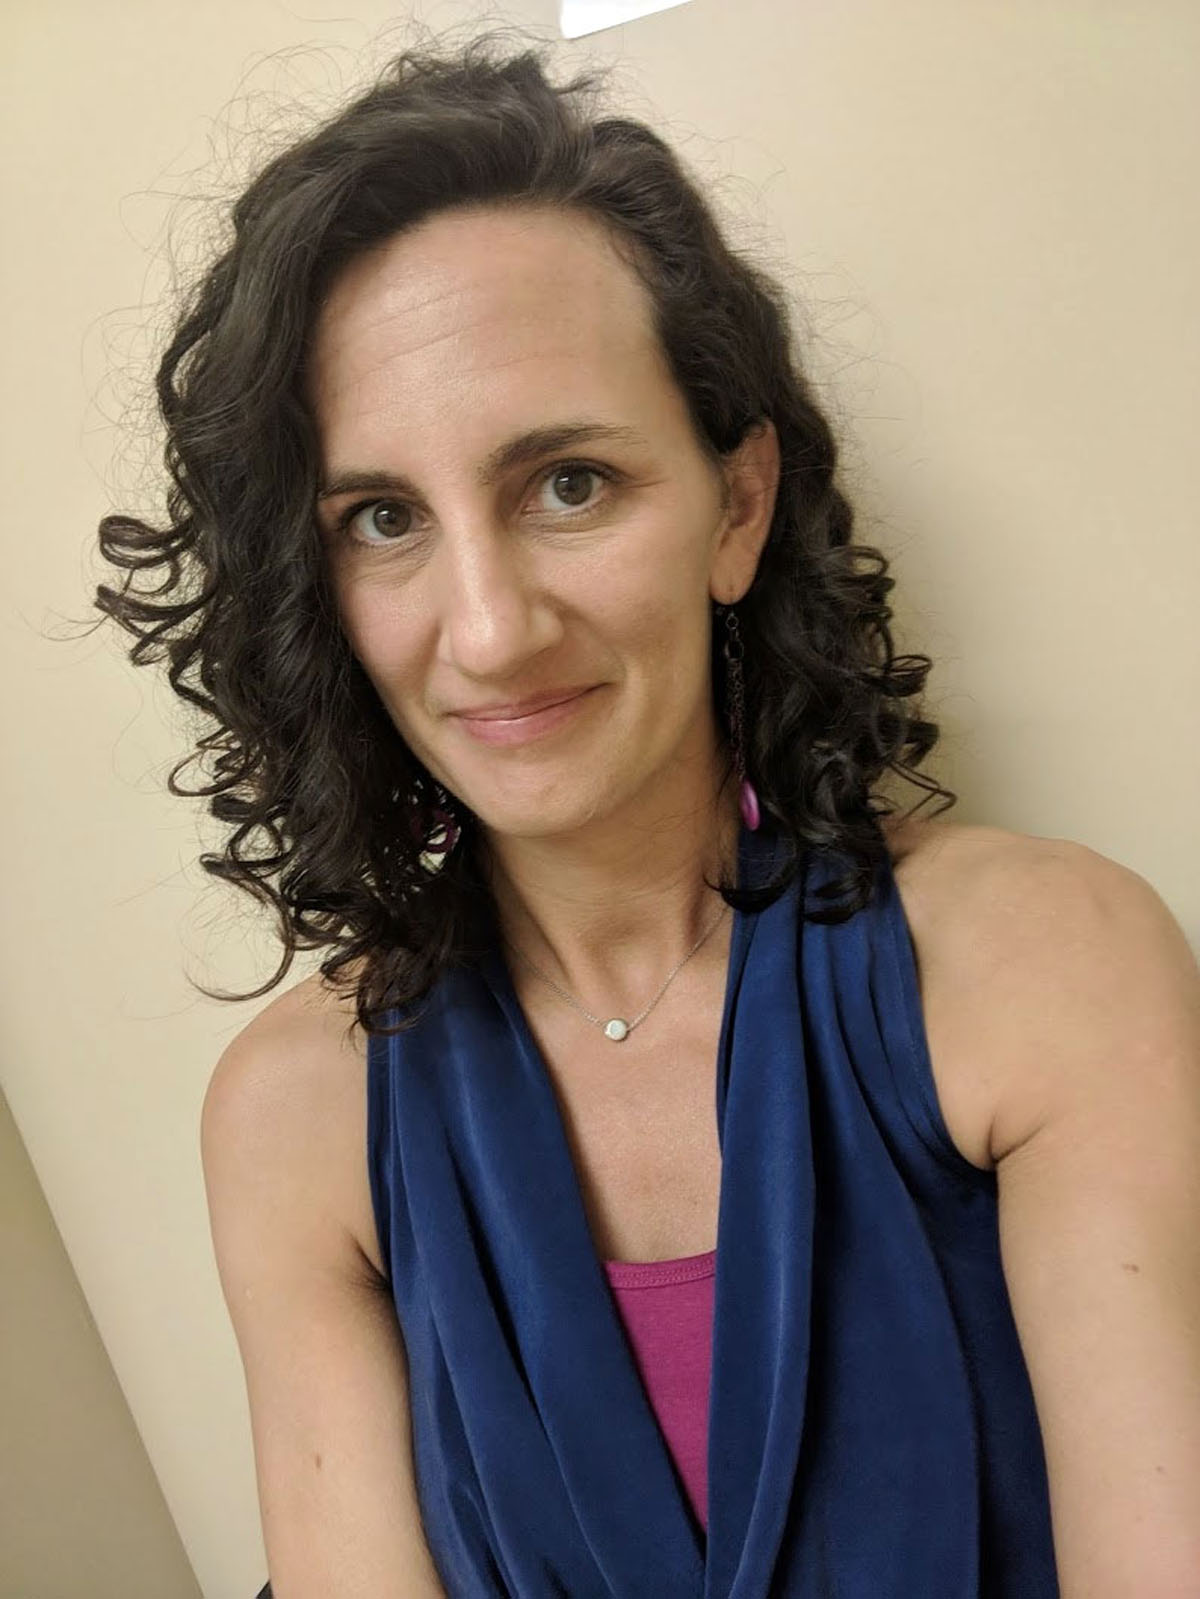
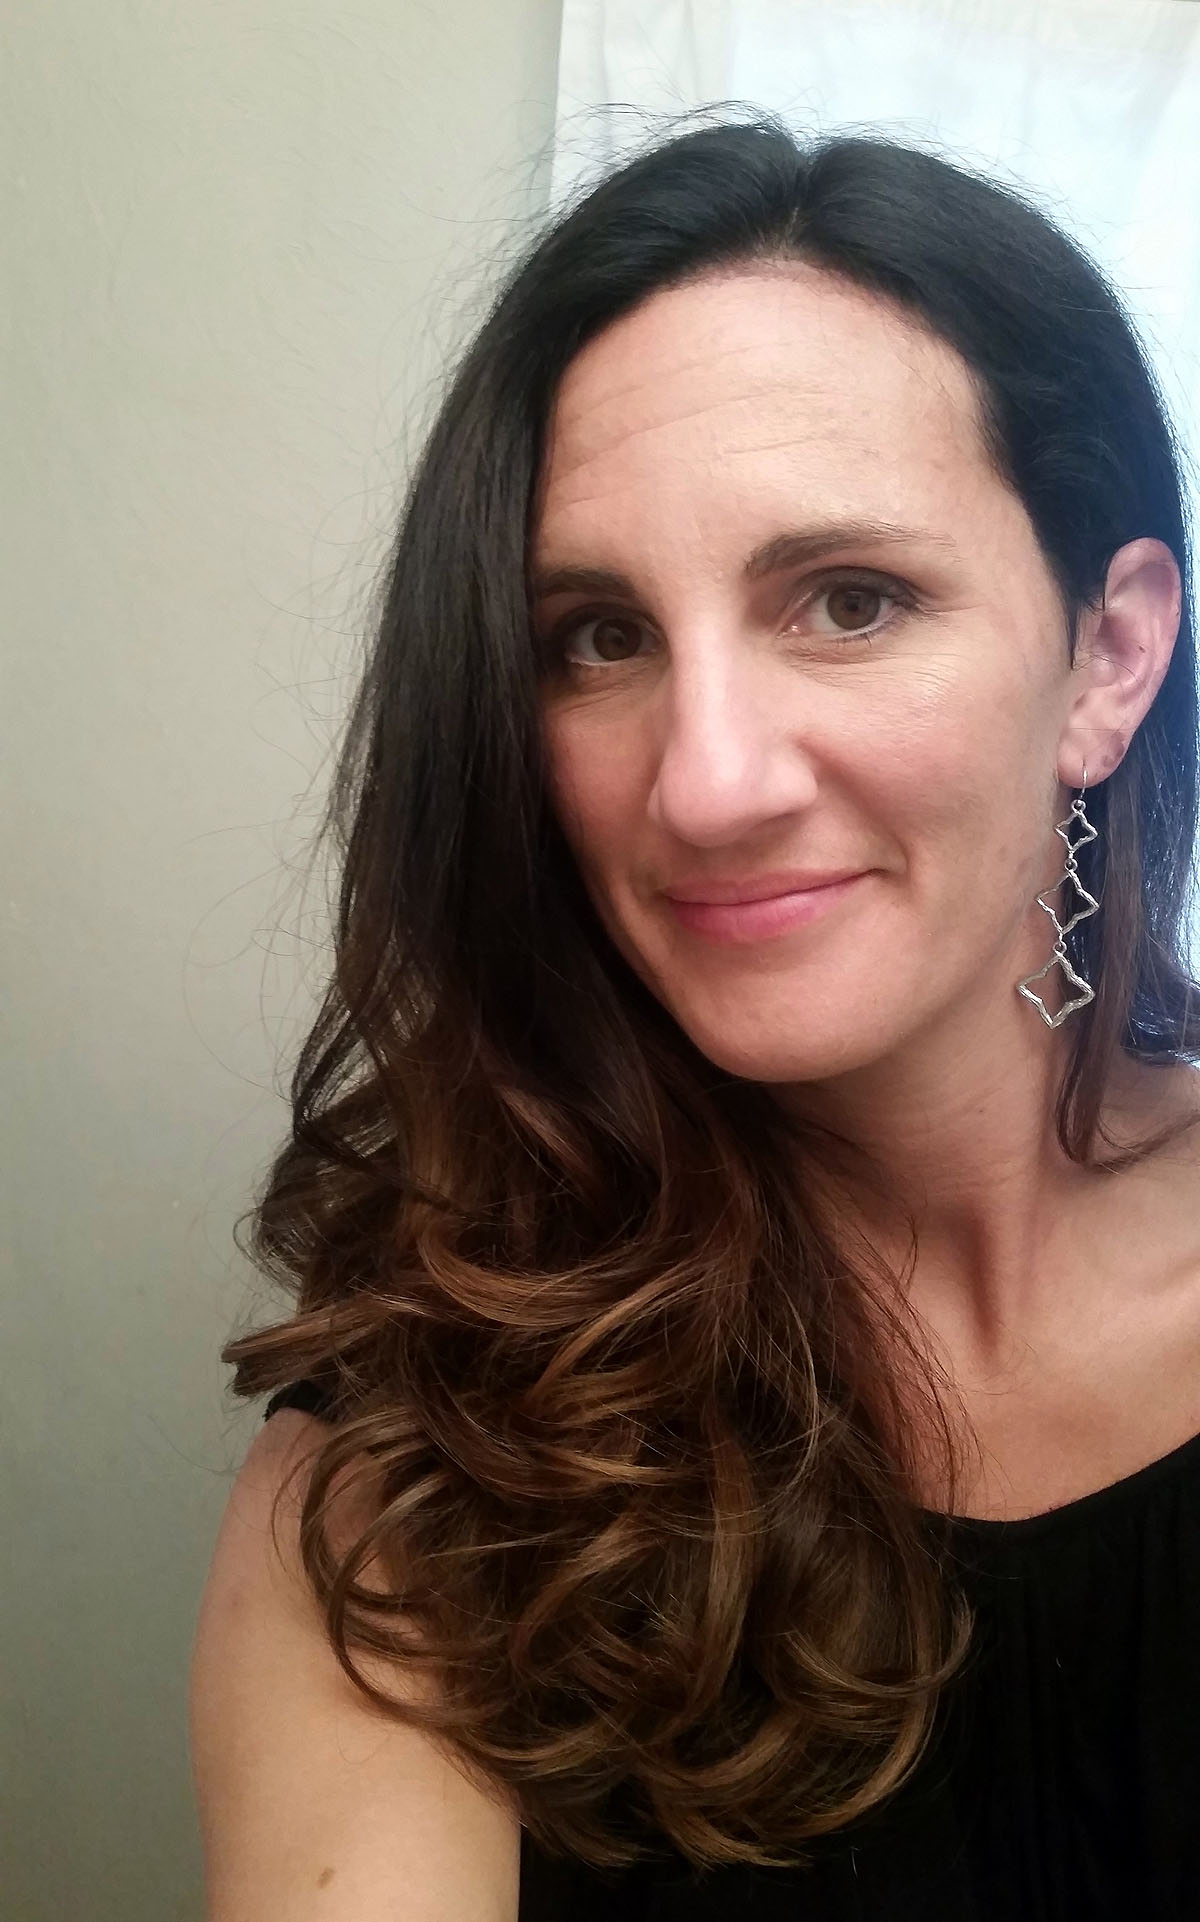
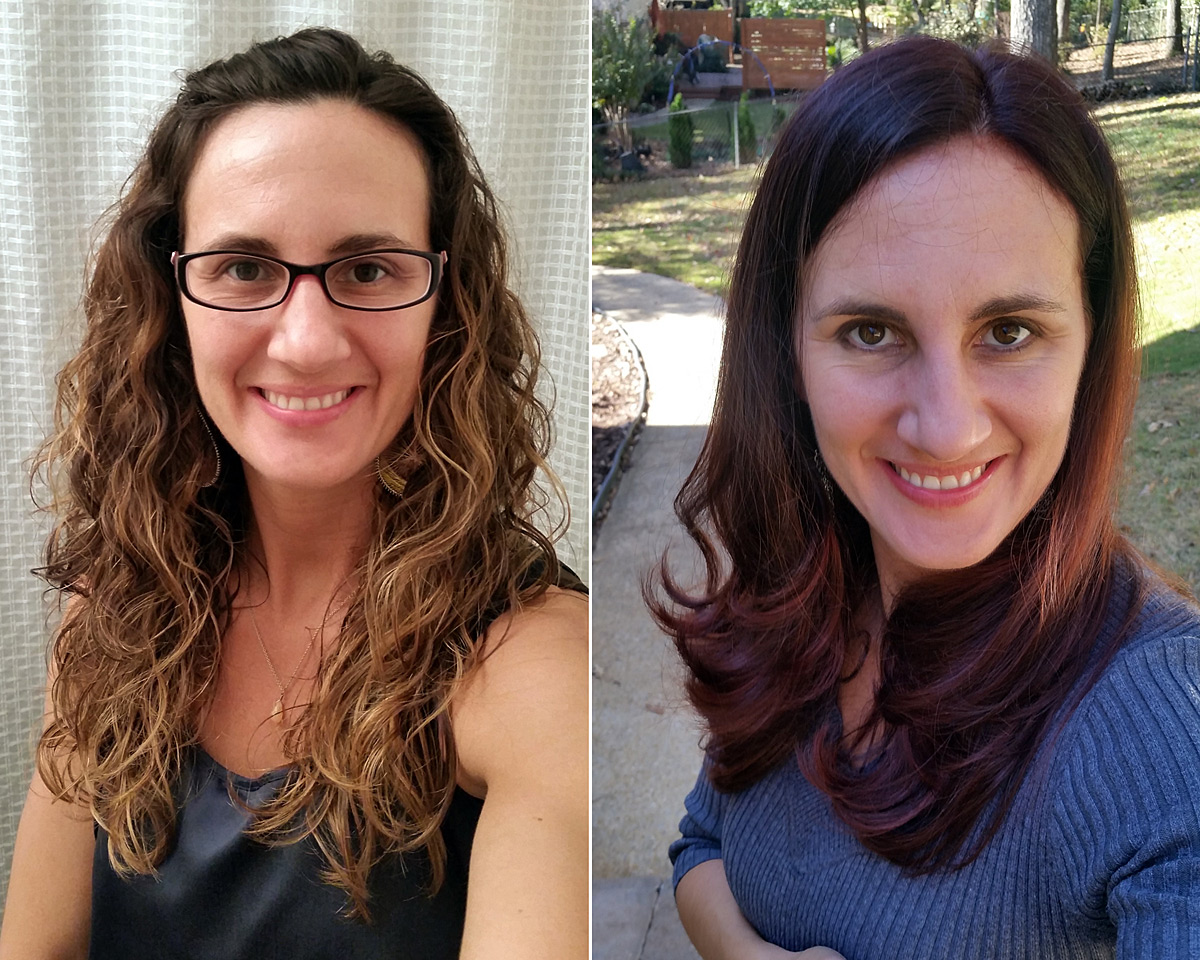
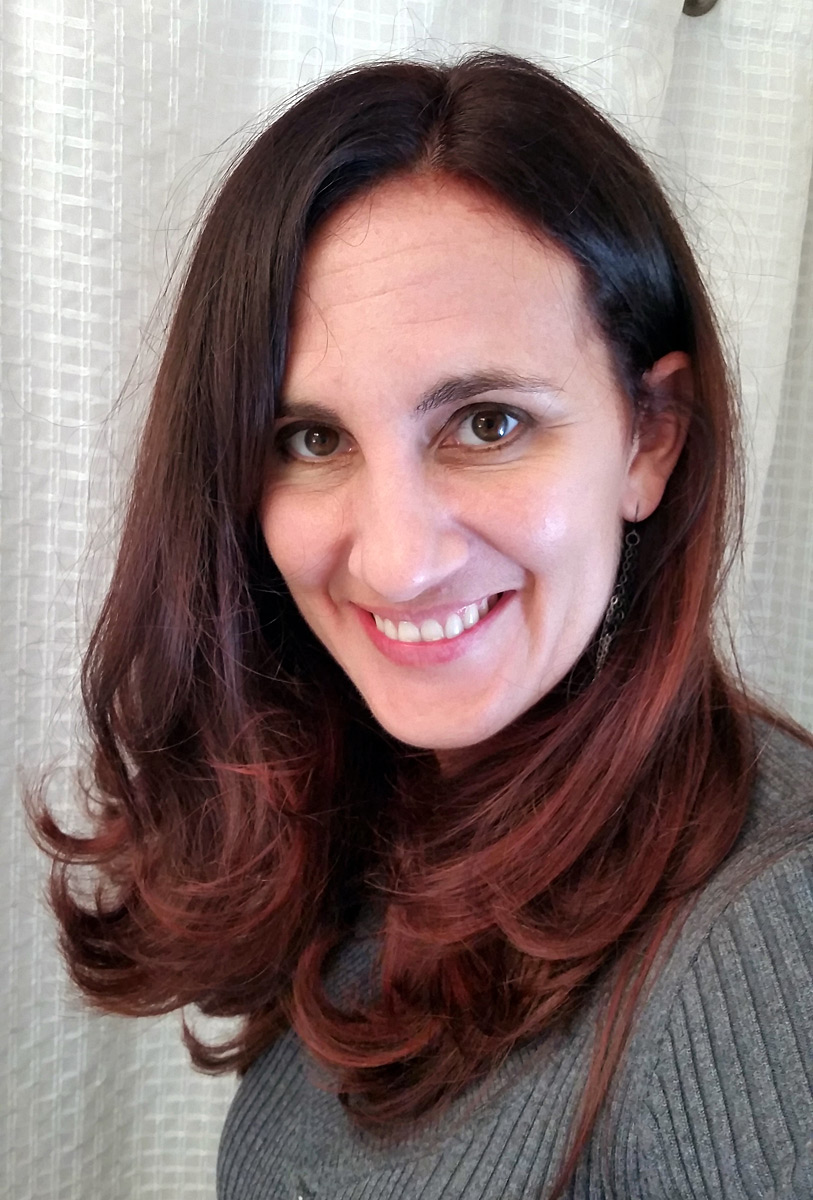
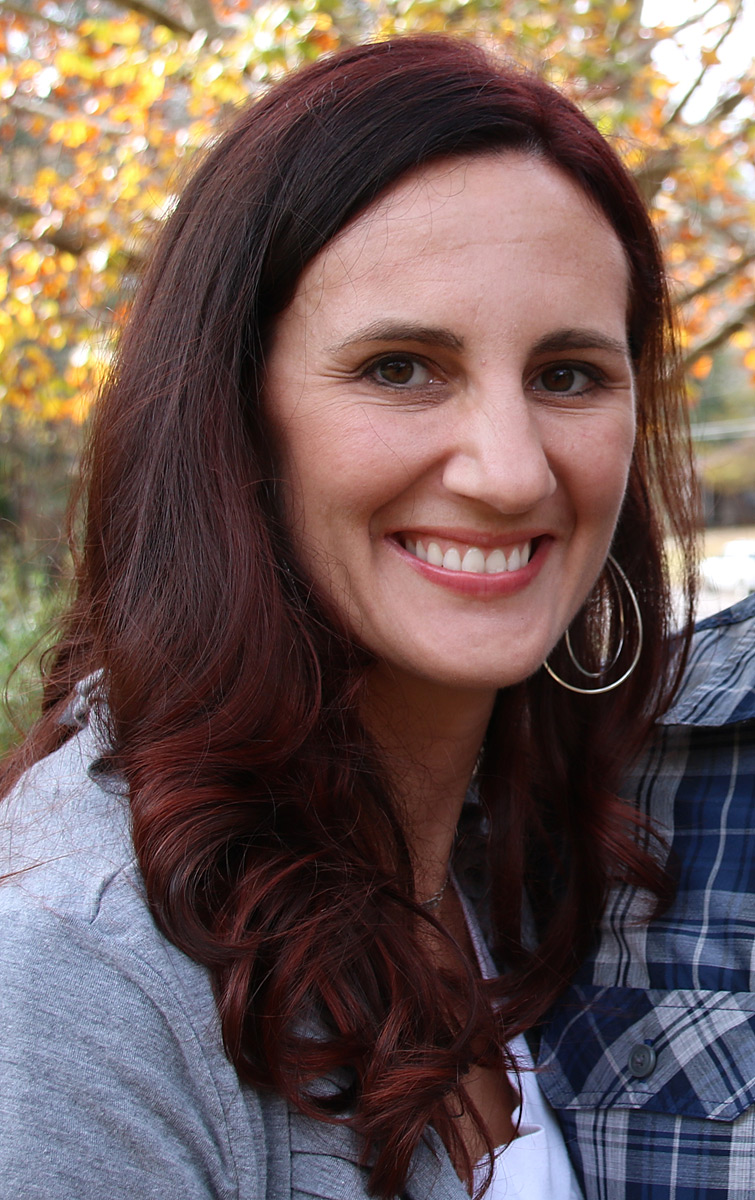
Time for a Big Chop
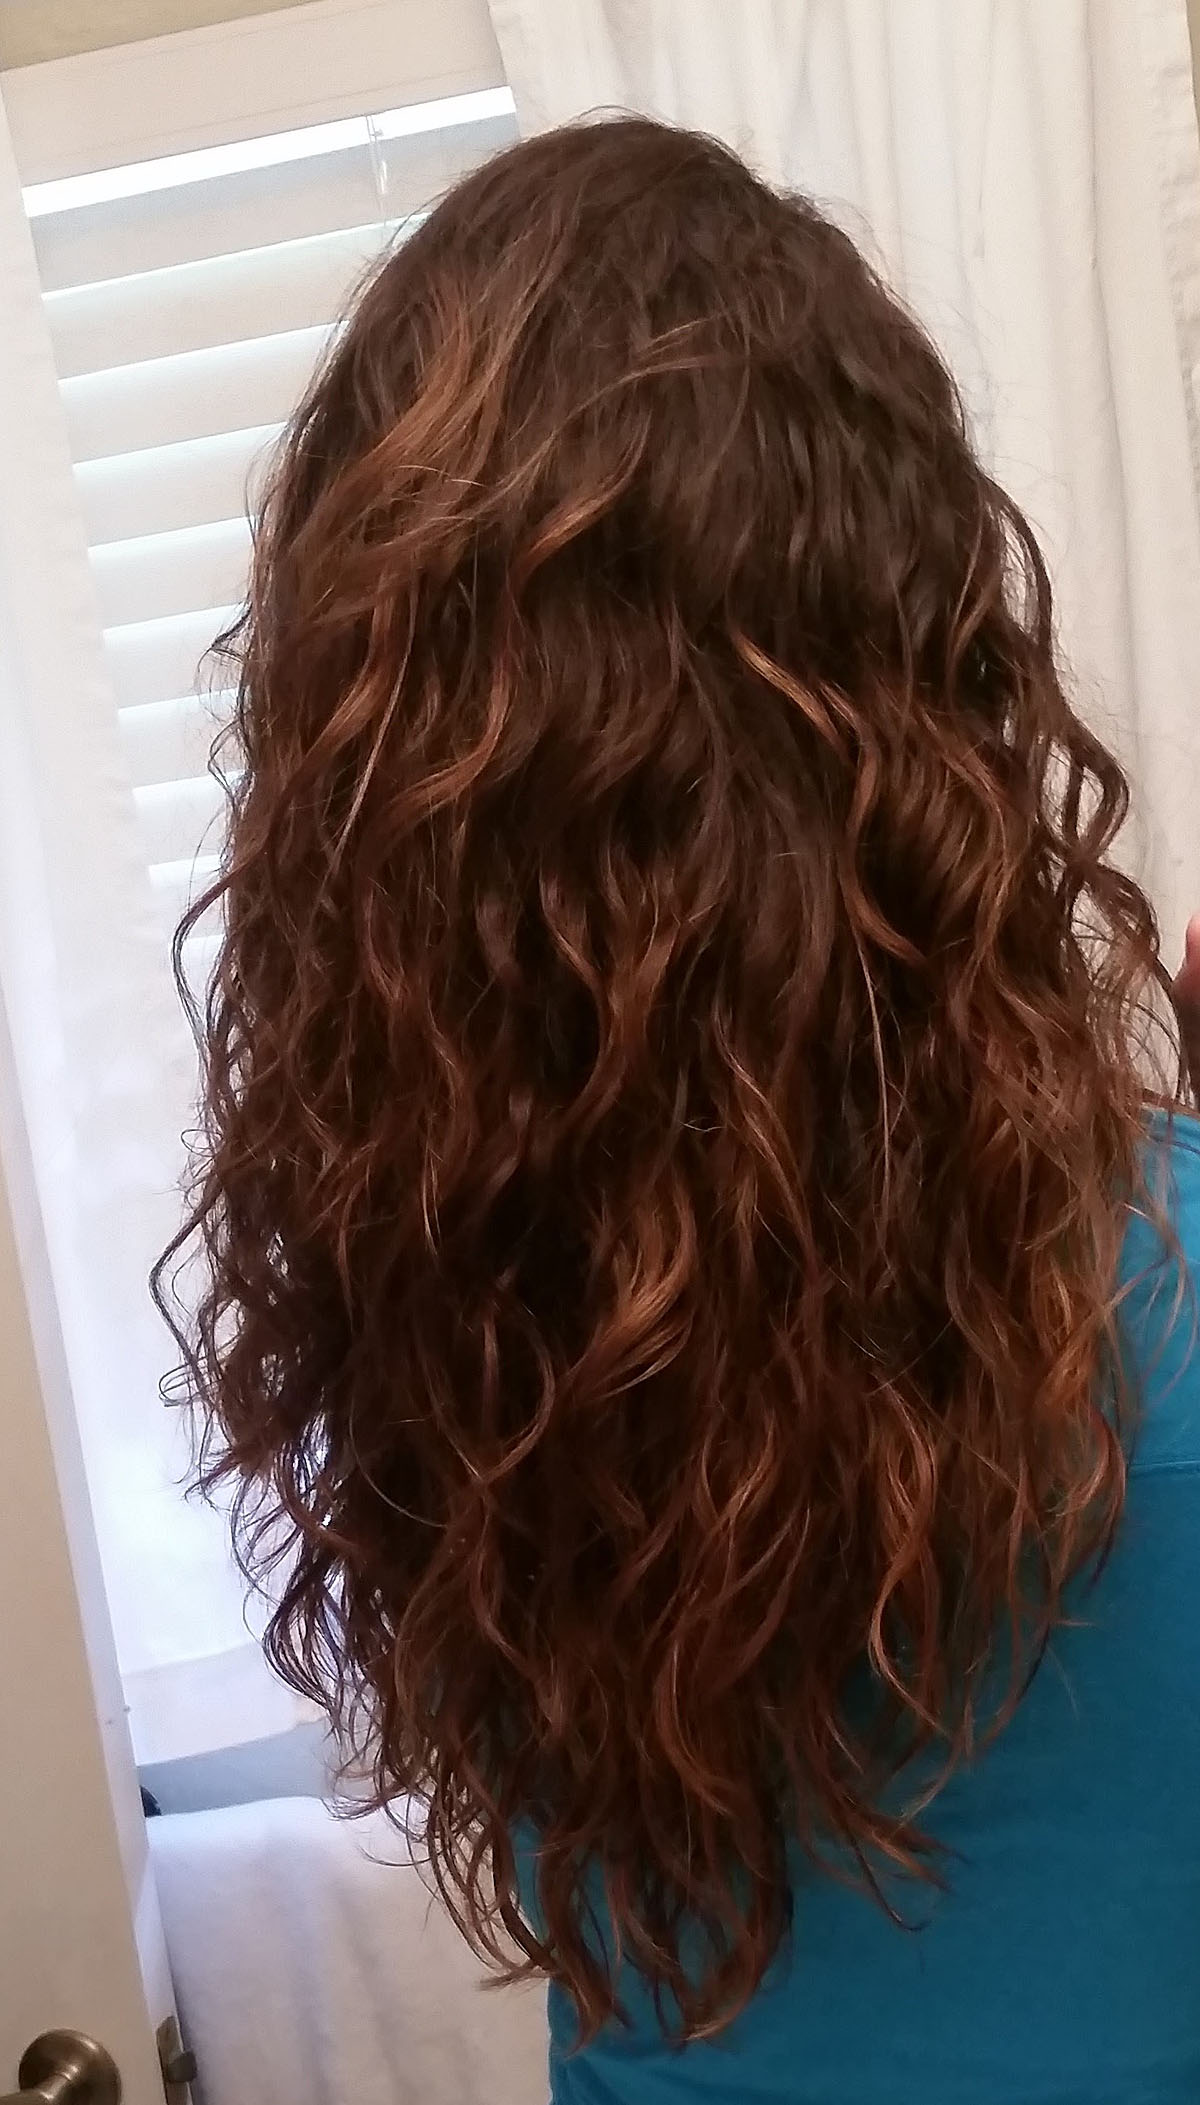
Sometimes, you just need a change. It's not that I didn't love my long curly hair -- it's just that it's been long for almost 9 years. With all the health problems and stress I've had in the past two years, I felt like my long hair was dragging my already-tired face down even more, and it was time for something a little more springy.... and it's not like I haven't had short hair before...

I asked for something like these photos below and my hairdresser asked me several times, "Are you sure? That's very short in the back. No ponytails anymore!" I assured her I was certain, and to just do it!!
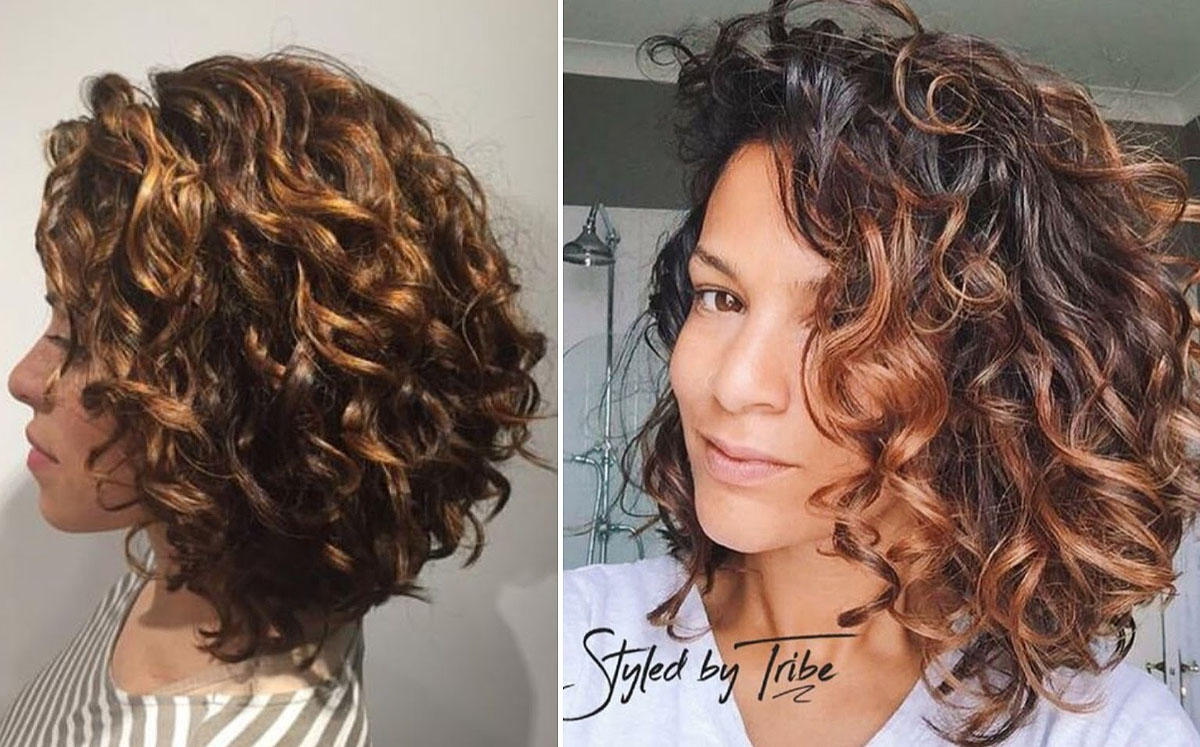
Even if it's just psychological, I think it helped, and I'm excited to have a new "look" for a while. And bonus, my hair no longer gets caught up in my purse strap anymore!
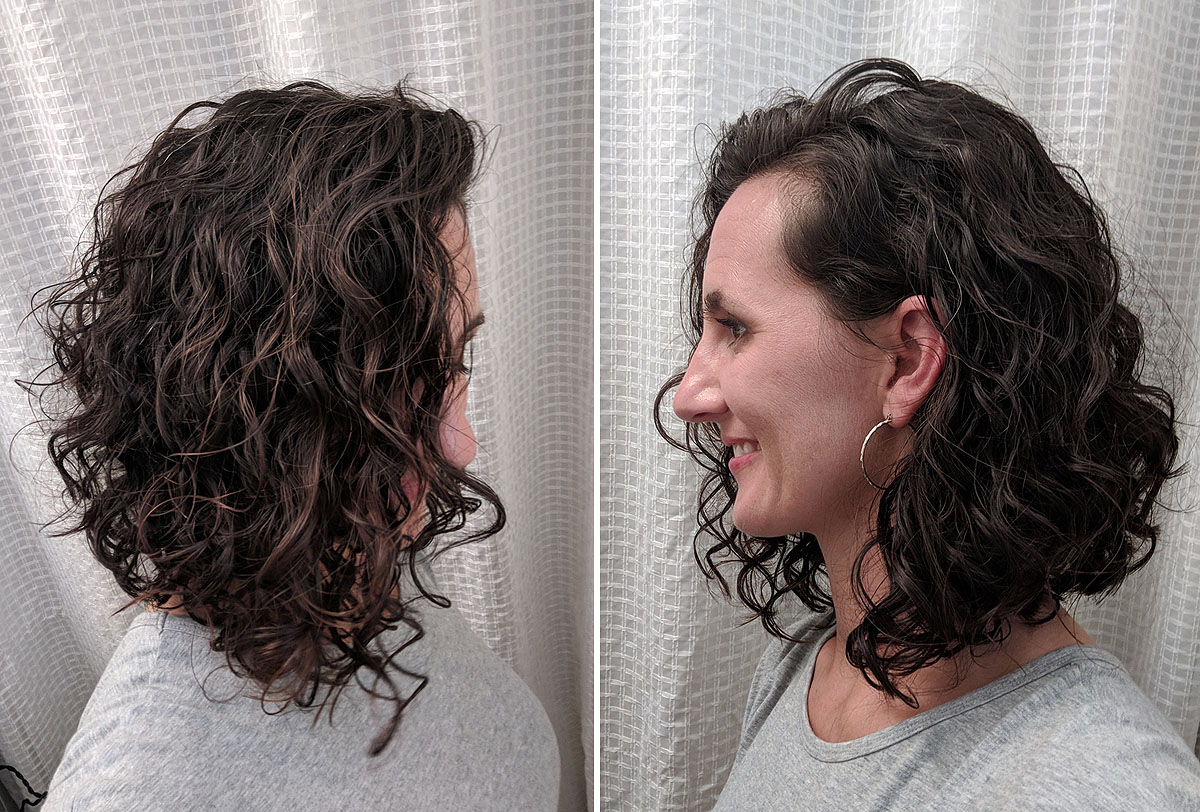
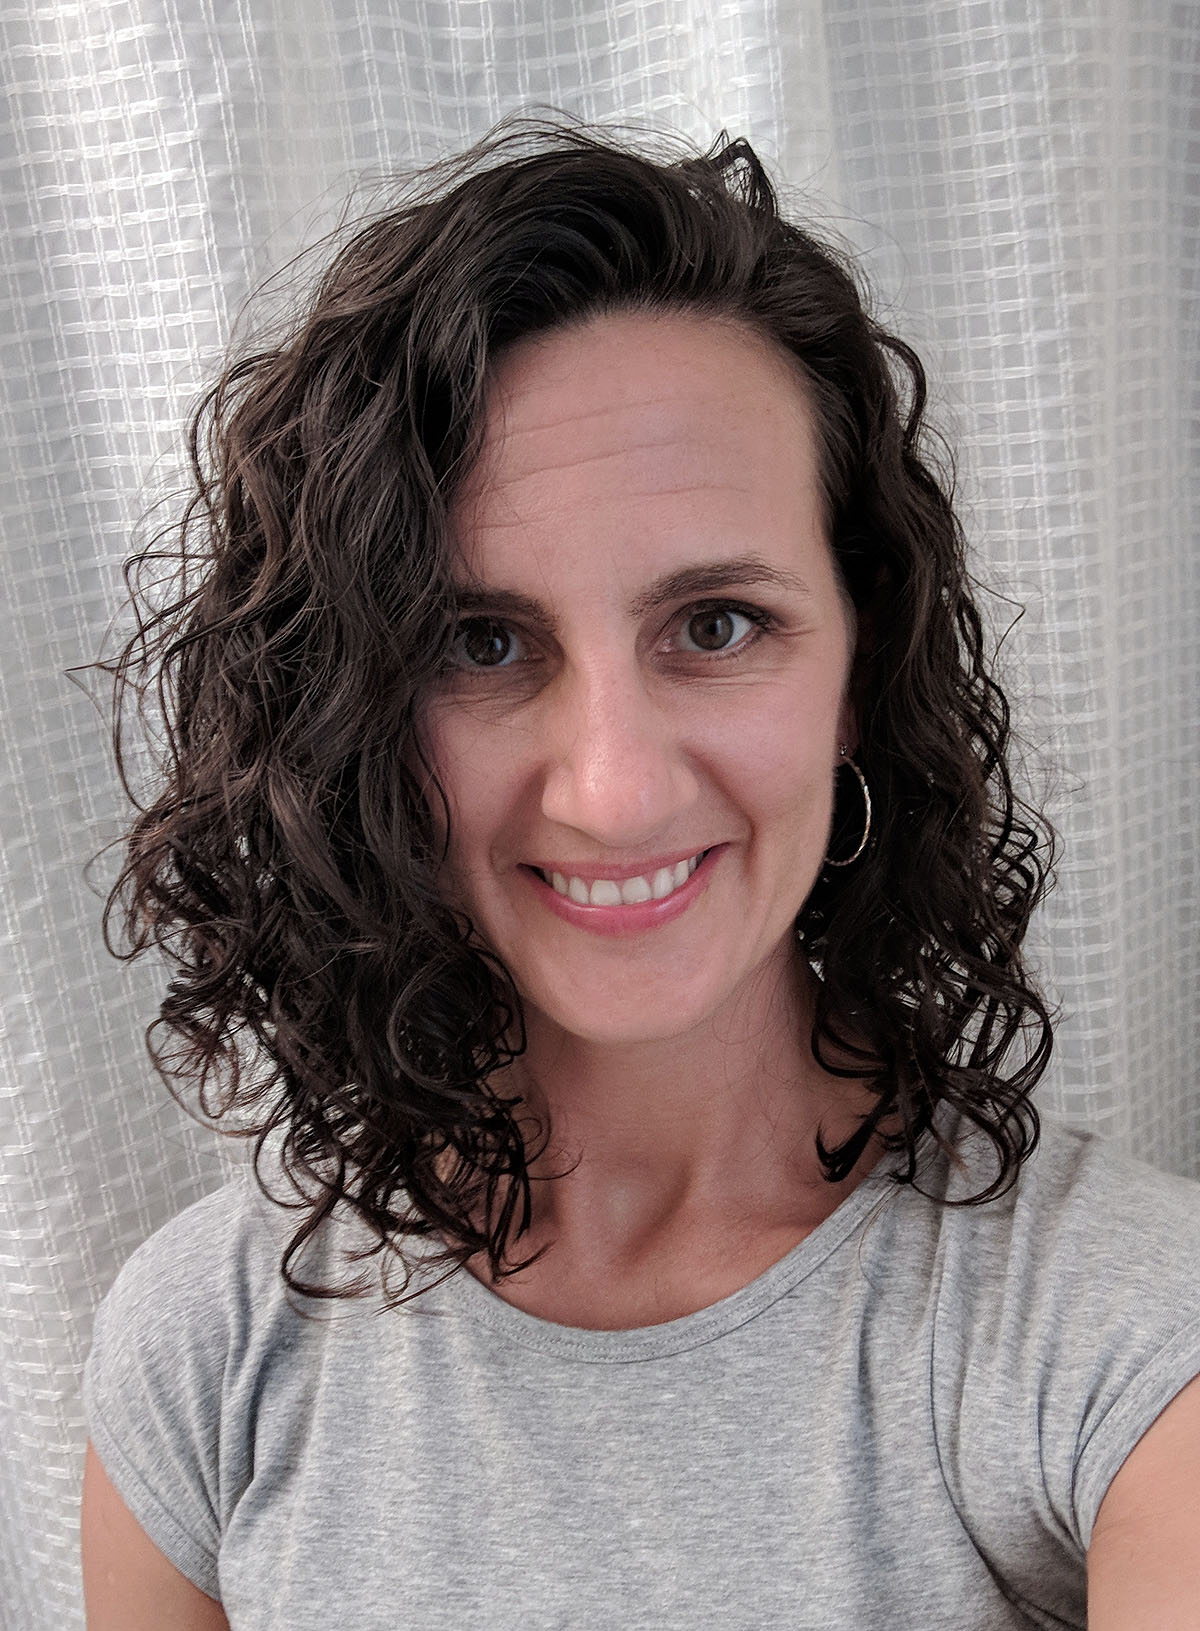
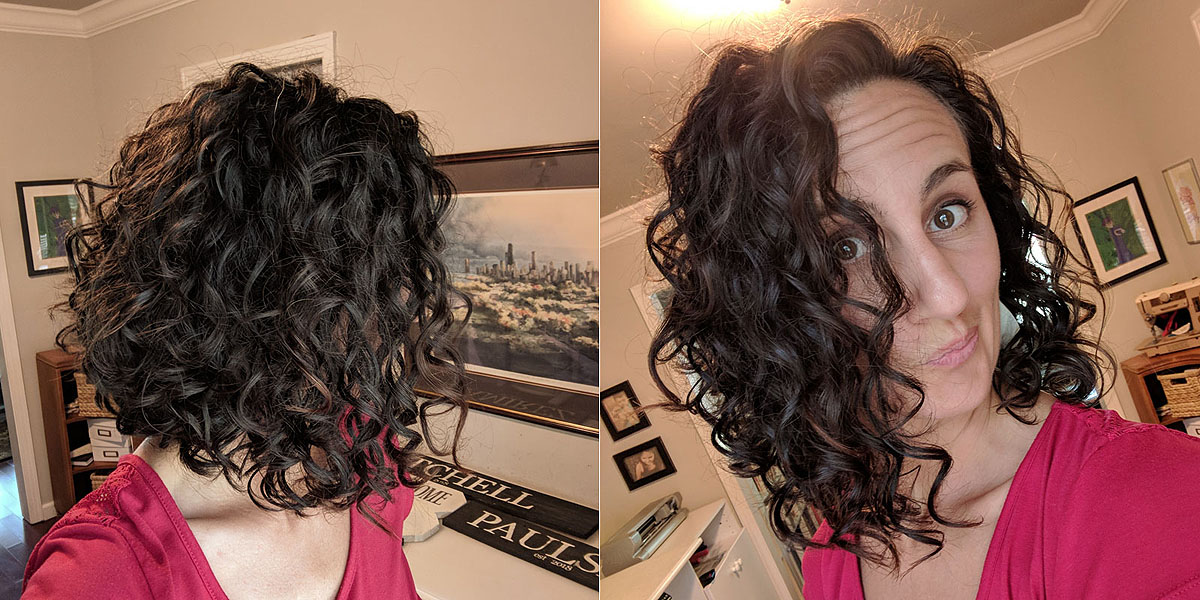
The pics above were immediately after the haircut, but after washing it the next morning and letting it air dry with all the right curly girl products, I couldn't believe how curly it got!
The kids came home from school and it took them both several hours to notice that I cut my hair at all. So maybe it wasn't as dramatic as I thought!
I can just about guarantee in a few months, I'll go a little shorter. ;)
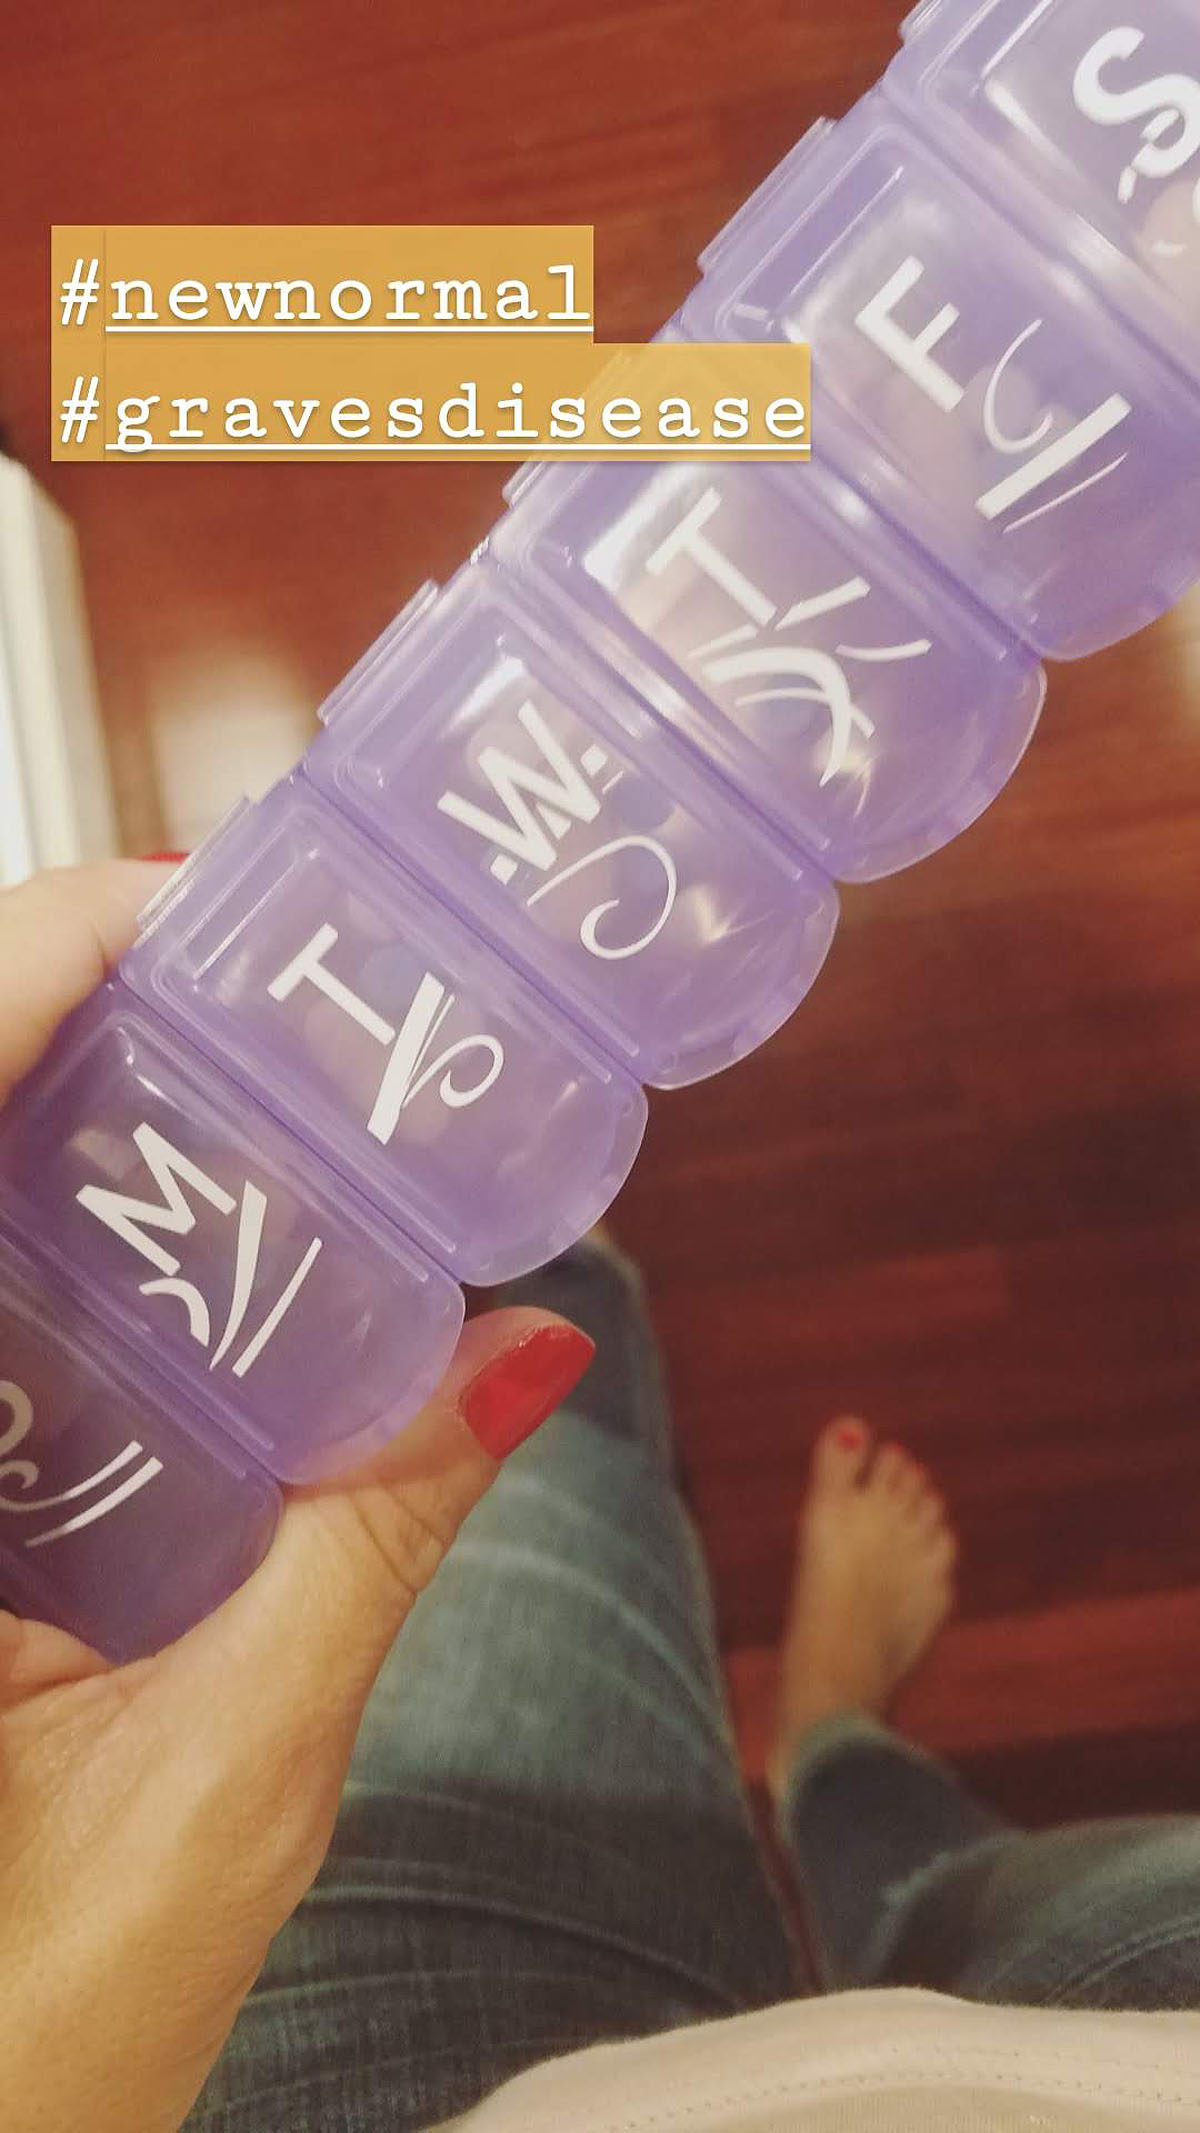
A New Normal: Graves Disease
If you've followed my Instagram stories recently, you know that I've been sick for several weeks. Here's the story of what's been going on:
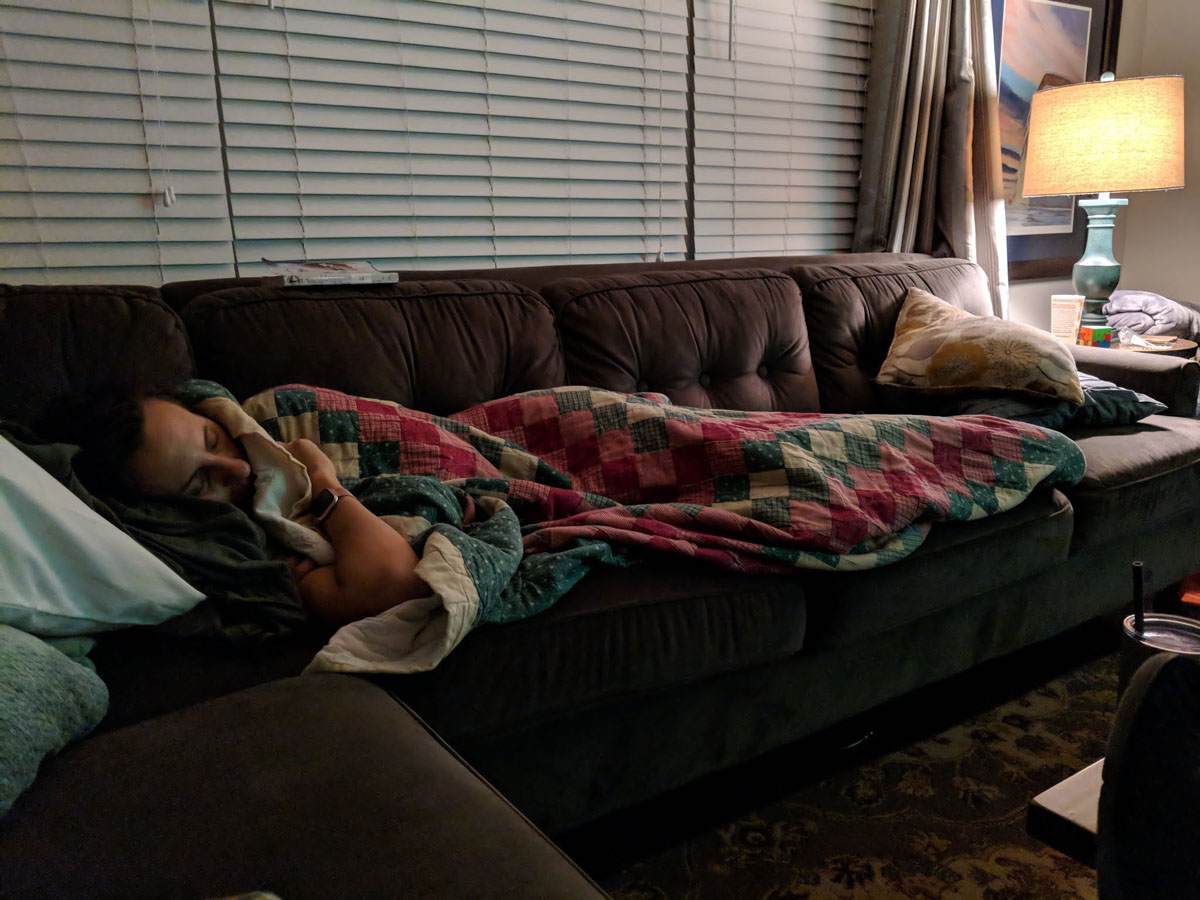
It started just before Mother's Day with suddenly unexplainably sore muscles, achy joints and extreme fatigue that lasted for weeks. I was short of breath, light-headed and couldn't do anything other than lie in bed or on the couch.
The whole week my mom was in town, I was in bed and asleep by 8:30 or 9pm from pure exhaustion and everything I did took SO MUCH energy out of me.
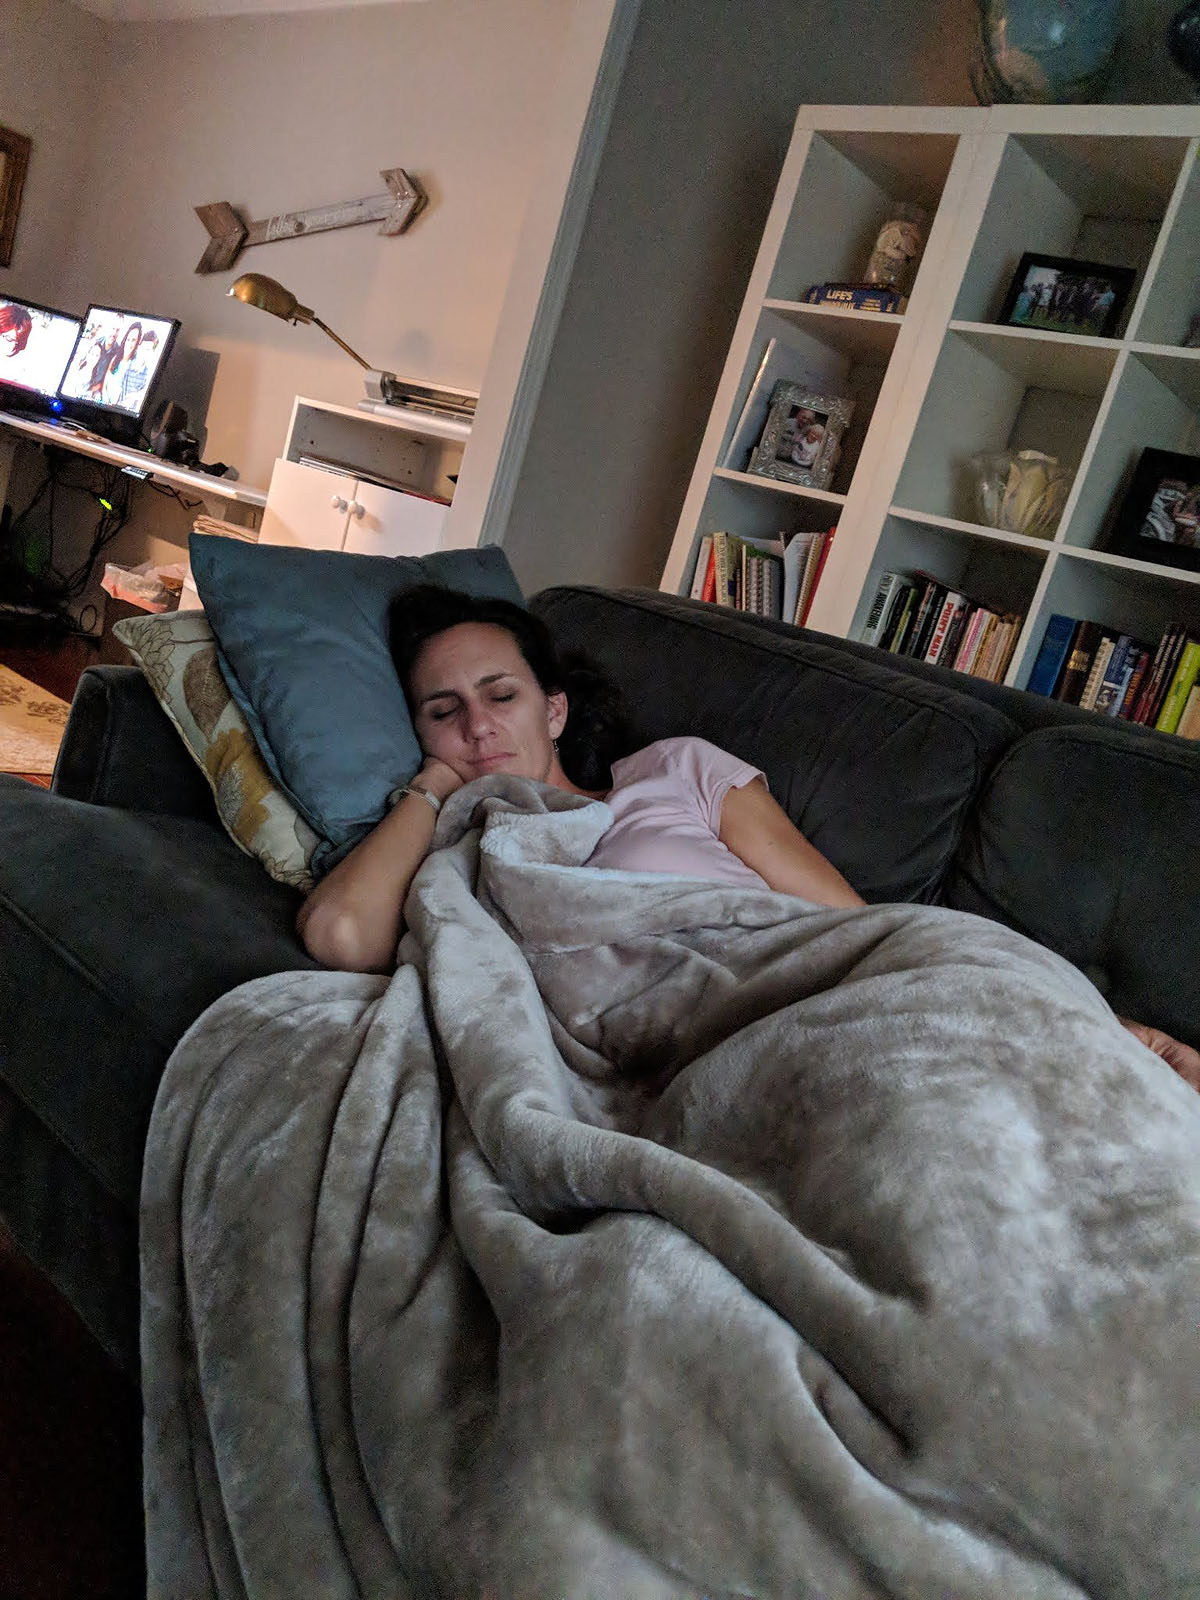
I literally, paintstakingly and at a snail's pace, moved from the couch to bed and back again for a solid week. Every single joint was constantly throbbing and aching.
Finally, just after Memorial Day, when my body hurt so bad I couldn't even hold the pages of a book open without pain, I went to see my doctor for a Mono test. My doctor decided to do several different blood tests since I didn't have a sore throat or fever.
When the results came back, it wasn't at all what I had expected. I had a vitamin B12 deficiency and my T4 thyroid hormone was overproducing. So, she ordered a B12 shot and a visit to an endocrinologist. I had hoped the B12 shot would boost my energy some, and while I did have a day or two of *slight* improvement, it was still pretty awful and clear that my thyroid was the real problem.
While I waited to see the endocrinologist, my symptoms progressed. Hand tremors, rapid heartbeat, tingling hands and feet, trouble with word recall, nausea, and additional weight loss. Simple tasks like writing checks (not to mention painting my signs) were extremely difficult, both painful and ridiculously wobbly. Thank goodness for Ben and the kids who were very understanding and helpful while I was incapacitated.
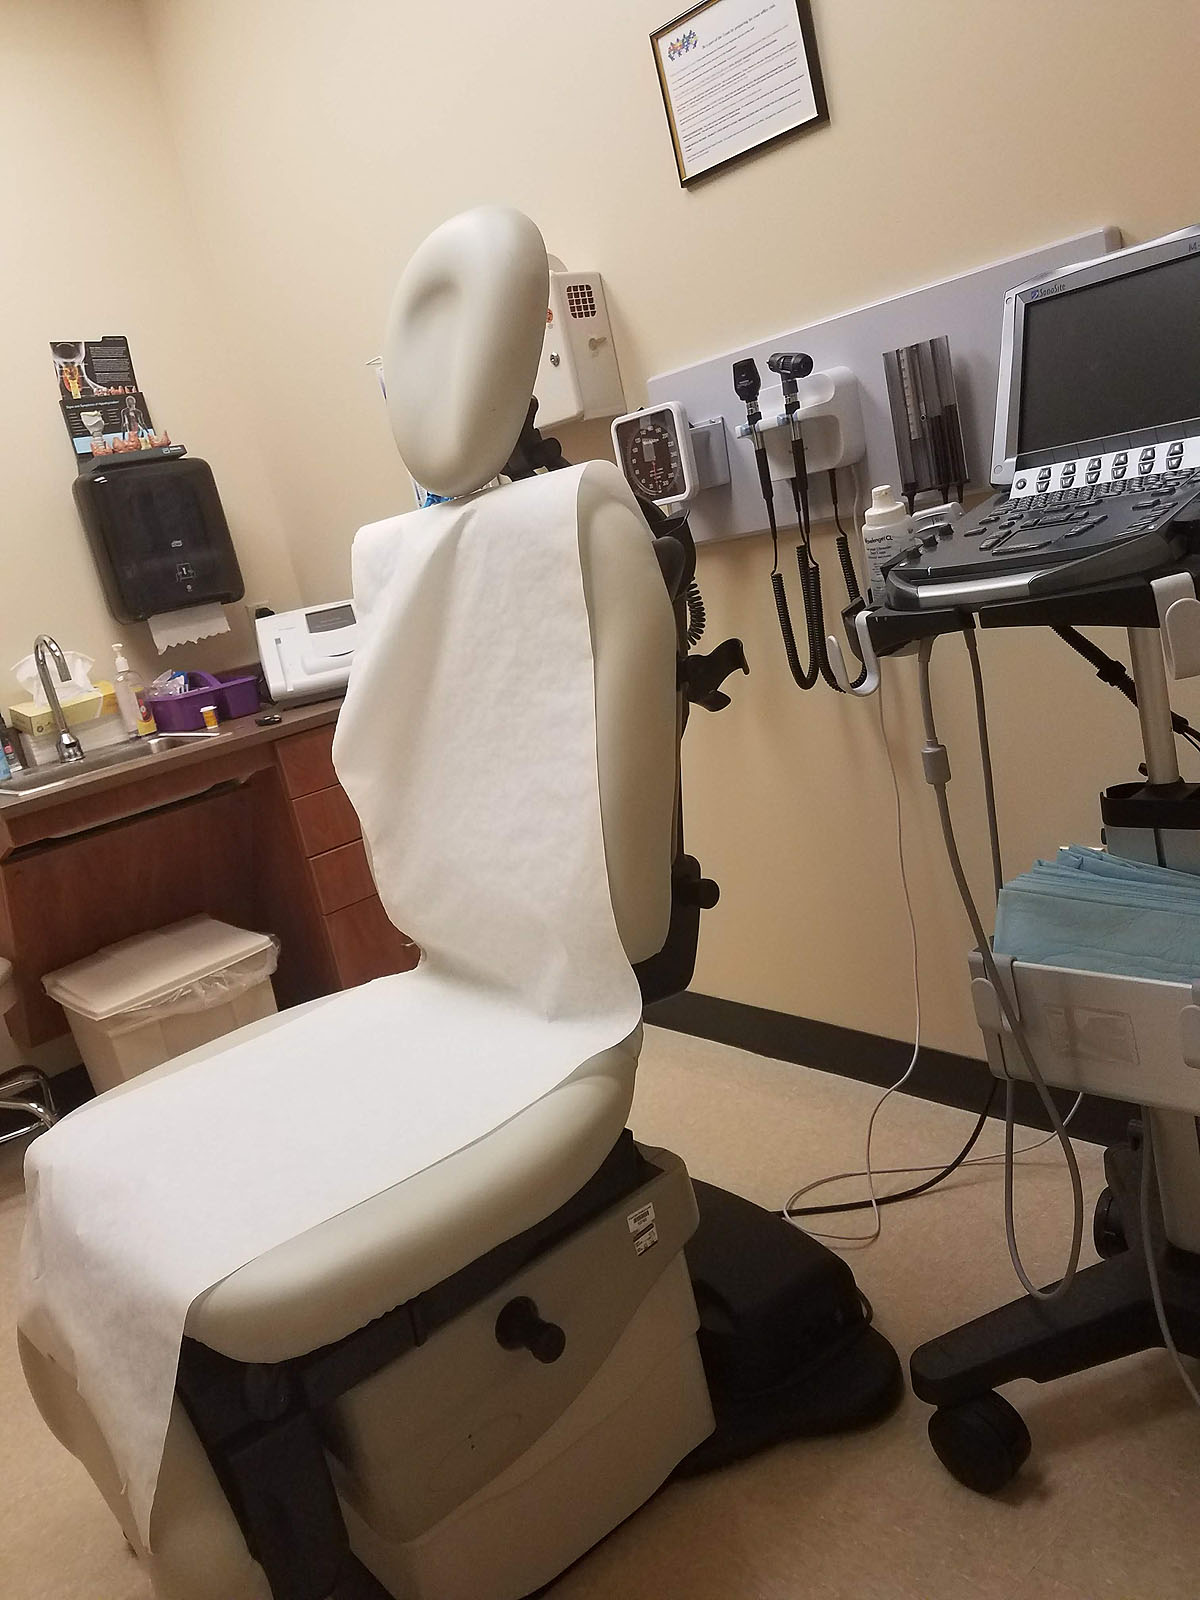
By the grace of God, I was put on a high priority list and was able to get an appointment with the endocrinologist within a week. My initial apppointment wasn't going to be until mid-August and I couldn't imagine this going on for that long untreated and feeling so awful!
After an ultrasound, several more blood tests, and a talk with the endocrinologist, she diagnosed me with Graves Disease, an autoimmune disorder that basically means my thyroid is working overtime.
So, now I'm learning a "new normal" including daily medication, Methimazole (10mg, 1x daily to stop overproduction of my thyroid hormones) and Propranolol (20mg 3x daily, to reduce my symptoms) that-so far-appears to be helping. One week on the meds and I have much more energy, very little pain, and I feel like I can finally, slowly, start building back muscle and endurance.
It may be a long and bumpy road as we figure this all out, and I'm trying to recognize and realize that it's not a quick fix, but I'm grateful it's least treatable, though unfortunately not curable.
Thank you to all who have checked on me, encouraged me and prayed for me! I'm *hoping* the worst is over for me, but am trying to be realistic and be aware of possible complications along the way.
Tip: Don't Google experiences with Graves Disease...many of the extreme stories aren't encouraging and are downright scary.

(Propped up by a railing and Ben, a little bit of illness couldn't keep me from Chuy's)
But I'm ok, and it'll all be fine. God will get all of us through it. I might just have to slow down a little (or a lot).
Got Cookies?
Ayla is selling Girl Scout cookies to raise money for her troop's trip to Savannah this spring (and she's very excited, as you can see). If you don't already have your own Girl Scout to purchase from, she'd be thrilled if you'd help her toward her goal of selling 300 boxes!

(A Message From Ayla)
I would love it if you ordered cookies from me! We have a new cookie called Girl Scout S'mores! I made a slide show that shows all of the different kinds of cookies!
- Thin Mints $4.00 a box
- Tagalongs $4.00 a box
- Samoas $4.00 a box
- Savannah Smiles $4.00 a box
- Trefoils $4.00 a box
- Do-Si-Dos $4.00 a box
- Toffee-Tastic $5.00 a box
- Girl Scout S'mores $5.00 a box
We'll have cookies in-hand and ready to deliver at the end of January. Thank you for supporting her and her troop!
One Word 2017: FRIENDSHIP
I haven't ever participated in the "One Word" movement that many people do every new year. My mother-in-law has done it for the past 6 years and talks often about her "word" and how it affects her attitude and actions.
That said, as I look back on 2016, it's very clear that there was a theme tying together all the things we focused on throughout the past year--COMMUNITY:

Whether it was through church, our neighborhood, our extended families, sports teams, school groups, or our city -- we were heavily involved in doing all we could to cultivate community in our lives and God blessed us tremendously, widening our circle and giving us a ton of new people in our lives to love and care for.
In 2017, building on that connected feeling I've felt with the people around me, I hope to focus on fostering FRIENDSHIPS -- taking a few of those community relationships and turning them into deeper friendships.

Turning those acquaintances into true friendships, where we are able to share the good, the bad, the fun and the frustrating.
Here's to a year filled with friends!
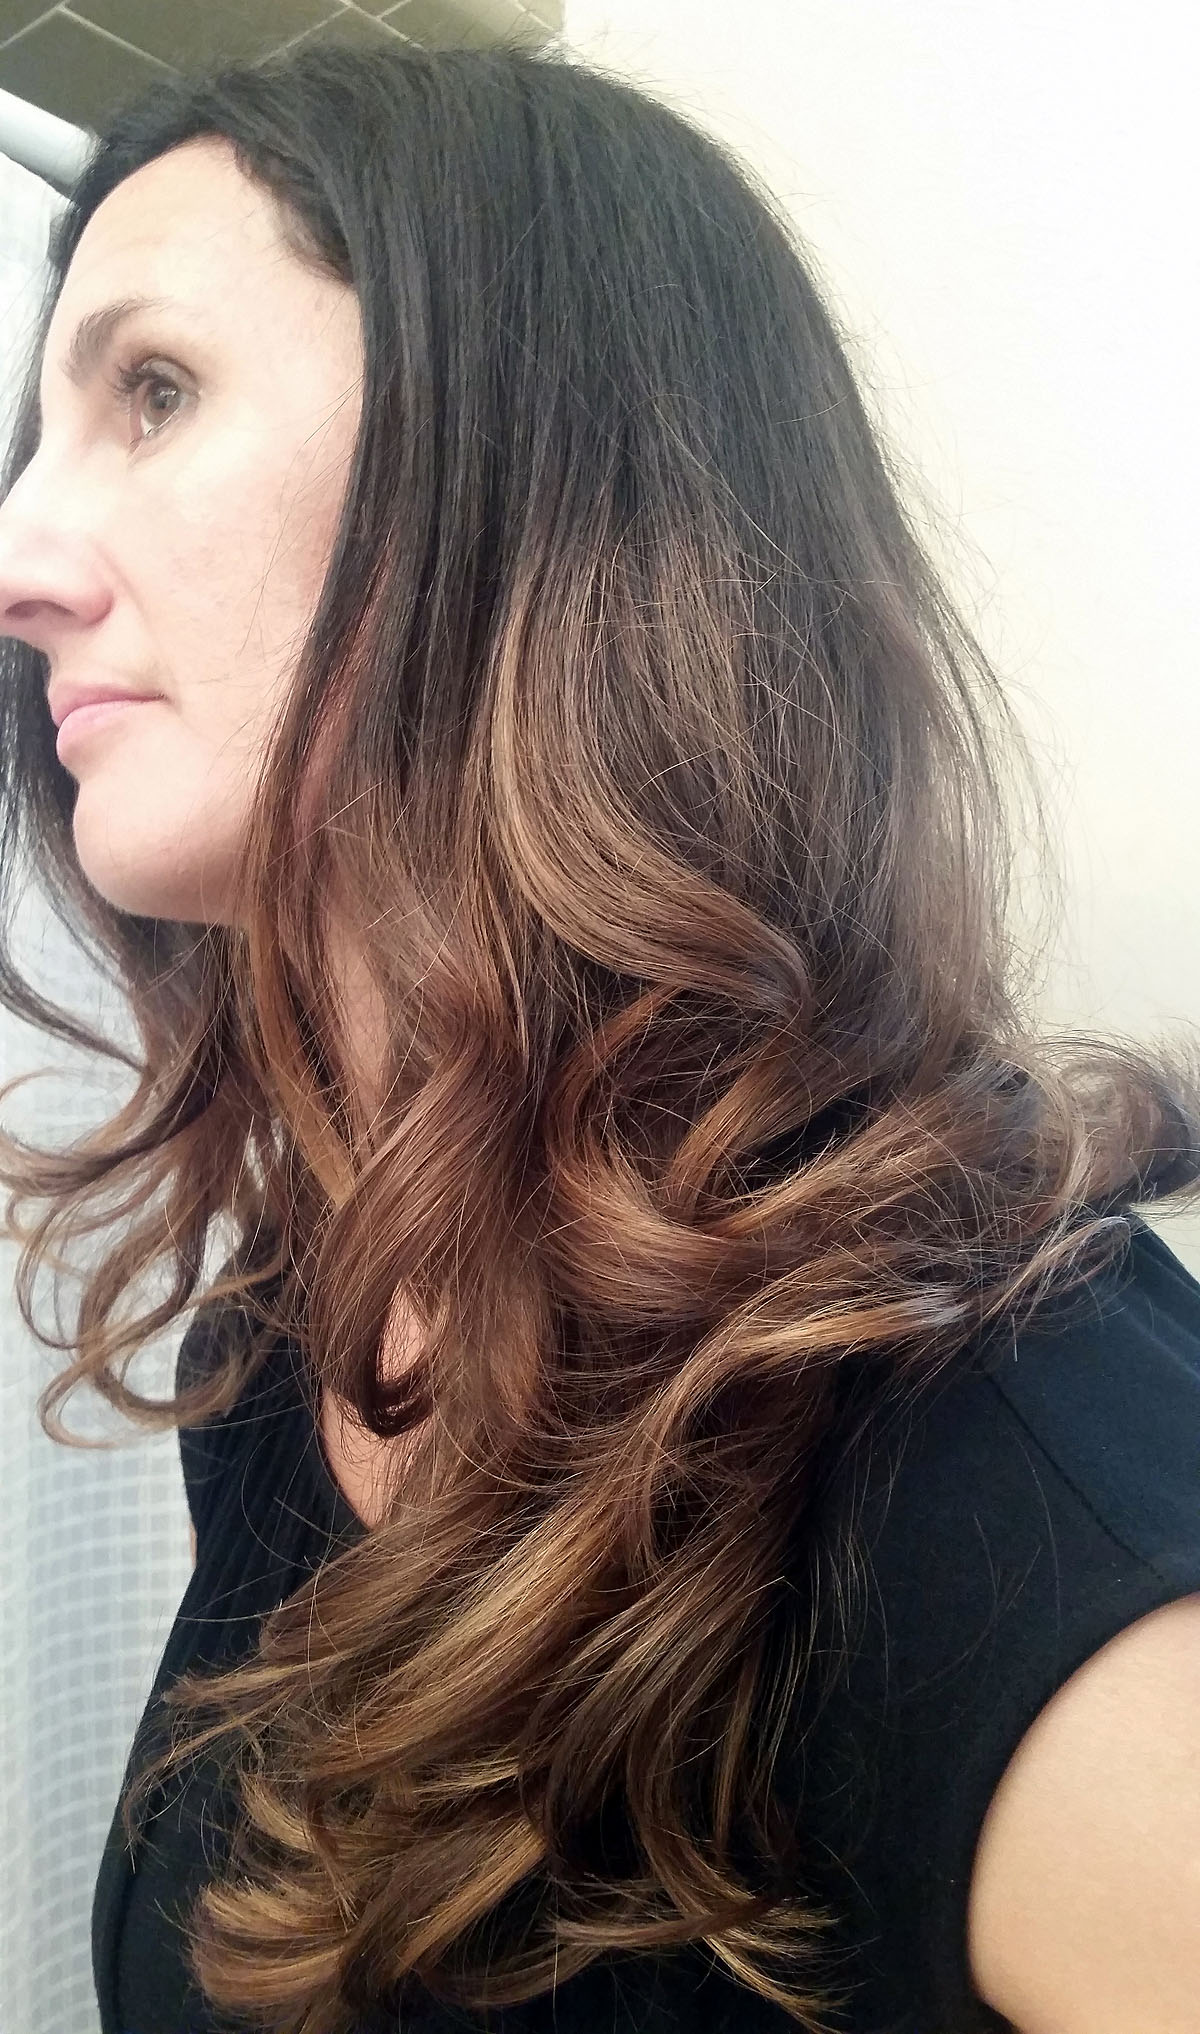
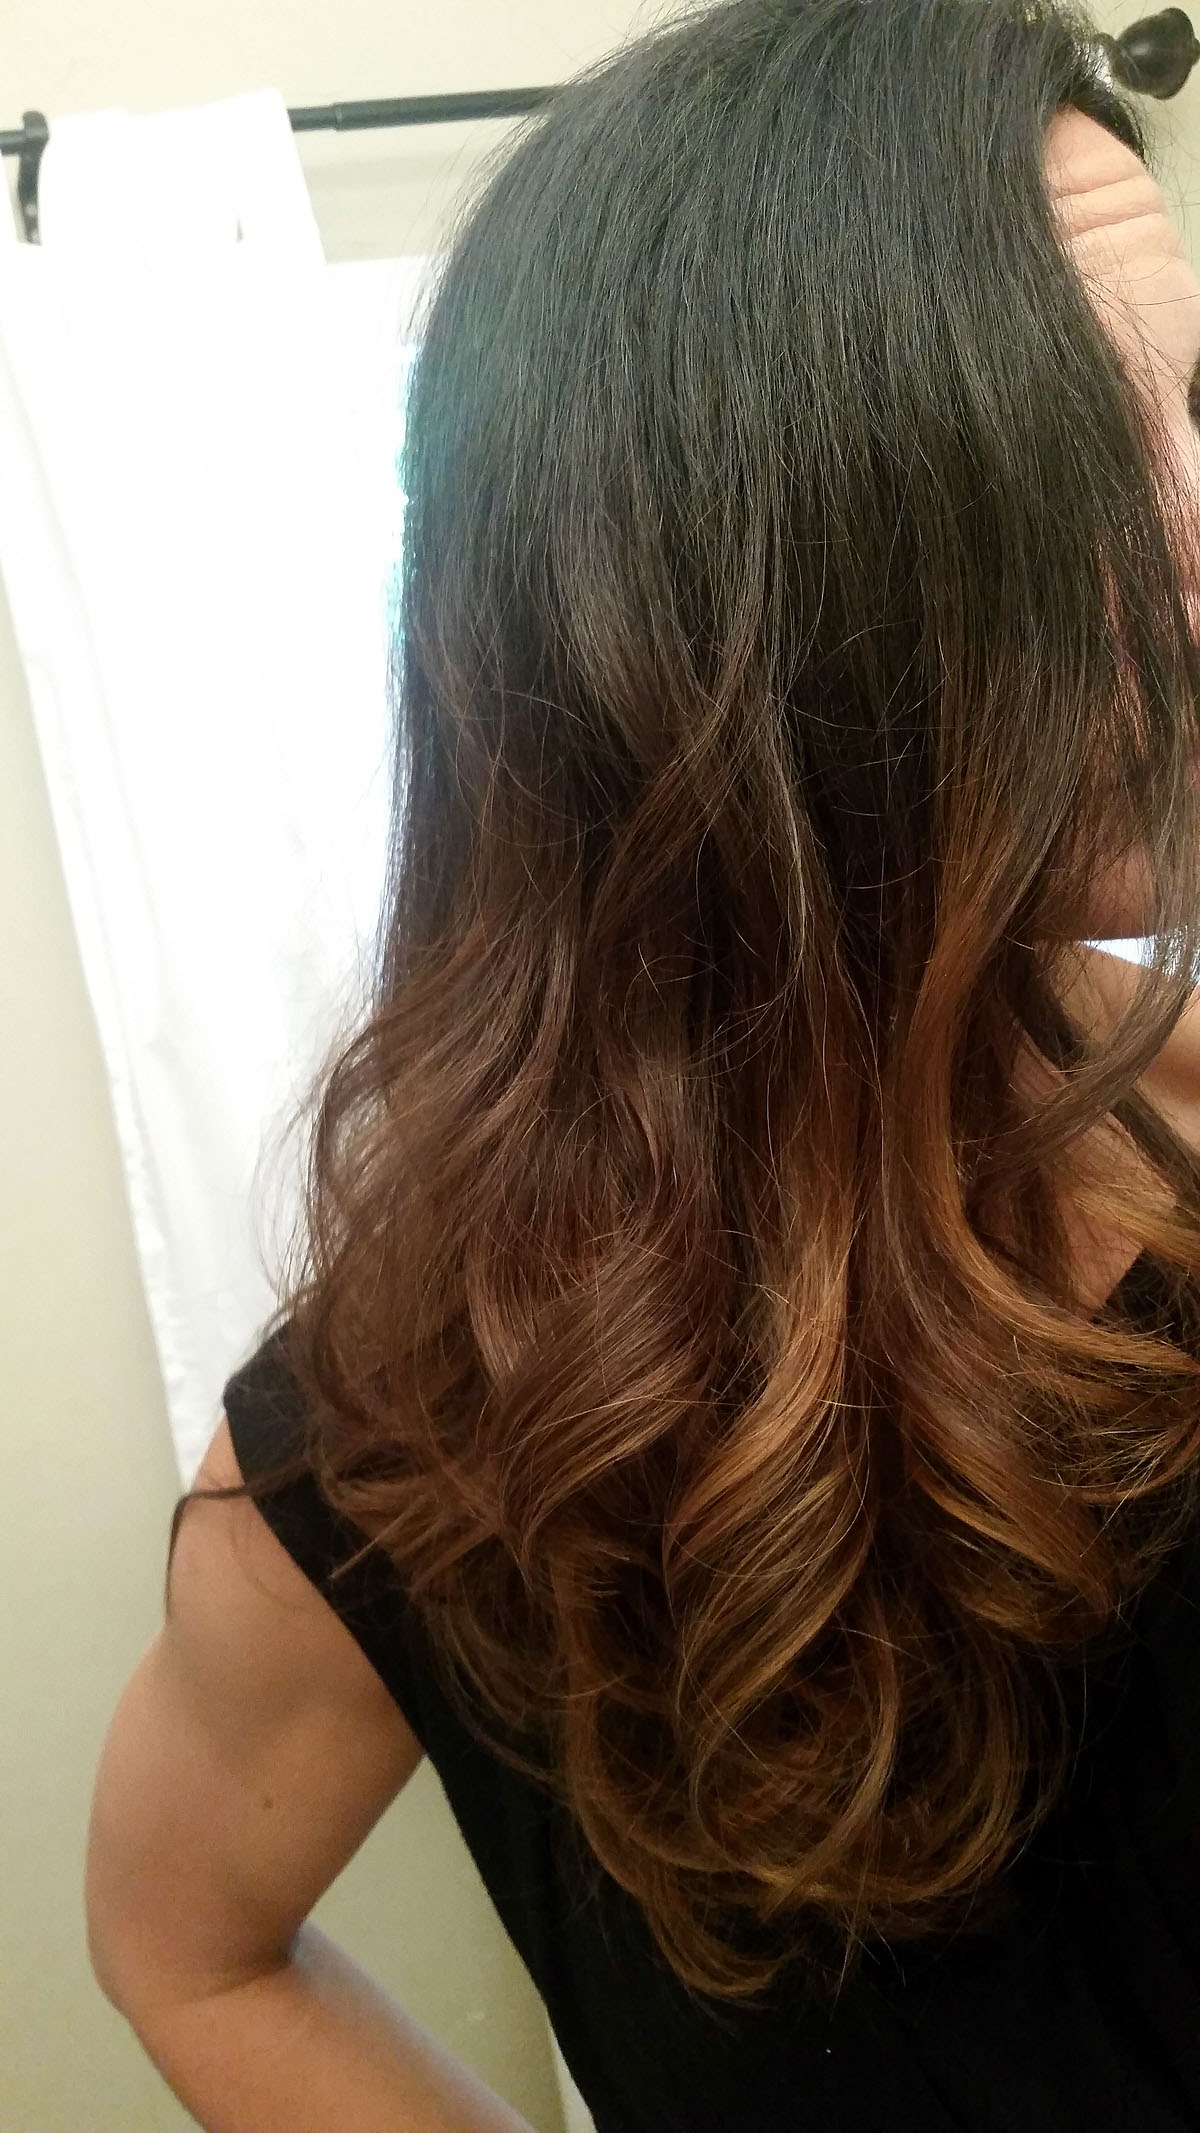
Back to My Roots - Ombre Hair
Back in November, I bit the bullet and covered my ombre & balayage hair with dark cherry red. Though it was fun for a while, I didn't realize the intense upkeep needed to keep red hair bright and vibrant. So it faded very quickly and I was left with a toned-down and reddish version of my balayage and ombre highlights...which was okay for a while.
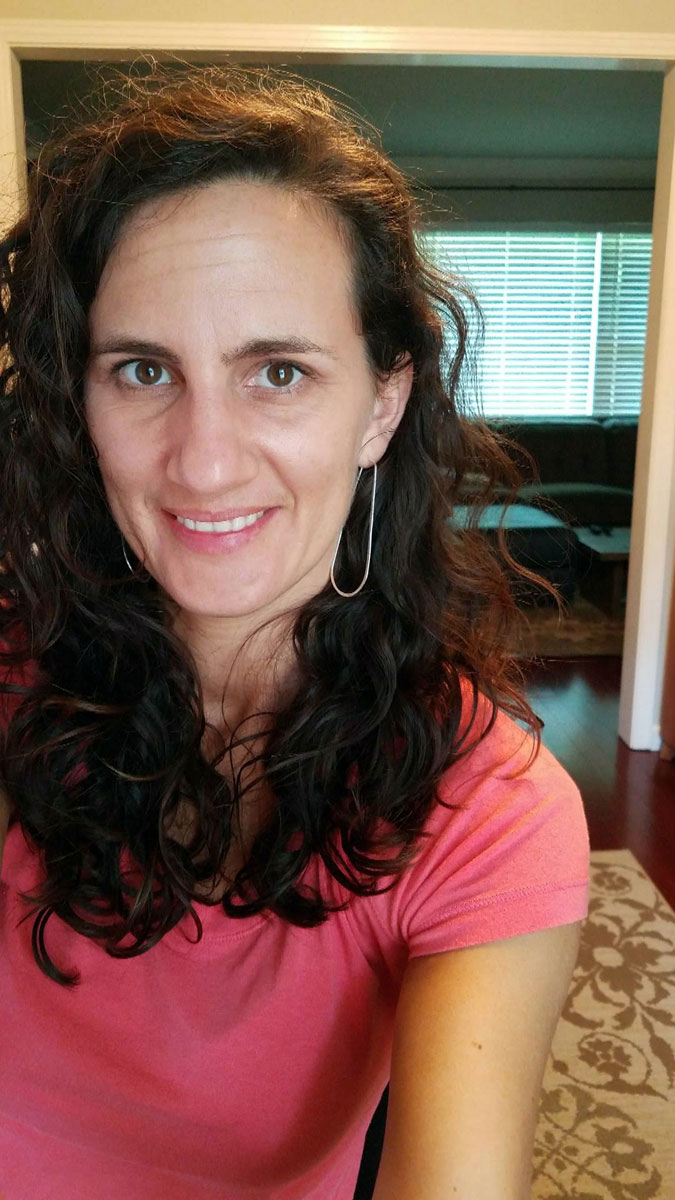
It lasted several months, until I decided it was time to freshen things up and go back to my dark roots. In a way, I went back to the ombre look I originally had done when I first started coloring my hair, but we did it "backwards". Instead of coloring the ends of my hair, my hairstylist matched my natural haircolor and then painted the dark color from the roots down about 1/3 of of the way down my hair and blended it into my already light ends.
I love the result--and when I look in the mirror now, it's funny how much more like "ME" it seems. I guess I'll always be a dark-haired girl at my core.
Breaking Busy
Coffee, birds and books this morning... I'm taking #breakingbusy to heart.
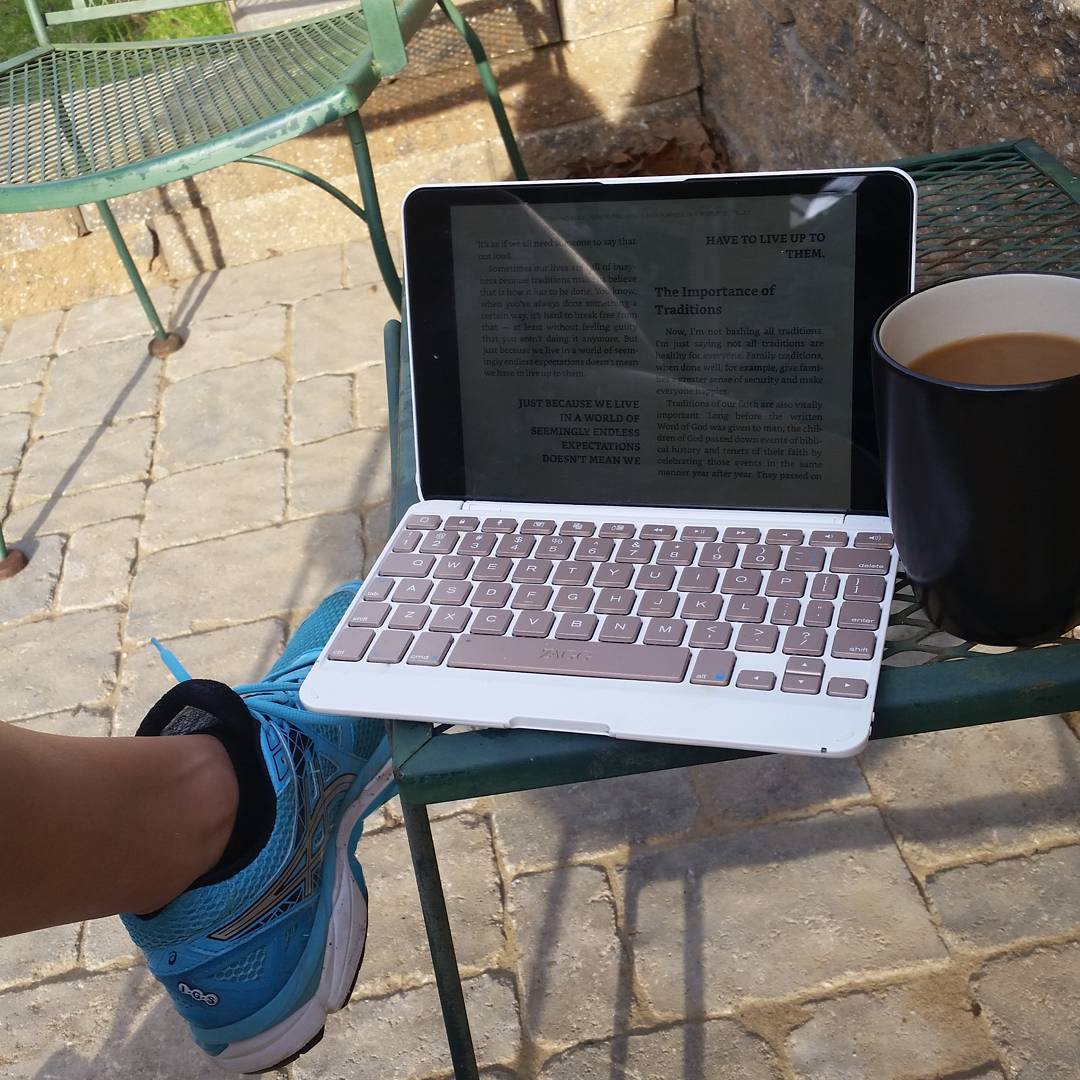
The book is called Breaking Busy by Alli Worthington - If you're an overwhelmed mom with a jam-packed calendar, you might want to give it a read. $8.99 on Kindle...you don't even have to go to the bookstore to get it!
Some, ok LOTS of people say YES to things they shouldn't out of guilt or obligation. I hear it from people I talk to every single day. If that's you, then you definitely should read this book.
Me? I don't fall into that category. I'm ok with saying no to things that don't match up with my schedule, talents and interests. Just ask the room moms from the kids' classes over the past several years.
However...I do have a way-too-full calendar of things I say YES to because they sound like good things, fun things, and important things. I'm not finished with the book yet, but it is already helping me identify a better way to filter the opportunities that come my way to determine what's really *most* important and where I'm called to be at any given time (because that calling can change, you know!).
Our lives have gotten all cluttered up with things that we think we “should” do; so much so that we can’t figure out what the things are that we were meant to do.
Here's to Breaking Busy and being more intentional with our time and energy...
Generations Photo
Inspired by the photo below, my mom asked me to put together a Generations photo including my Grandmother (Alice), my mom (Audrey), me (Andrea) and my daughter (Ayla).

Since we live in different areas of the world, we had non-matching backgrounds. With a little bit of Photoshop magic, here's what I came up with:
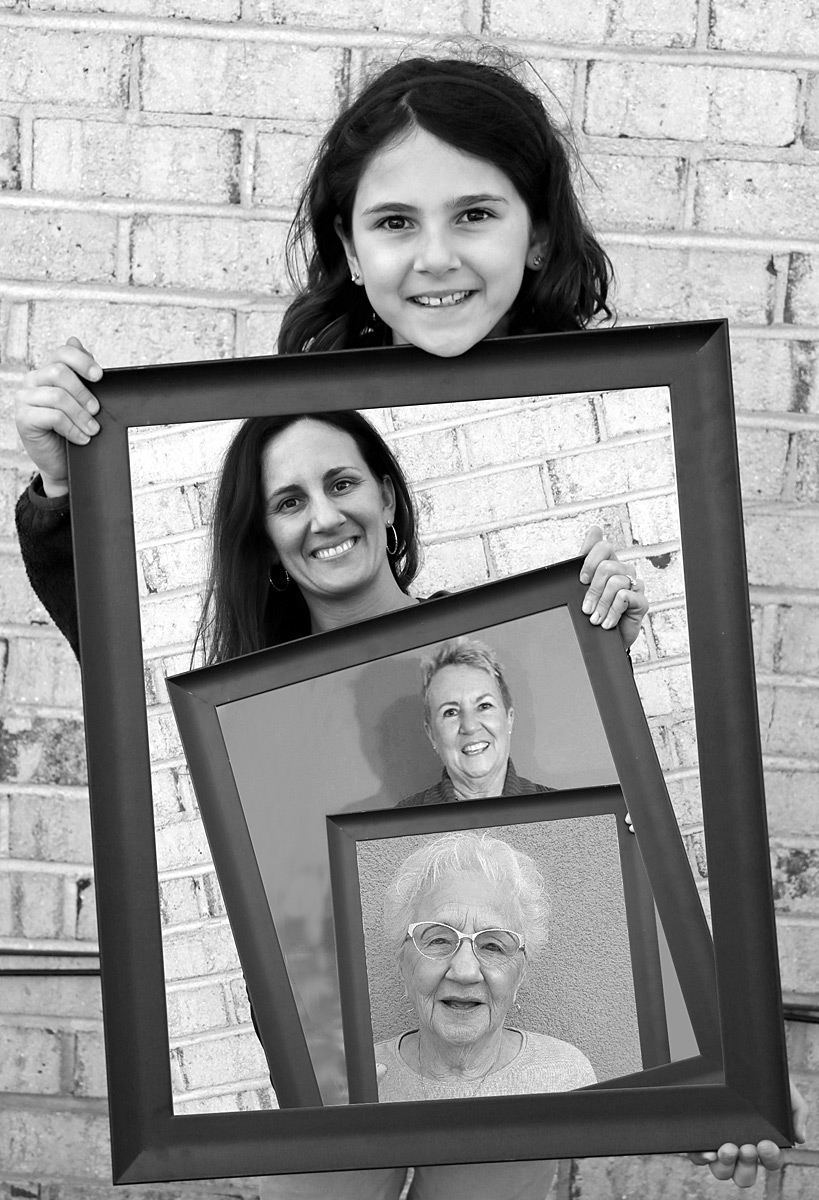
We liked having the youngest and prettiest generation as the largest and clearest photo! :)
This was my first attempt at something like this, but I think with a little practice and a more solid background, it could be done really well. Maybe at the next family get-together we'll do a more "professional" version--and maybe I'll put a little makeup on for that photo!
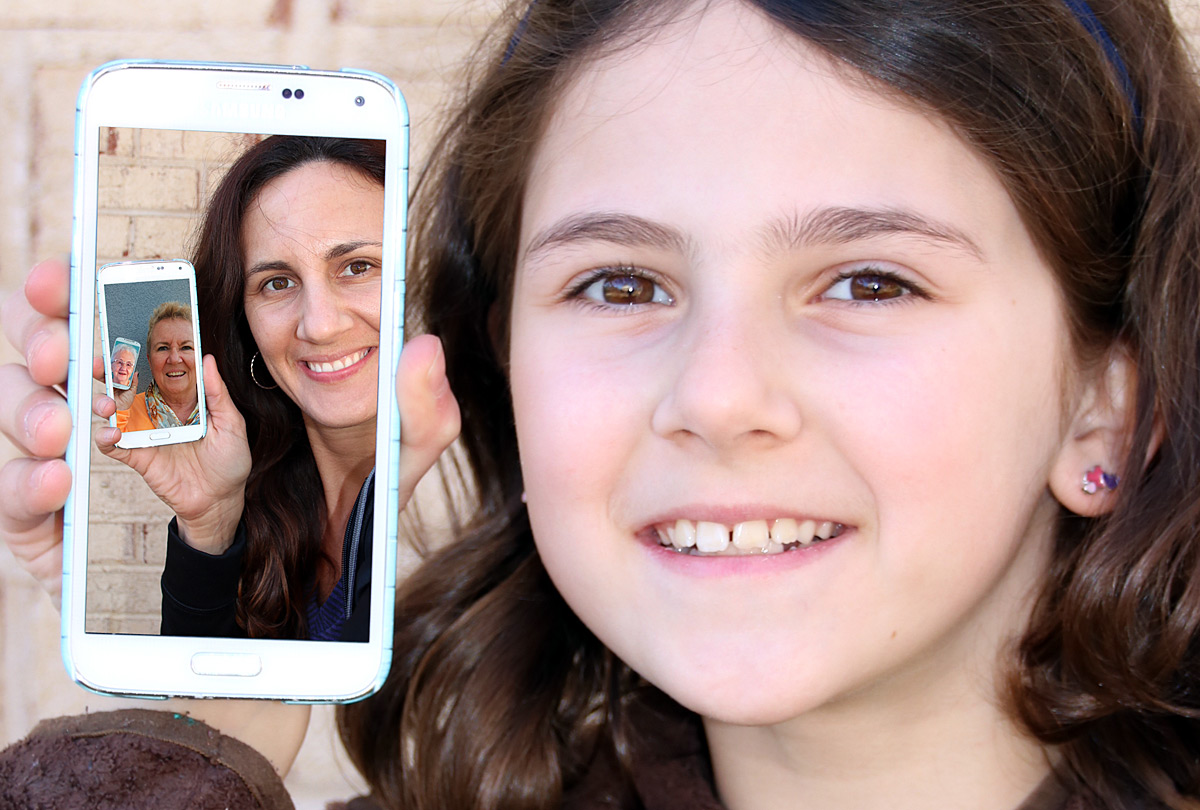
While we were at it, I also couldn't help but try a more modern version--since this is how most people look at photos these days. :)
Seeing Red
I get bored every once in a while. Changing my hair color is easier (and causes much less turmoil) than changing other things in my life--not that other things need to change, they don't! In the past few weeks, I was feeling restless and a little bit adventurous. It was time for a change.
After a couple of years with caramel ombre & balayage highlights, with some extra light strands this past summer, I thought maybe I'd try something dark with a tint of red for a while.
My inspiration colors of "chocolate cherry" and "cherry cola" hair pictures took over my Pinterest Hair board for a while:

It's definitely a big change!
It's taking some getting used to...but I think it'll be kind of fun and moody for a little while.
So far though...I'm not loving how it looks when it's naturally curly. :( (No photos of that fuzzy mess yet...) Maybe that means I'll need to fix my hair more often?
Hanging Around: ENO DoubleNest & 9ft Atlas Straps
Look what showed up this weekend!
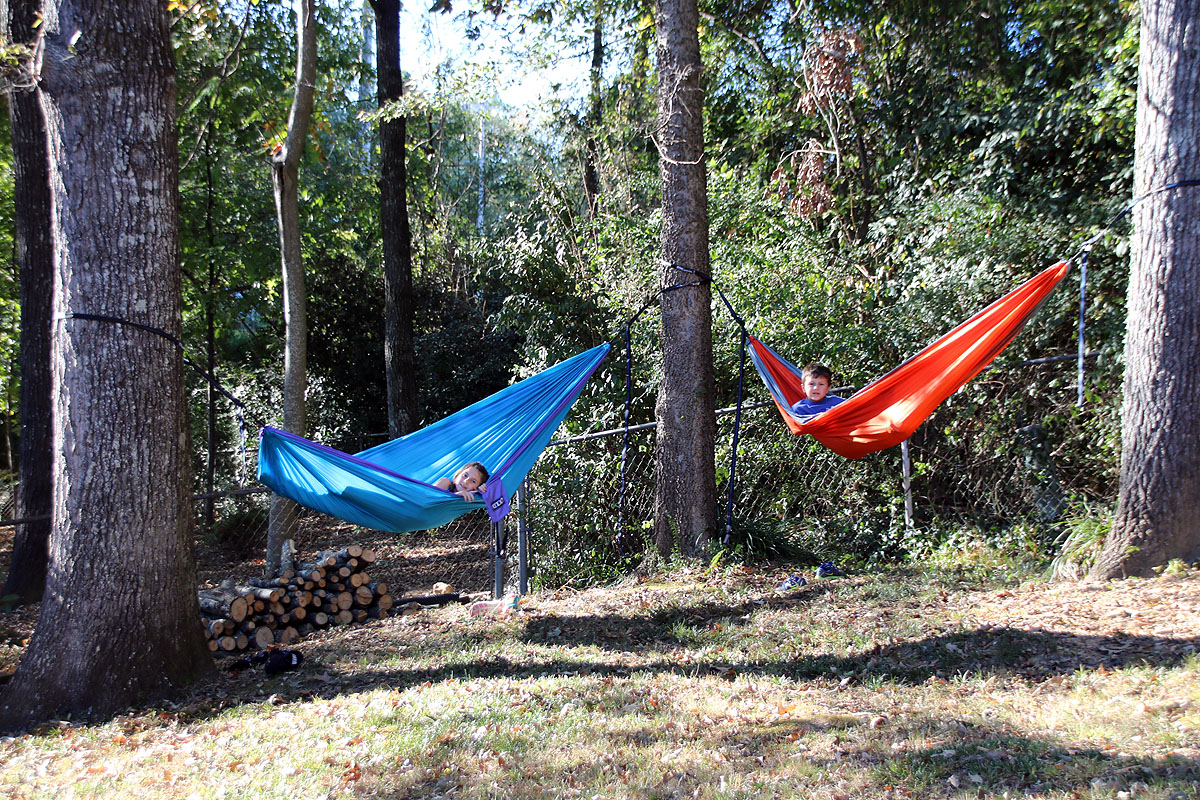
Ayla used some birthday money that has been burning a hole in her money envelope for months and Ben and I bought a "family" ENO hammock so we could ALL enjoy hanging around...
The straps and included carabiners make them really easy to put them up, and thankfully, we have three trees in our yard that work perfectly to hang the two hammocks next to each other. The set of 9ft straps also allow us to *just* reach across the diagonal of those trees too for better "adult" hammock-ing.


Unfortunately, Ayla and Paxton didn't stay this peaceful for long. When I went out to check on them, I found that Ayla had thrown berries in the air to make it "rain", which landed in Paxton's hammock, where he promptly--though inadvertently--stomped them and squished them all over the orange fabric as he wiggled around.
Stained. Instantly. We should've bought black...
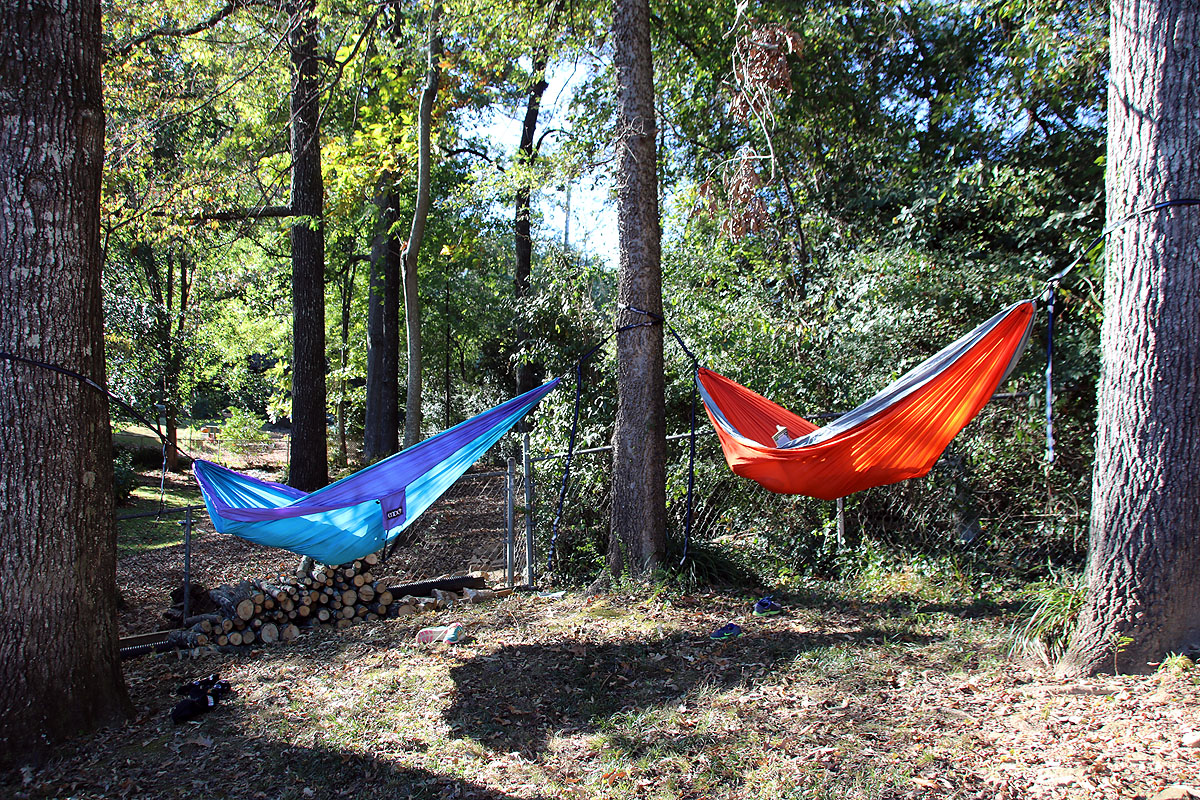
After a couple of washes (super-gentle hand-wash cold cycle!), the stains have faded, but they're still there. They'll serve as a reminder that kids can't always handle "nice" things -- and "Nothing gold can stay."
Thankfully, it wasn't torn--which really WOULD have been tragic.
And Ayla does LOVE her hammock. She said she could "swing and rest and read and look at the trees ALL day long!" With the gorgeous fall weather we've been getting, she just might.

