Andrea's blog
Hair Today, Gone Tomorrow
Today was a big day.
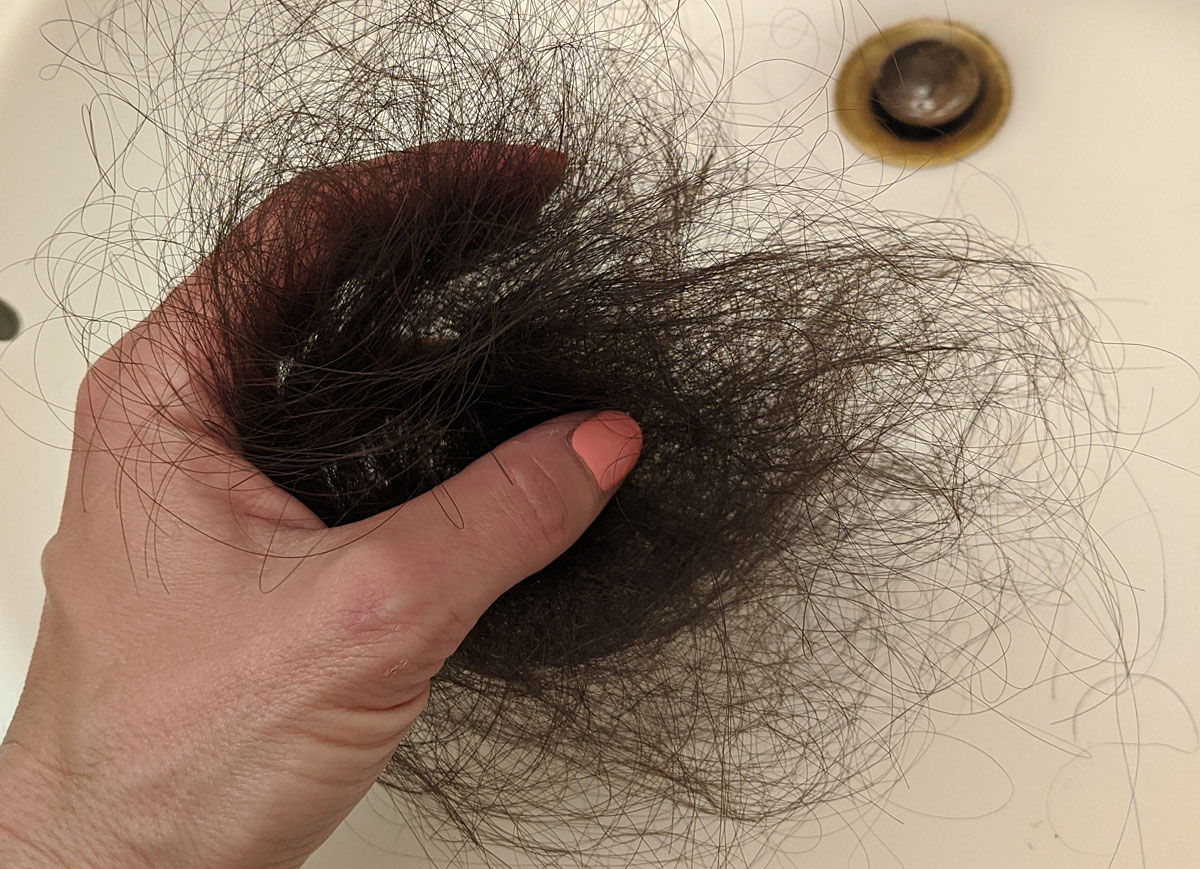
I always shed a lot of hair in the shower, but on Wednesday, I noticed a lot more coming out when I washed it. It seemed like the hair losing process was beginning...and while my actual head of hair didn't look so different, by day 17 every time I touched my hair, more would come out.
The trauma and stress of not being able to touch it, wash it, and seeing all of that hair come out, while I was also feeling terrible from round #2 of chemo was just more awful than the thought of shaving it all off.
By Friday night, I resolved that it was time to do it. I told several people I was going to, knowing that would help me have the guts to *actually* do it. We decided to shave it all off on Saturday morning, as soon as I felt up to it. That took some doing...mostly because I felt terrible and couldn't get out of bed. I finally ate enough, found a piece of hard candy to suck on to keep the nausea at bay, and mustered up enough energy to sit on a stool in the bathroom while Ben did the hard work.
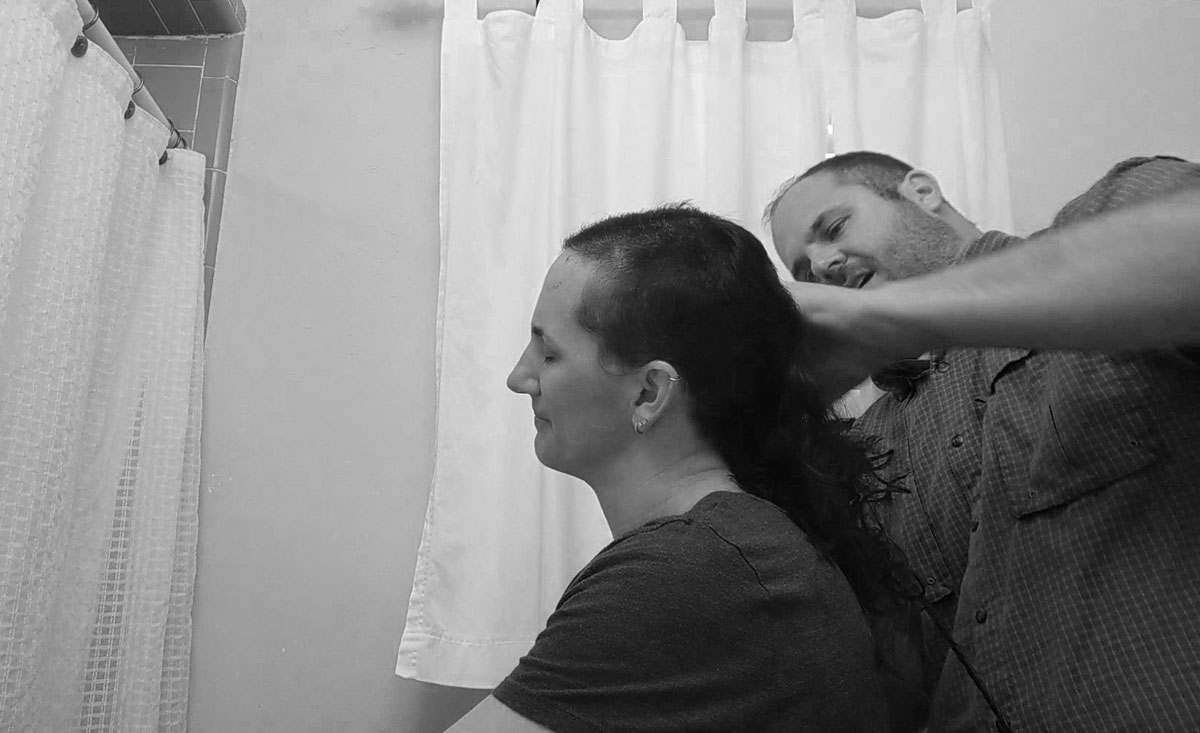
He was amazing. He made sure to do it exactly how I wanted, when I was ready, and he was so sweet and calm and kind throughout the whole thing. I know it's just hair, but I had some GOOD hair! And this wasn't a haircut I was excited about or choosing, so I know it was hard for him to have to be the one to run the clippers.
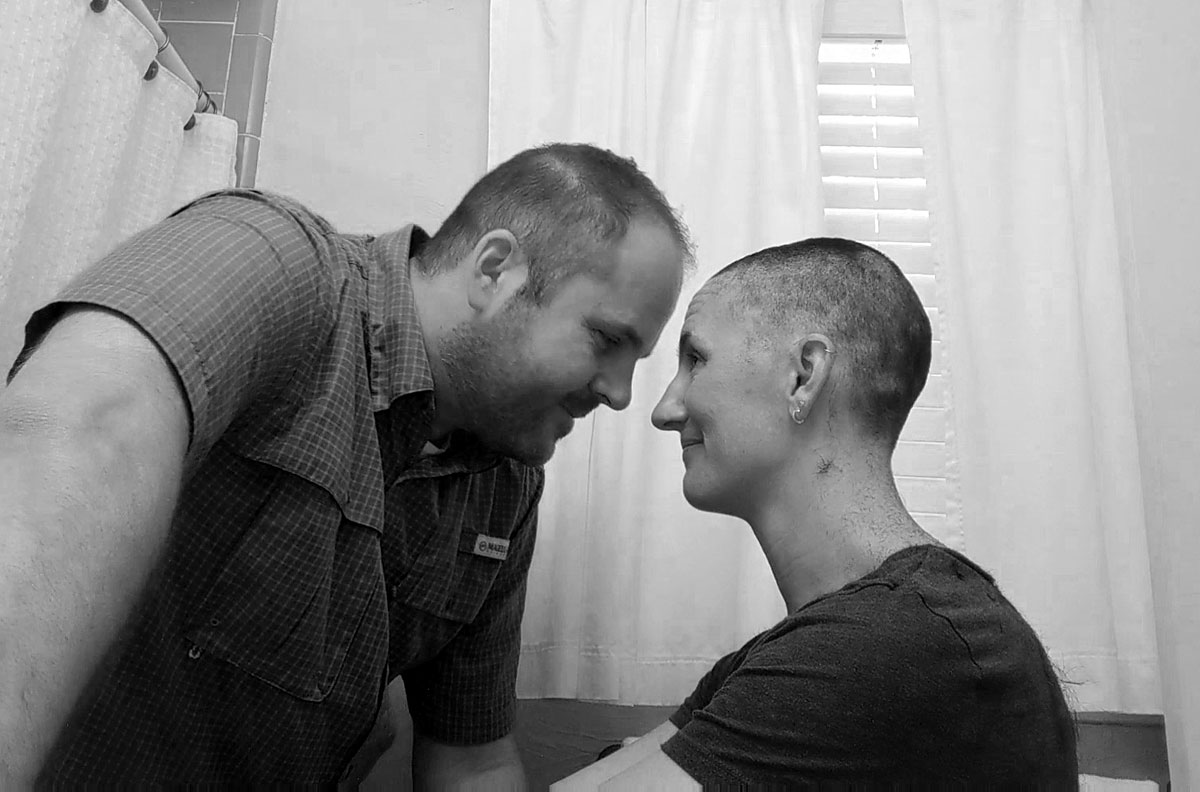
...but he made me feel beautiful and loved even though I felt so sick and sad and scared.
When it was all over, I mostly felt relief.
I didn't look TERRIBLE. I could work with this.
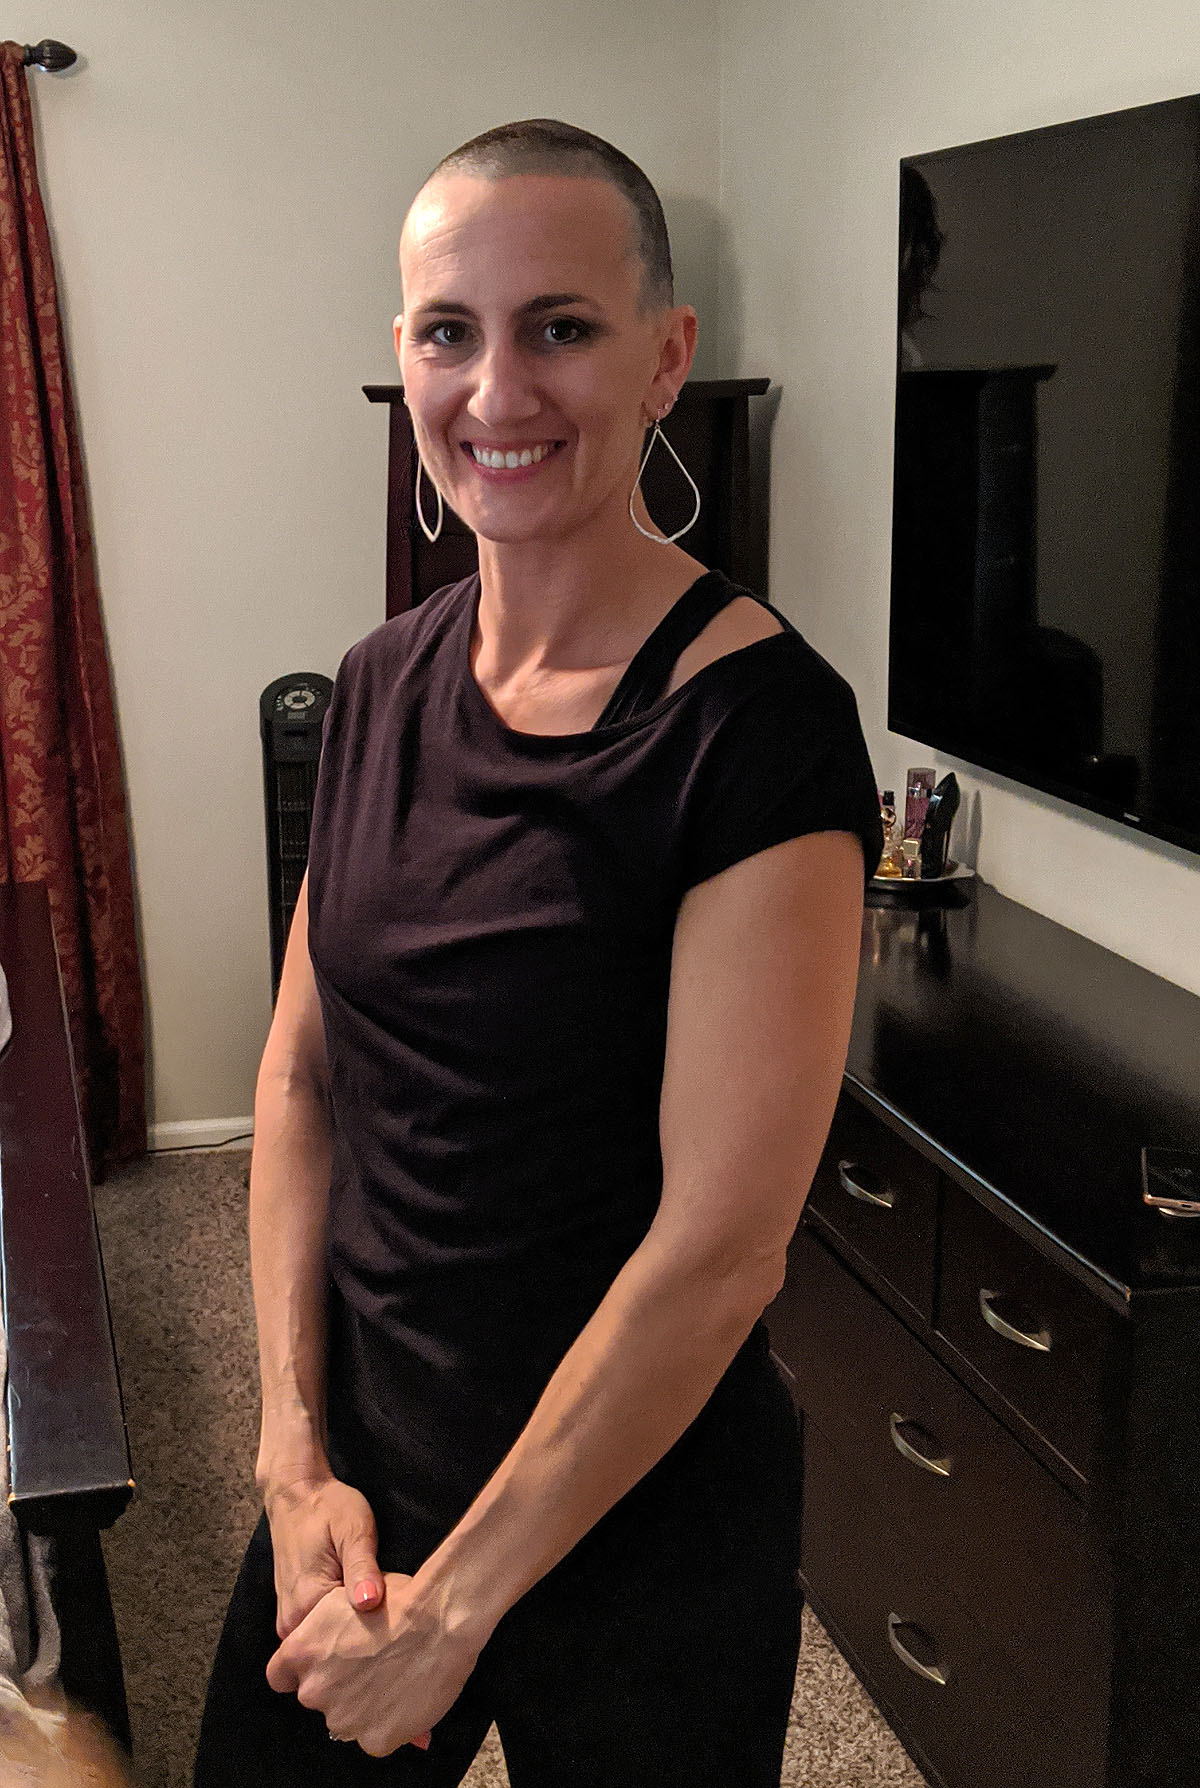
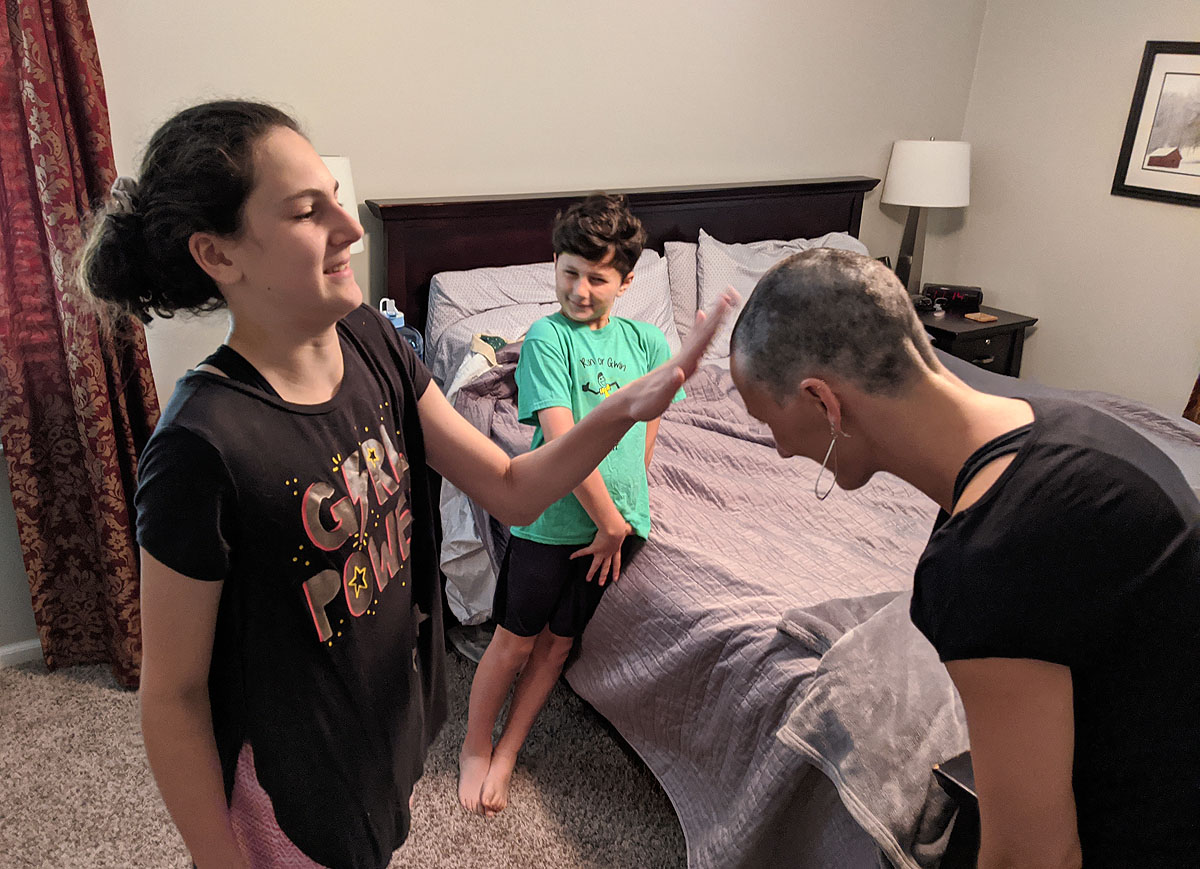
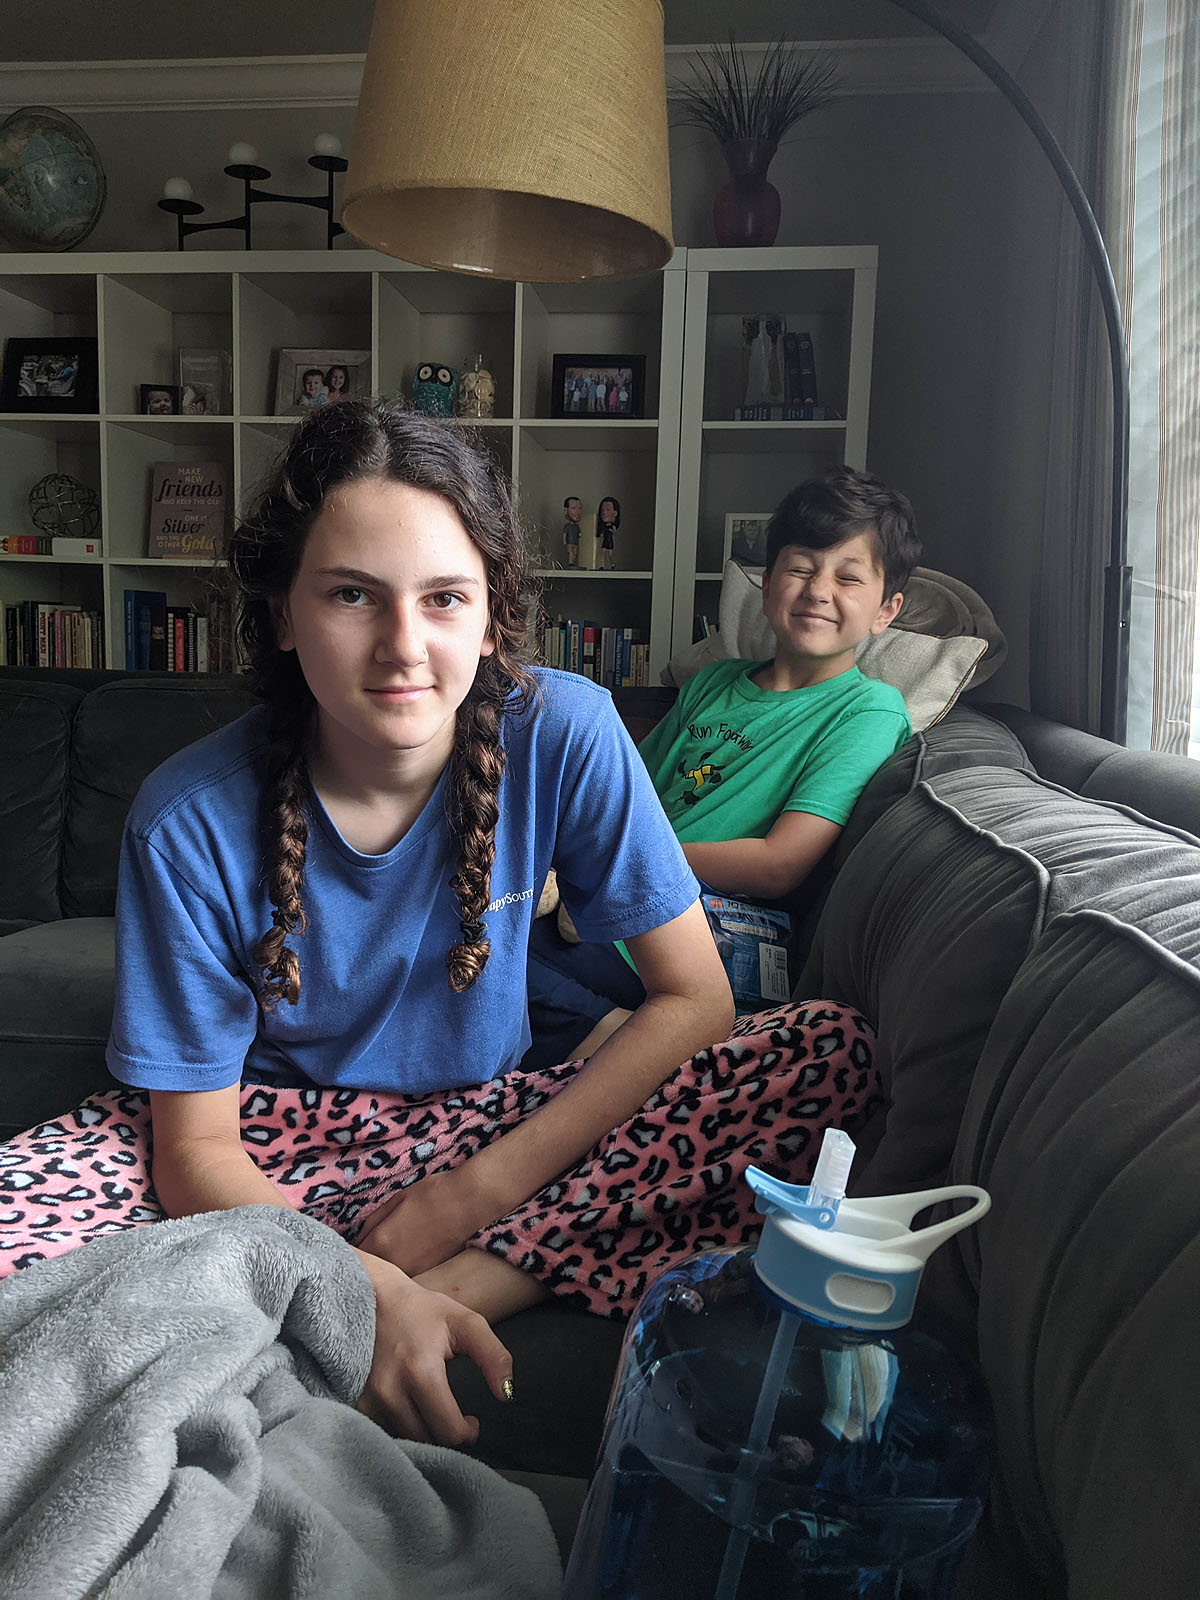
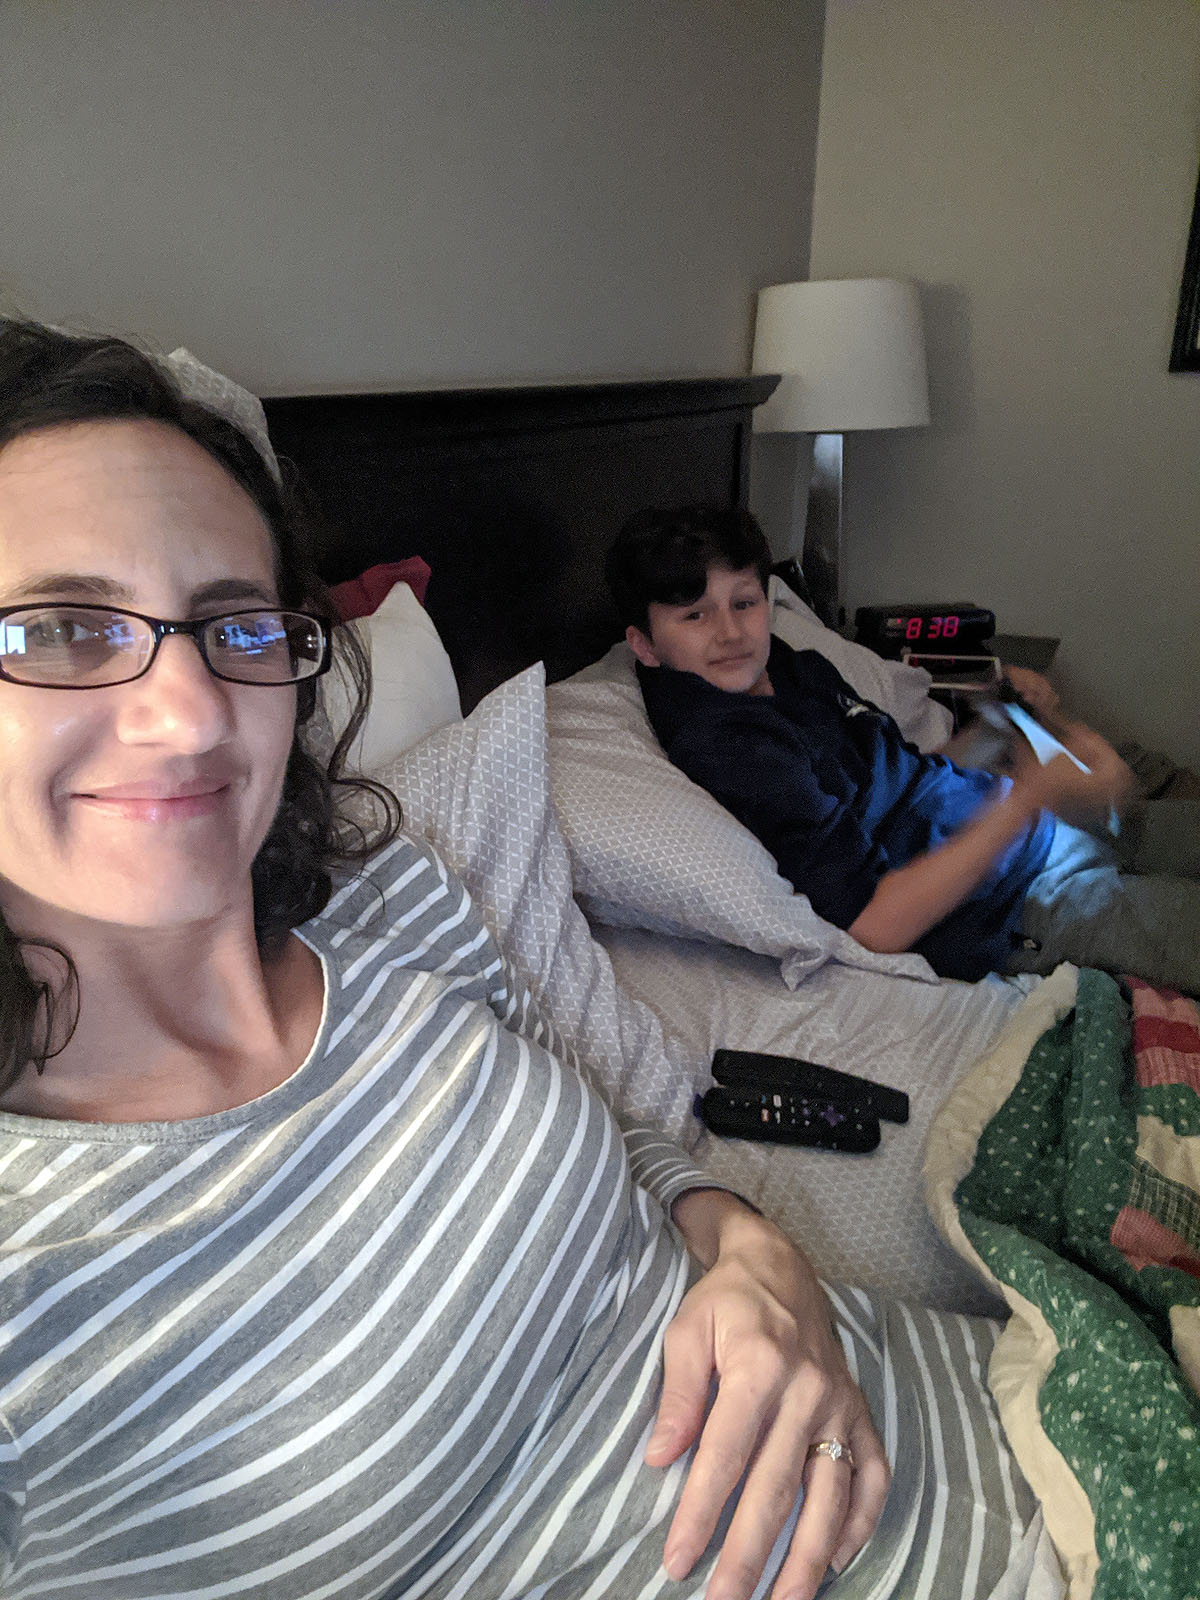
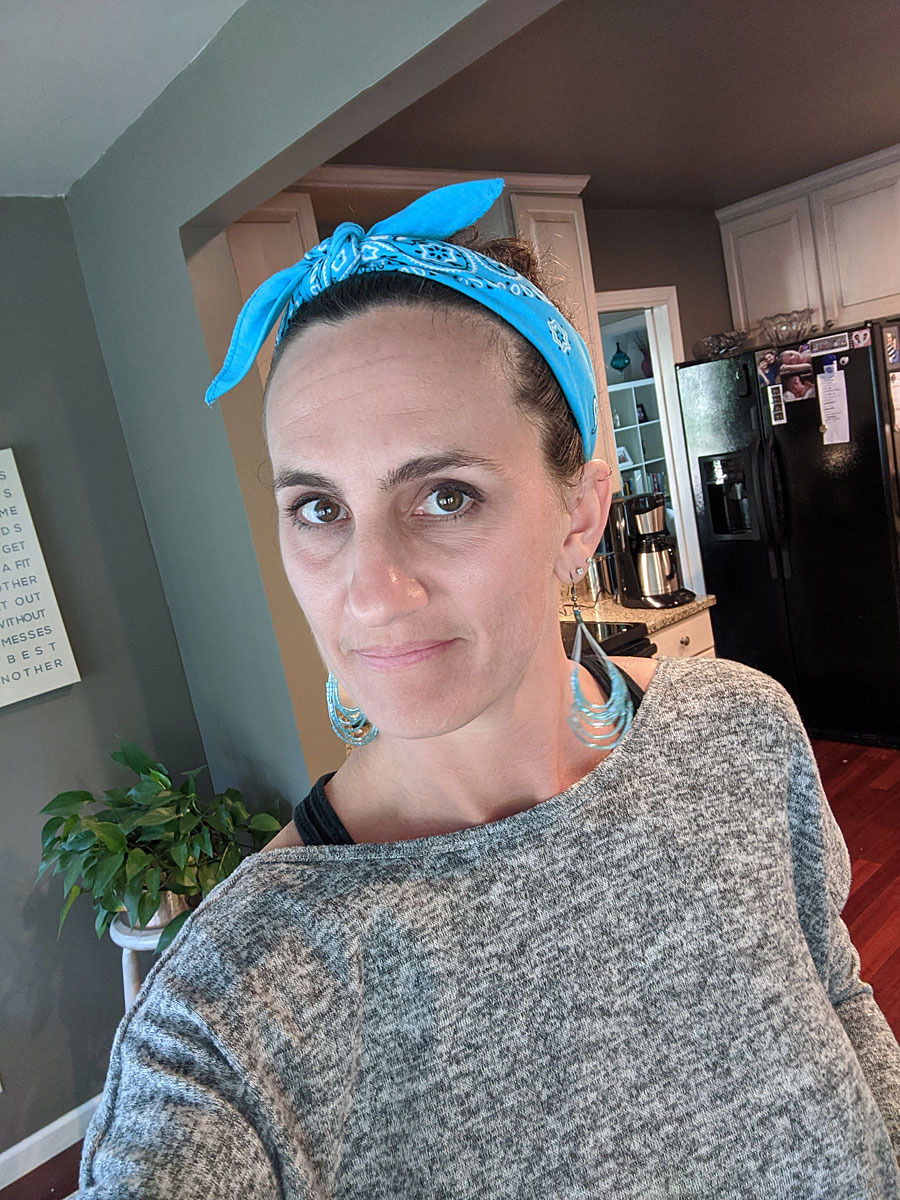
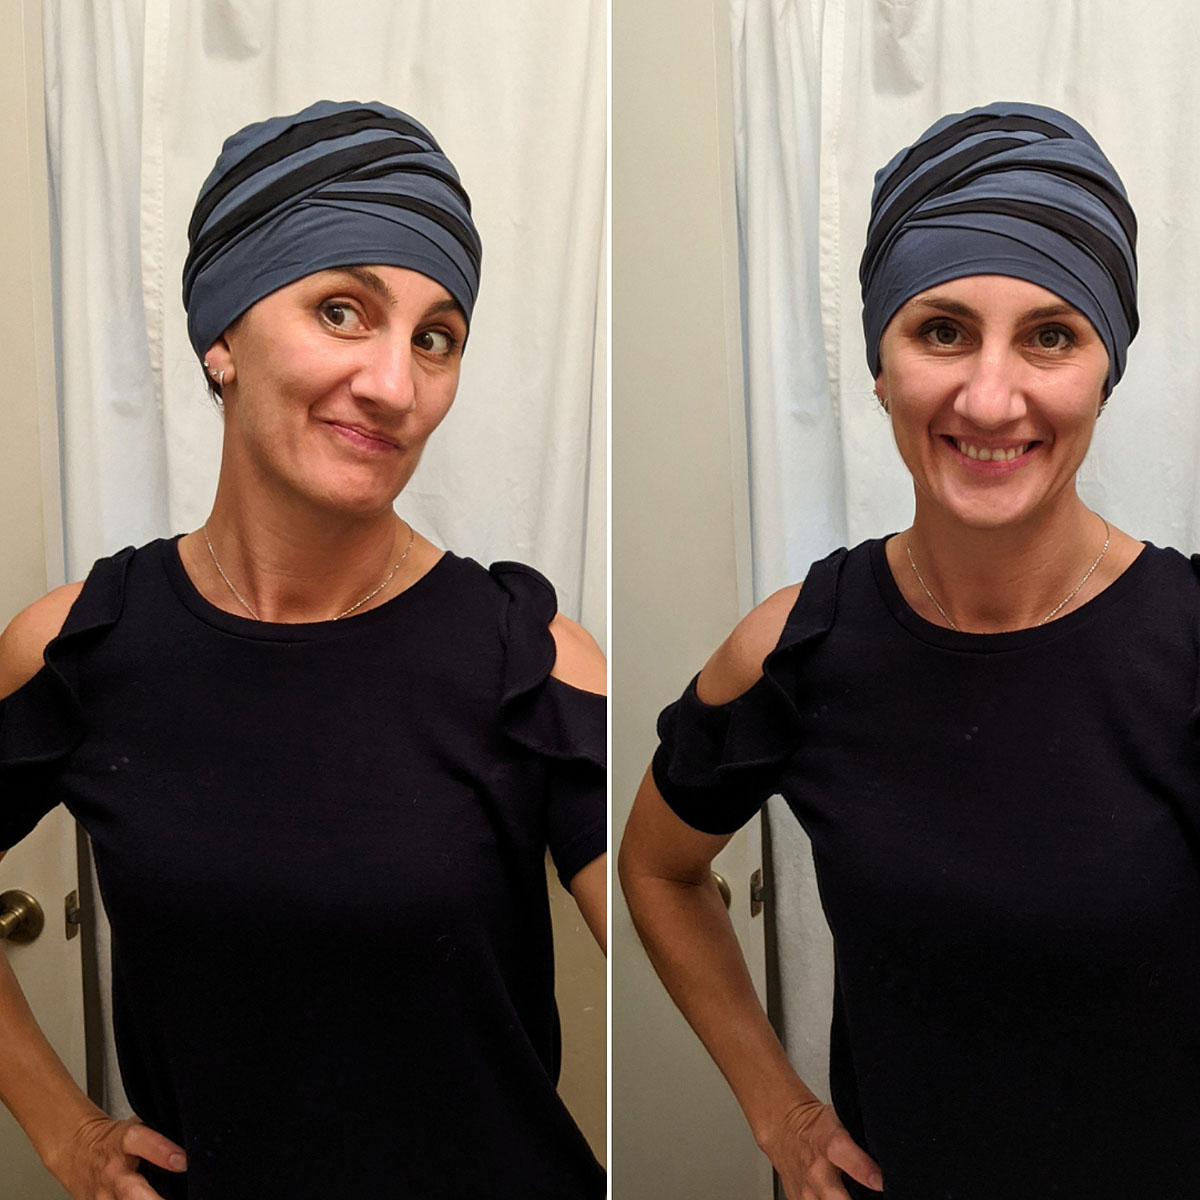
So I put on some earrings and makeup and got ready to show the kids. They knew we were doing it, and knew it was coming, so they were prepared. It definitely caught them off guard and they made some funny faces while they processed my new look. In the end though, they both agreed it looked ok--and I still looked like "me"!
My default "look" will probably be natural and bald -- because right now, that's who I am and what I look like, and I don't want to hide it or pretend it isn't. And since I'll be doing chemo through the fall, I have a long time before it starts really growing back.
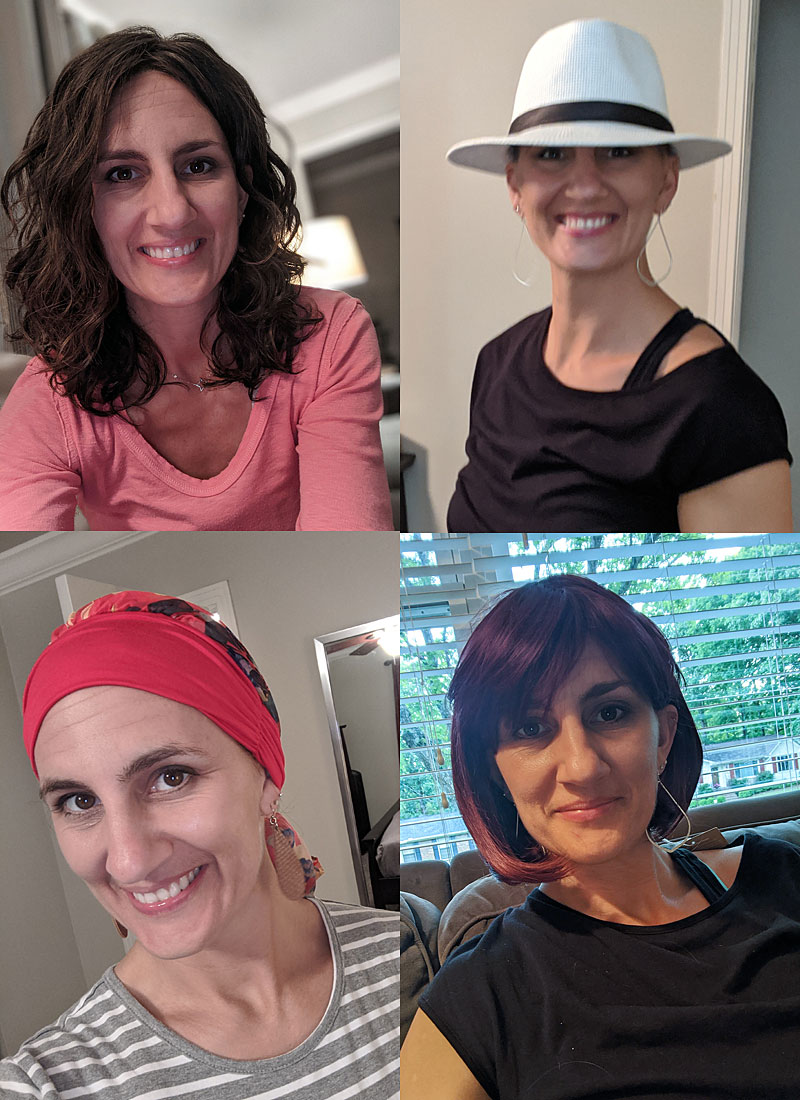
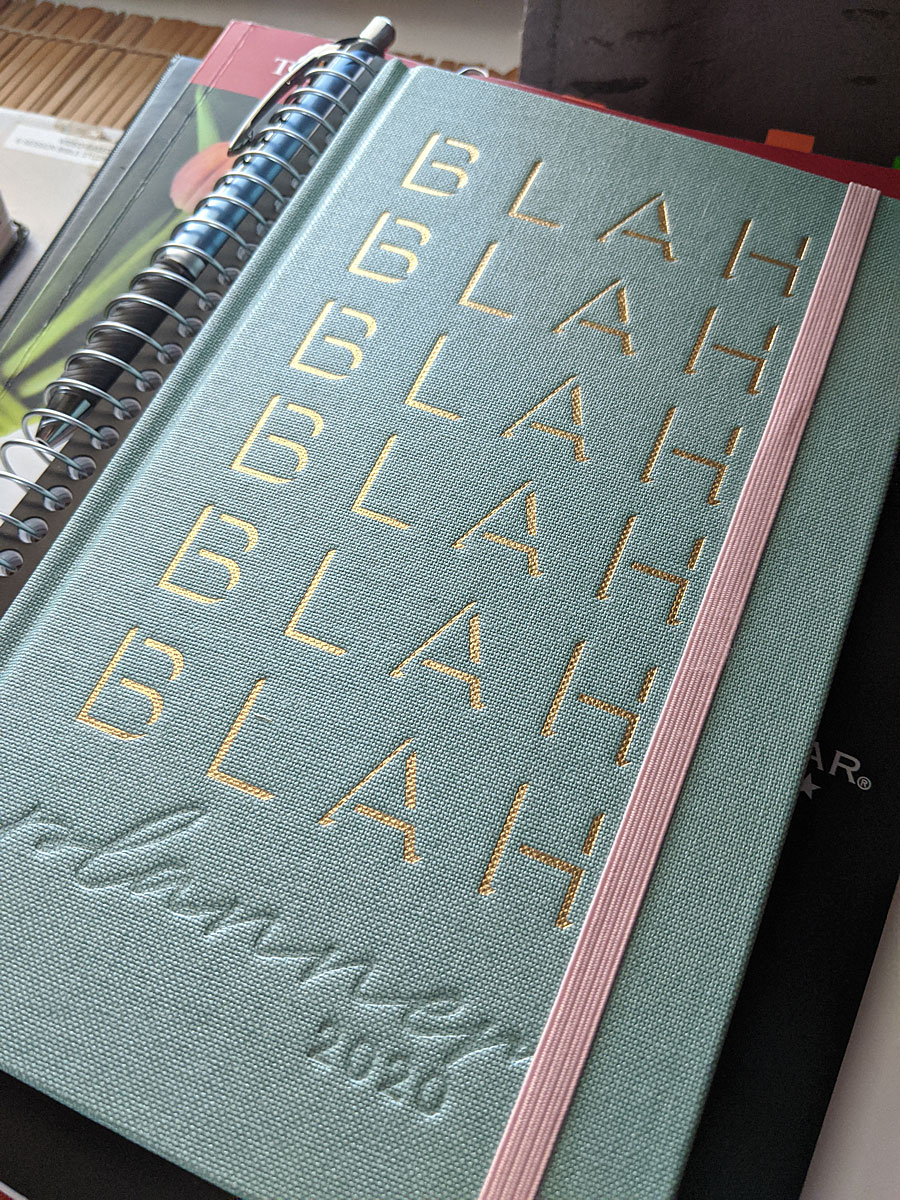
But, I like to accessorize far too much to keep it that simple. Don't be surprised to see all kind of varieties of wigs, hats, bandanas, scarves and earrings decorating my clean slate head! I've already started a pretty good collection...
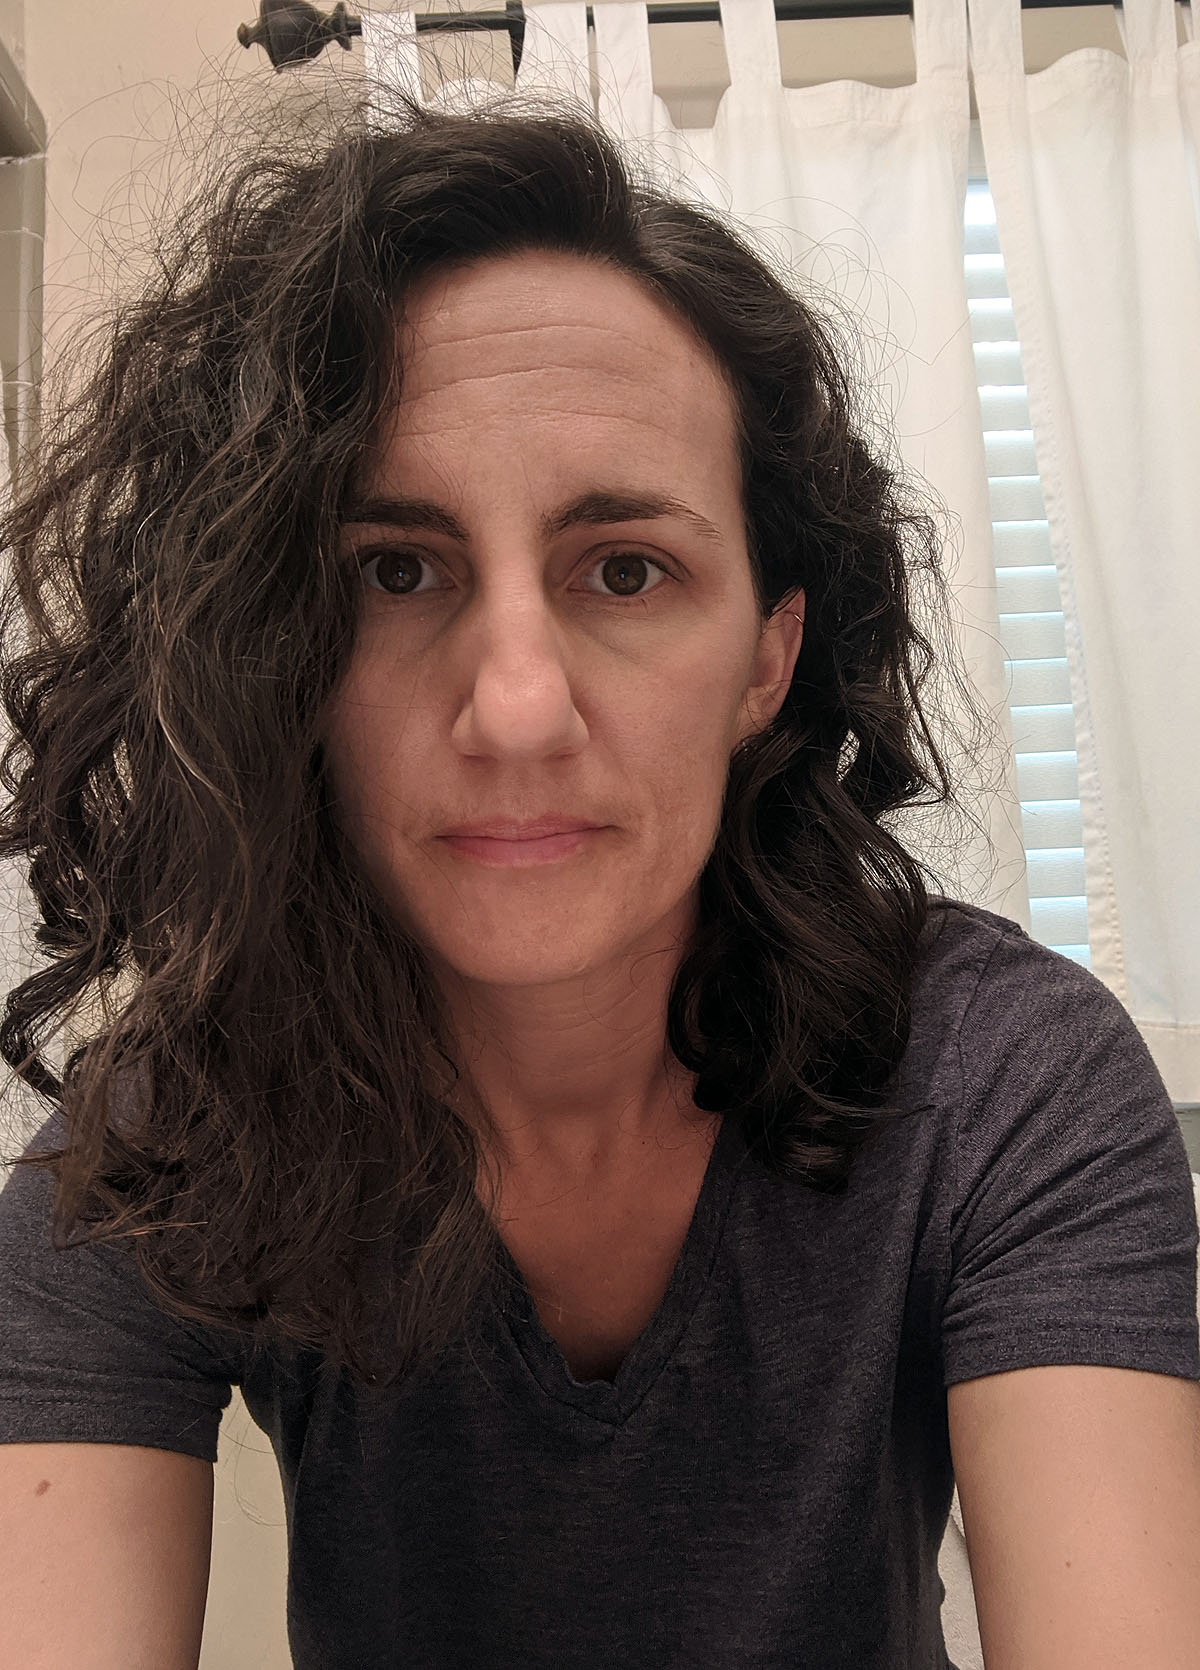
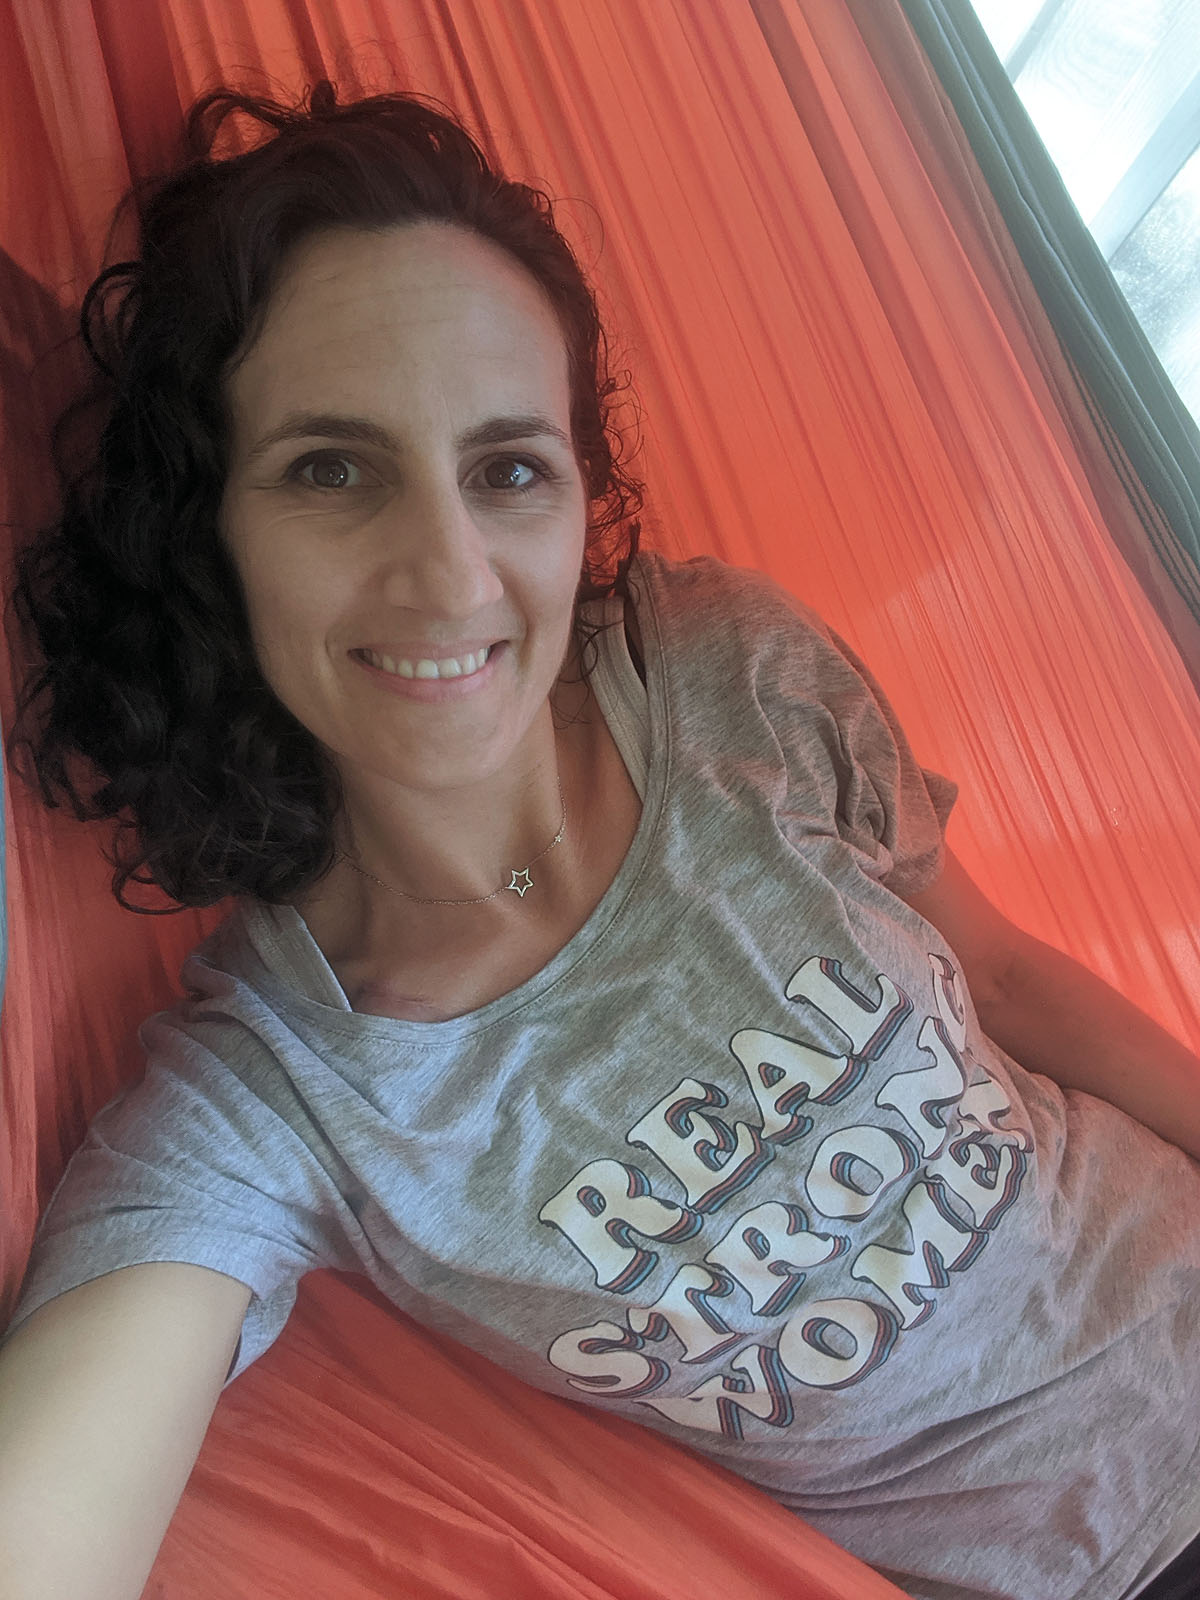
(Believe it or not, that first picture is a wig, not "old me.")
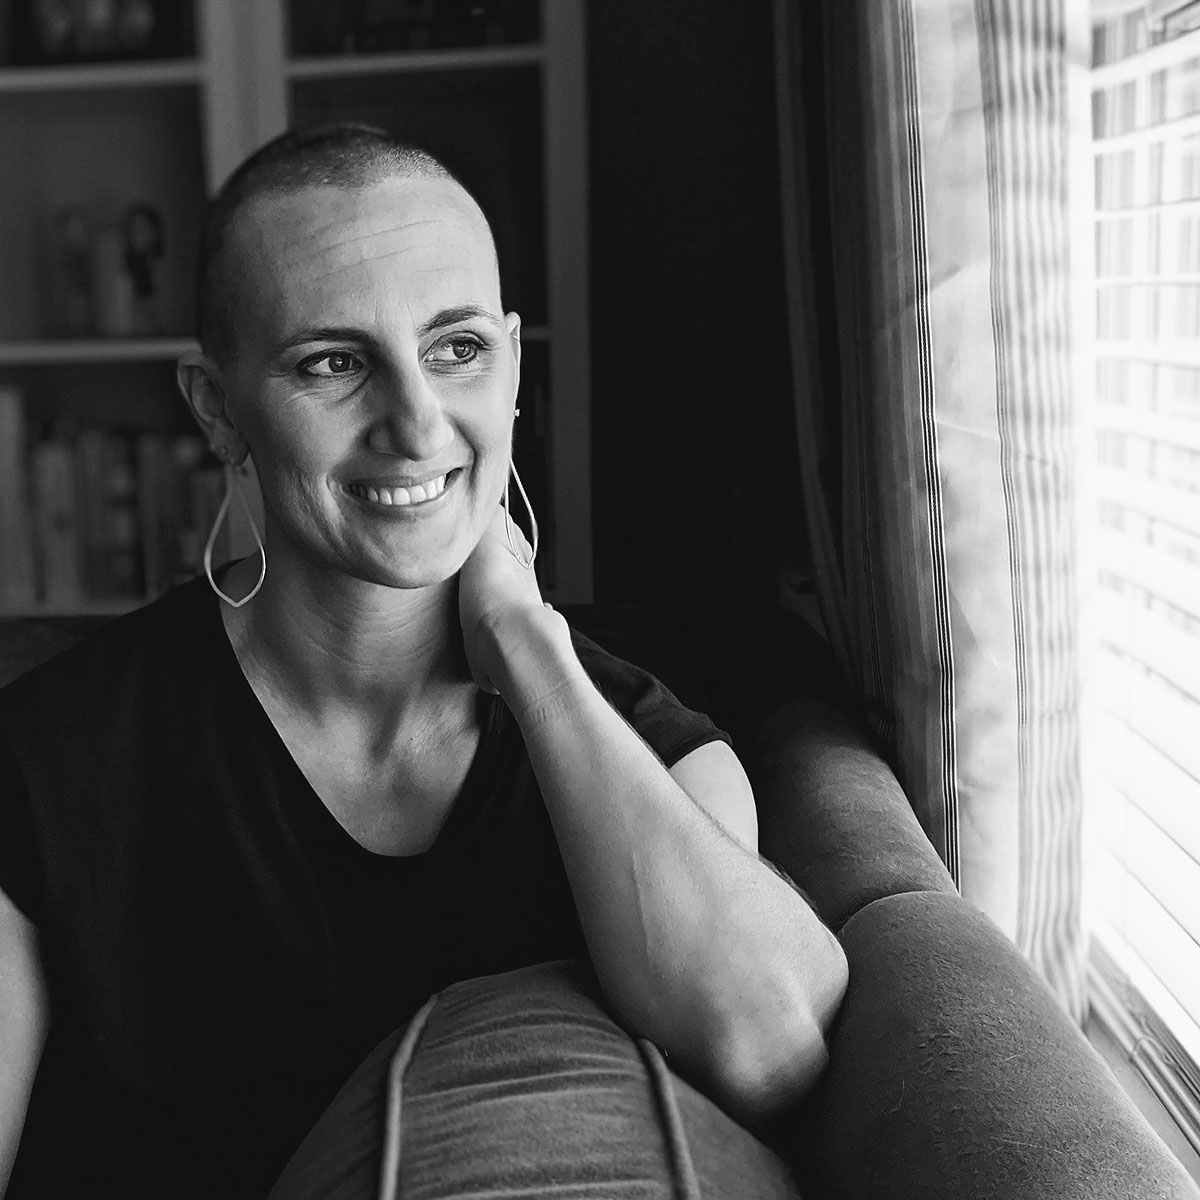
I know I have a lot of hurdles to go over on this journey, but this was a big and scary one for me. I feel like it went well, and I'm ok with this GI Jane, tough-girl look for a while.
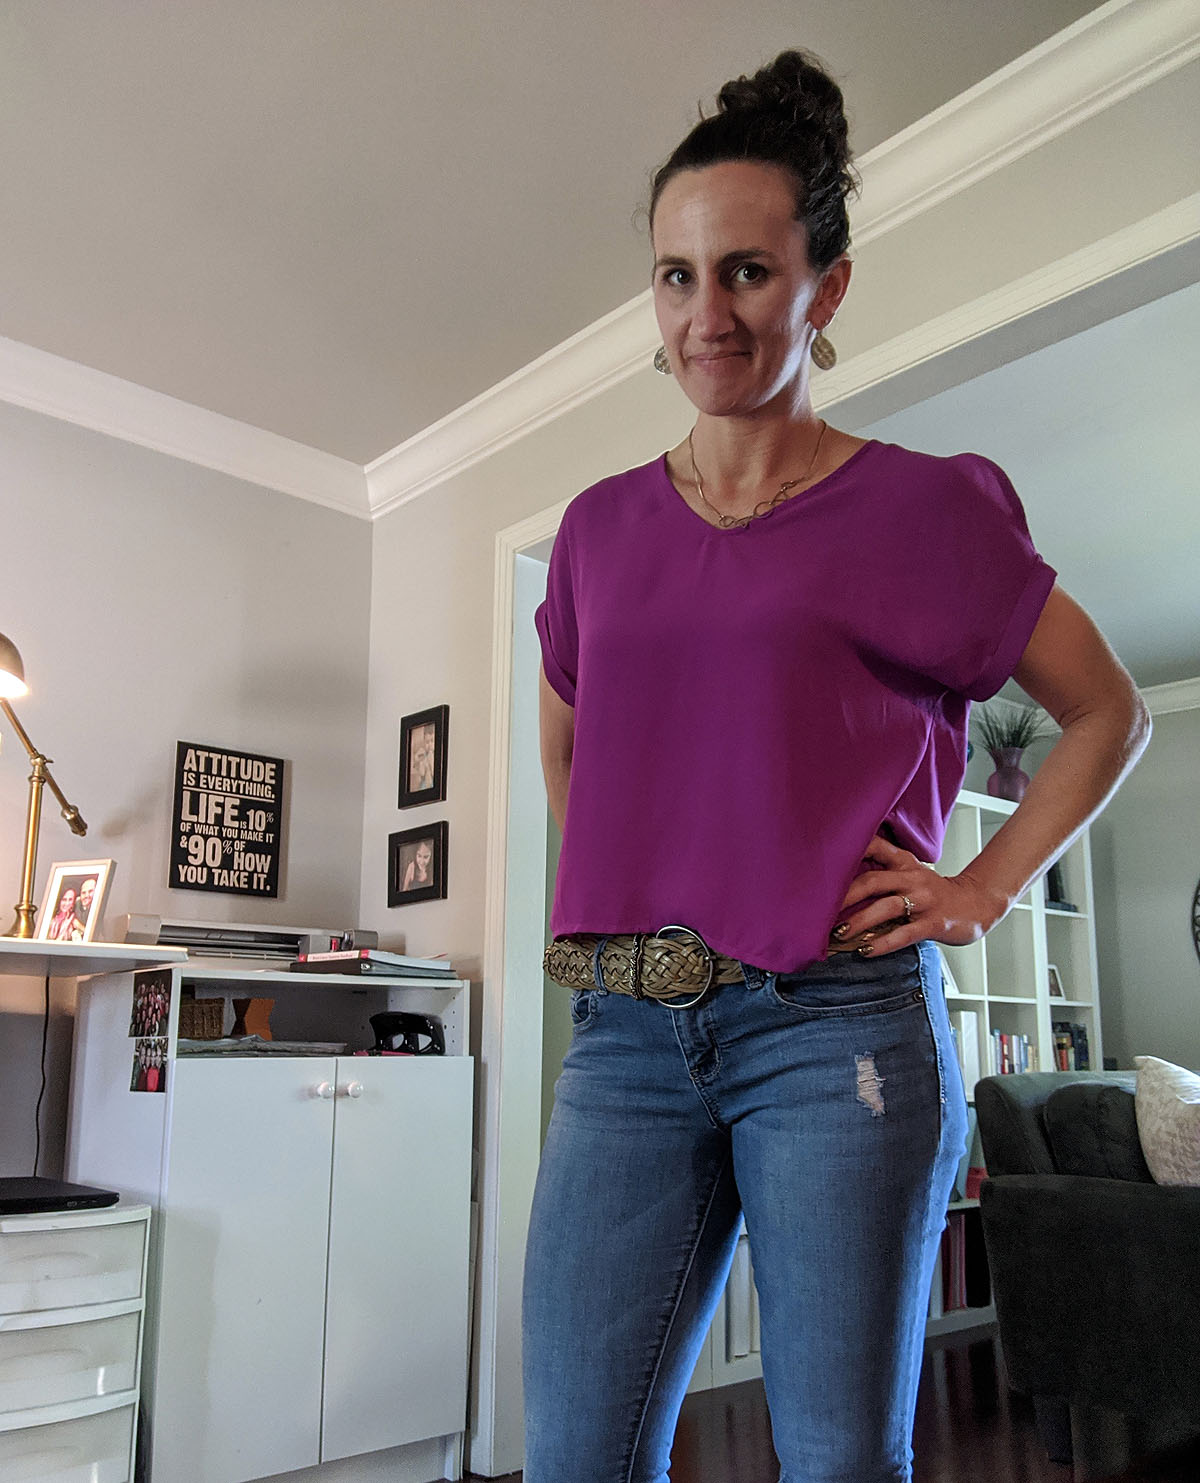
Attitude is everything. Life is 10% of what you make it and 90% of how you take it.
Now when will they let me get my first tattoo??? I'm definitely ready now...
AC Chemo #2 - A little rougher road...
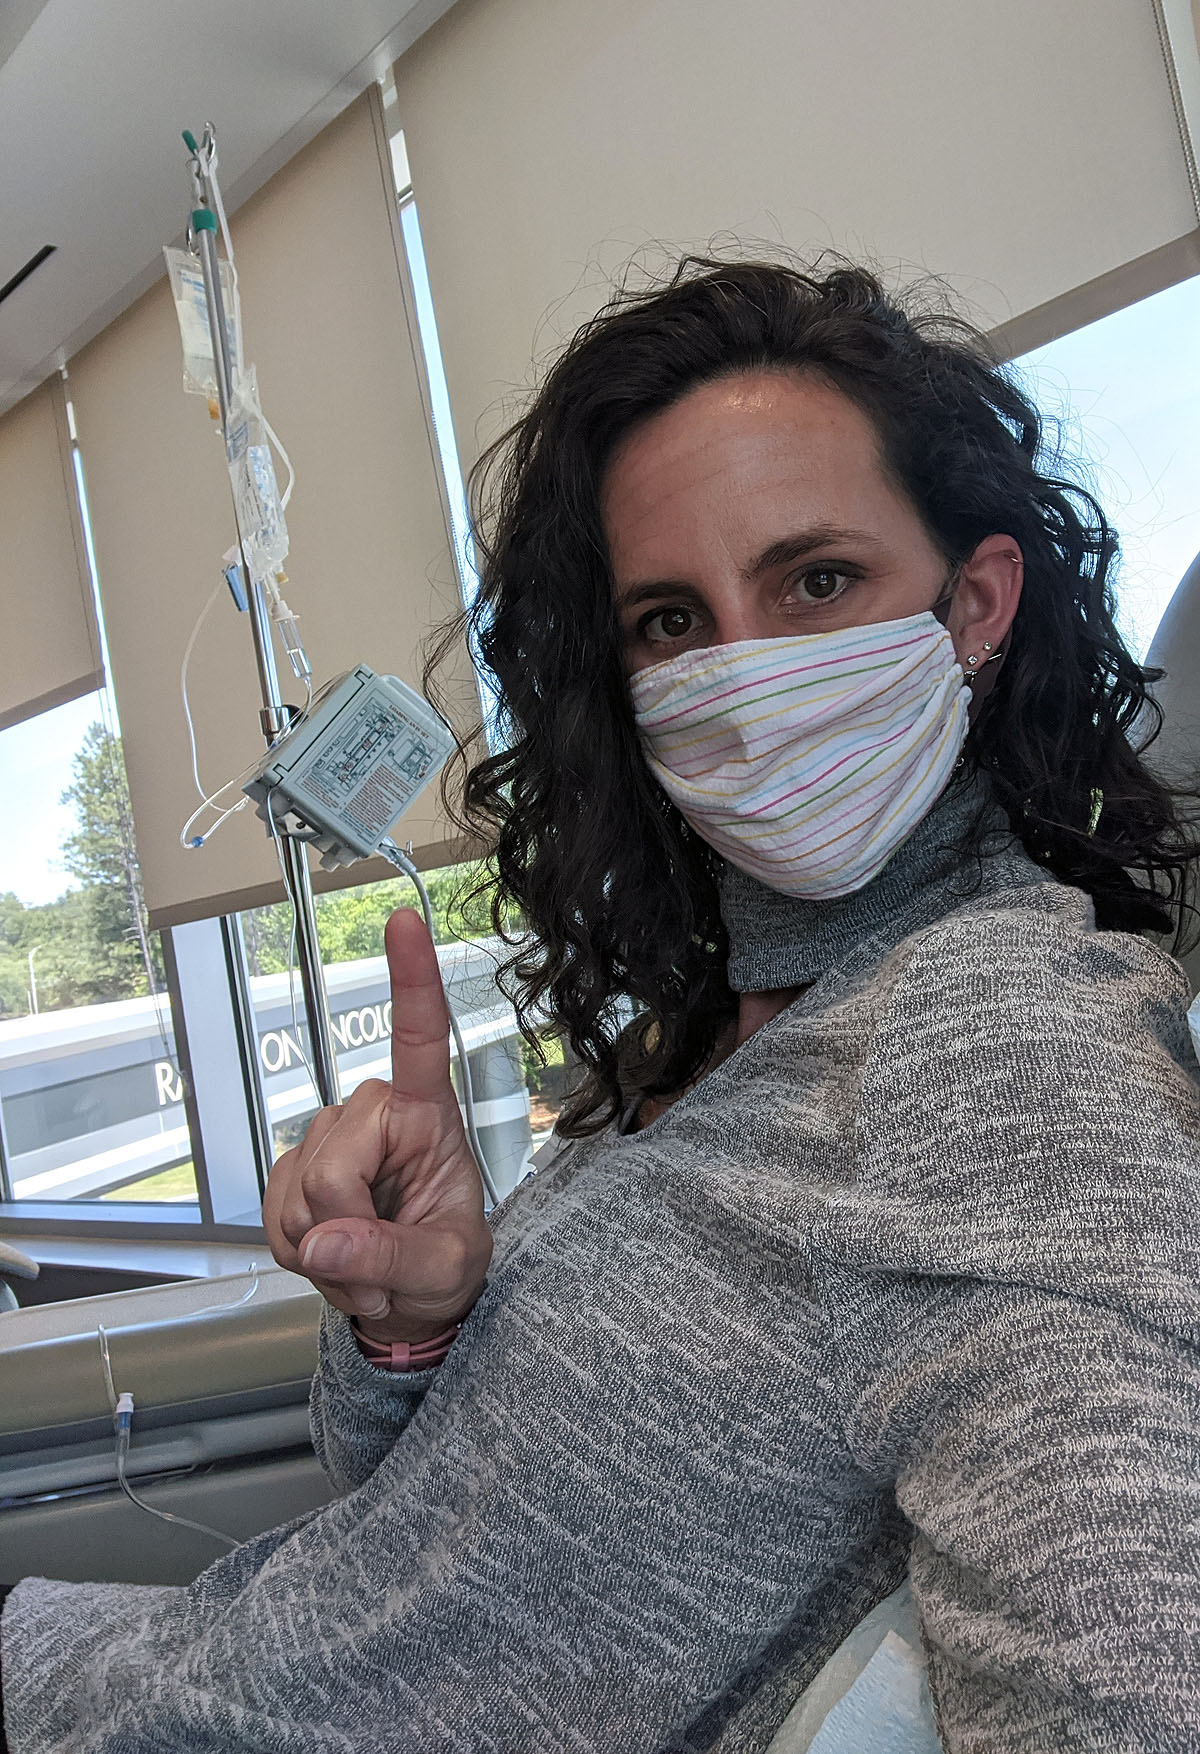
Chemo treatment #2 arrived, and my hair has held on. I have noticed a significantly increased amount of shedding and some sensitivity at my scalp, so I was VERY ginger and gentle when I fixed it this morning, and made sure to pull the top back so I would leave it alone all day. The last thing I wanted was for my hair to fall out everywhere while I was getting my chemo treatment. I packed a hat, just in case.
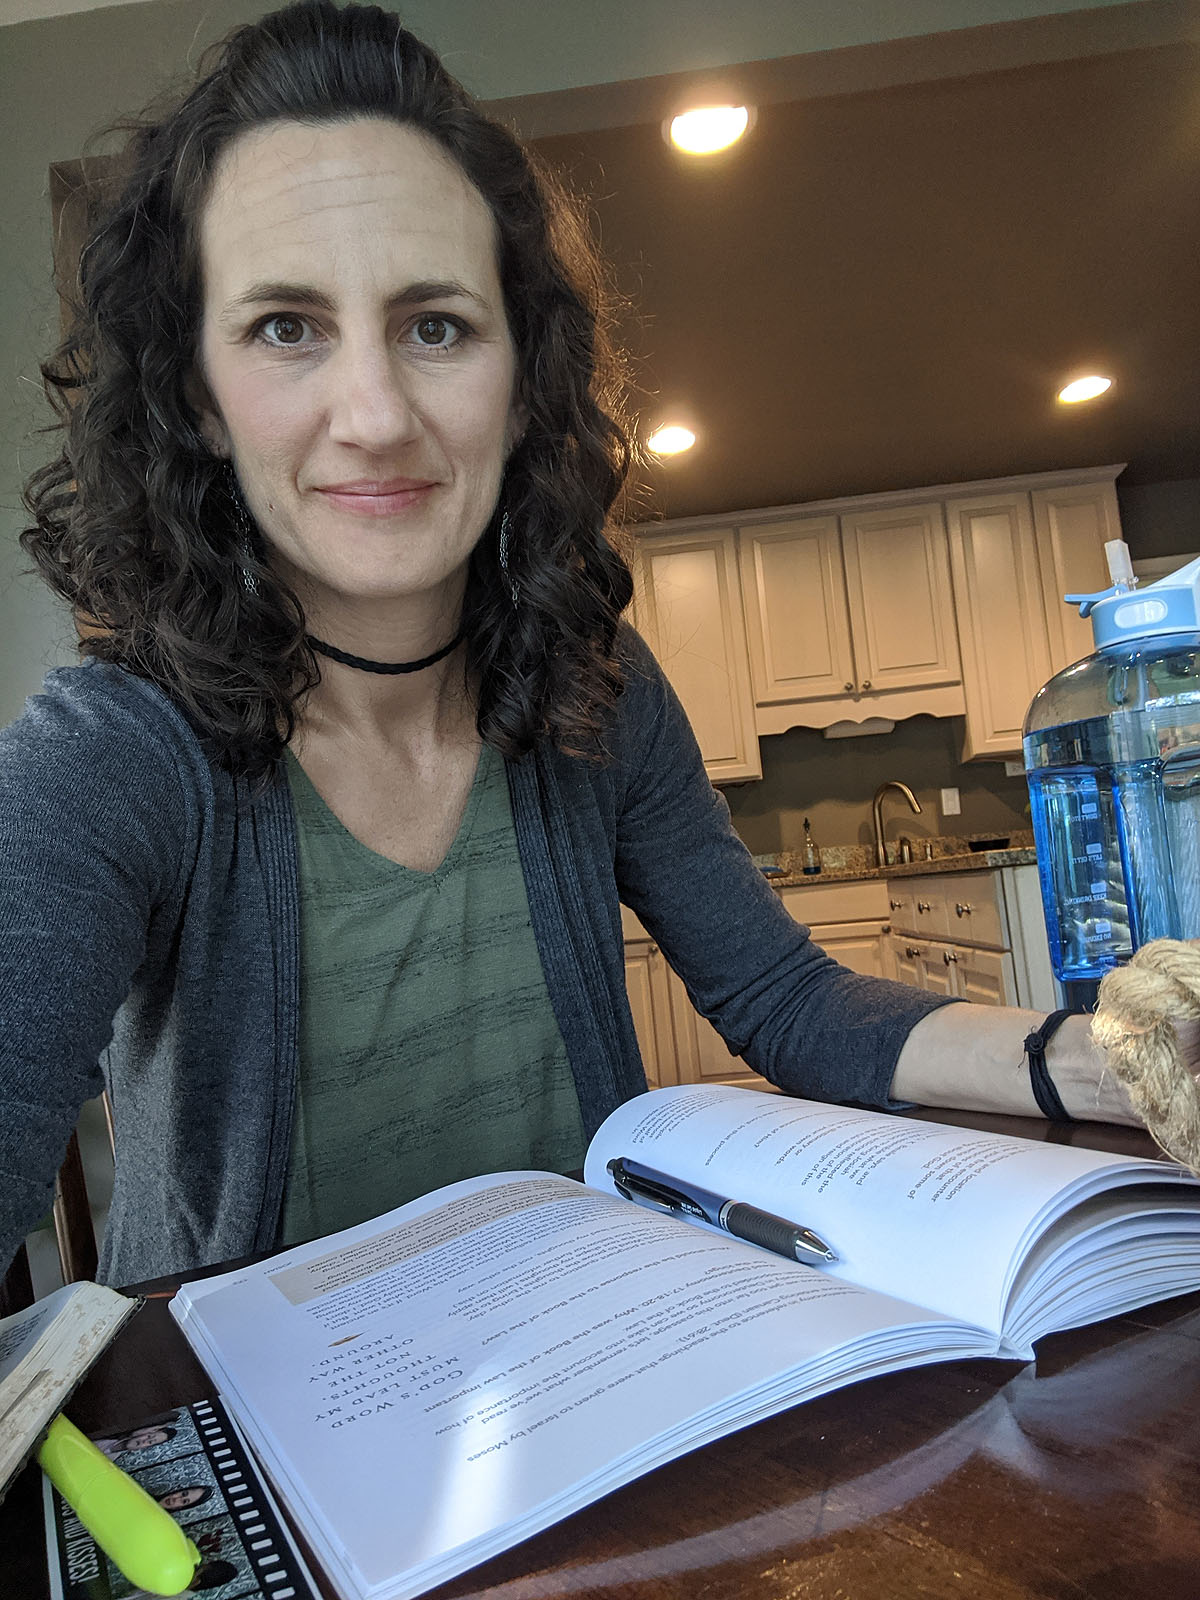
Regret #1 -- my appointment was at 9:45, and since I'm opposed to waking up too early, I didn't have time to get a workout and shower in before my appointment. I knew I wouldn't be able to get much more than a walk in for the next several days, so that was disappointing. Instead I took my time drinking my coffee and working on my bible study.
It was another long wait in the car in the parking (waiting) lot, so I didn't actually go inside for labwork until after 11am. Then I was able to meet with my doctor, where I filled him in on the last two weeks of symptoms. The meeting went well. He seemed as pleased as I've been in how I've reacted so far, and he issued me a warning: "Your hair will probably come out this weekend. And people may treat you differently once it's gone and you "look" sick." I know he's right, but 1) I'm not seeing many people these days, and 2) he doesn't know that I have a pretty thick skin and 3)I'm not afraid of talking about the pink elephant in the room.
The way I see it, if I acknowledge the fact that I'm bald, going through chemo, and I'M not bothered by talking about it...then people ought to be able to interact with me without much problem. So make note -- if you have a question about me or my health or the experience, ask it! If you think I'll be offended, I probably won't be (at least not for long). But also know...I'm probably more interested in what funny COVID memes you've seen this week and what's happening in YOUR life than re-hashing my symptoms (which I'm already thinking about constantly).
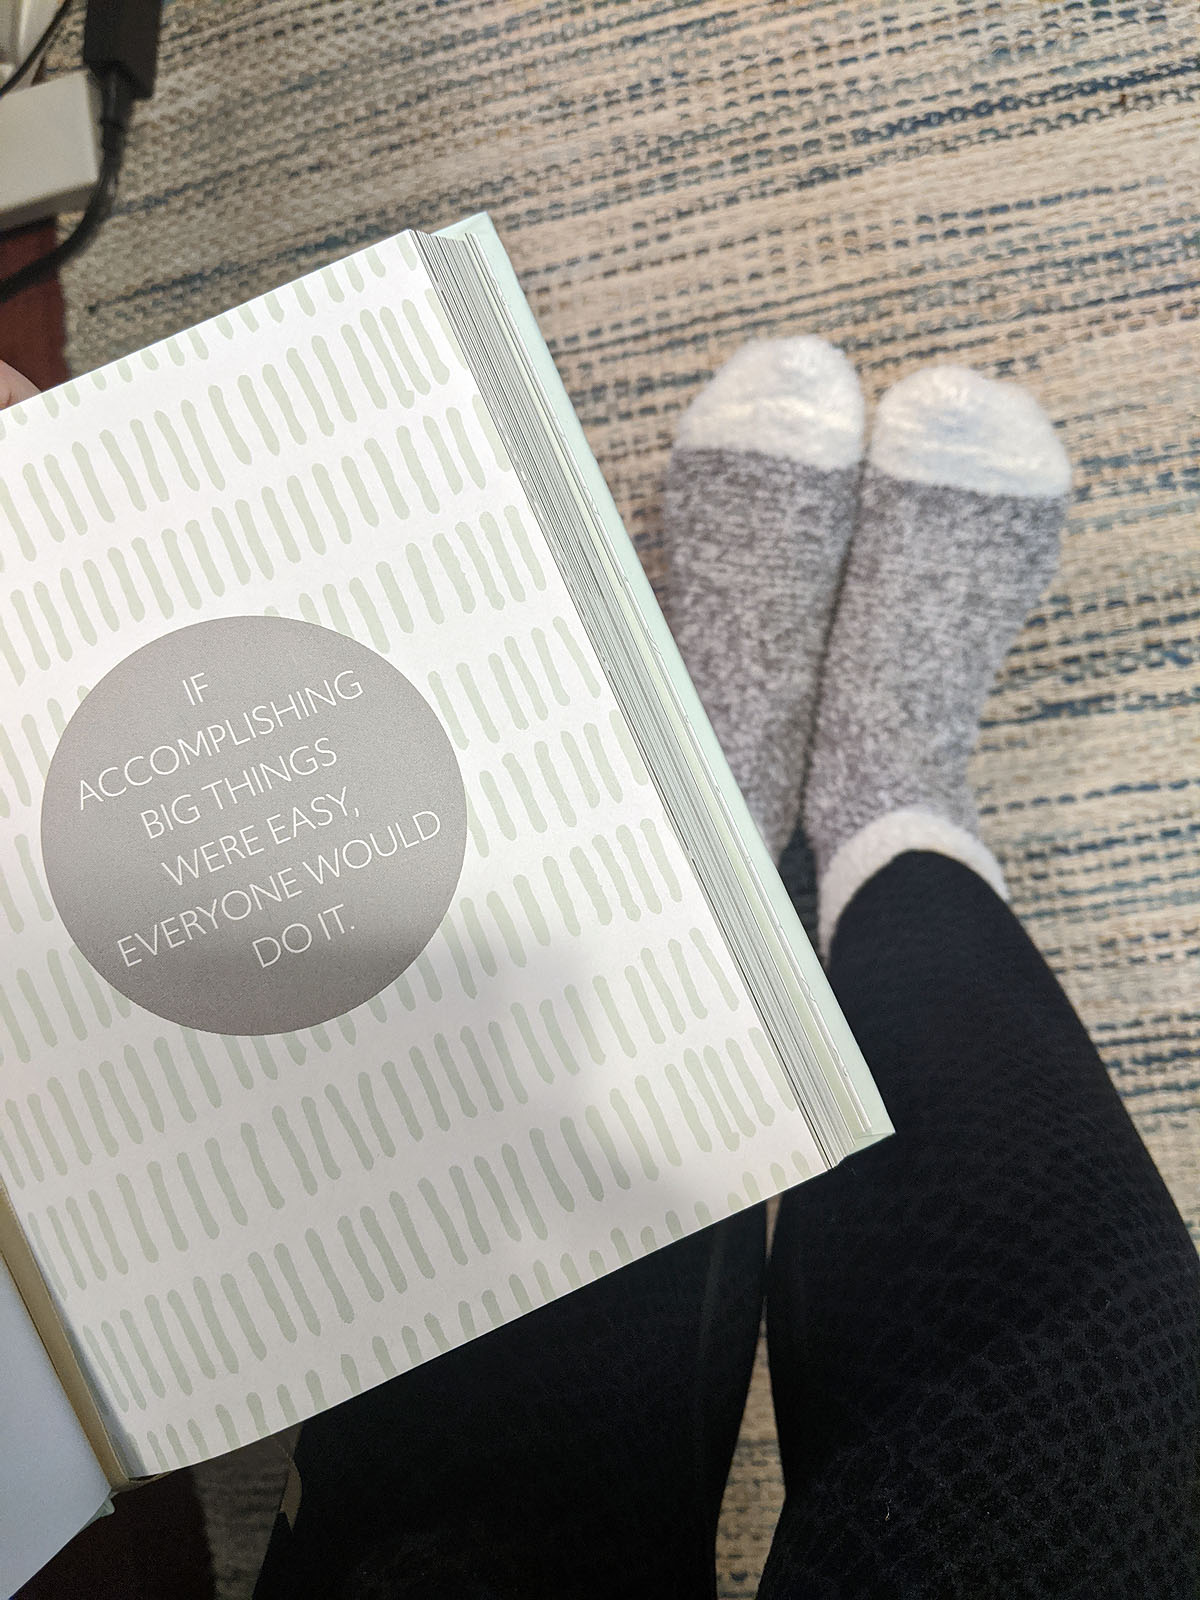
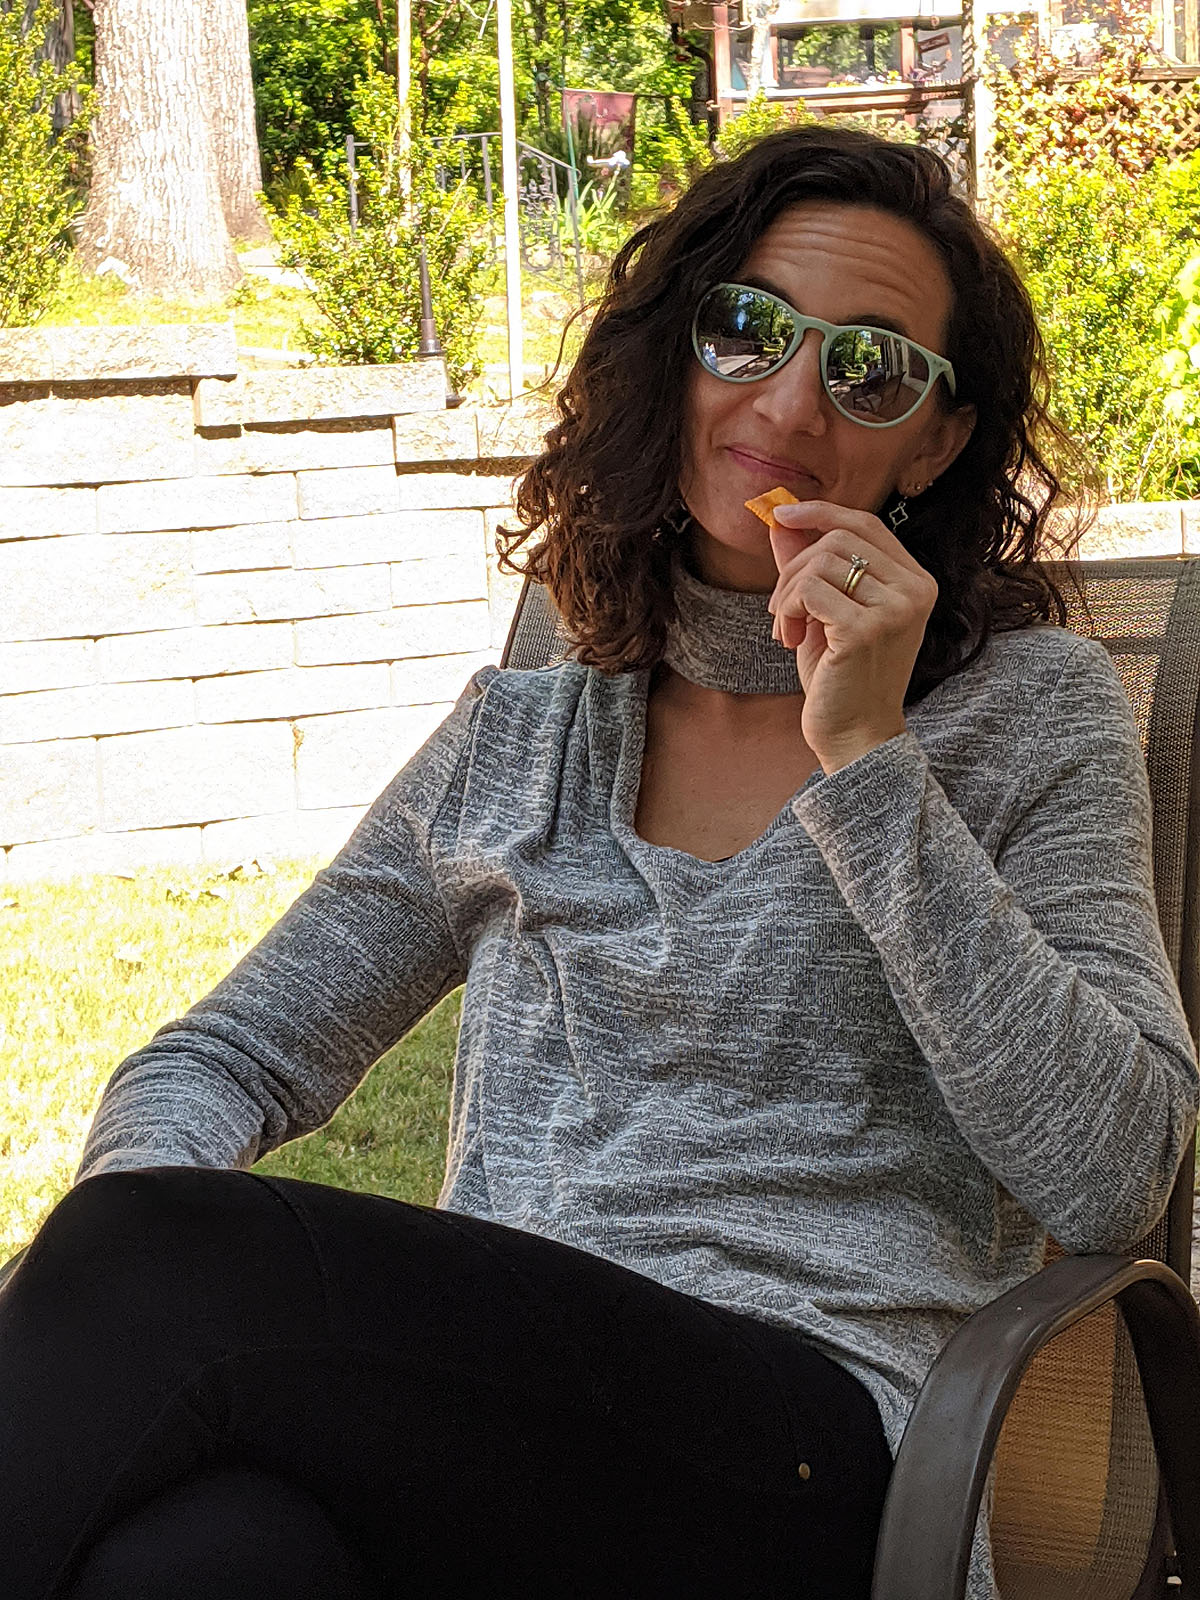
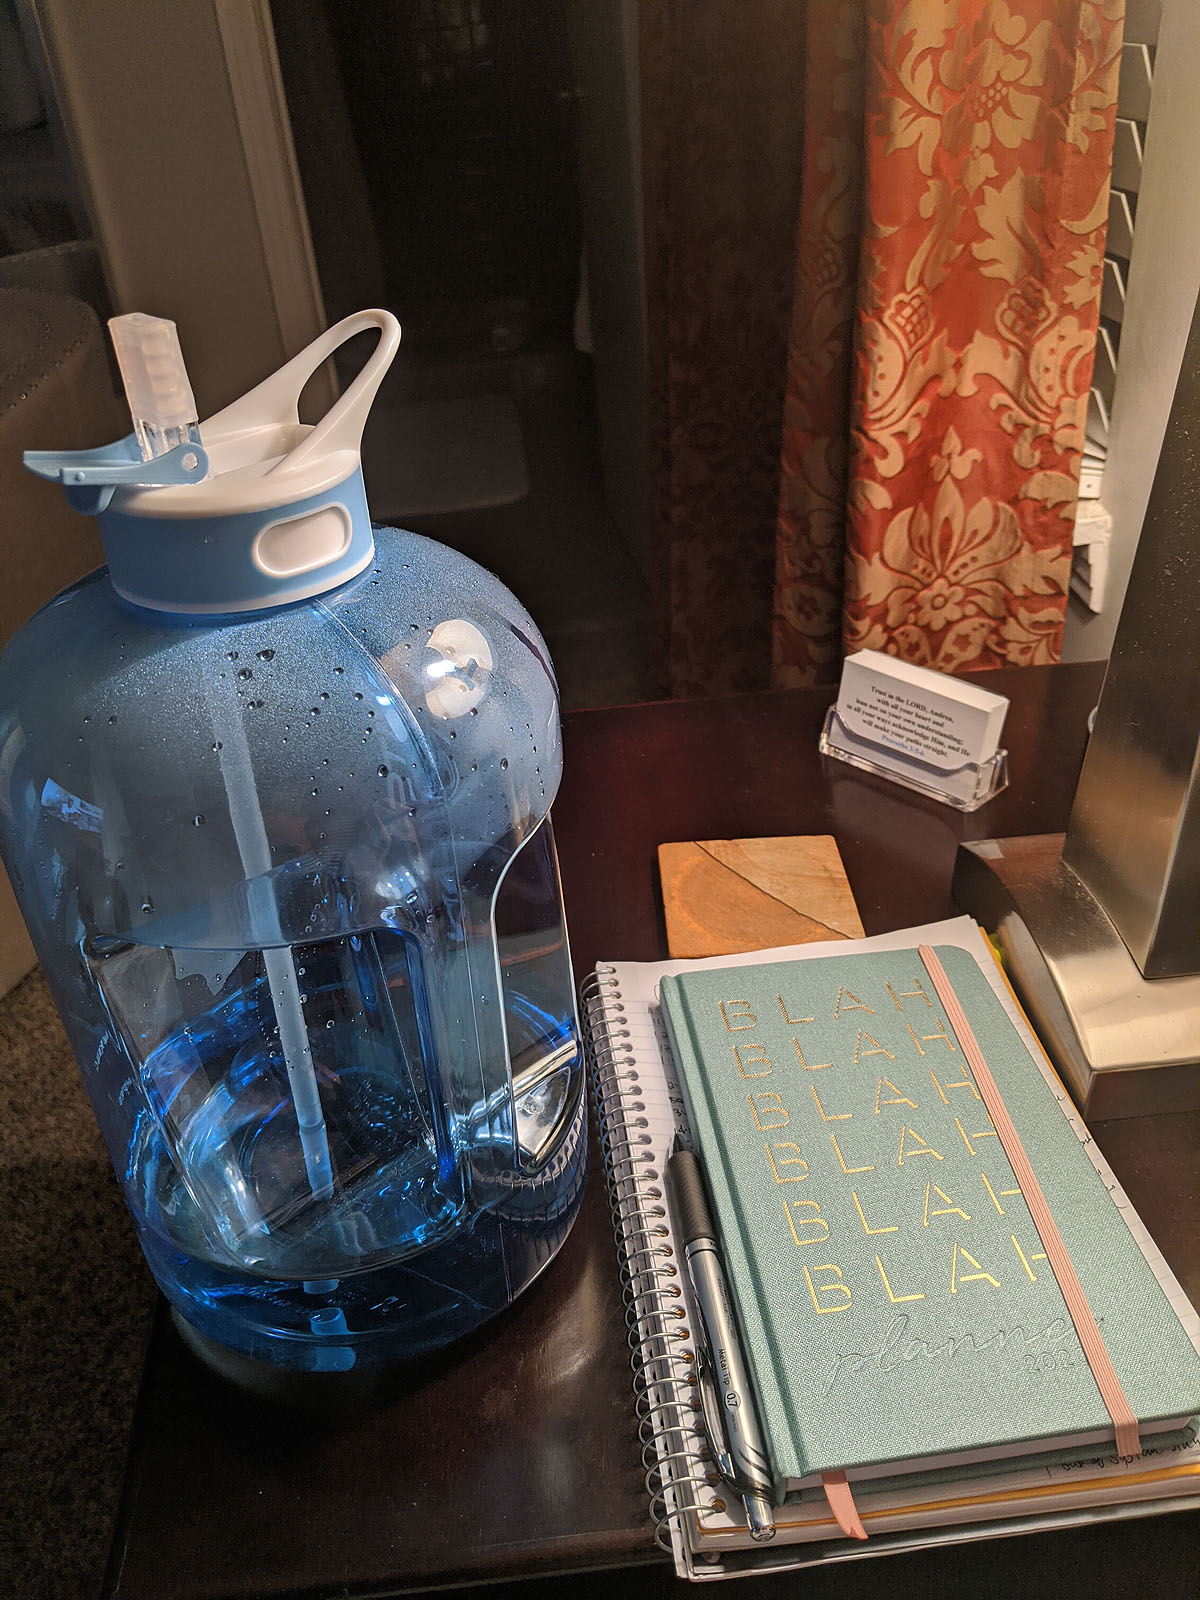
Ok...back to the appointment. I felt like an old pro getting all set up at my chair. Extension cord, check. Journal, check. Book to read, check. Headphones, check. Snacks, check. (They let me take my mask off to eat my cheez-its!)
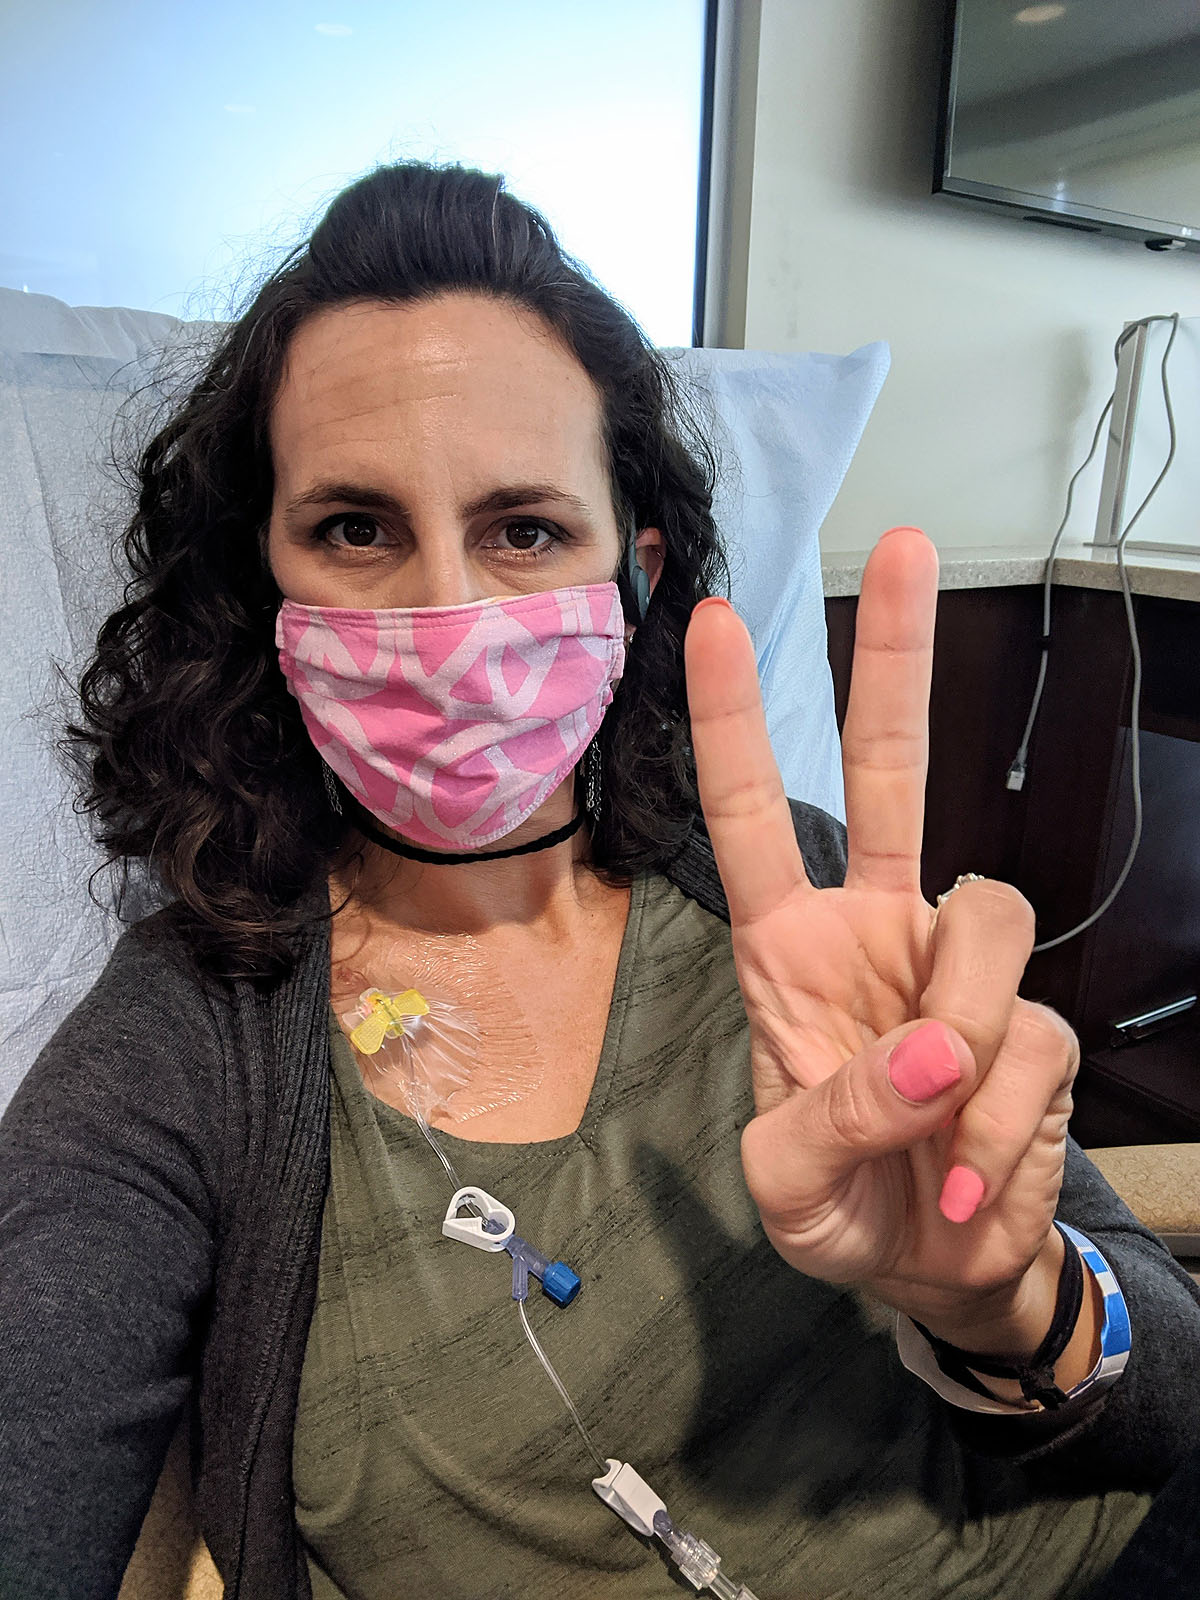
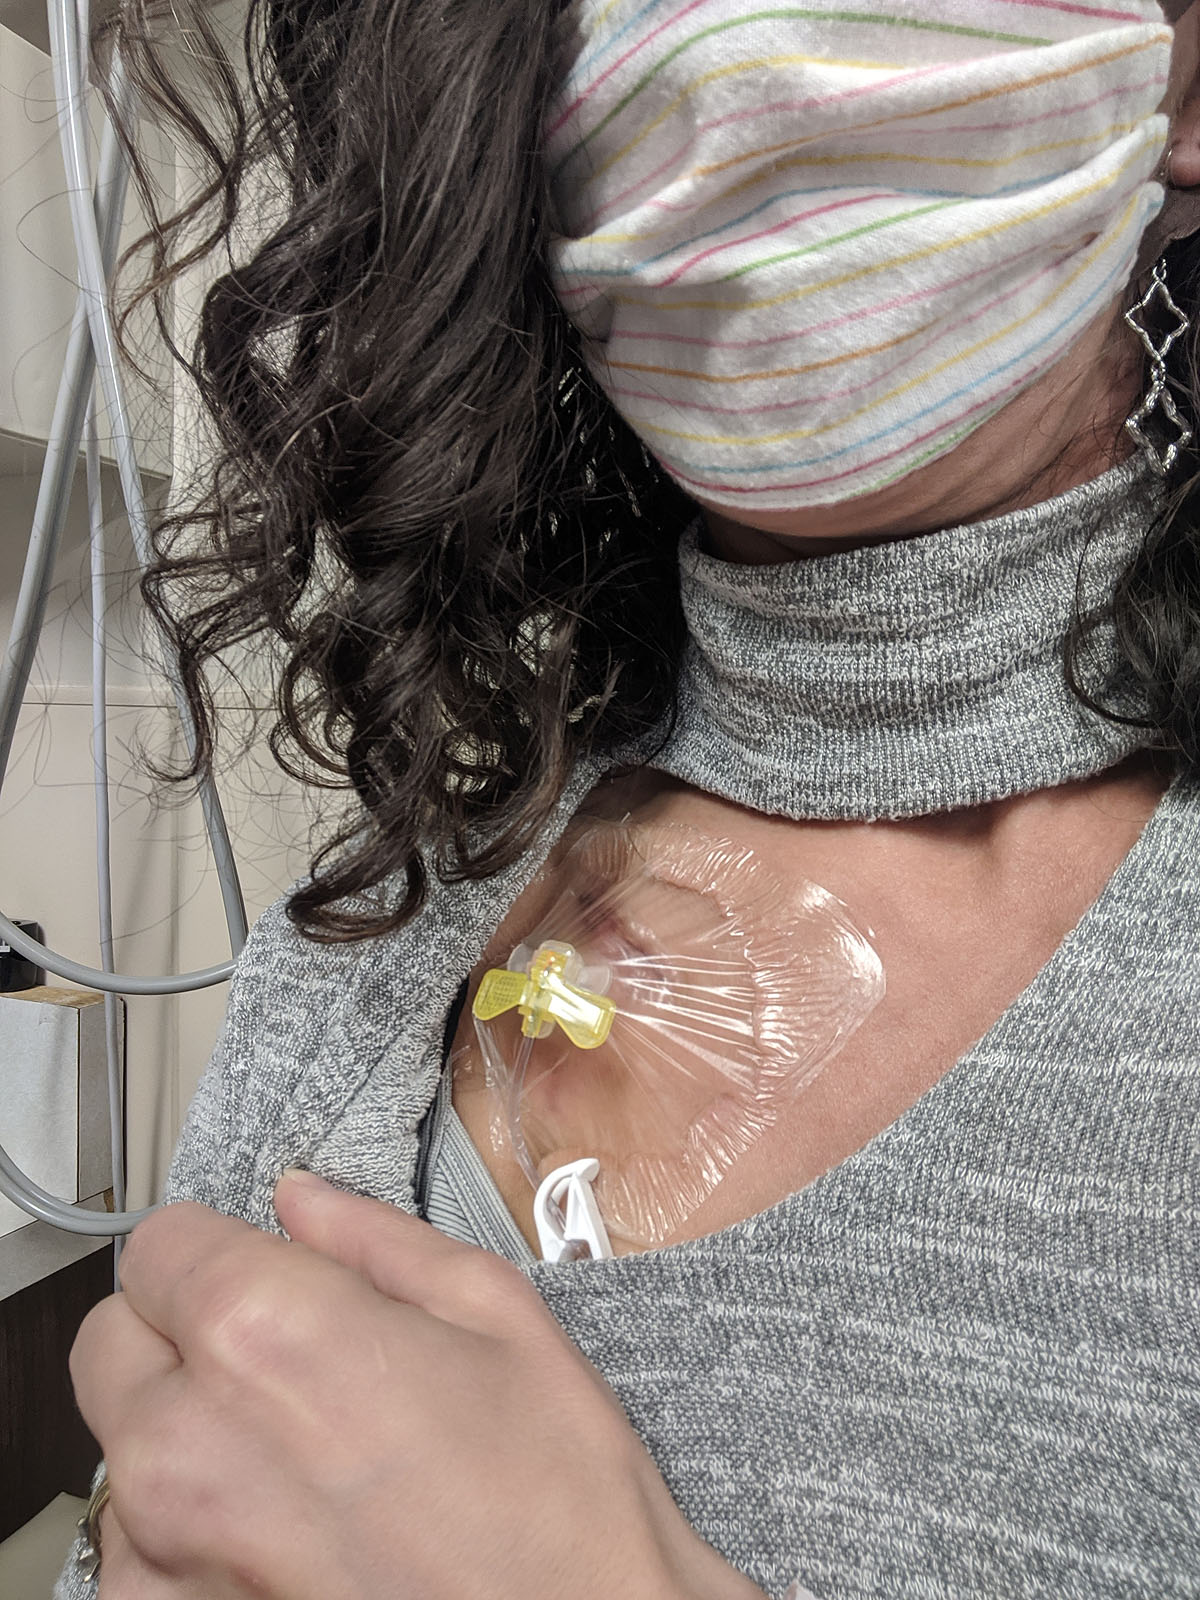
The process is long, but goes by fast with all the messaging and chatting that I did with several friends & family members. And it's completely painless....although looking at this picture now, it's making me feel VERY nauseus.
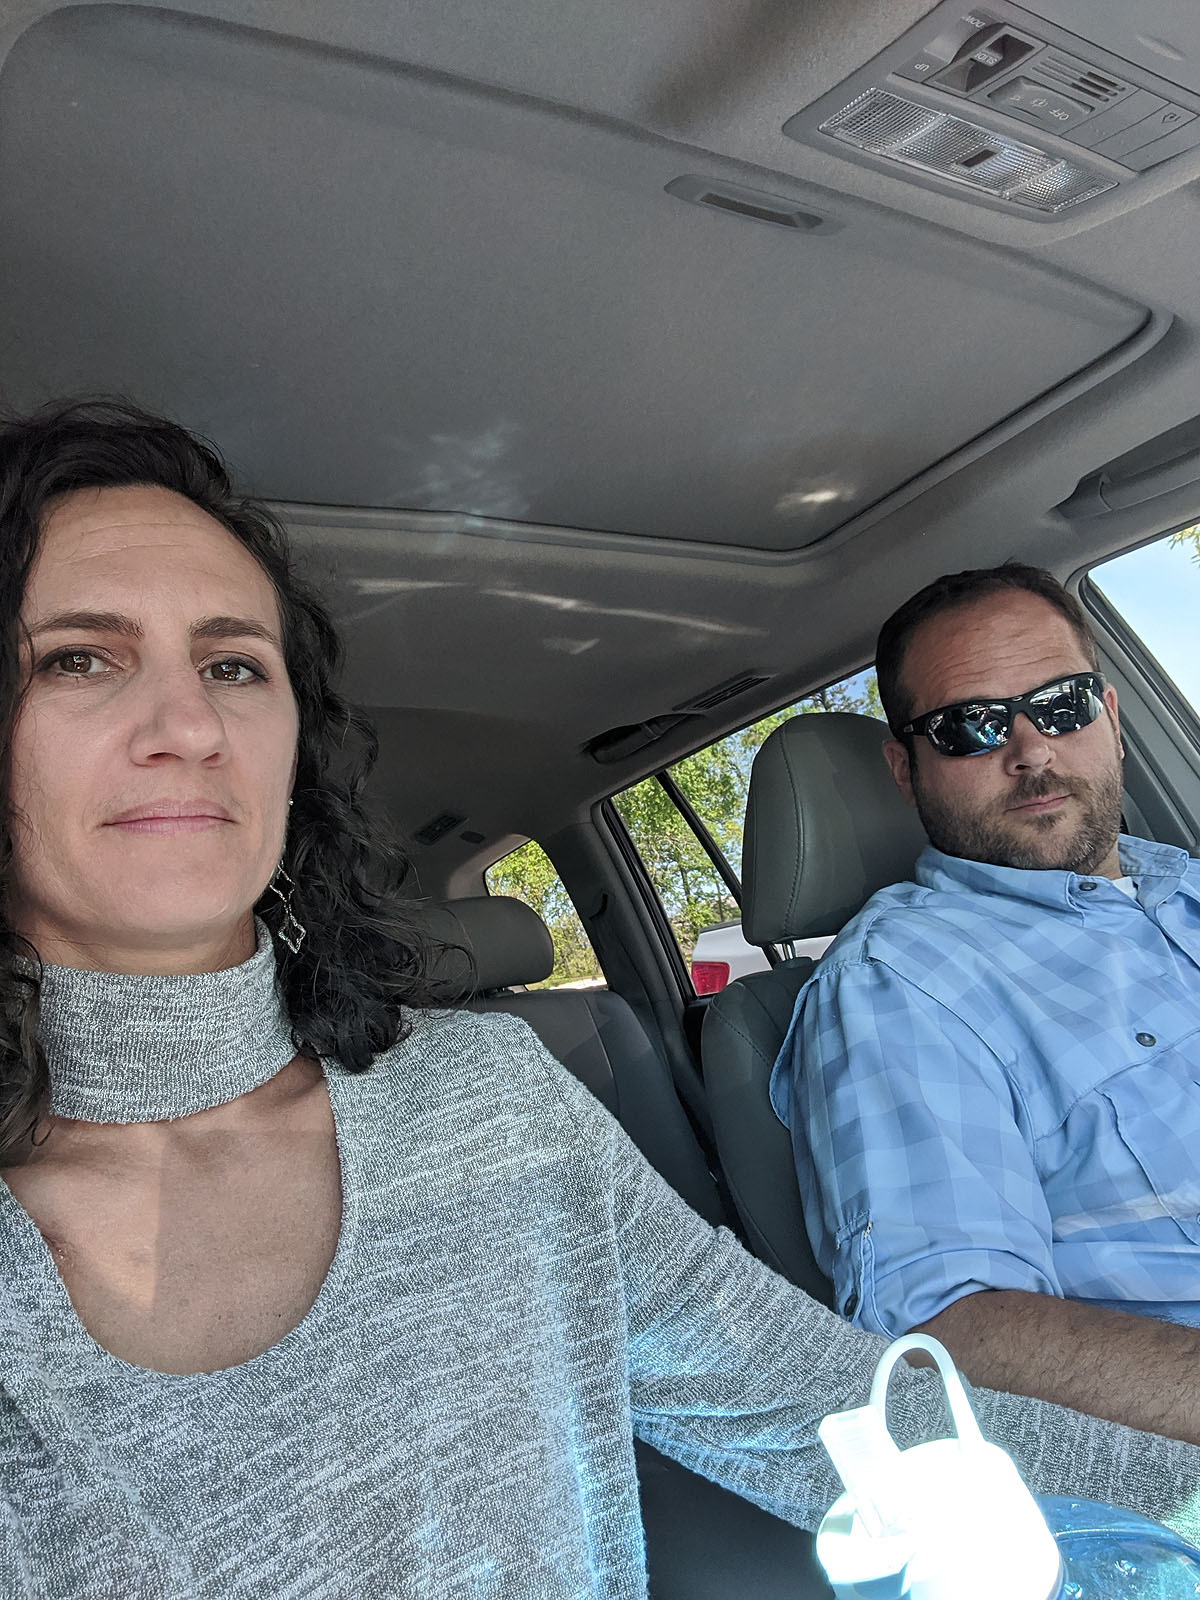
Ben was there to pick me up around 1:40pm and we headed home. Mostly, I felt great, except for feeling very puffy and a little light-headed. I was glad he was there to drive me home.
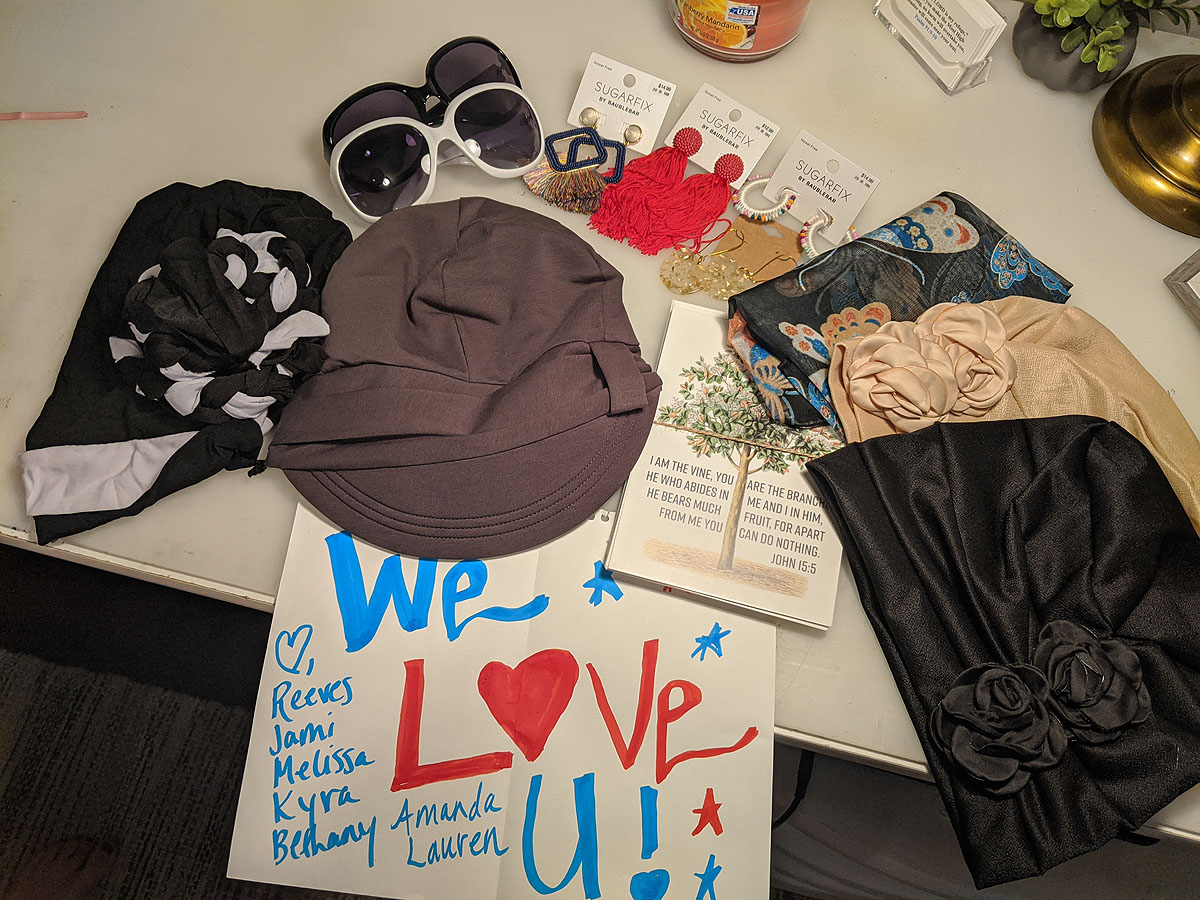
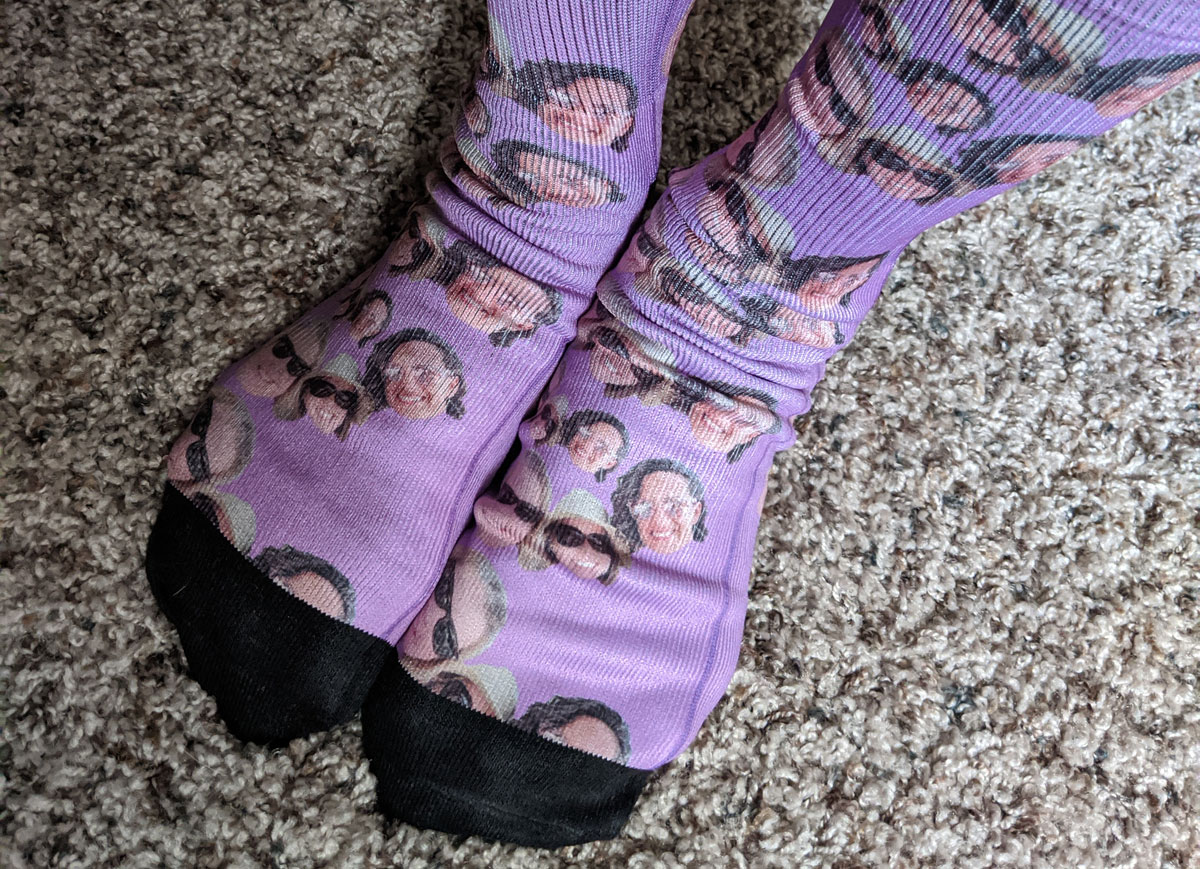
When I got home, I had a huge bag of happy treats from my friends from church. They know what I like---accessories!
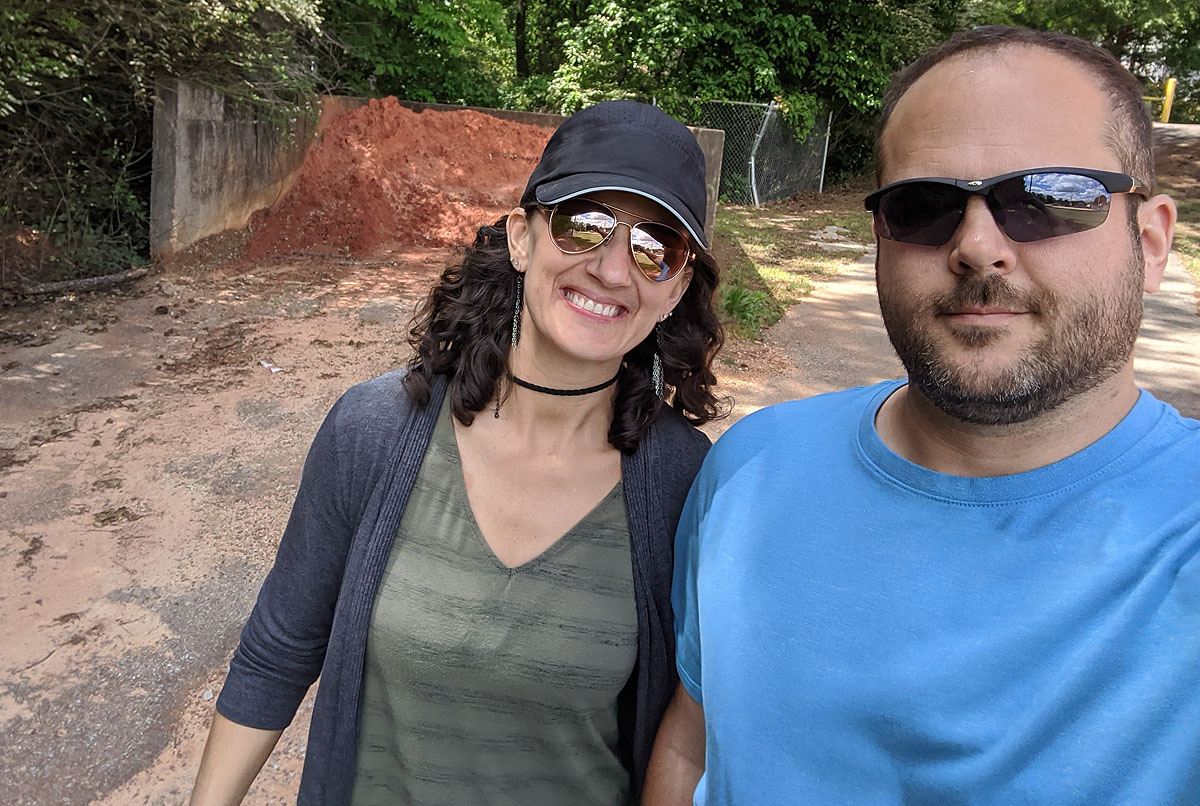
While I was feeling good, Ben and I went up to the park behind our house to walk a few laps. Seemed like trying to "walk off some toxins" was a good idea. He left after a few laps to go mow the lawn and I kept on, walking a total of about 50 minutes.
The rest of the afternoon, I sat on the back porch, answered a bunch of messages, and read a little of my book. But about 4:00pm, I started feeling pretty awful. Nauseus (I took some more meds for that) and had a headache. After Chemo #1 I had started to feel bad around 6pm (though not this bad) so it seemed to set in earlier since my appointment was a little earlier this week. It definitely hit harder and faster this time though.
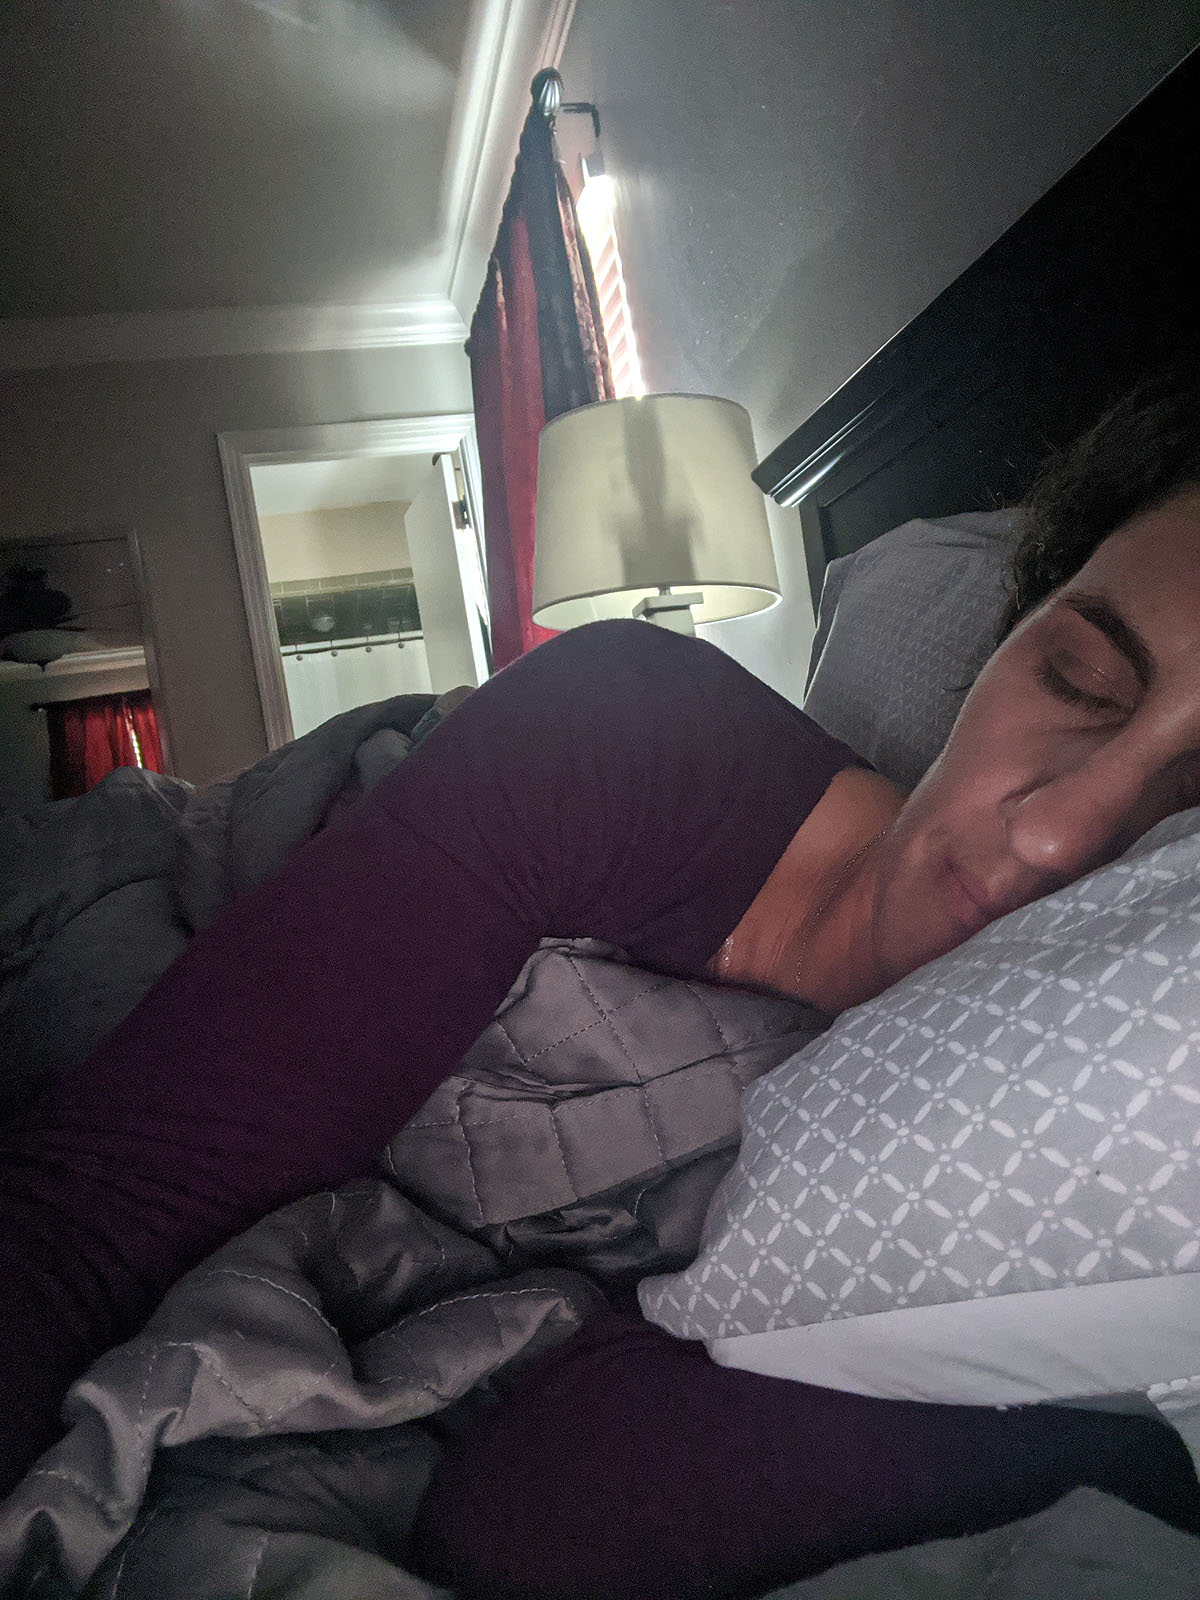
I managed to eat a small plate of food around 5:30, but then said goodnight to everyone and headed up to get in bed by 6:30pm. Reading made me nauseous, sitting or standing made me dizzy, noises made my head hurt. So sleep seemed best. I fell asleep from about 7 to 8pm and asked Ben to bring me a little more food so that I could try and get some more into my stomach before I fell asleep for the night.
This may be the slowest and smallest meal I've ever eaten--and I had to ask Ben to cut the chicken into tiny pieces for me so I could eat them more slowly. He's like the BEST nurse ever. And I managed to finish all but one bite.

He hung out with me while I ate (glad to have that chair in our bedroom for moments like this) and by 10pm, I was ready to go back to sleep. Thankfully, I slept well, and only woke up once in the middle of the night to go to the bathroom -- but I could tell my stomach was still feeling like it was seasick on a cruise ship.
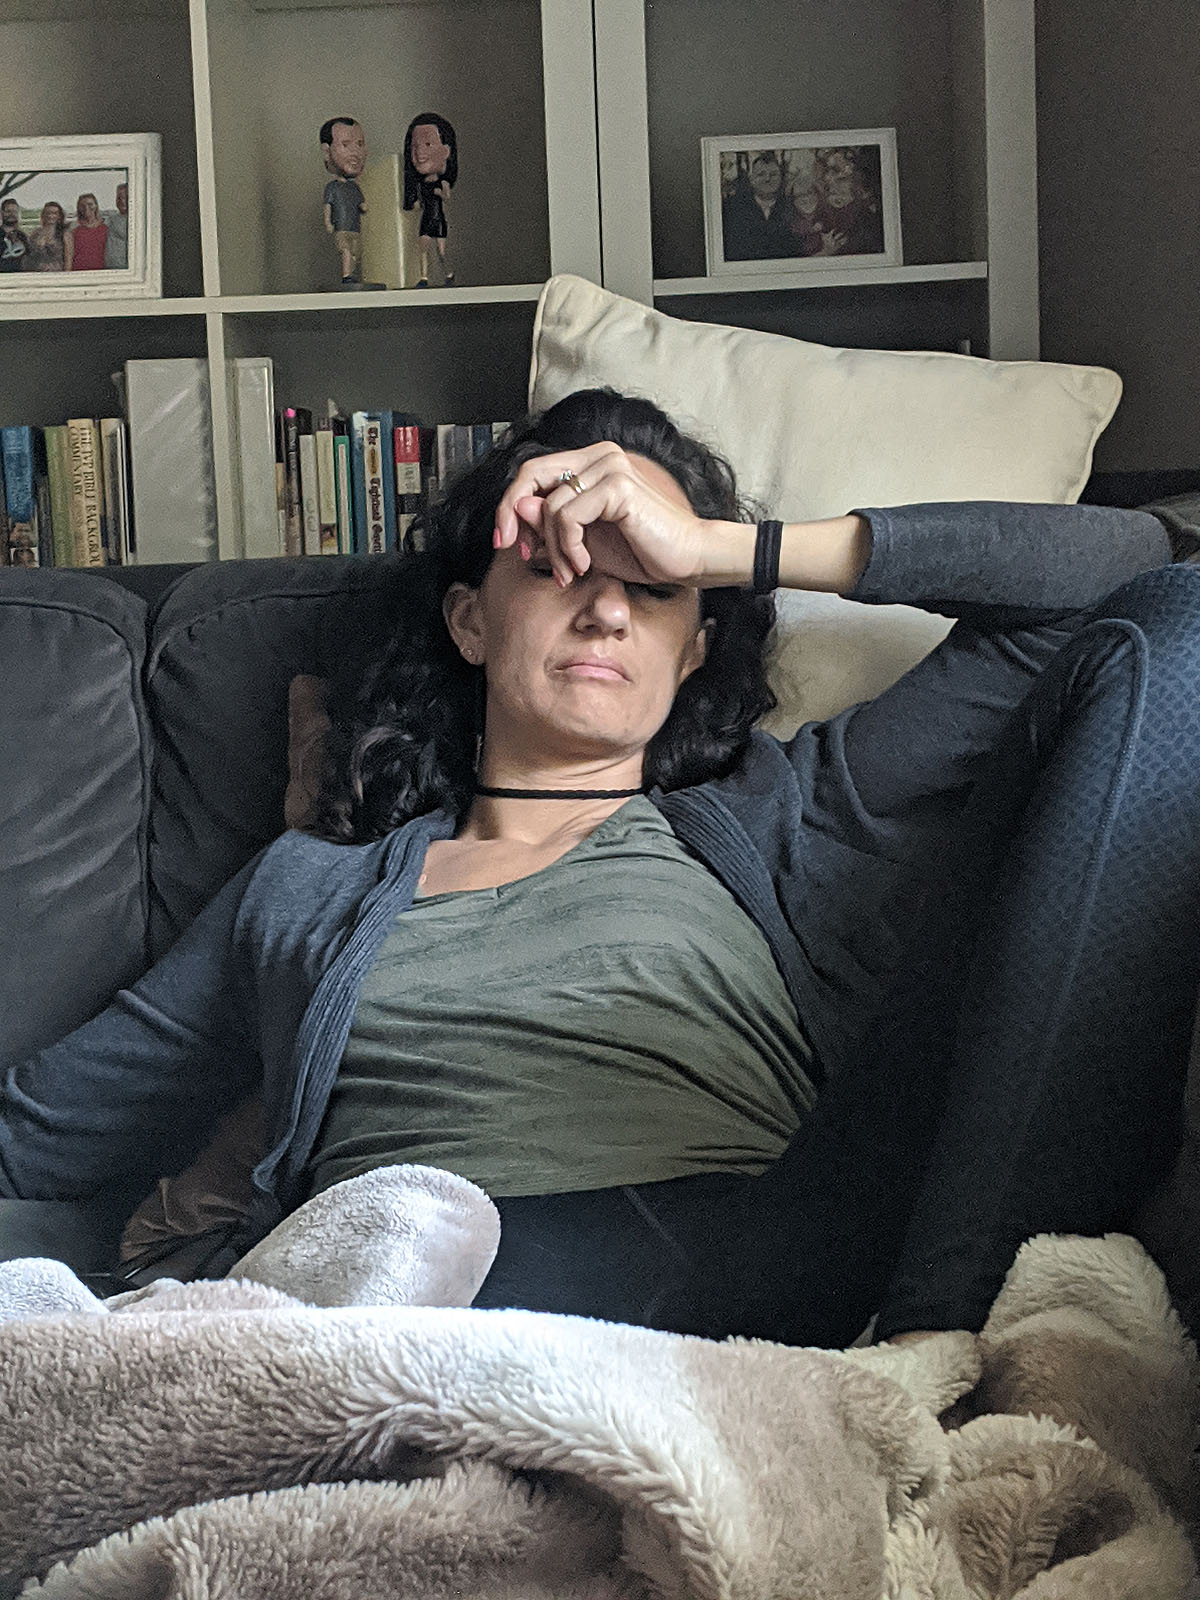
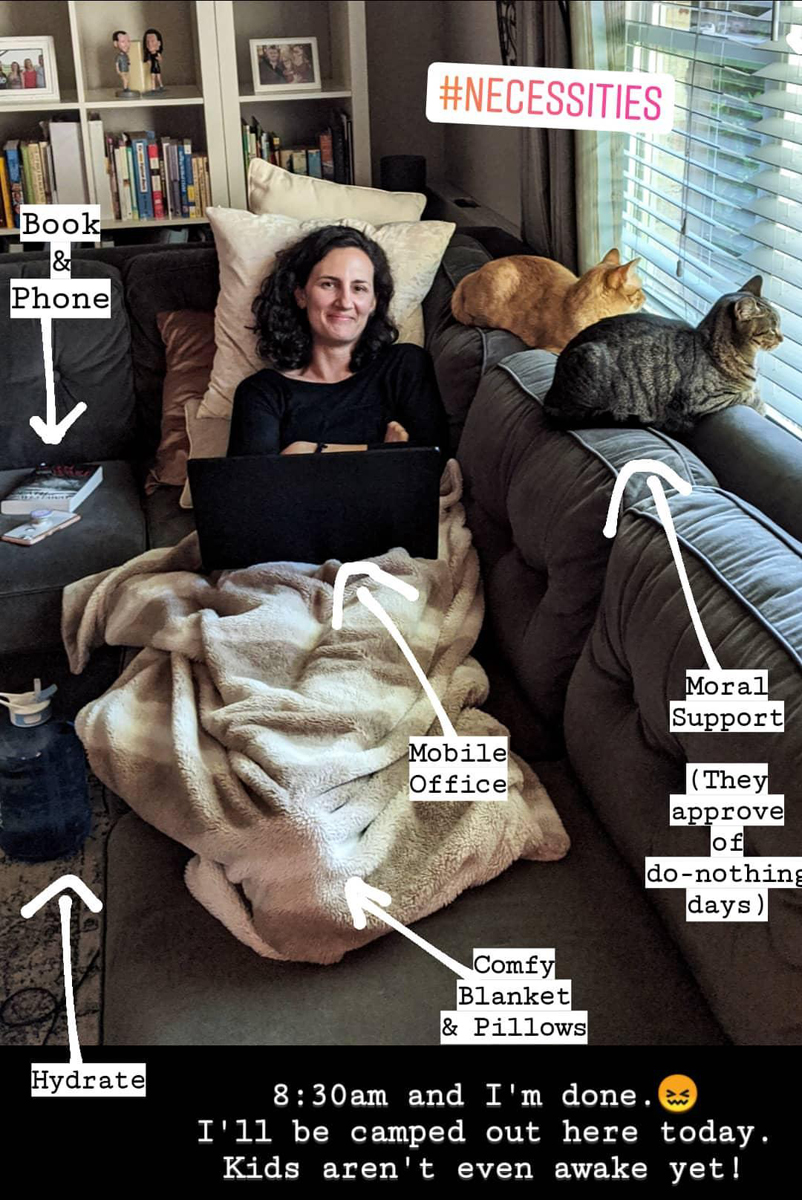
When I woke up at 6am, I knew it would be a good idea to eat before I started moving. So I reluctantly woke Ben up and asked him to make me some toast and an egg. Which he did, while barely awake. I was able to eat that well, and had enough energy to get up, get dressed, check on the status of my hair (still shedding, but not enough to shave it yet!), make some coffee, empty the dishwasher, and do my bible study lesson for the day. But by 8:30am, I was totally pooped and now I'm camped out on the couch.
Already I can feel my skin changing over to very dry and sensitive (which it did last time, but then switched back to normal) and my eyes are very dry (which is new this time). And boy am I glad to have a new tube of lip balm for every room of the house! I need it constantly.
So far, it's been significantly harder this time than last time, which worries me about the next couple of days. But I'll take it easy, I have a great support team taking care of me, and I will check back in here with an update and wrap up of how the weekend went early next week.
AC Chemo #1- "Normal Week" after AC #1
I thought I'd post a quick update, just to wrap up the rest of the time between my first and second chemo treatments (second session is tomorrow).

Honestly, no news has been good news, and there's not much to report. Essentially, with the exception of just a few small things, I've felt completely normal, if not better than normal, since last Tuesday, which has been AWESOME.
As best I can tell, the Neulasta shot didn't affect my bones/joints at all, so that was great, as I've heard that can be really painful. I've had occasional headaches that get better with Tylenol, a very uncomfortable "burned tongue" feeling (days 10-12) that seemed to get better with regular use of Biotene mouthwash, and until about yesterday have felt extremely hungry and needed to eat every 1-2 hours. My best guess is that the gallon of water I'm drinking every day is keeping me from eating everything in the house -- and consequently gaining any weight. Up to now, I've maintained a consistent weight if not lost a pound or two.
Today (day 14), I noticed some extra shedding of my hair in the shower, and I'm afraid I'm living on borrowed time in that category. Most people on dose dense AC chemo lose their hair right about 2 weeks after their first treatment and right near their second.
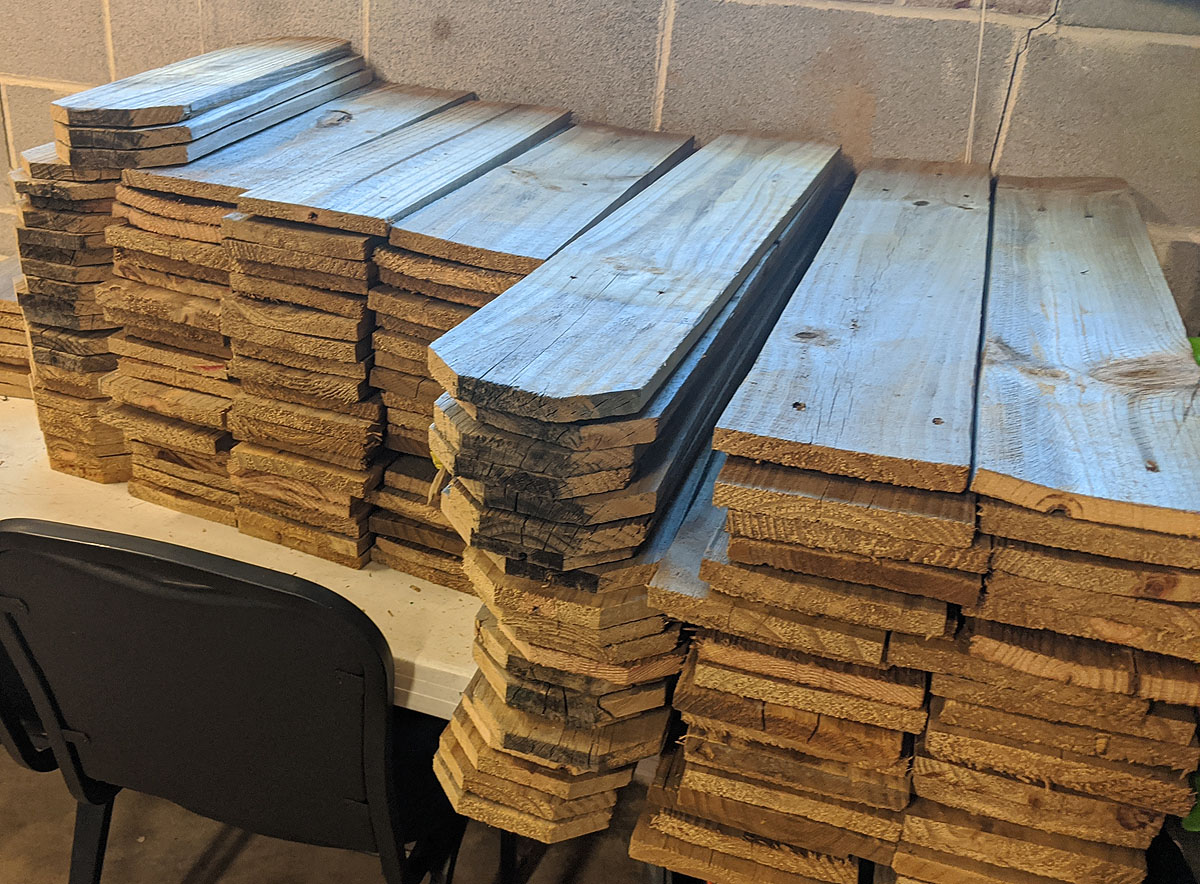
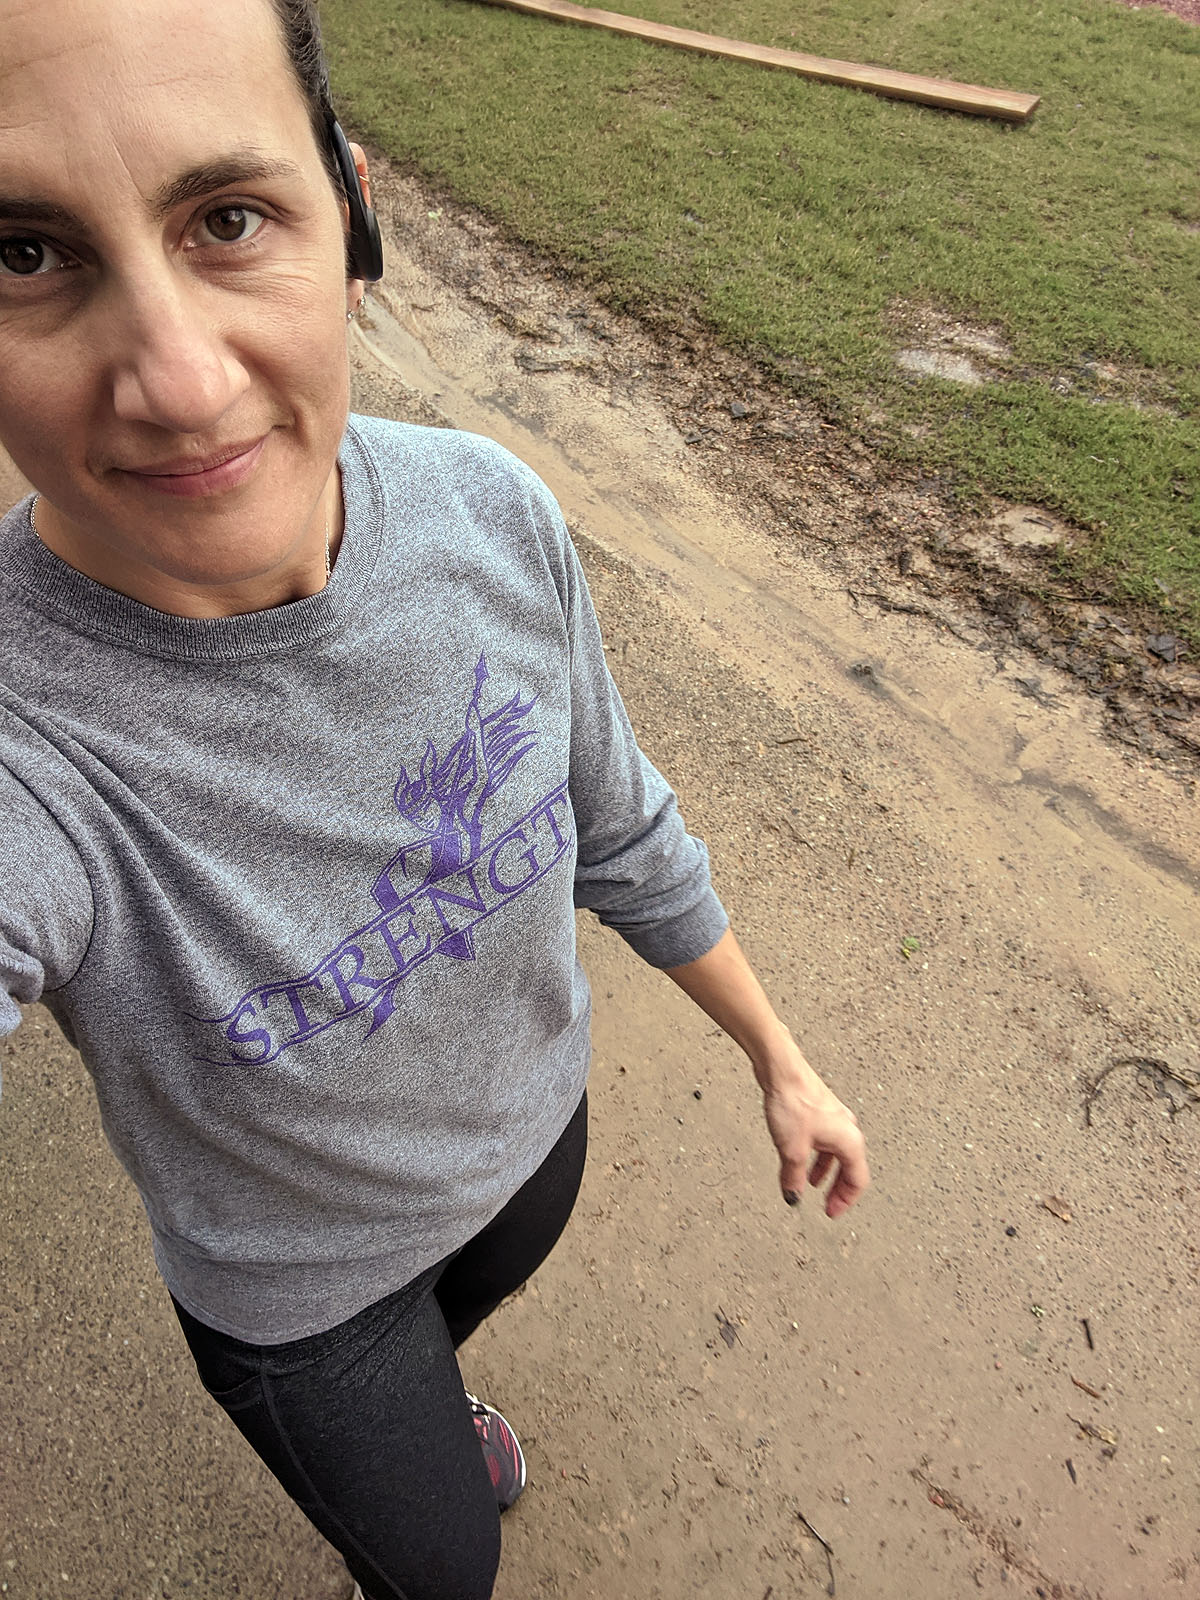
I've been working out every day (high intensity, only minimal modifications for my weaker arms after an elbow injury this year), sleeping well (other than frequent trips to the bathroom from that gallon of water), eating well (lots of protein), and even taking care of some prep-work for my sign business, in the hopes of getting back to painting signs next week after recovering from this next round of chemo--assuming it goes as well as this one has.

I power washed a load of wood and cut it all down to size, and got those boards pre-painted so they're ready to be turned into custom signs!
And, since I wasn't doing my regular full time *work* I did have plenty of extra time to rest and read and visit with friends on the phone or through video messaging, which has been really fun. I think I'm actually MORE social now than when we aren't in quarantine.
I've adopted a "do what you can in this moment" policy, so instead of planning my whole week, I'm making lists of things I'd like to do or get done so when I feel well, which thankfully has been all of the past week, I can hack away at that list. Honestly, COVID quarantine (and gorgeous weather) have helped make that much easier on me.
Today, I'm cleaning the house and getting ready for a long weekend of laying low, watching TV, sleeping & reading books while I recover from round two. I've been told the fatigue is cumulative, so I expect to feel a little rougher for a little longer this round...but we'll just see how it goes.
So, How Do You Feel?
When you hear "chemo" you think you'll be barfing and bed-ridden and bald and in constant pain immediately after the treatment. So when I woke up feeling mostly fine on Friday, it was both a pleasant suprise and I felt a little sheepish--Aren't I supposed to feel awful? Maybe it'll hit in another day or two...or maybe all the steroids and anti-nausea meds they gave me are working really really well.
Overall though, the weekend was very tolerable. I definitely felt "off" and had several notable symptoms, but nothing horrific, nothing so miserable I couldn't function, and mostly, I felt just a little run down. I spent most of my time noting how I felt, wondering how I would feel in a few hours or days, and waiting to see how my body responded...and luckily, so far anyhow, I've been pleasantly relieved.
I think because we (Ben played a BIG role in making it possible) intentionally cleared myself of all responsibilities, since I had no idea how I would respond or feel, I was able to just do what I was capable of in each moment based on how I currently felt--true 100% in-the-moment living.
I typically NEVER operate that way in my regular life -- my set speed is GO with a list of things to do a mile long that MUST be completed by the end of the day. So, releasing myself of having to "do" anything or expect anything of myself really made me appreciate each thing I *was* able to do all weekend.
People have told me over and over again that I'm "strong" and "inspiring" and can "fight" this. I don't quite know how to respond to that. I didn't choose this or decide to be "brave" and tackle cancer. I couldn't "pass" on dealing with it--or I absolutely would have! I certainly don't have any control over how my body responds to the drugs or whether the cancer spreads or shrinks.
I don't really have any choice but to just let it happen and see what God does with it. I don't know where it will all end up or what my story will look like. It's quite possible this could be the most boring cancer story EVER. But in any case, I'm committed to recording the experience, processing it through journaling, and giving anyone who is interested a behind-the-scenes look at what this *can* look like (because everyone's experience is completely different).
The Lord will fight for you; you need only to be still.
- Exodus 14:14
As someone who likes to be in control, capable, dependable, doesn't want to be seen as weak or in need, it's pretty clear THIS is the bigger picture lesson I'm going to need to learn through all of this.
So now, if you've made it this far...here's the less philosophical and more physical, chronological rundown of what days 3 through 6 have looked like for me after my first chemo treatment:
The short version of symptoms I've noticed so far are these:
- flushed face & chest
- very dry skin (when normally mine is more oily)
- slight queasiness, needing to eat every 2 hours or so
- pressure headache between my eyes
- fatigue
- constipation
So, though it wasn't a horrific miserable weekend, of course, life was not completely "normal" either. For instance, Ben used the main bathroom for the weekend instead of the one in our bedroom, so he could stay far away from any possible toxins released from my bodily fluids. Every time I went to the bathroom (which is about 35 times a day when you're drinking a gallon of water) it was a whole process -- pee, put the seat down, flush, wash hands, put lotion on hands while I wait for the tank to fill, flush again. We had instructions to wash towels or sweaty clothes or sheets in hot water after each use. Whether it's truly necessary or overkill, I don't know, but the instructions were specific enough to scare us into doing it, so Ben's face and hands didn't melt off. (Although, I'm not sure why I'm not melting away if my sweat or tears could hurt him as much as they say?)
If 100% "normal" energy for me is making it through a 6am to 10pm day, including a high intensity workout, full day of work and family activities in the evening, then I'd put the last several days at the following energy levels:
Friday - 70%
Saturday - 30%
Sunday - 50%
Monday - 65%
Tuesday - 90%
I was able to eat pretty much anything I wanted, although I was much more interested in meat, eggs, cheese & savory foods than sweet things. I slept pretty well each night (other than frequent bathroom trips). And once I found some good moisturizing lotion to deal with my skin issues and some coffee & some ducosate sodium to deal with my tummy troubles, I was doing ok.
FRIDAY (day 2)
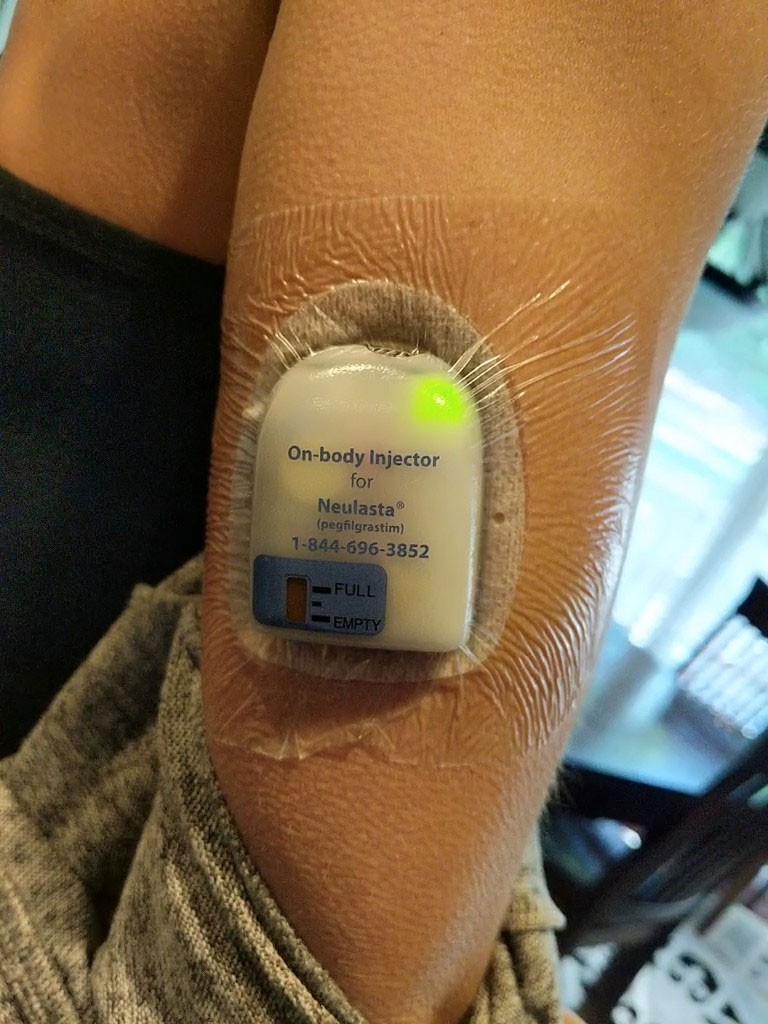
Around 6pm, just after we finished dinner, my arm started beeping. Truly. Several beeps from my Neulasta shot was the warning that it was about to start dispensing the medicine.
For the next 45 minutes or so, I could hear a clicking sound coming out of it, and feel a teeny tiny pinch in my arm.
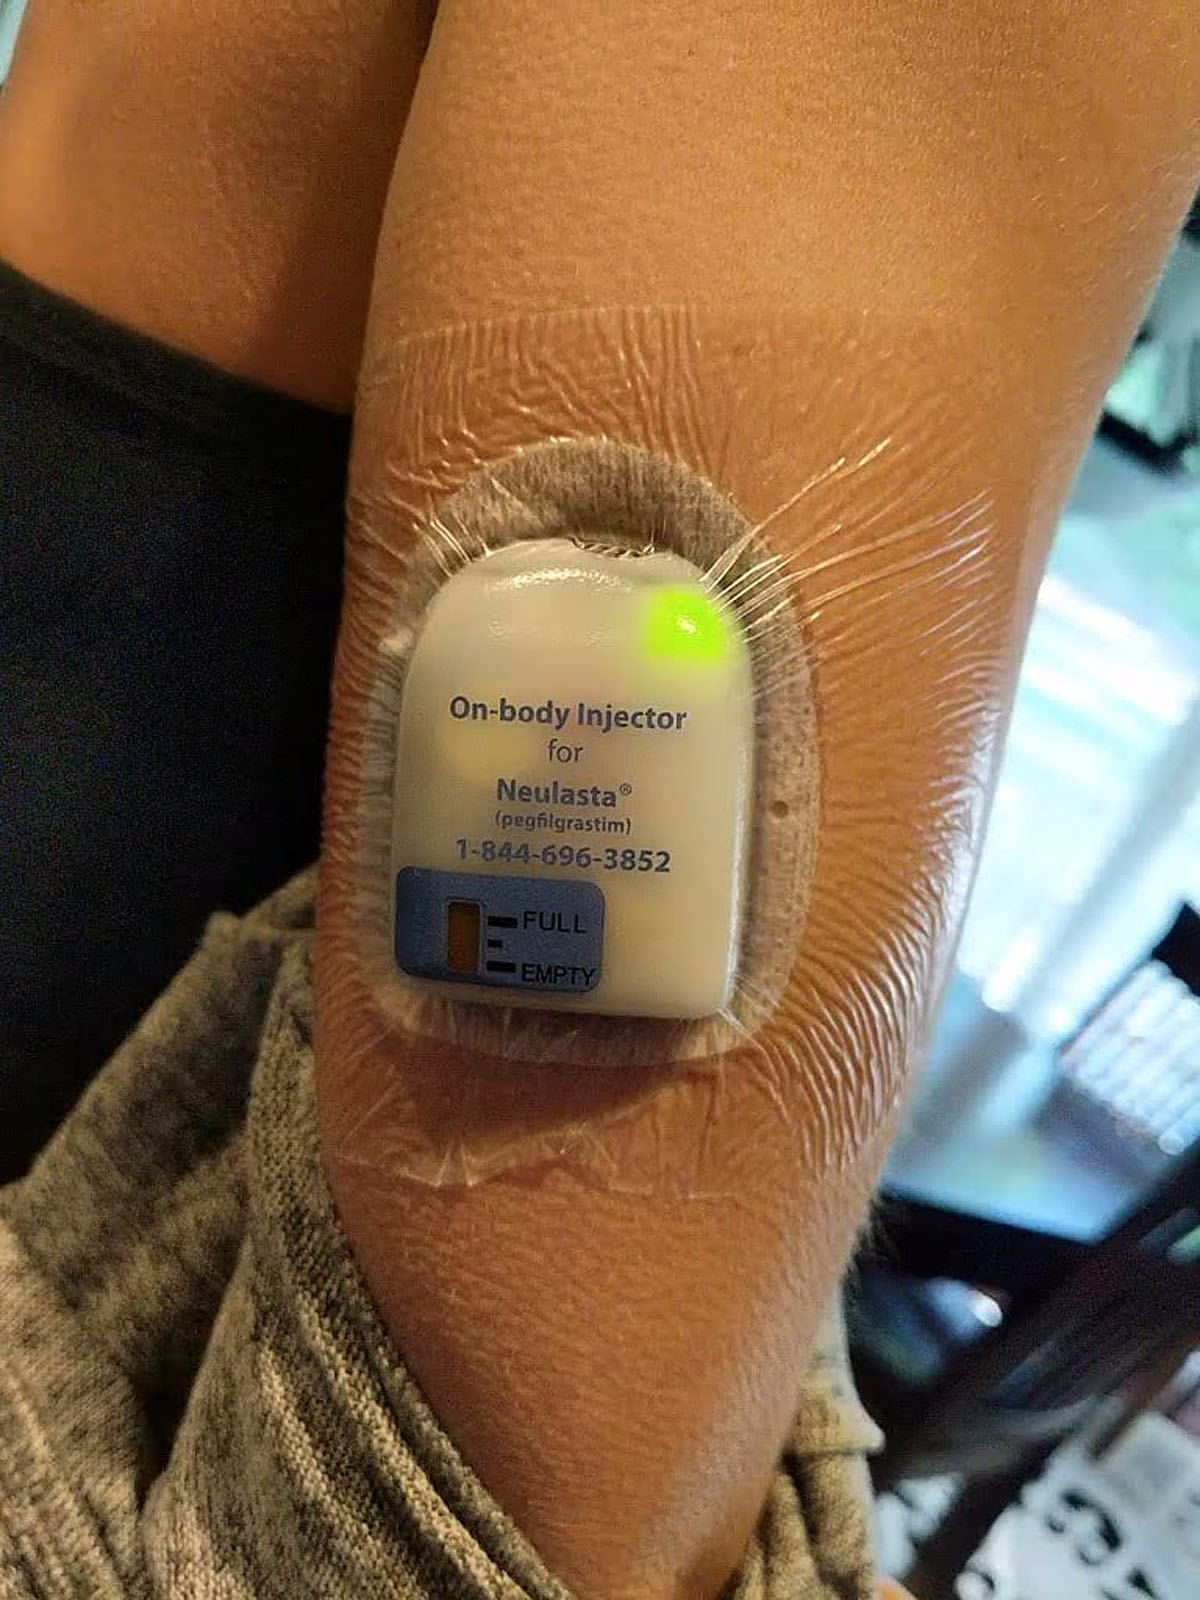
Then at 8pm, I was allowed to peel it off. What a wild way to get your medicine! But it worked pretty well, and sure beat going to the hospital again for a shot. My main concern about the Neulasta shot is the bone and joint pain that some people experience. After dealing with that kind of pain during my Graves Disease diagnosis, I know how miserable that can make me. But the initial shot didn't seem to do anything to me that I could notice. So far so good, on that front (even today, 4 days later).
SATURDAY (day 3)
I'd heard that day 3 is often when all the steroids wear off and the effects and fatigue of the chemo treatment hit. So when I woke up on Saturday feeling kind of nauseous, with a headache and vert low energy, I wasn't suprised.
I took 2 of the anti-nausea tablets right off the bat. If I've heard *anything* it's to stay ahead of the nausea. Then I ate breakfast and slowly moved about the morning. I had to stop in the middle of making coffee and emptying the dishwasher though (and Ben finished that task for me). After just a little bit of food and activity, I gave up and headed back to bed at 10:30am and just laid there for a while listening to a podcast with my eyes closed.
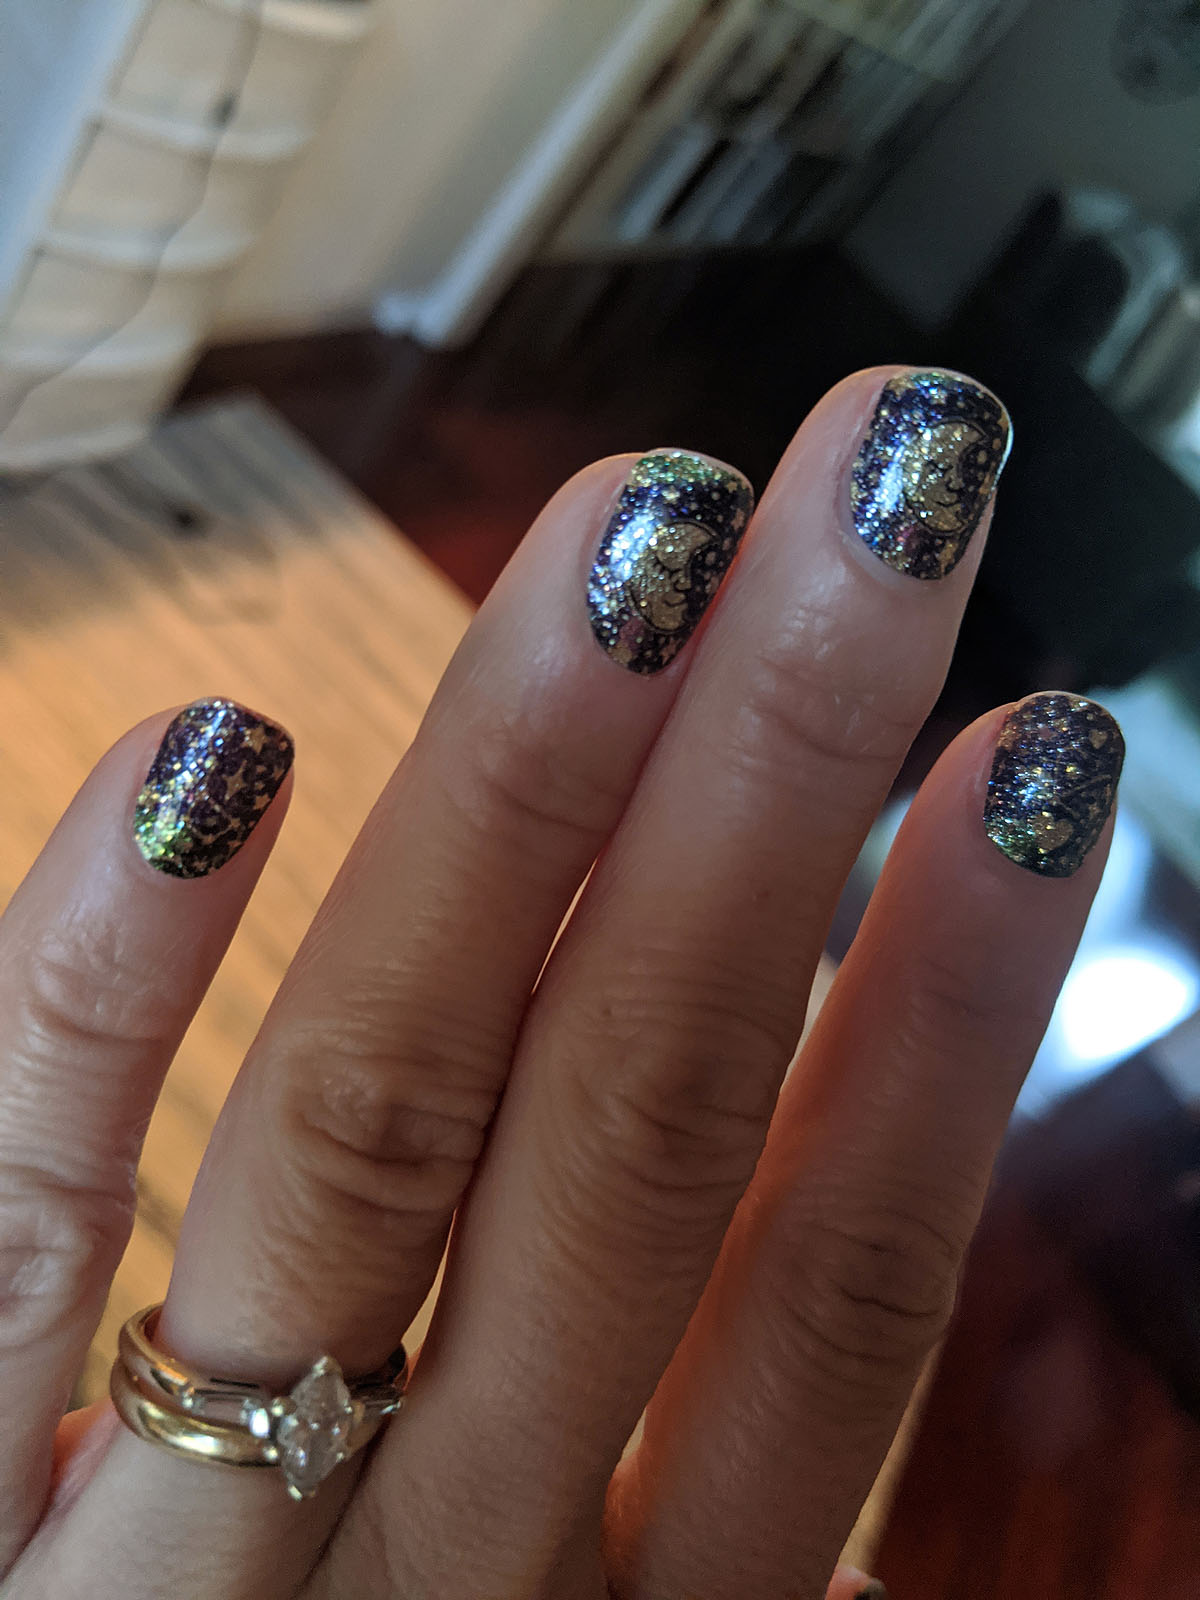
Ben brought me a cheese stick to eat, which seemed to give me enough energy to head back downstairs for a little while, where I was able to make and eat lunch. And I had just enough energy left over to put some Color Street nail strips on myself & Ayla (thanks to a friend who had dropped them off for us that morning). Definitely a little "happy" in my day!
But my energy was definitely super-low and after a little while at my computer, when Ben took the kids out to ride bikes, I ended up crashing back in bed. I tried to watch a show, but fell asleep. I was just completely exhausted.
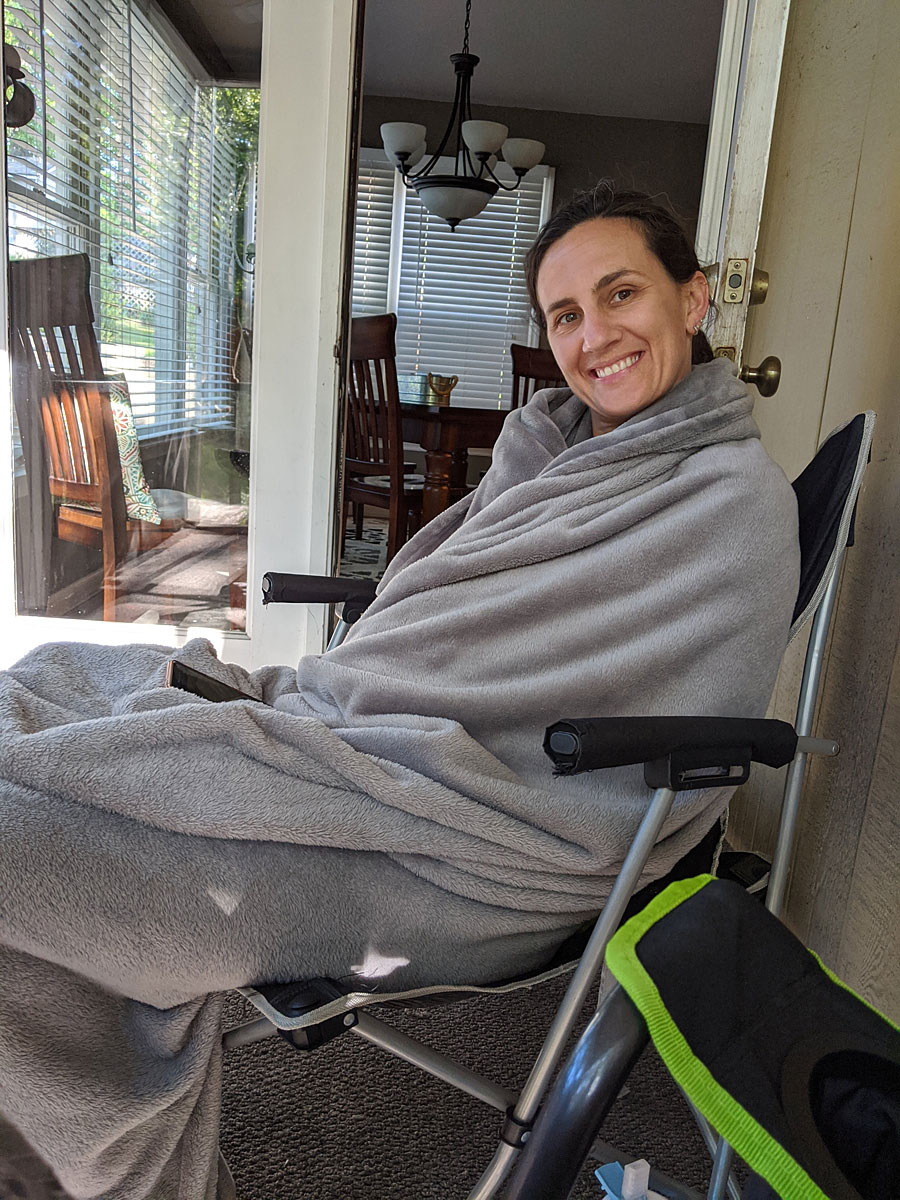
When I woke up a couple of hours later I felt slightly better, but spent the majority of the evening just sitting on the porch wrapped in a blanket. That was the big event for the day.
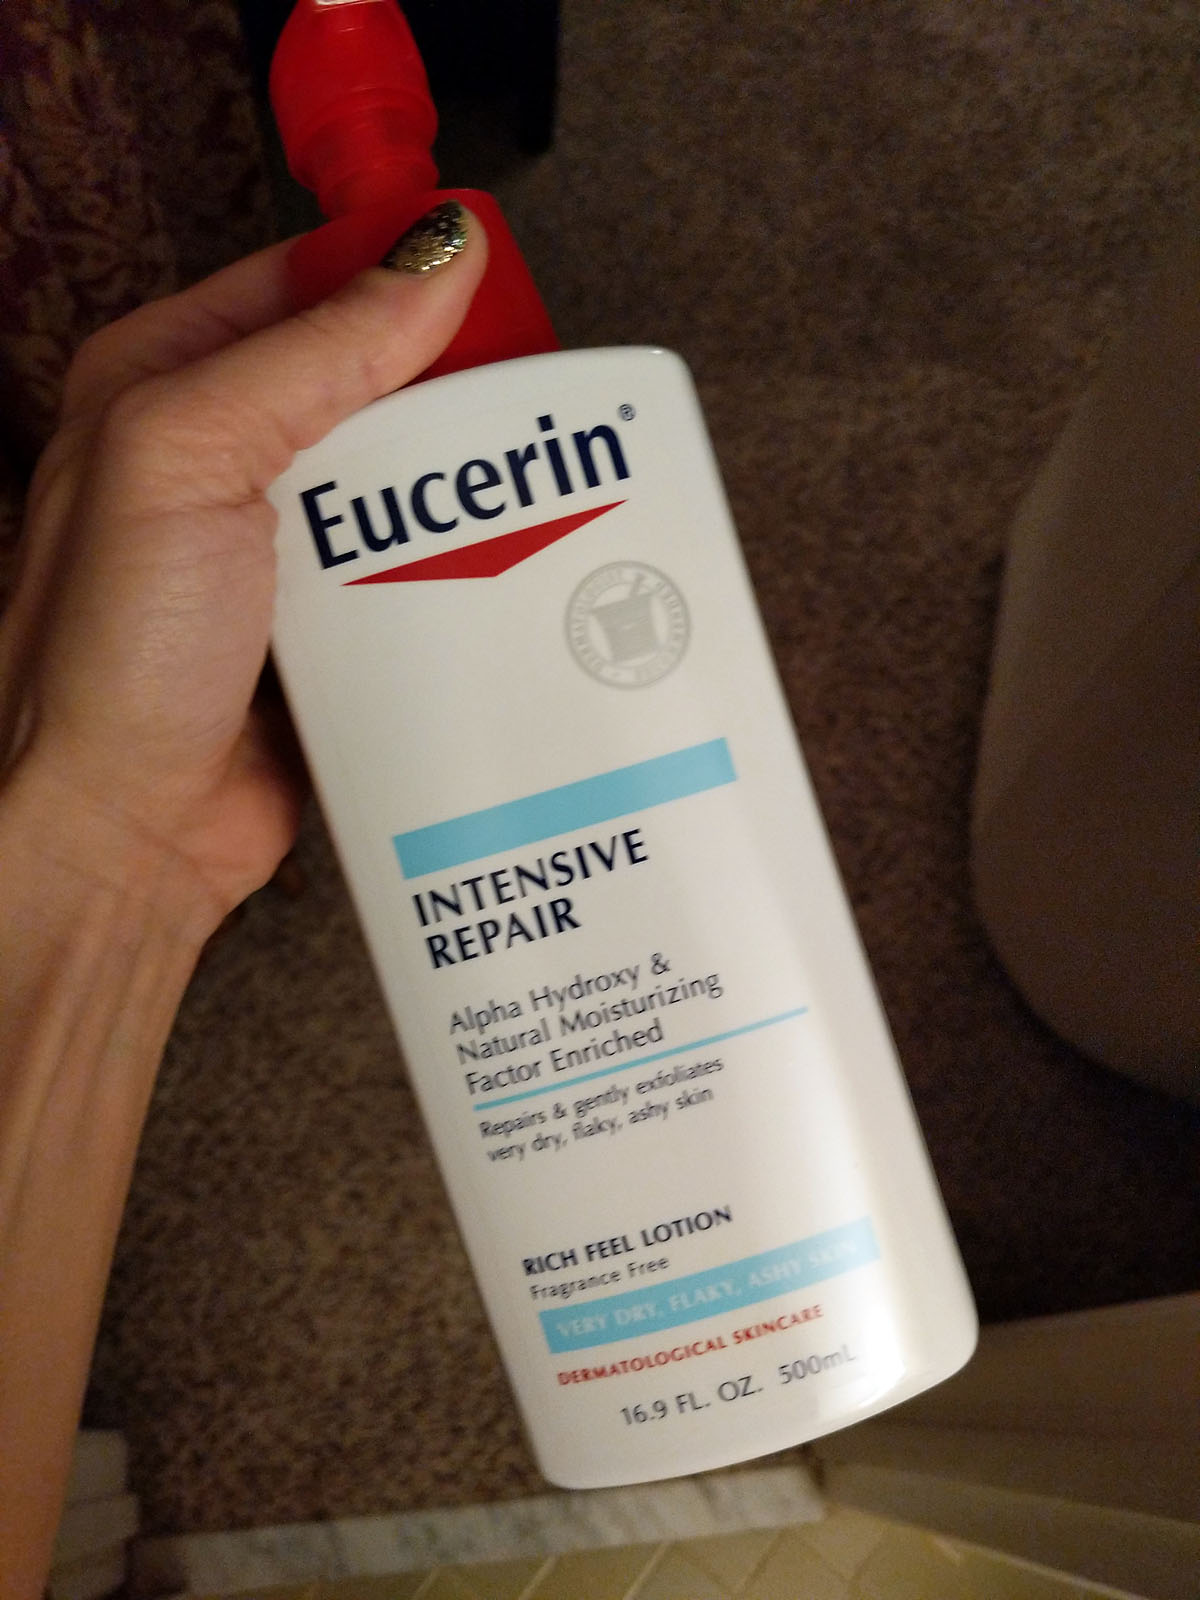
By Saturday night the skin on my face and chest was so dry it felt like I'd been sunburned. I think because I had been washing my face with my normal-to-oily Cetaphil wash and using the salicylic acid acne medicine I was used to using, it was getting extra dried out. So, I resorted to the thick stuff--Eucerin on my face. But it felt SO GOOD. I just hoped I didn't wake up looking like a pepperoni pizza.
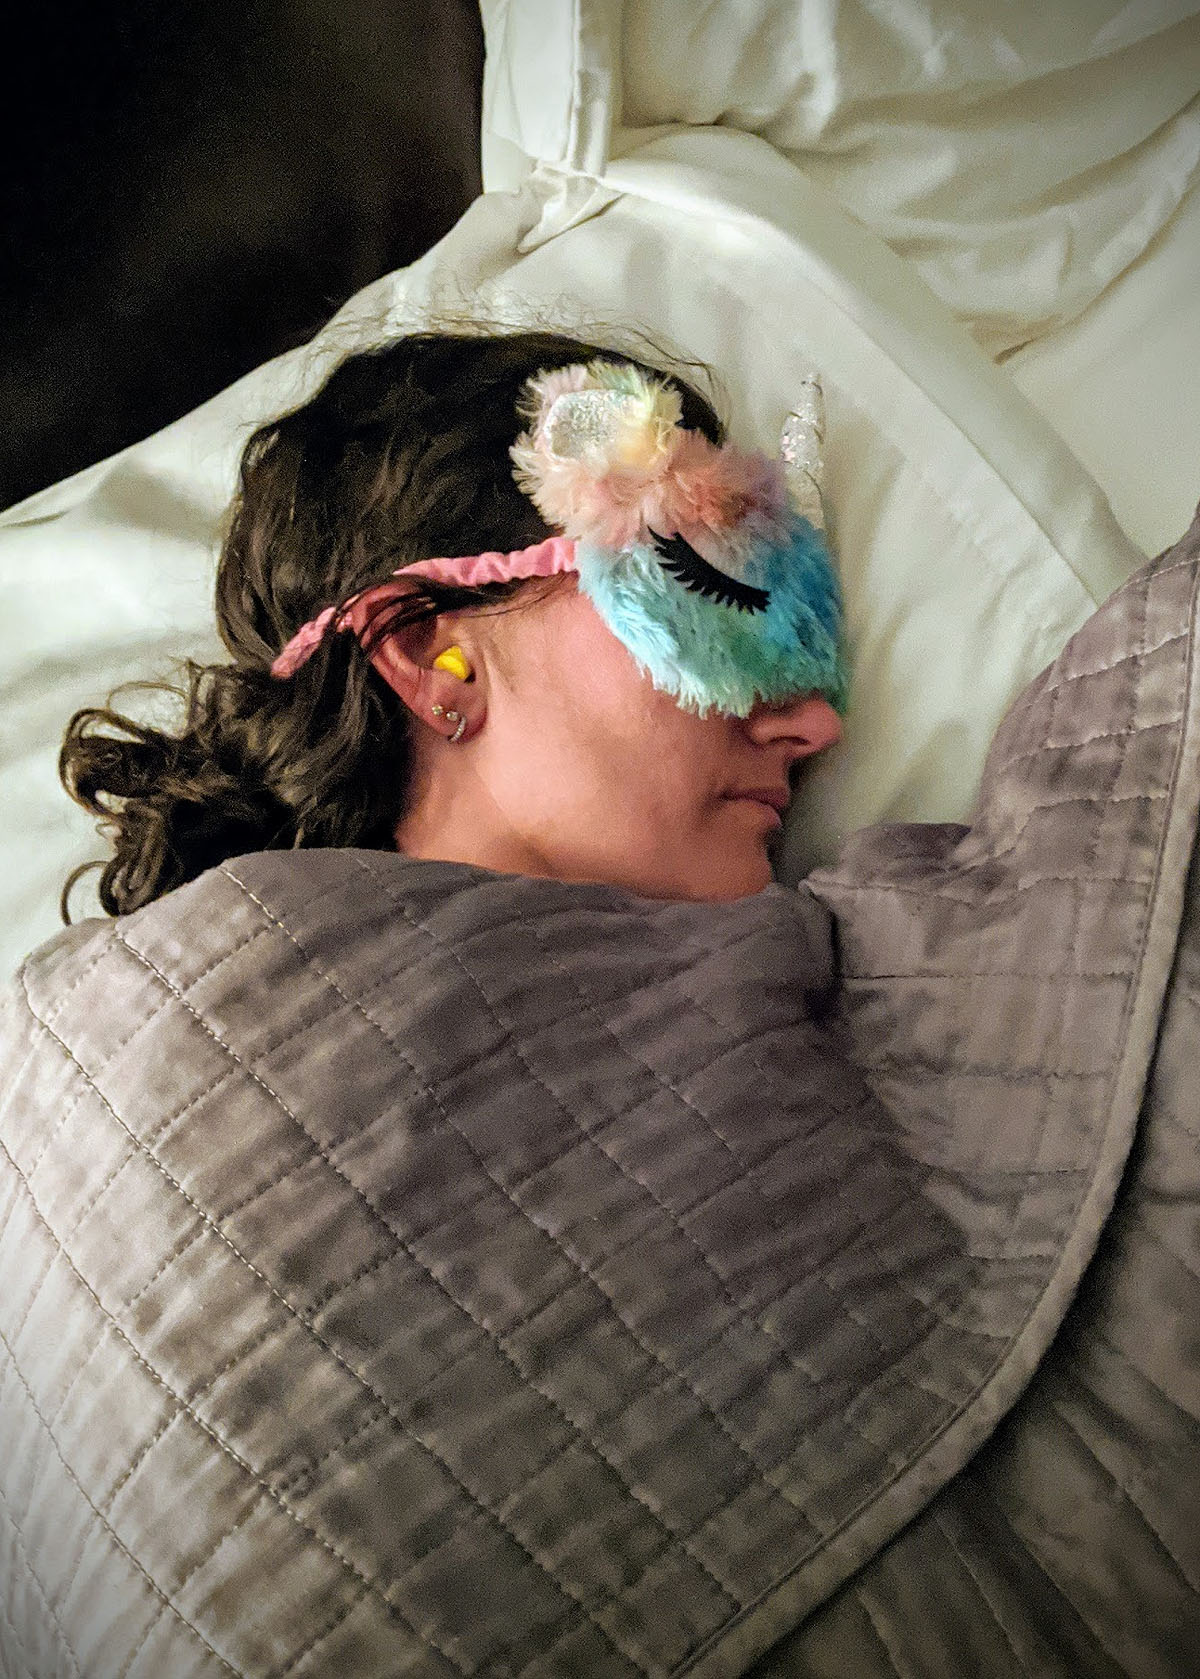
And then I was done. Day over. I put in earplugs, my unicorn sleep mask (that my friends got me right after I was diagnosed) and told Ben to leave the lights on and do whatever he needed to do...and I was out.
SUNDAY (day 4)
I fully expected to feel terrible again today, but I actually woke up feeling ok, had slept pretty well, and my face didn't feel like sandpaper (thank you Eucerin). I did have a pretty intense headache though and it was pouring down rain outside.
As soon as I was awake, I made my way downstairs so I could get some food in me right away. I've found that if I don't eat every couple of hours, I start feeling queasy--and once I'm awake, I need to eat pretty quickly before it sets in. But I had enough energy to do all the normal morning chores (make coffee, feed the cats, empty the dishwasher, make breakfast, etc.
But then, since it was pouring down rain, a Sunday morning, and everyone else was asleep, I camped out on the couch and did some reading. Eventually Ben, the kids & cats all joined me--and the rain stopped. I think this was a good example of how I was able to practice allowing myself to just sit still, and not try to "accomplish" anything--and it turned out I enjoyed it.
It's my intent to do *at least* some kind of exercise any day that I feel up to it (and eventually if I can get back to my normal HIIT workouts, that would be FANTASTIC...but we'll see). Since I'm still healing from my port surgery and high intensity and weights aren't the best idea, I decided while it was dry to go for a walk up at the park behind our house.
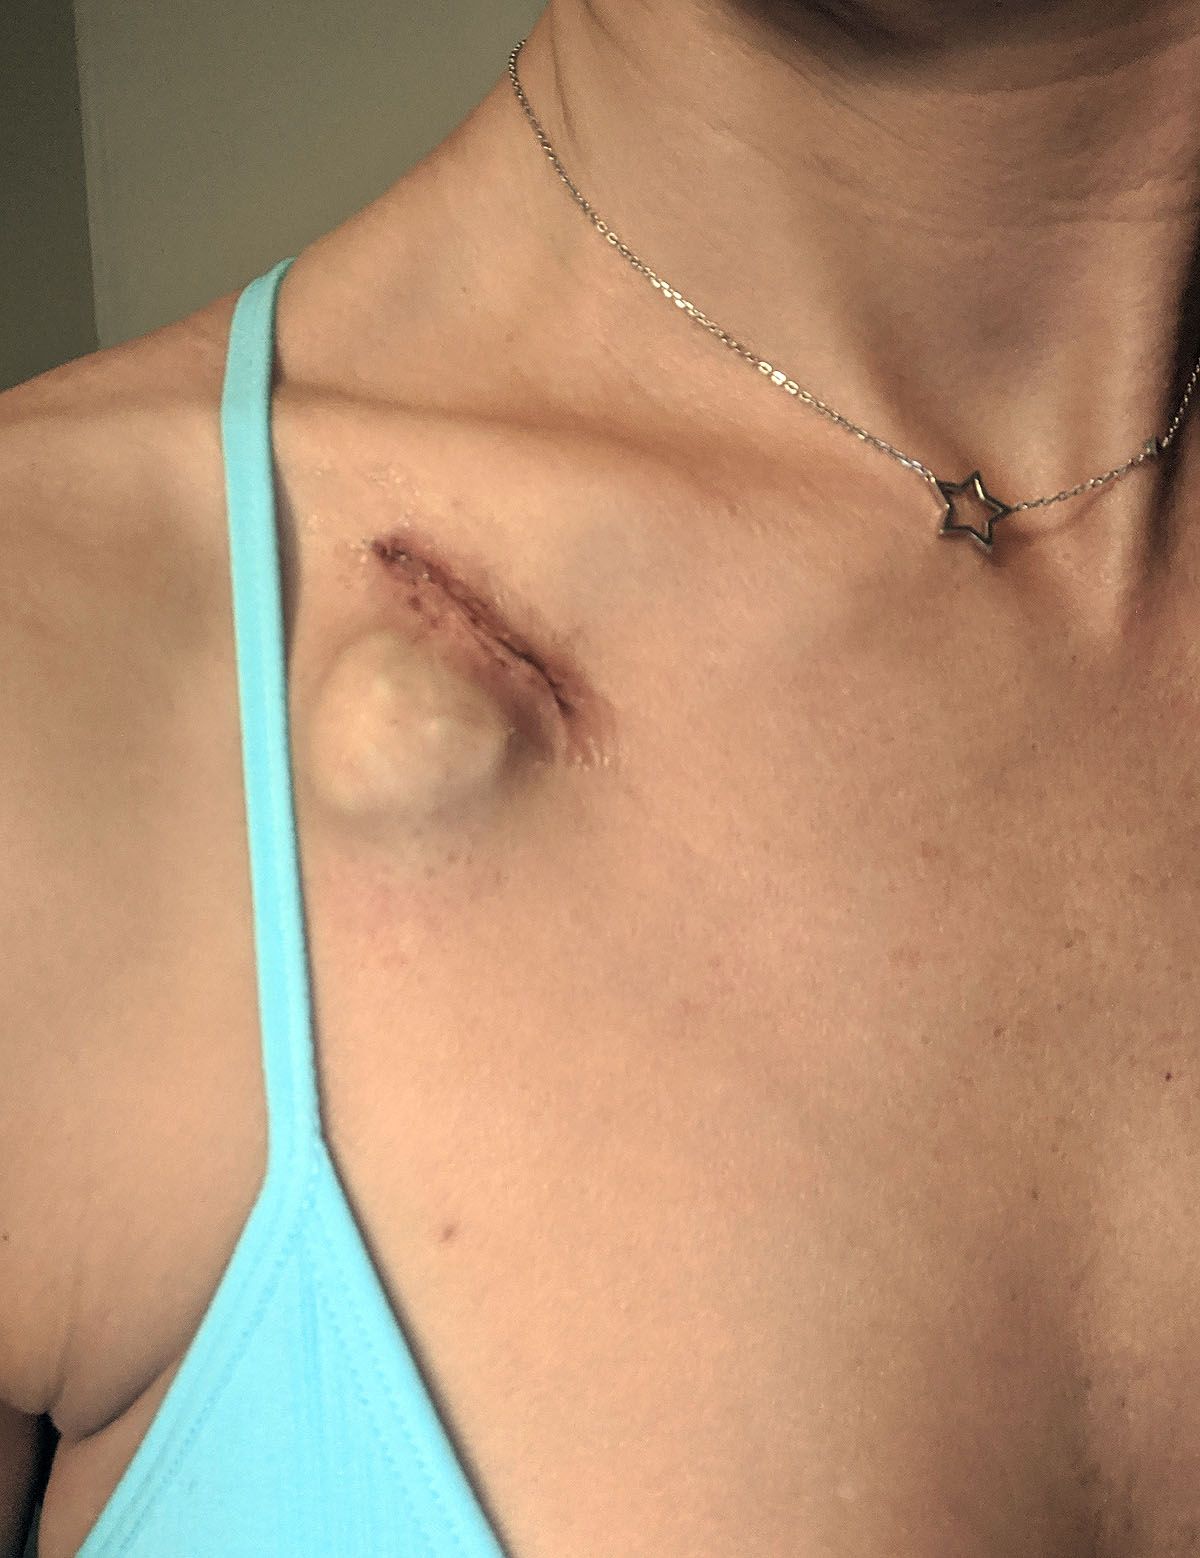
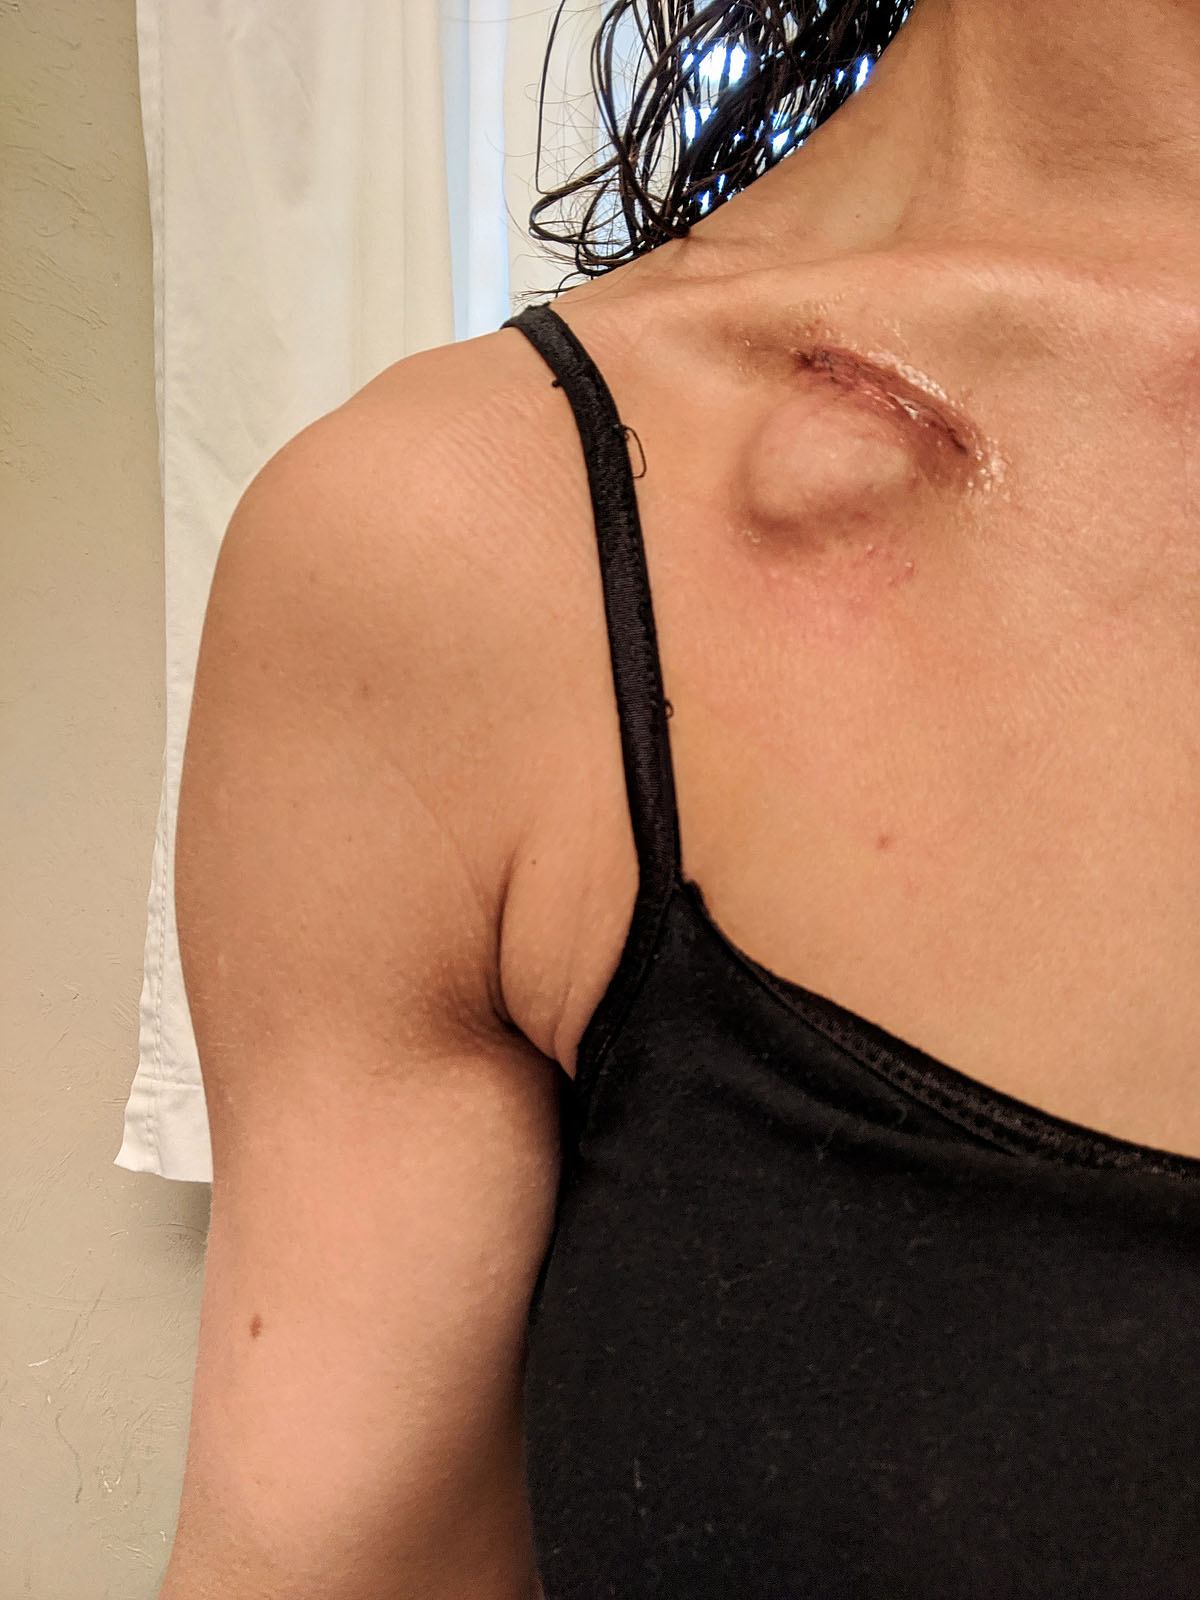
While we're on the subject -- here's how my port looks 9 days later -- itchy and weird still, but not painful.
The walk was *really* nice. With COVID keeping everyone home, our park is like our own private walking track, and since I wouldn't be allowed to go to the gym, it's the next best thing. I ended up walking about 2 miles (slowly), but SO enjoyed the cool fresh air and being able to move my body for a while.
The rest of the day was pretty low-key, but I felt really good and was able to do some laundry and cleaning, until about 5pm, when my headache came back while we were watching our church's worship service. After a little dinner though, I was back to feeling good.
I had truly expected to be out of commission completely for at least the 3rd to 5th day after chemo, so I was really surprised when I felt as good as I did all day on Sunday. Maybe all the water I'm drinking is helping....
MONDAY (day 5)
Monday I woke up feeling even better than Sunday. So maybe the worst of this round is over? And it wasn't so bad. I did wake up with a headache, but tylenol seemed to help that. I tried to start the day with some work at my desk, catching up on emails and little tasks that I needed to do. Even a Monday on quarantine with no "work" to do seemed to have an awful lot going on!
My sister-in-law Janel came by with some grab-n-go lunches for the kids, and while she was here, we went up to the park to walk together and ended up doing 2 1/2 miles. She was very kind and wore a mask the entire time to keep me from getting any germs. I tried to wear mine, but couldn't breathe, so we decided as long as she had one on, we were ok. Years ago, we used to run together several days a week, and it's been a long time since we've gotten to do that!
I cleaned both bathrooms (with some rest inbetween) helped Paxton with a video call with his cubing friends, and spent a lot of time hanging out on the back patio, because the weather was perfect.
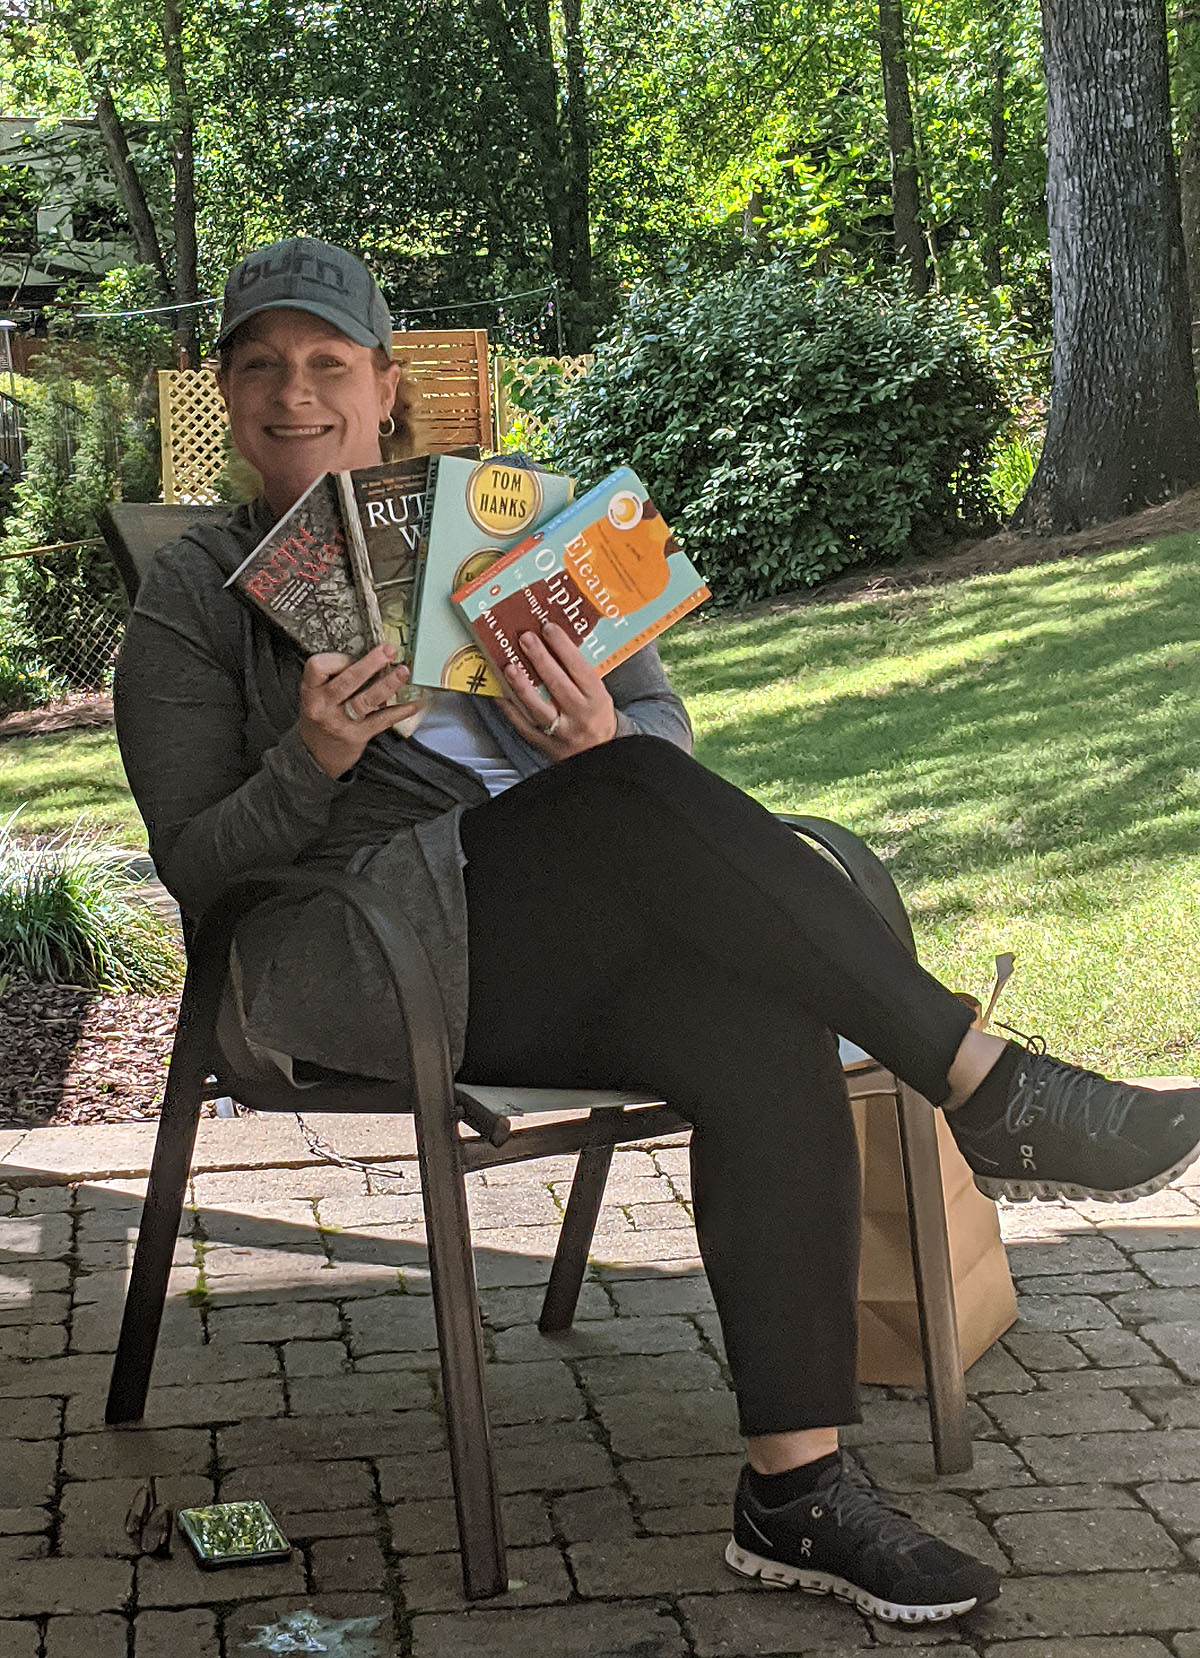
And around 2pm, my friend Fran came by with several books for me to read. I set up a 6 feet away chair for her and asked her to stay and chat...and we had the best time visiting!
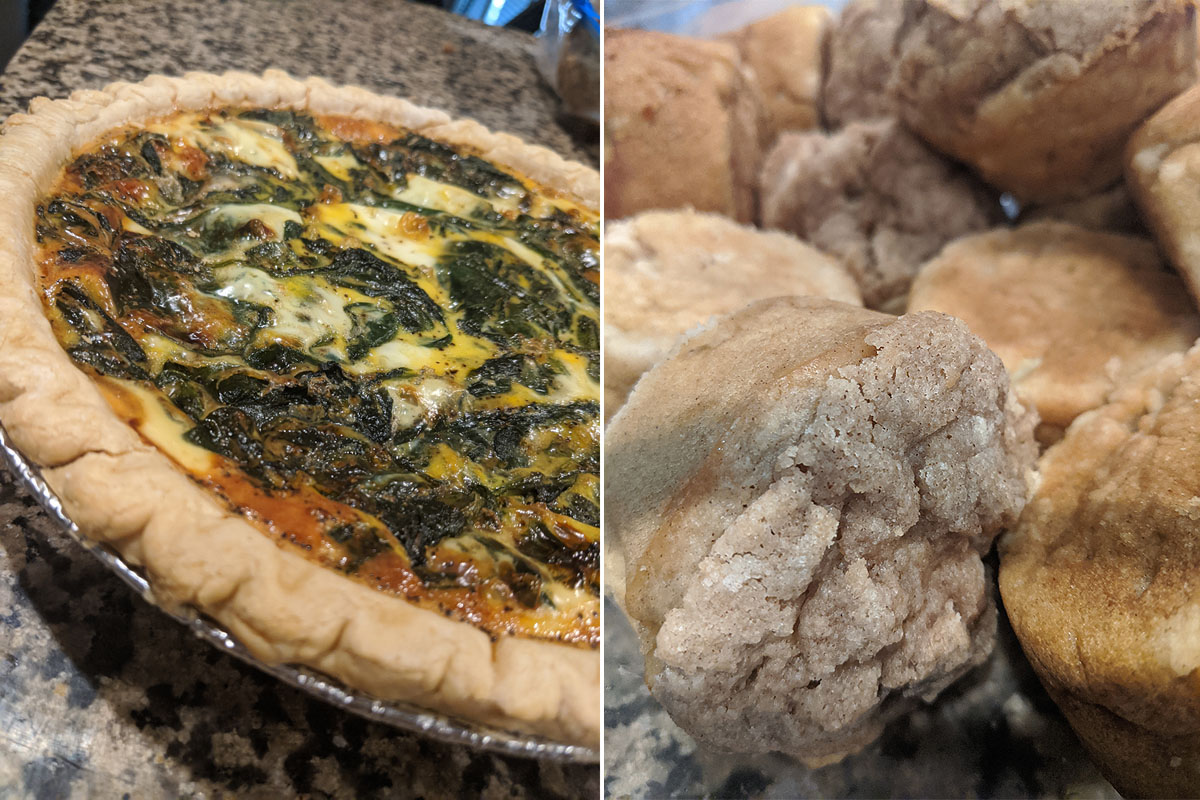
Our friend Melissa brought us an amazing "breakfast-for-dinner" treat, which we ate outside and then I spent the rest of the evening working on blogging, showering and watching Tiger King.
The only other "symptom" I noticed today was a spot on my inner cheek in my mouth that started feeling like a sore--kind of like I had bitten the inside of my cheek. It wasn't painful, but I could feel it growing throughout the afternoon. Hoping that doesn't turn into anything...
TUESDAY (day 6)
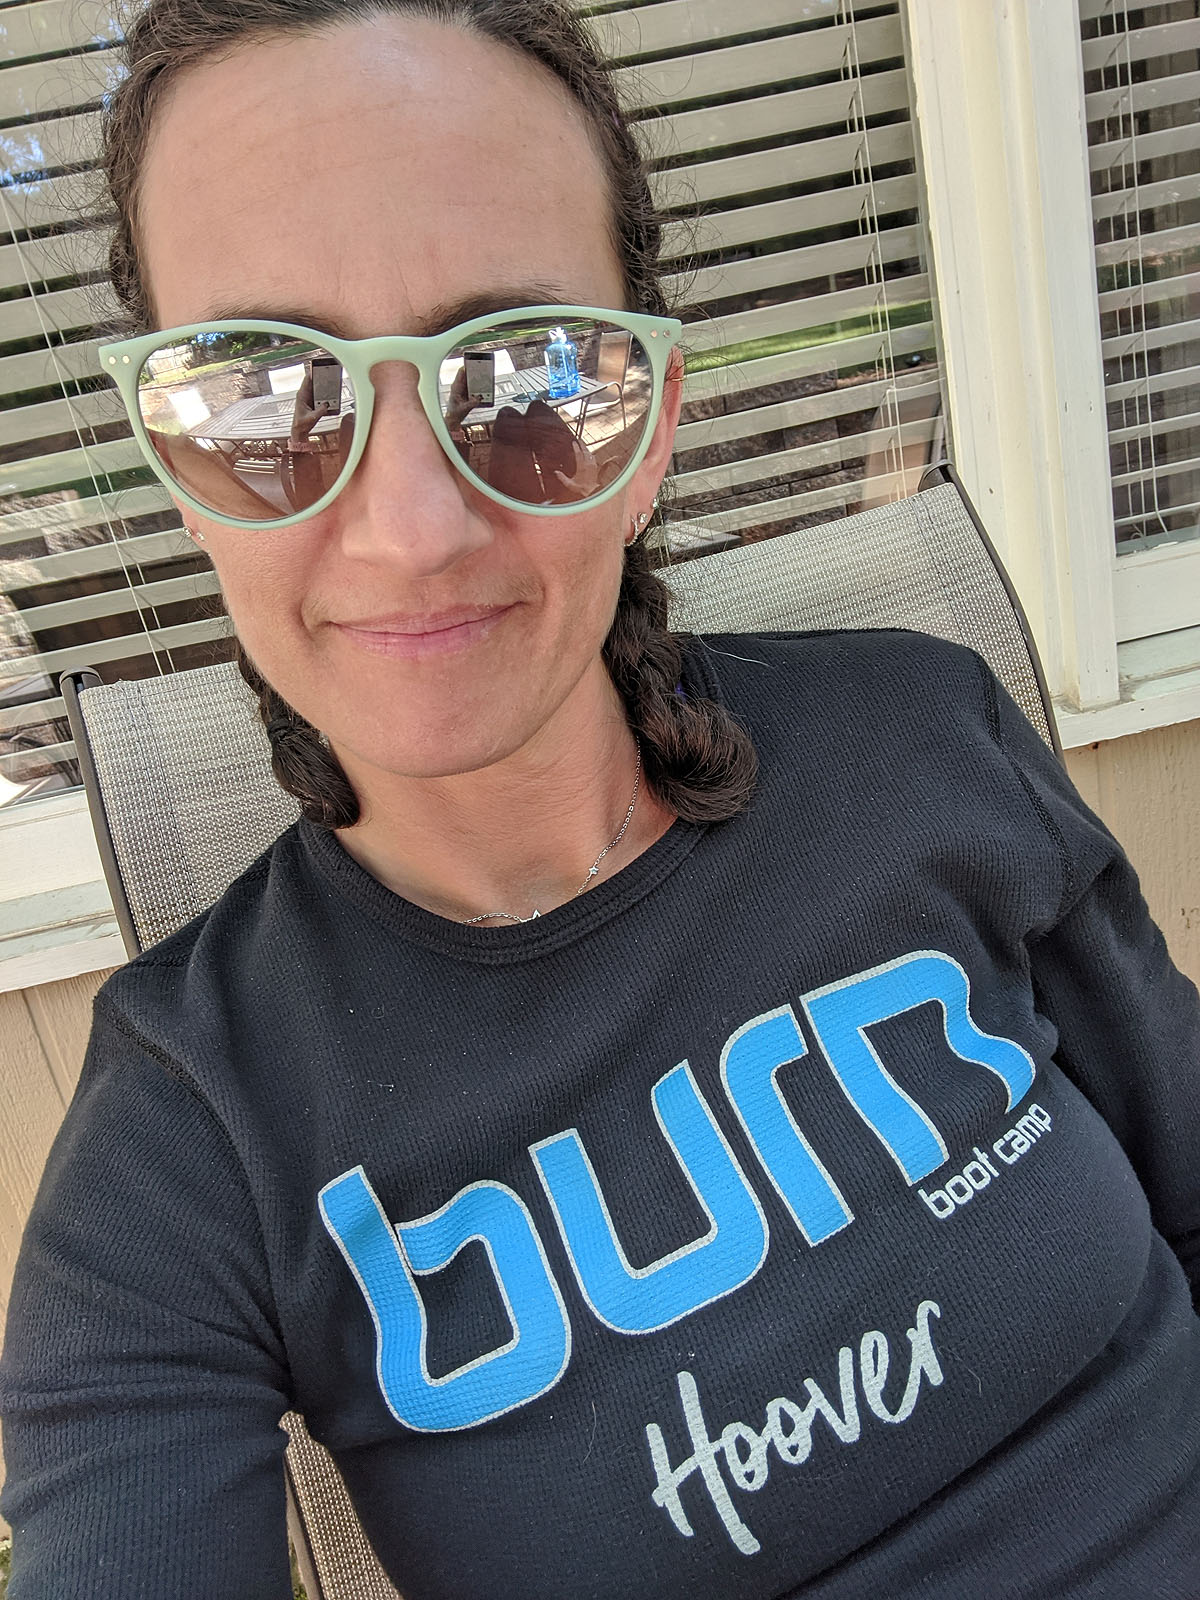
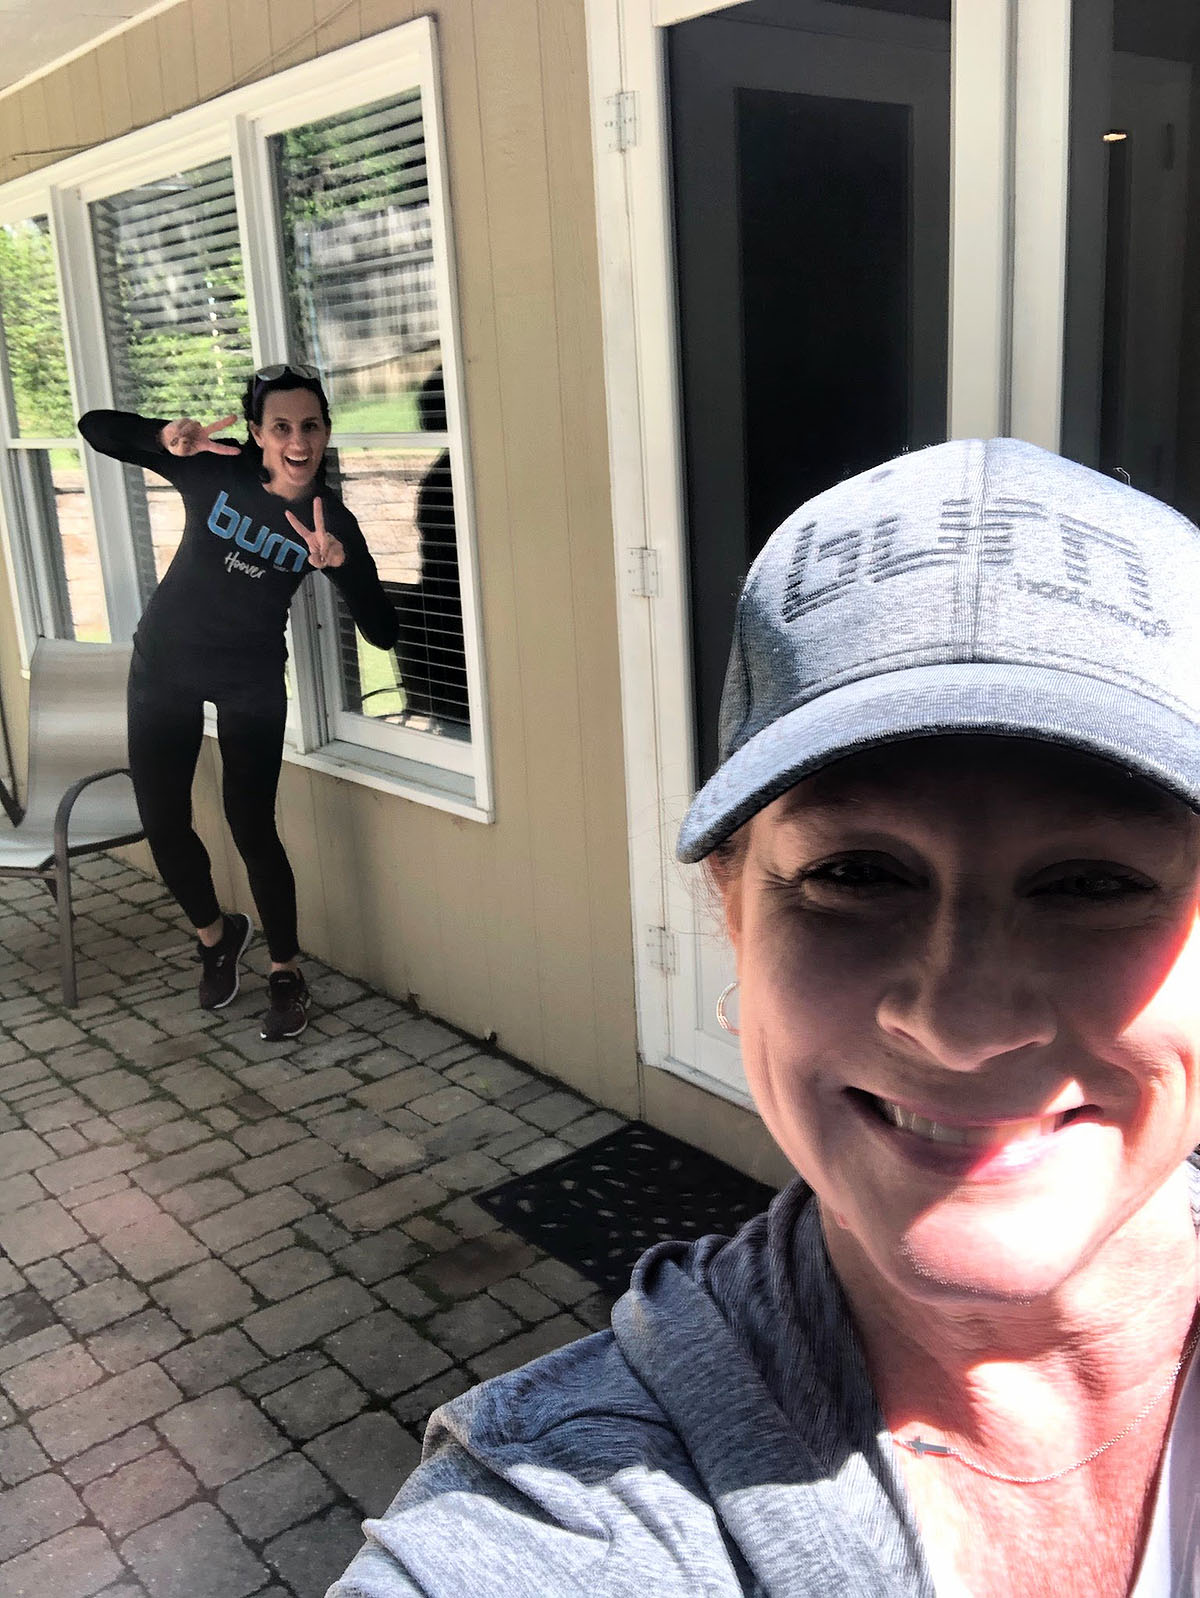
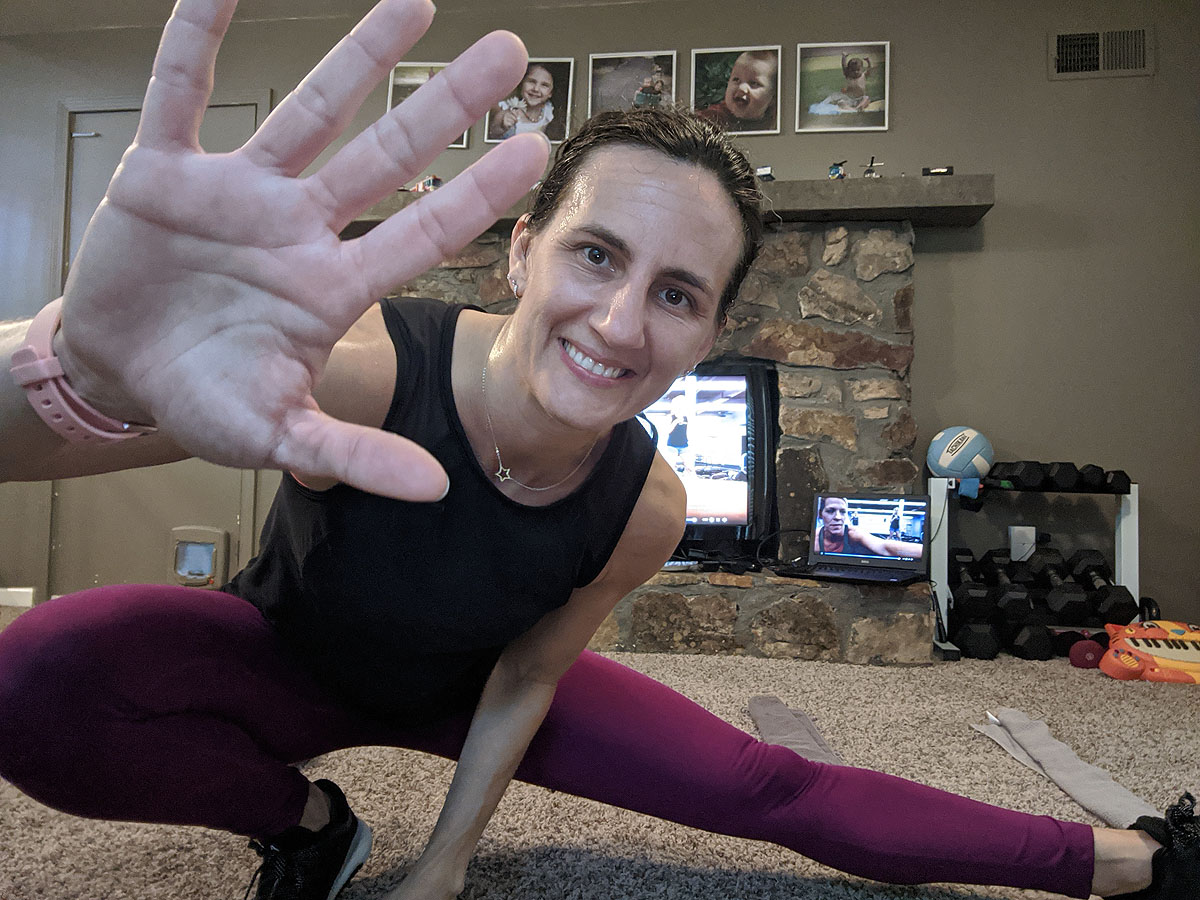
Today, I woke up feeling *very* normal. So normal, I was able to do a Burn workout, shower, get dressed in REAL clothes, put on makeup, and do all my regular things.
I won't count my chickens before they're hatched, because every day is a new symptom and adventure, and I've heard this is a cumulative process that gets worse and harder with each treatment. But round 1 wasn't too bad at all.
Also, you may have noticed, I'm not fixing my hair. I think I'm subconsiously trying to detach myself from it before it detaches from my head. I seem to think if I view it as a hassle or a burden then I won't miss it so much. And I'm trying to get used to seeing my head without a mane of hair around it.
I'll let you know how that works for me in about a week...
AC Chemo #1 - Adriamycin & Cytoxan
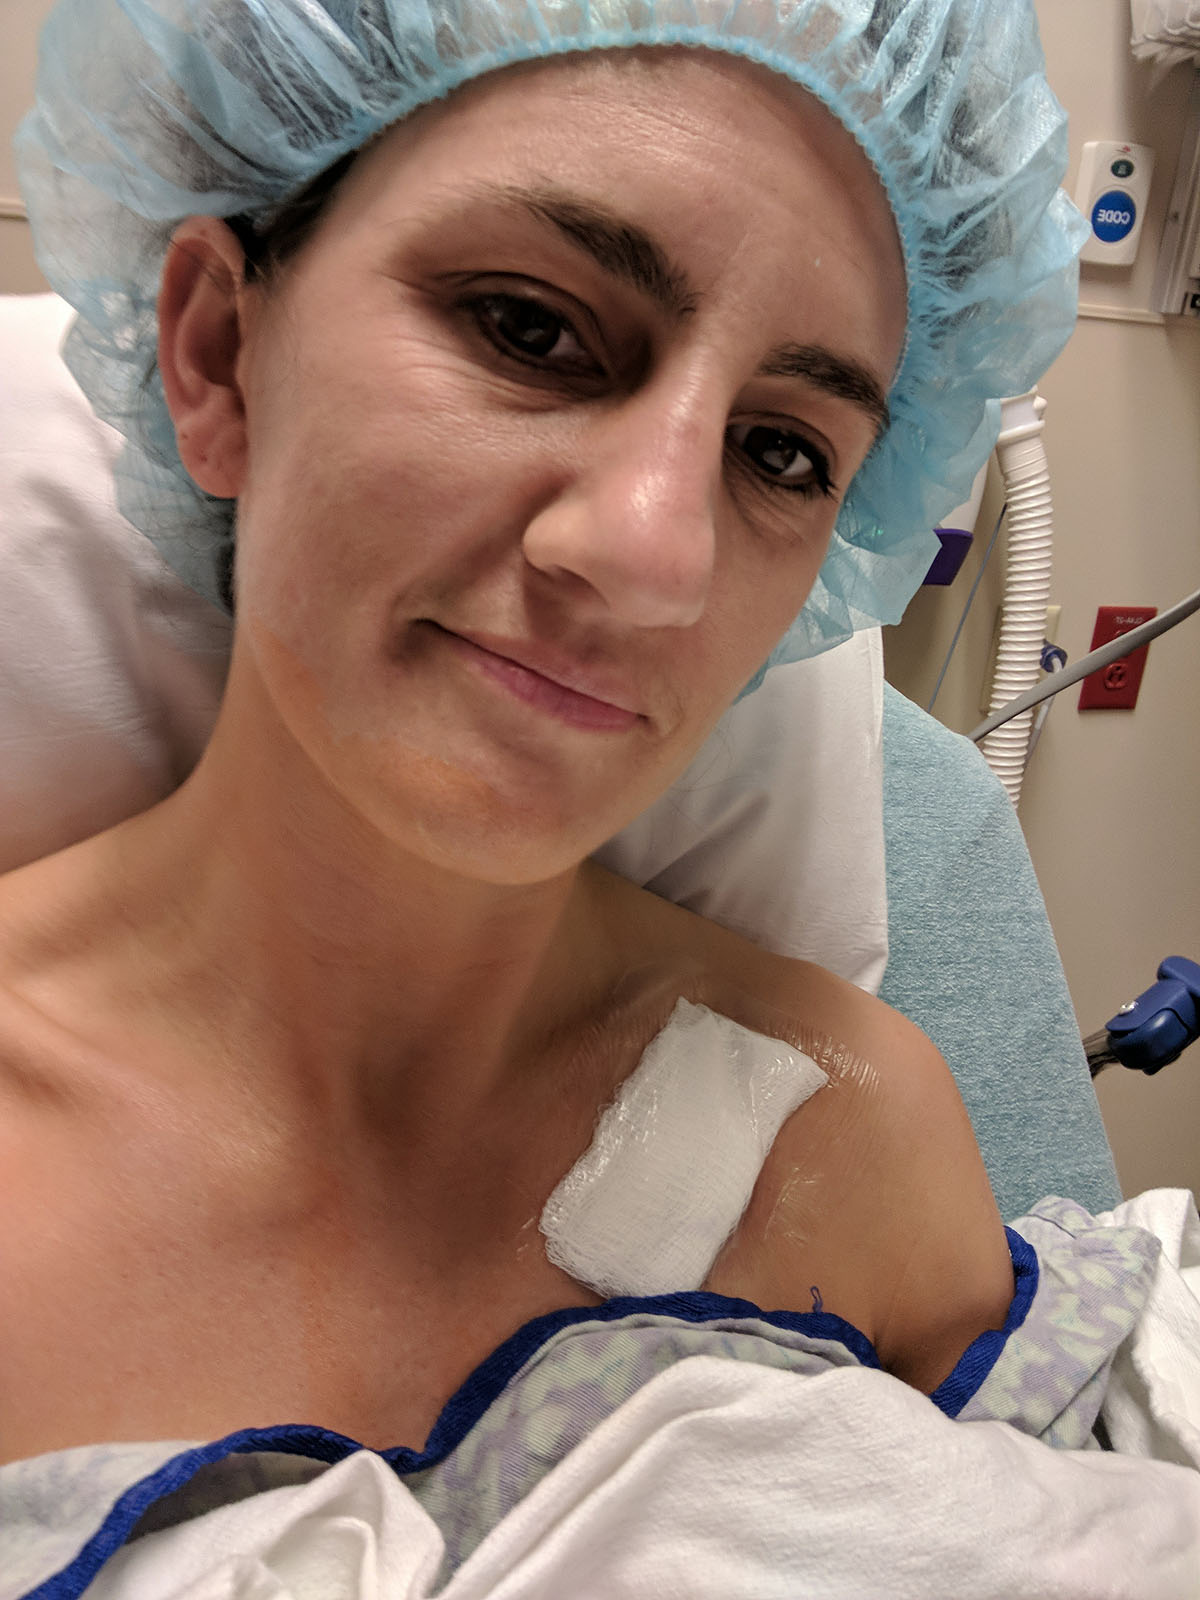
I woke up ready to get the show on the road. There's been enough lead up, enough preparation, now it's time to do the work--and the only way through it is to DO it.
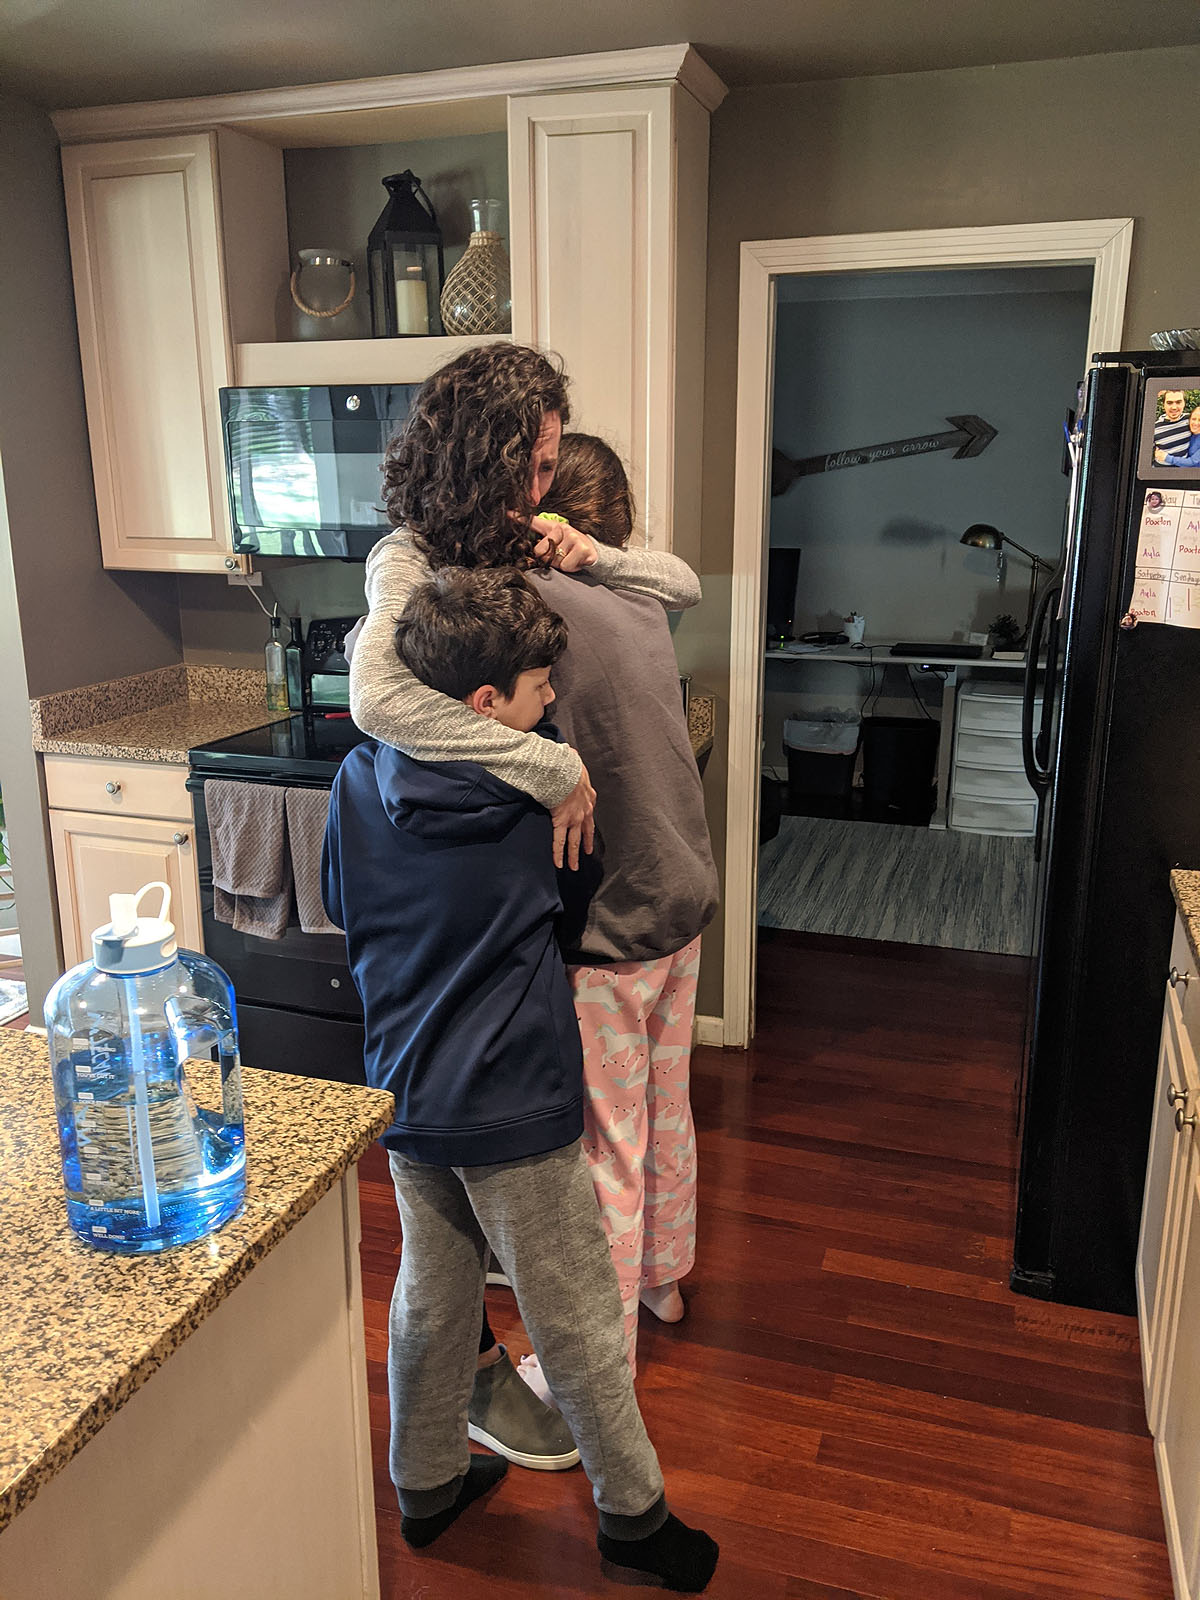
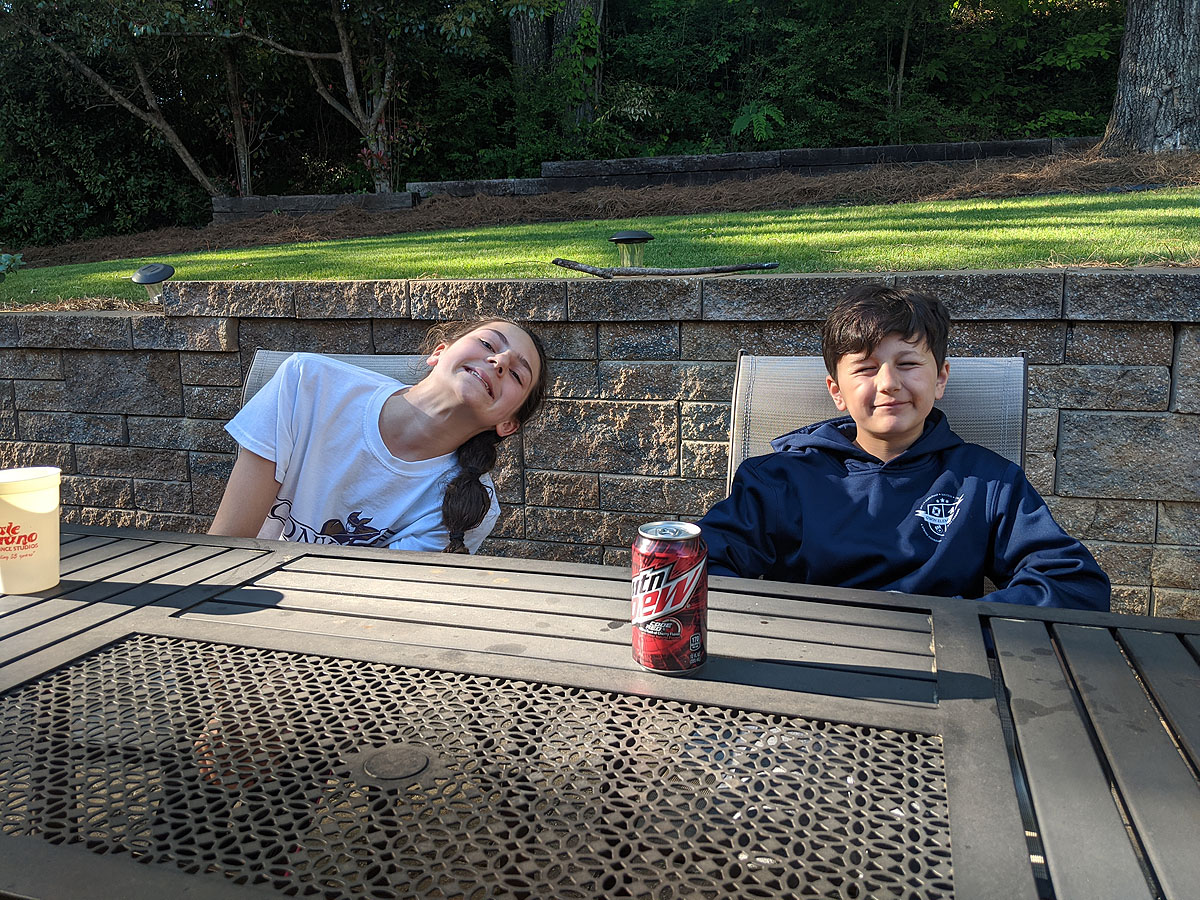
Got a Burn workout in, did my normal morning routine, and then as we were getting ready to leave, Ayla came downstairs and gave me a giant hug. Then Paxton joined. We all had tears. That was a tough moment. I know I'm scared, but this was the first sign that they are too. There's just so much unknown and they don't want to see me sick. And today it begins for all of us. It's not just me going through it, their lives have all been upended as much as mine. I'm glad Ben walked in and snapped this photo...
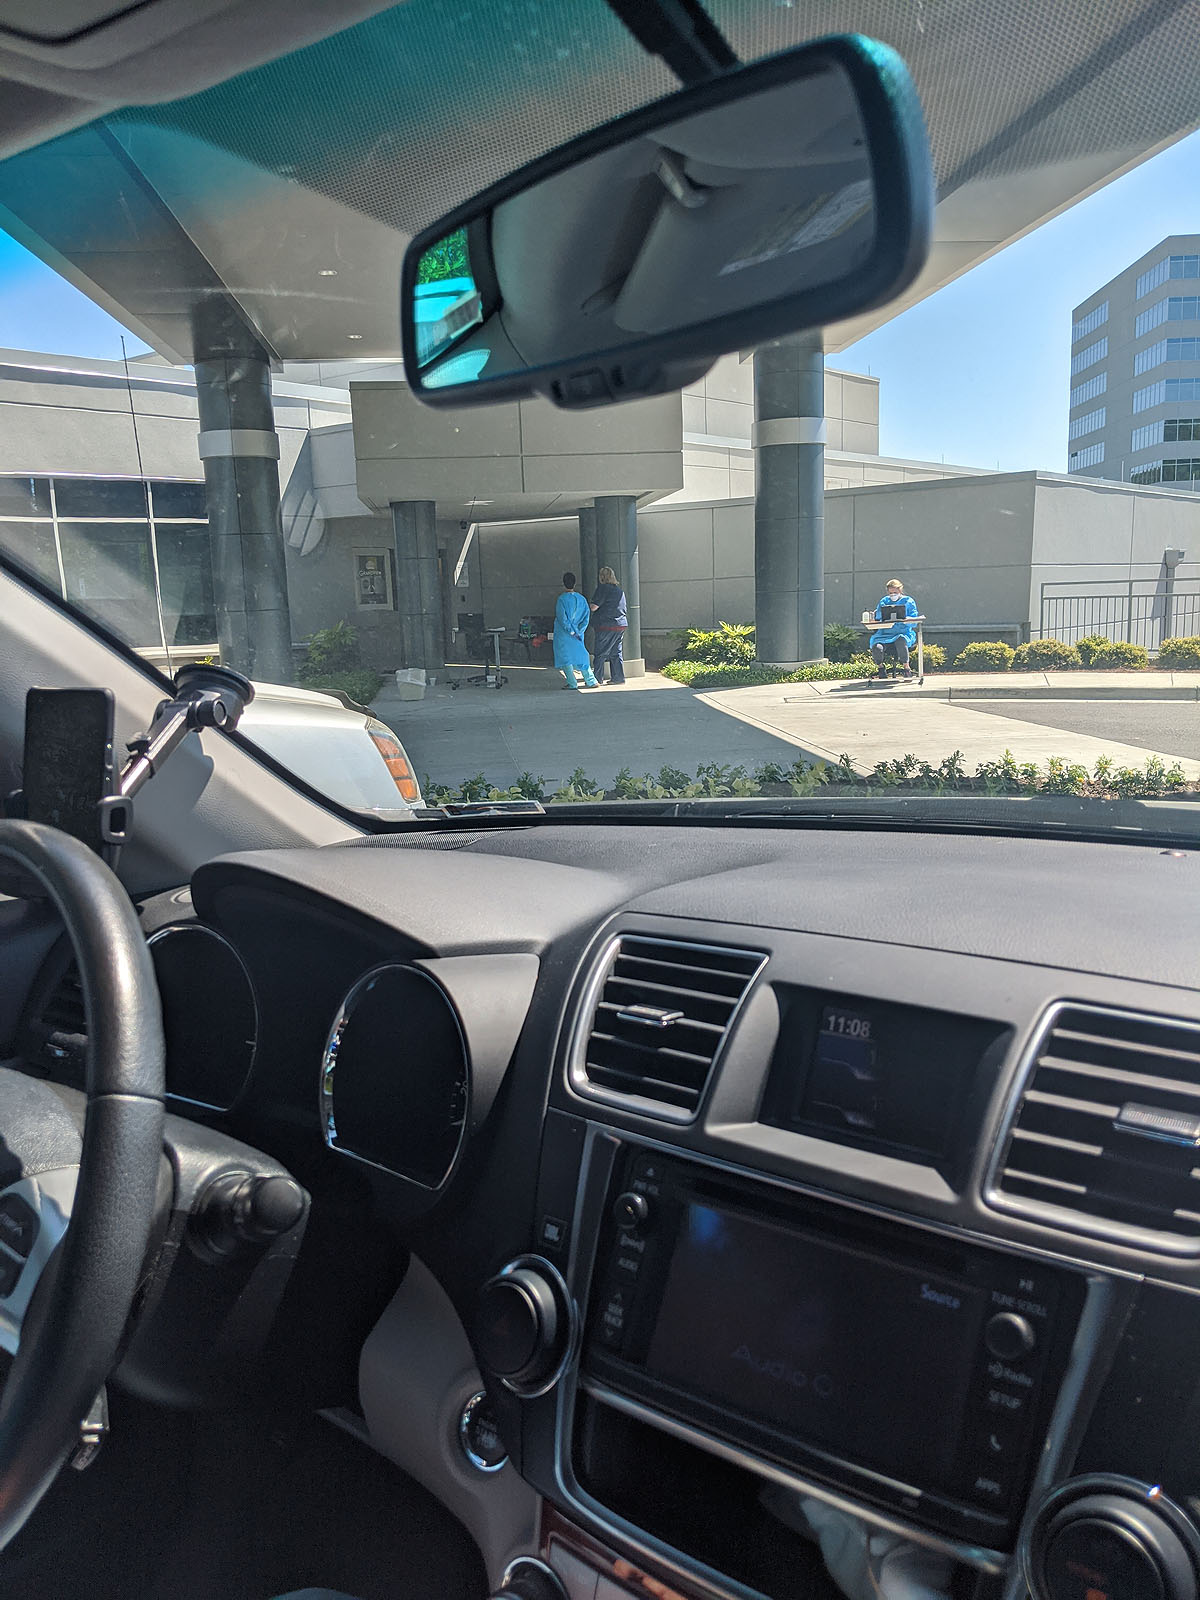
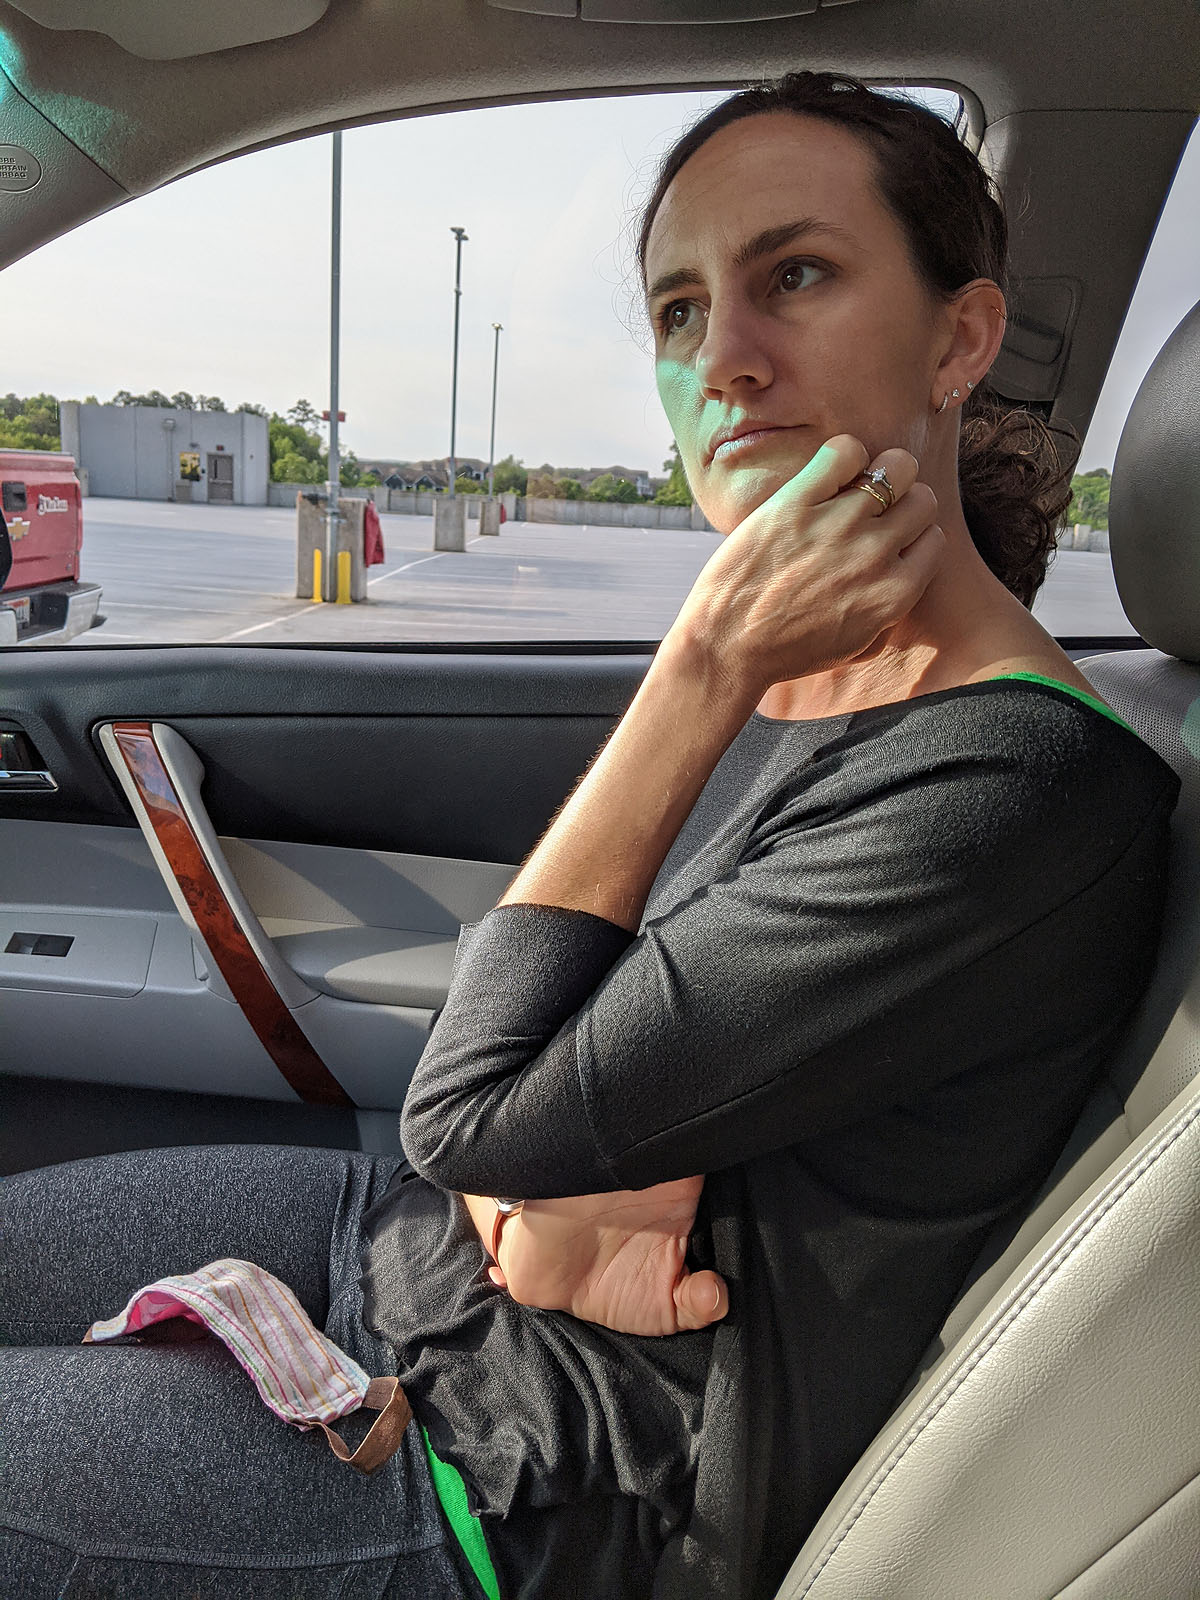
My appointment was at 11, which meant we got to sit in the car in the "waiting room" for 45 minutes until they called me in--COVID policies because patients in the cancer center are immunosuppressed.
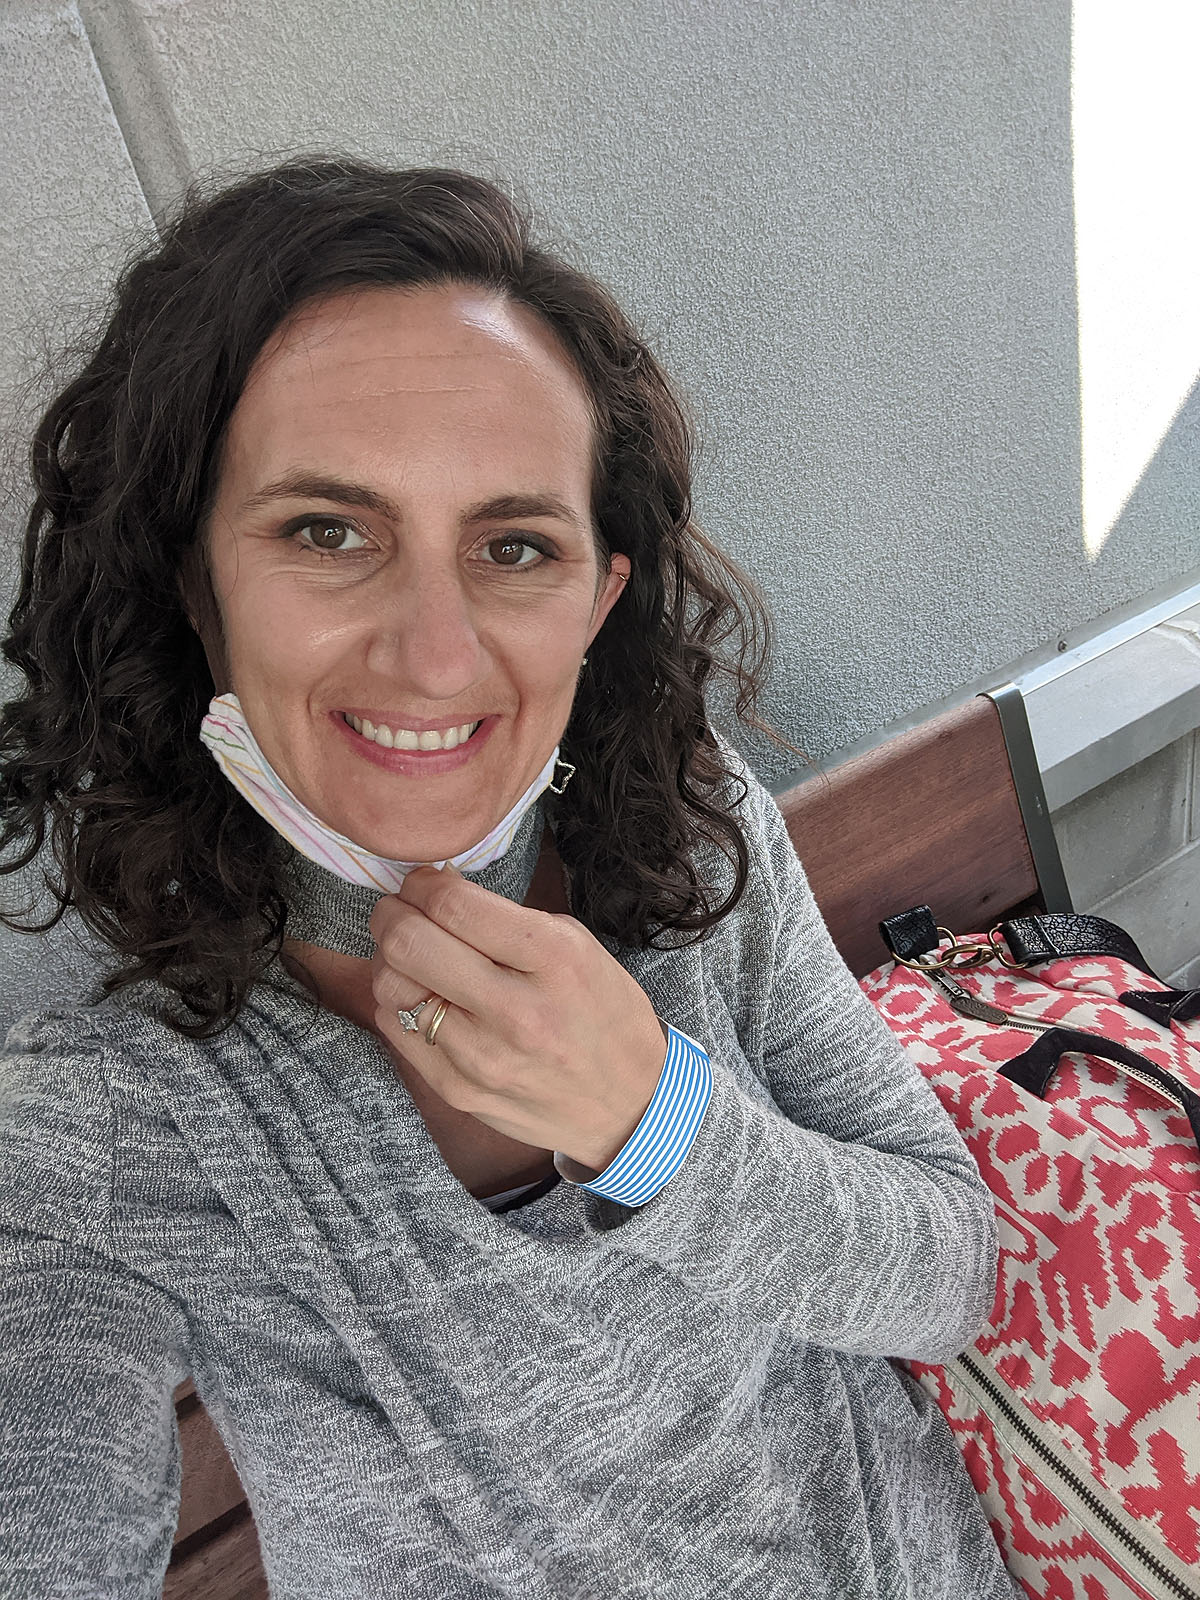
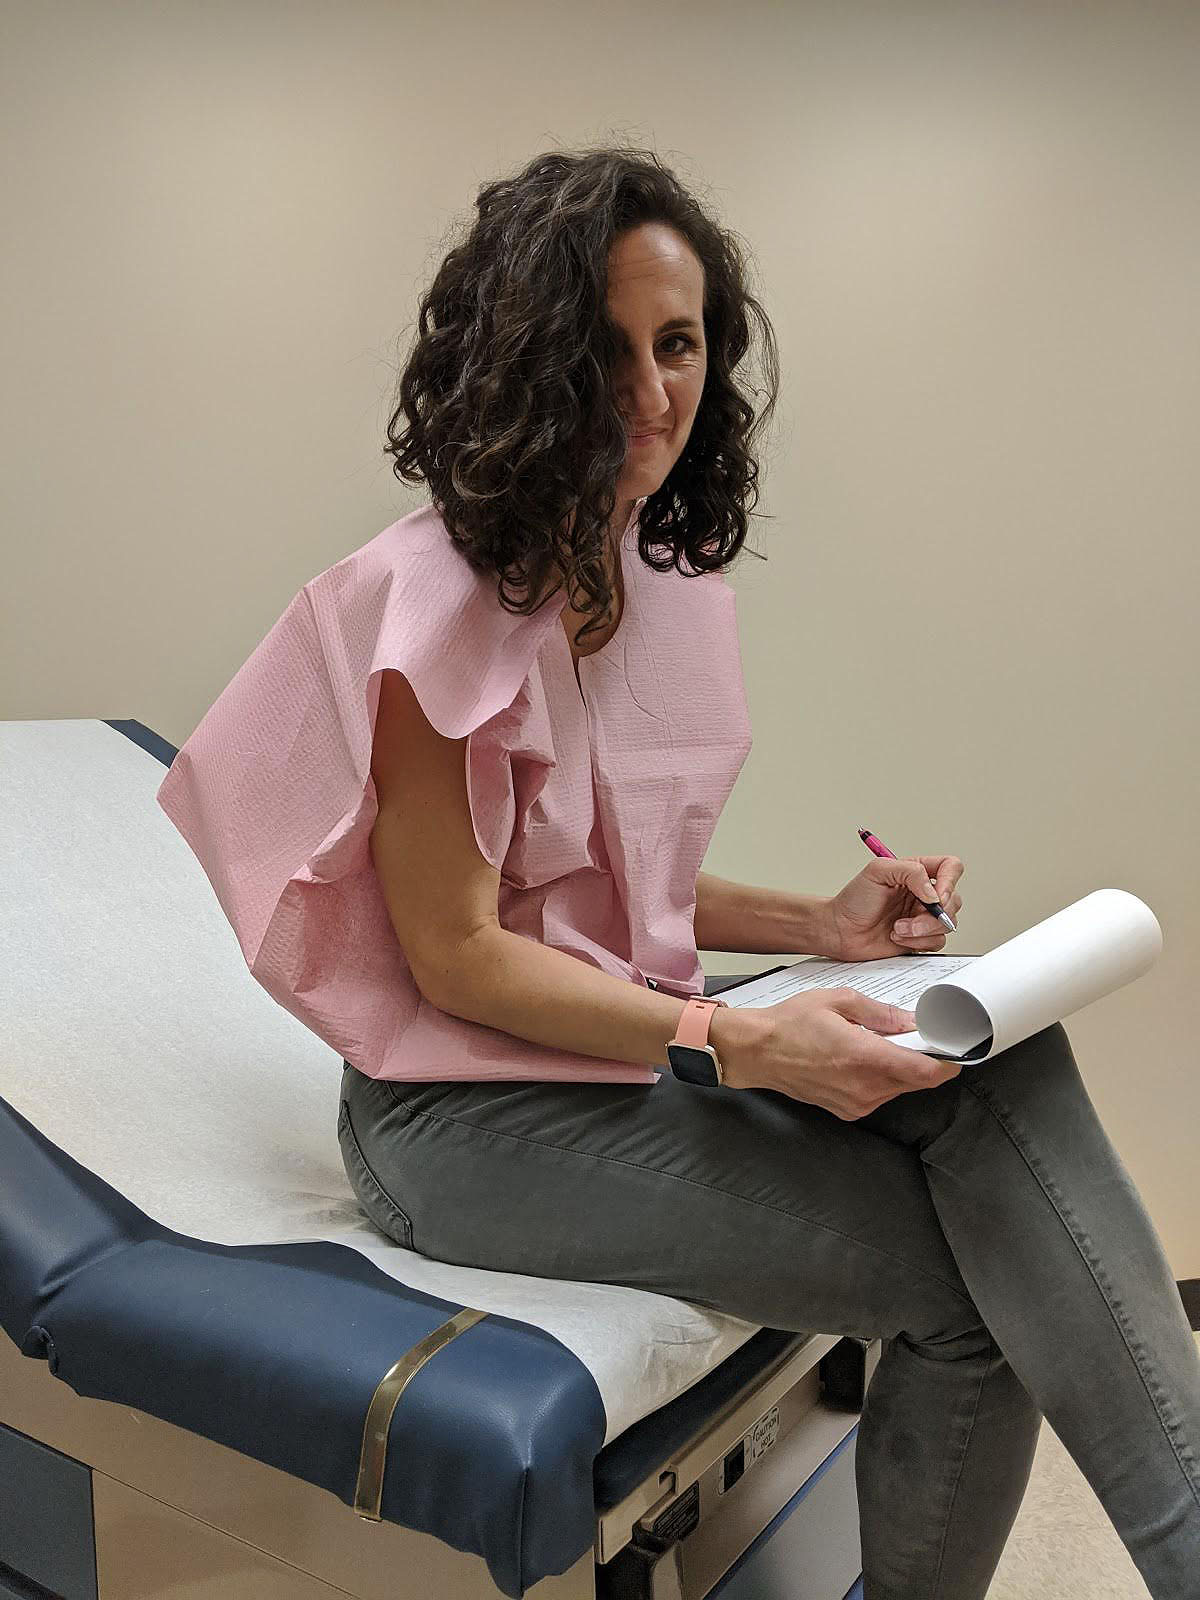
So, we waited. Notice my port-access friendly shirt, that's *also* warm on my neck and arms? I'll bet they didn't have "chemo patient" in mind when they designed it...but it's perfect. Also, I was by far the most "extra" person there with my bright giant bag, big hair (this time anyway) and enormous water bottle. I didn't care.
When I finally got to go in, they drew blood by accessing my port, which turns out to be REALLY easy. They even numb the area with a numbing spray so you barely even feel the needle poke. Then they leave a tube on it throughout the whole treatment where the different medicines can each be hooked into that tube. It was SO easy, and I didn't feel a thing. It made all the weirdness and uncomfortableness of getting and having the port suddenly very worthwhile.
Next Ben was able to come in and we met with the medical oncologist, who went over all the drugs I'd be getting, answered my questions, gave me instructions on what to expect, when to call in, and why we were doing all the things we're doing. Basically this:
- Because of the type of cancer and "high risk of recurrence" MammaPrint results, they are treating it like Triple Negative Breast Cancer, which responds best to chemo and statistically significantly decreases the risk of recurrance.
- Stay on top of the nausea. He said to take the anti-nausea tablets at the first sign of feeling funny. Take two if I'm already feeling queasy. It's much harder to get it to go away than it is to prevent it.
- He said my hair would probably fall out in 10-15 days. And to have a head-shaving party. I was allowed to cry about it for one day, and then I need to get over it--it's just hair. That was a little harsh to hear (even though it's exactly what I already had planned to do).
- He explained the Neulasta shot I'd be getting tomorrow evening that works to SUPER boost my bone marrow production to make white blood cells, which will have been killed off by the chemo drugs. This is primarily to keep me from getting and being so succeptible to infections. Also, he said to expect some hip and bone aches as a result, but interestingly, taking Claritin daily helps with those symptoms...which I already do.
That was mostly it! Then they kicked Ben out of the building (he went home) and I went back to the infusion chairs...It was now about 12:45 and I had already received several messages from people asking me how my 11am appointment was. We'll all need to learn...this is an all-day event.
But now it was time. I walked into the room and was disappointed to see that it was a big (and quiet) open room with several other patients, many of whom where sleeping, which meant I probably wasn't going to be able to have long phone calls, video calls and messages like I had kind of hoped I could. But that was ok. I had my phone (and an extension cord), my headphones, books to read, and plenty of new things to learn and see for my first chemo experience.
First -- the Pre-Meds. She hooked my port tube up to two bags of anti-nausea meds (Aloxi & Amend), then a bag of a steroid solution. All that took about an hour, during which the nurse gave me a full rundown of the process, the possible side effects, who & when to call if I had questions or symptoms that seemed abnormal. I liked her a lot. She was very kind, not too chatty, but made me feel very at-ease. I spent the rest of that hour writing in my journal and responding to messages with friends and family.
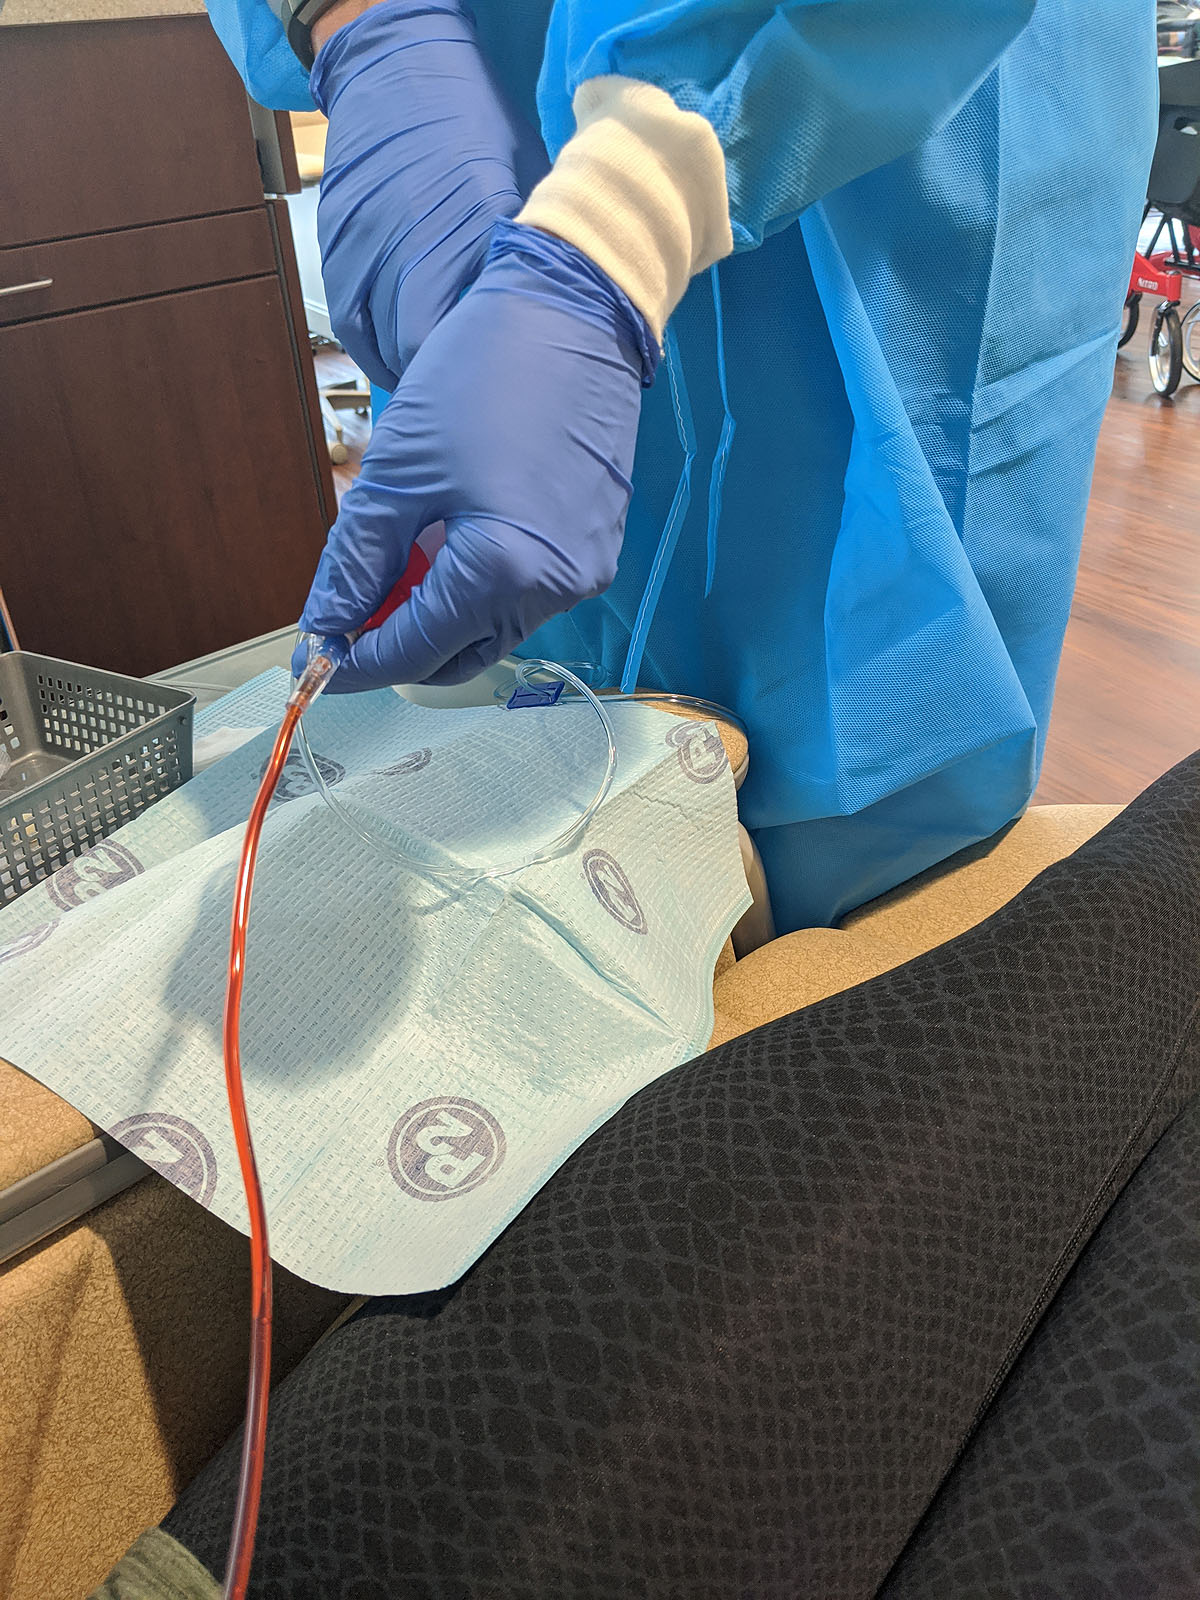
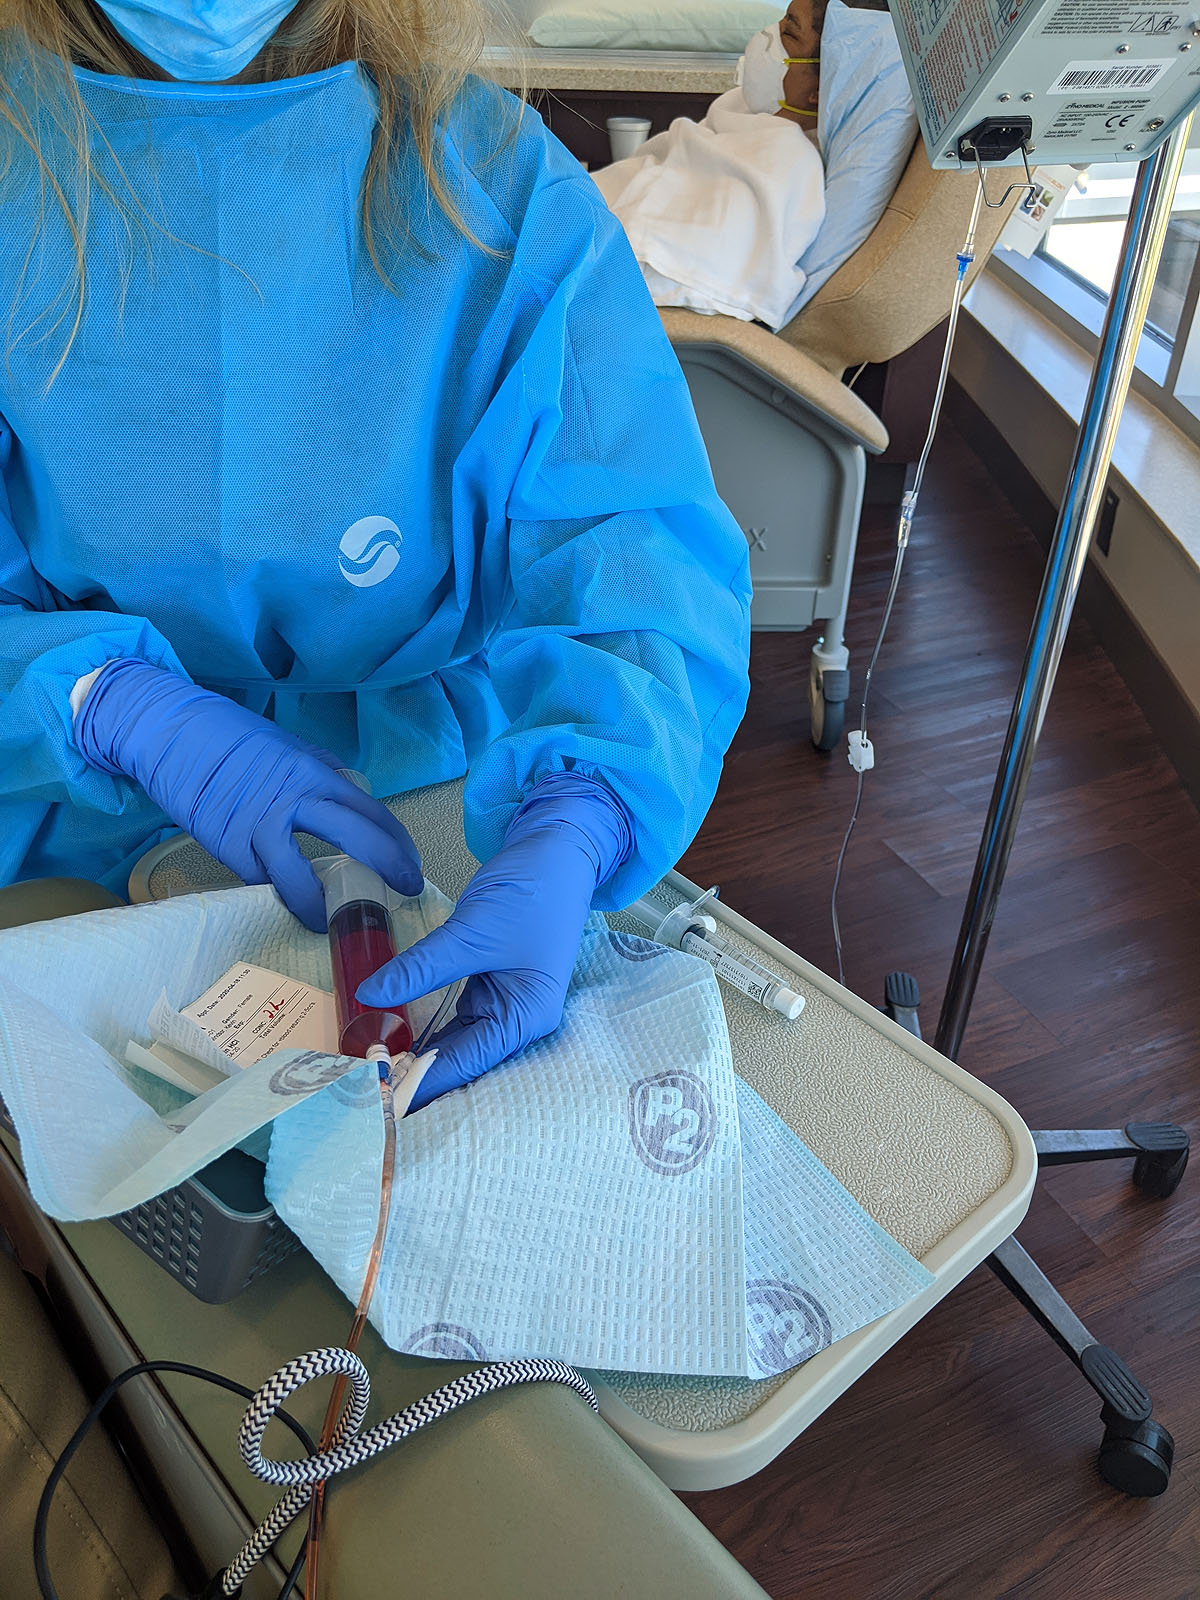
Next -- the Adriamycin (aka Red Devil). This is the stuff that's so toxic to your skin that it has to be hand-administered from a syringe rather than from a drip bag and checked every 5 mL to make sure it isn't leaking or causing any problems. It's also the reason why I was able to get a port instead of doing all of this through IVs. Fun fact, it also turns your pee red for a little while.
It was weird to finally see it, and once I did and the process was happening, it wasn't nearly as scary as I thought it might be. We'll see how I feel in two weeks when I have to come back for more after I've gone through the side effects, but actually GETTING it was no big deal -- in fact I didn't feel a thing, and this portion of the process only took about 20 minutes. Per a recommendation, I asked for ice to suck on during this portion -- supposedly that helps prevent mouth sores?
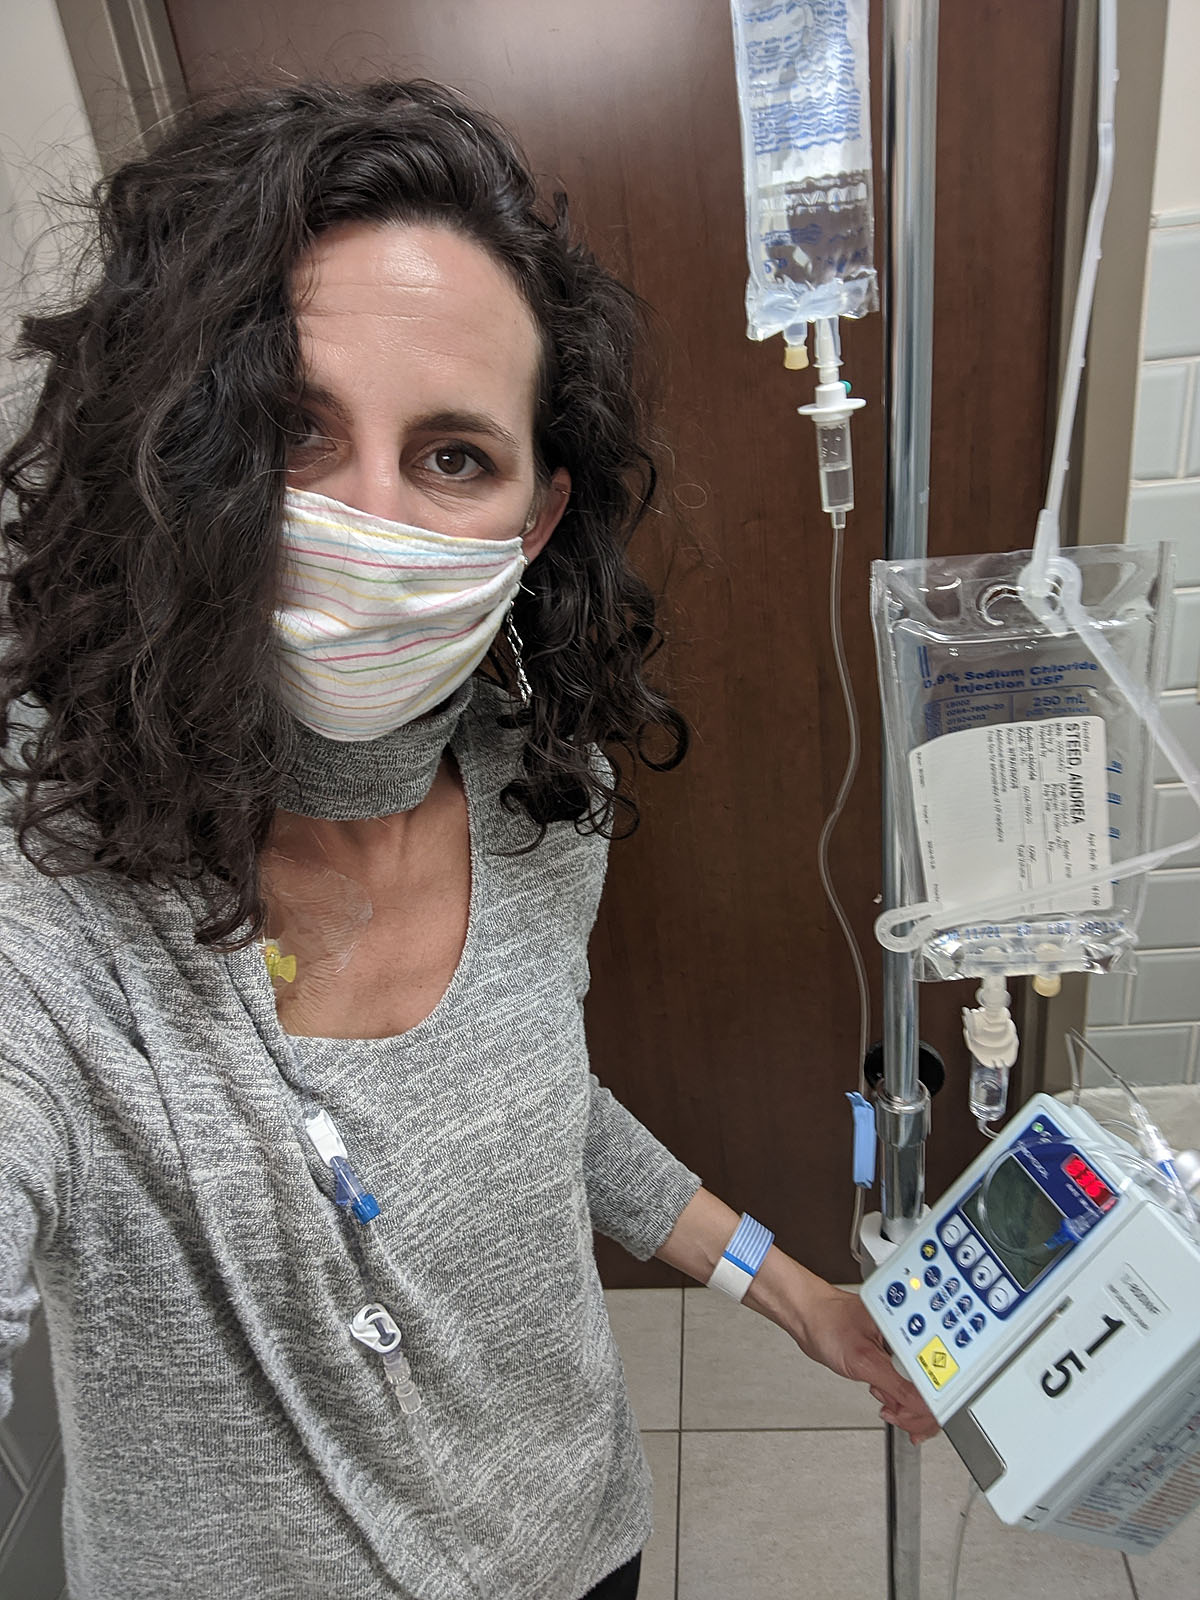
Then - Cytoxan, the second chemo drug I'll be getting for each of these first four "dose dense" treatments. It was clear, and in a bag on my IV pole, and would take about an hour to adminster...so I took it on a trip to the bathroom with me.
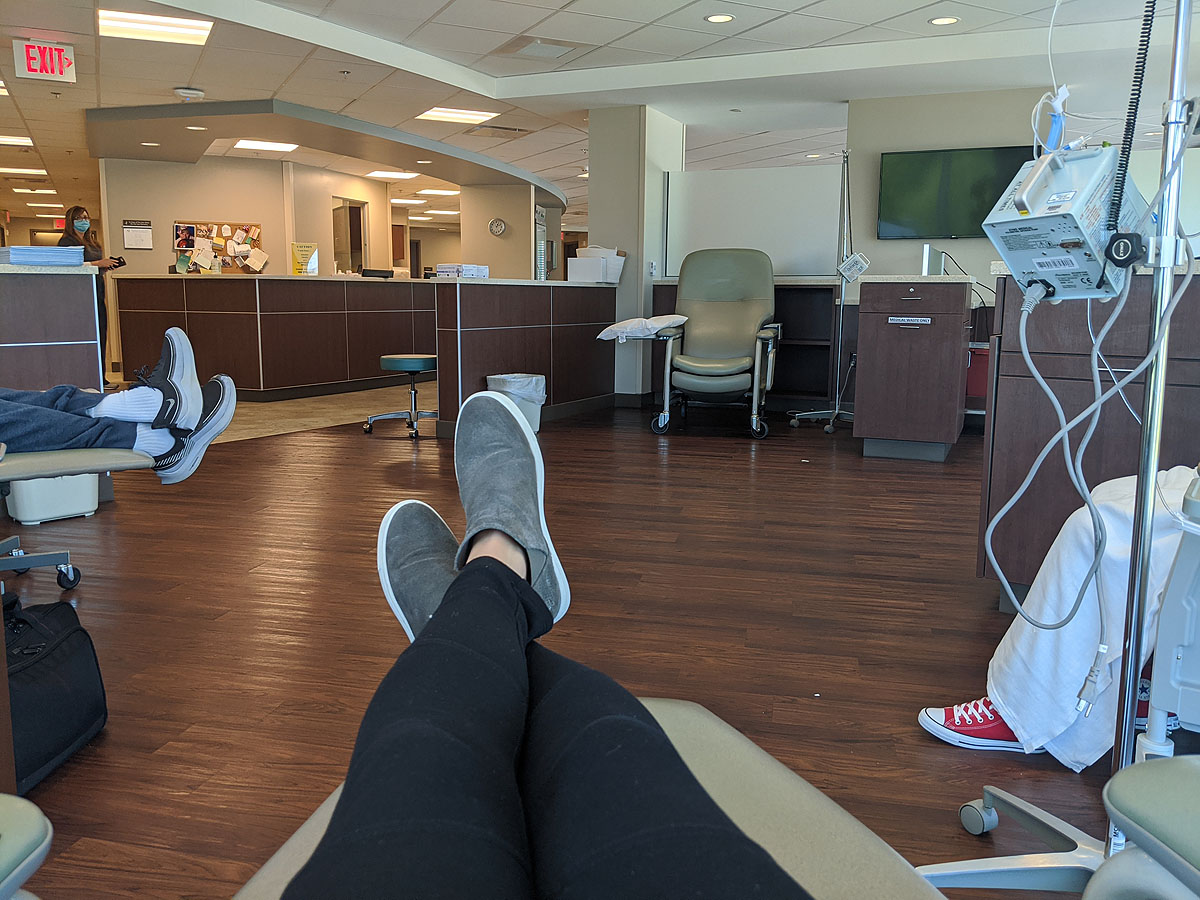
Then, I waited. I joked with some friends that it was awfully similar to sitting by the pool in a reclining chair with my phone and a giant water bottle. Just no pool, and the cocktails are strangely delivered and don't taste good.
Finally, the last step before I left was to get my Neulasta Onpro stuck to my arm. This is a handy little time-saver that will administer the shot at a specific time tomorrow without me having to do a thing (or go back to the hospital). It even has a light on it. Before I left the office, it beeped and gave me a 15 second warning for the needle to hit me, which felt exactly like a little rubber band snap.
And that was it. I told Ben I was done and he and the kids came to pick me up at about 3:20. I felt pretty good (steroids) and was HUNGRY, so I wolfed down some cheez-its in the car on the way home...I'm allowed to eat snacks while I'm there, but I haven't figured out how to eat snacks easily while wearing a mask?
When we got home, Ben and I went for a short and slow walk up at the park. Though I don't expect to keep up my normal exercise routine and intensity during all of this, I have been encouraged to know that exercise during chemo is beneficial to help with energy levels and I know it's good for digestion and just general mood. So I plan to walk and stretch and do light strengh workouts as much as my body wants to do each day.
As the afternoon and evening wore on, I felt mostly ok, a little off-balance, a lot puffy (that was a LOT of fluid between 6 bags of medicine and a gallon of water from my water bottle) and my head felt like there was a lot of pressure between my eyes. But we had a really tasty Jim N Nicks dinner, delivered to us by a family from church, and got to eat outside.
Around 6pm, I started to feel a little funny, and decided that was a good sign to take one of those anti-nausea tablets, so I did. The next couple of hours, I was ok, just moving a little slow, not exerting myself much. Ben had some work to do on his computer, so the kids and I hung out an watched some tv on my bed. Two of my wigs arrived to try on, so we had a fun little fashion show as I gave those a try (more on that when the third one finally arrives).
But by 8:40, I was pretty wiped out, tired from all the talking and commotion and "new" from the entire day. Plus I was starting to feel kind of queasy. So I kicked the kids out, sent them to bed, took another nausea tablet and went to sleep, hoping for the best. The best comparison to how I felt was when you're a little bit motion sick the first night on a cruise ship...and the best thing to do is SLEEP it off.
My nightstand is getting crowded.
Thankfully, I fell asleep easily, slept well all night, and when I did wake up, felt pretty good. I also woke up feeling great this morning and have had a good day so far without any problems other than my face and chest feeling flushed and red. I've been told the effects really start about day 3 and last through day 5 or 6, so I keep waiting for the truck to hit me. But in the meantime, I enjoyed a very nice day today -- working on blogging and journaling, helping the kids with school, coffee with Ben, a Zoom call with Toni & Wendy, a phone call with my mom, etc. Very "normal" day so far.
I'll update again in a few days once I see how this round affects me. It sounds like the pattern might be similar for future rounds - though likely more intense as they continue, from what I understand. But that might help me predict what days I'll feel good vs. bad and how to best prepare.
Cancer Shopping
My Breast Care Navigator told me I'd probably do some "cancer shopping" as I was getting prepared for all of this. She said she bought all sorts of things when she was diagnosed...including adopting a kitten! We didn't get another cat (two is plenty), but I did find myself obsessively *needing* a "cancer chair" for our bedroom...along with several other strange purchases.

Why a "cancer chair"? I think because I imagine myself quarantined to my bedroom and I wanted a place to sit other than on the bed. And I wanted OTHER people to have a normal place to sit with me. At the time I thought that might be more than just Ben & the kids, but looks like now that won't be the case according to COVID, which is a bummer. But still, Ayla, Paxton & Ben need a place to sit and hang out with me.
I wanted a recliner with an ottoman, because I imagined myself sitting it....but clearly there isn't room for a monstrosity like that in our bedroom, so a little swiveling barrel chair became the next best choice. This may be the first piece of actual furniture we've bought sight-unseen. But you know...there's nowhere to go SHOPPING for furniture right now! Everything is closed up for COVID. So, Wayfair to the rescue. I think we did ok. It's comfortable enough, not offensively show-stopping, looks decent in the room, and doesn't take up too much space. Cancer chair -- check.
That's not the only cancer-prep purchase we've made. We've resisted having a television in our bedroom for all these years...but it's time. And well...why not just move the living room TV upstairs, and replace that one with an upgrade? Yeah, we did.
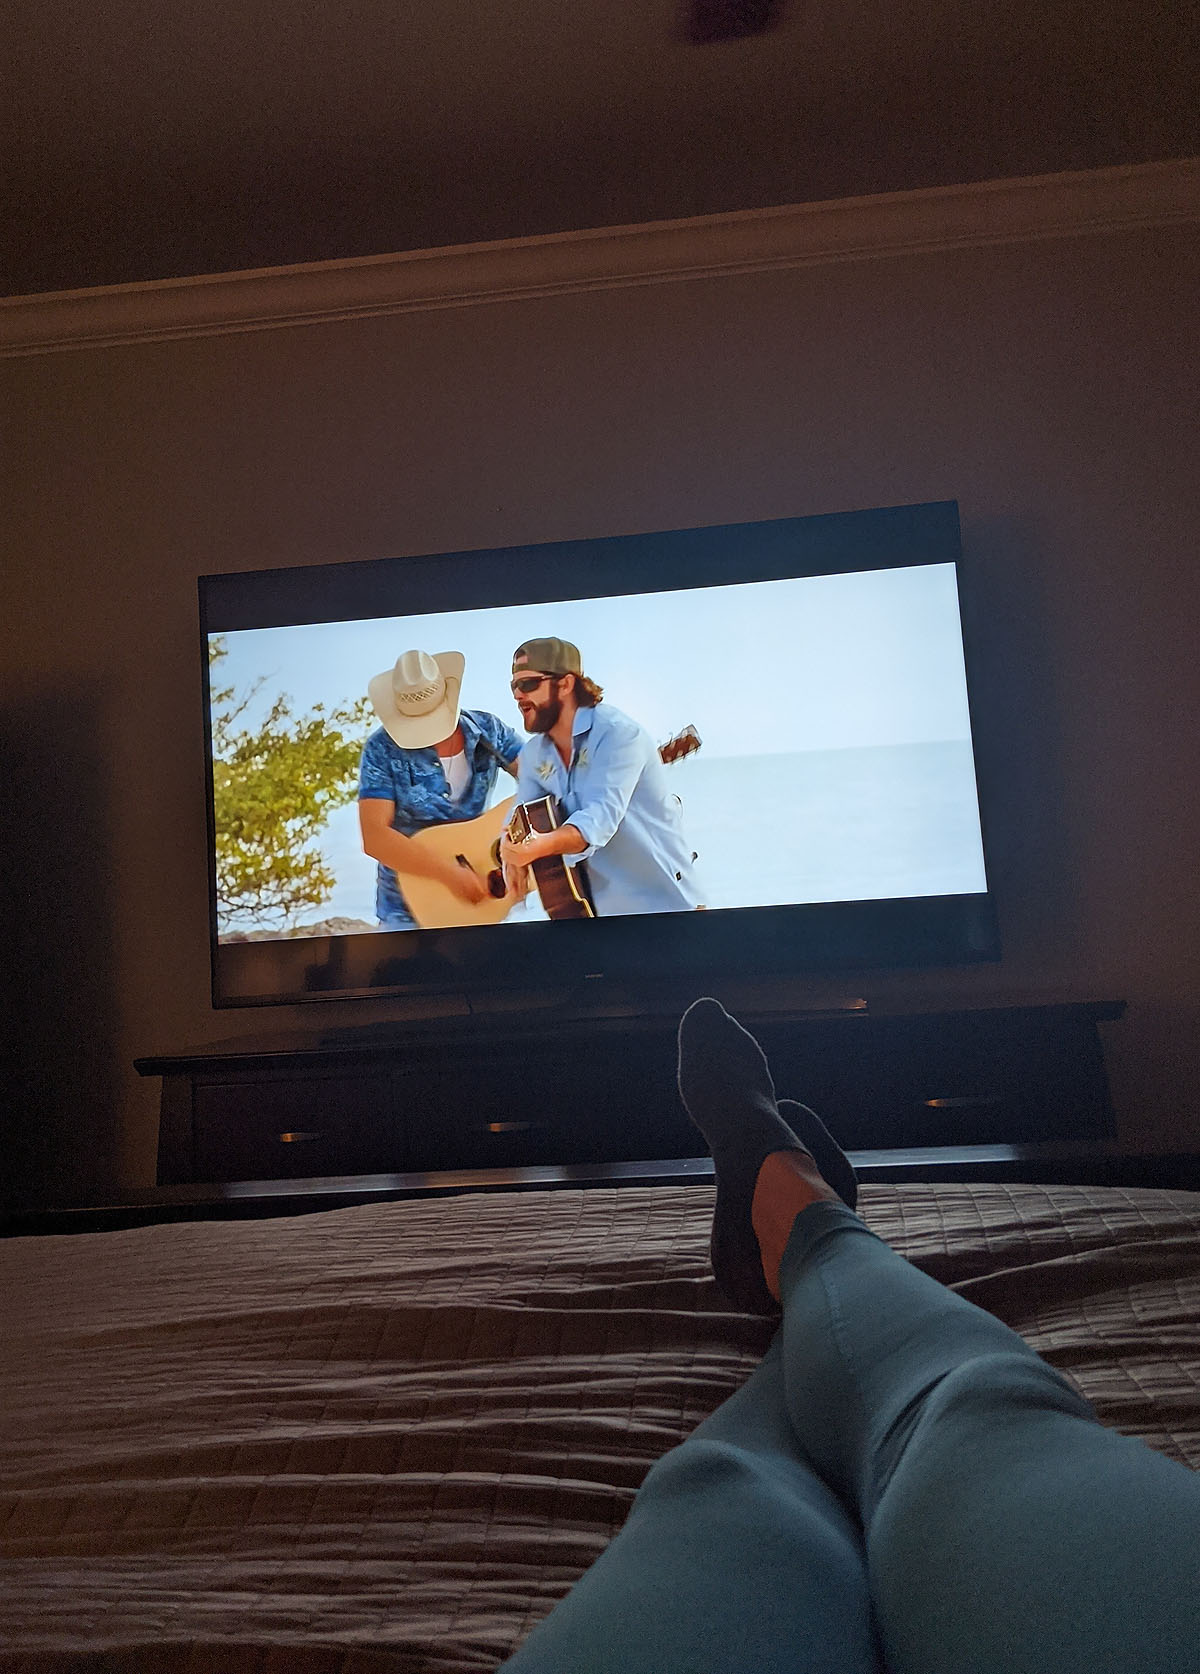
It may not BE a vacation suite, but my "cancer suite" is gonna be as luxurious as we can make it...And then maybe I won't have to wear my contacts or glasses to watch TV! hah!
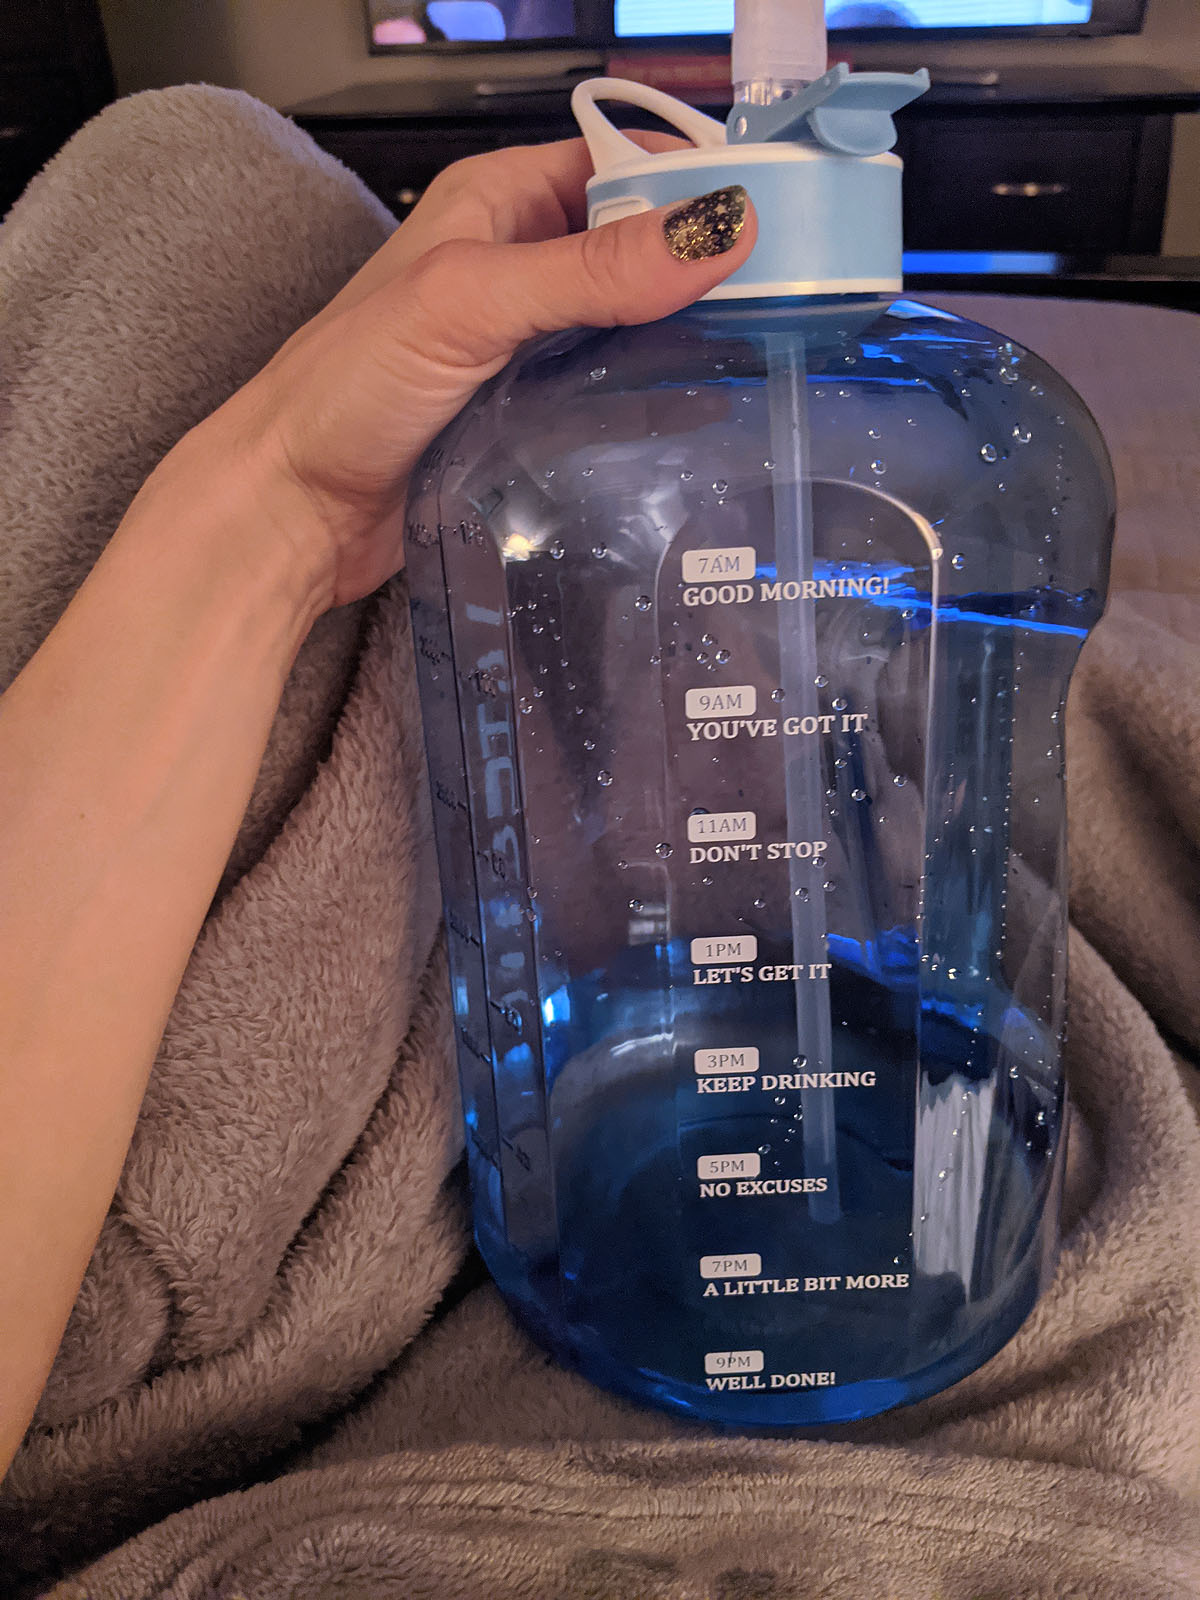
What else do you need to get ready for cancer -- LOTS of water, apparently. EVERYTHING I've read says to hydrate, hydrate, hydrate. So my friend Lauren got me "Big Blue", which has become my daily sidekick. And it has encouraging messages for me throughout the day...so I'm all for that!

Then I started doing some head-covering & wig shopping. That's where my cancer prep shopping stopped feeling like getting ready for a newborn (chairs, comfy bedroom, television, water bottles...all seemed very "getting-ready-for-baby"-esque to me.) Until fake hair & turbans. Because that's just weird. But, here we are.
I ordered these three wigs in a color very close to my own from a local wig shop (that I couldn't actually GO to, because of COVID) and will pick one once they arrive and return the other two (because they ain't cheap)--more details on that process soon, I promise!

And, while I was at it...I tried on a turban. Boy is this weird. But in reality -- within a few weeks, this WILL be how I look, and will look for a very very long time. So I guess I better start getting used to it.
What else do you need for cancer & chemo? Apparently blankets and bags and lip balm and hand lotion, ginger ale, hard candies, popsicles, soft and comfy bras, biotene mouthwash, extra toothbrushes, and silk pillowcases.

I have many many wonderful friends and family who have been sending me all kinds of things I never knew I'd need, but know I will be so grateful to have along the way. THANK YOU to everyone who has helped supply me with *all the things*!
When do I get to stop buying practical things and get to stock up on cool sunglasses, hats & earrings instead??? I guess there's plenty of time for that...
Anyone have any other MUST-HAVE for chemo items that I'm forgetting?
Bandages Off - Port Reveal
So, what's it like recoving from port insertion surgery?
On the day-of surgery (Friday), I was pretty groggy, but probably still well numbed up, because it wasn't too painful. That night was rough getting comfortable, but a wedge of pillows & tylenol was helpful.
Saturday I was moving really slow, having trouble with mobility in my right arm and shoulder, and was super tired, taking two tylenol every 5 hours or so. I opted not to use the "hard stuff" because sometimes those pain killers can make me nauseaus and with tylenol it was definitely tolerable.
Saturday night, I slept much better, still on Tylenol, and Sunday morning was stiff, but loosened up pretty quickly. The bandage was still on, and itching me, and the area around it was bruised and tender, but not really painful. By the end of the day Sunday, I was moving around much more quickly and had much more mobility in my arm and shoulder, and I was able to go without tylenol and slept all night without needing any.
This morning (Monday) I felt just a little better than yesterday, with lots more energy. In fact, I spent the day cleaning the house (slowly and mostly with my left arm), and went for a 40 minute walk with Ben.
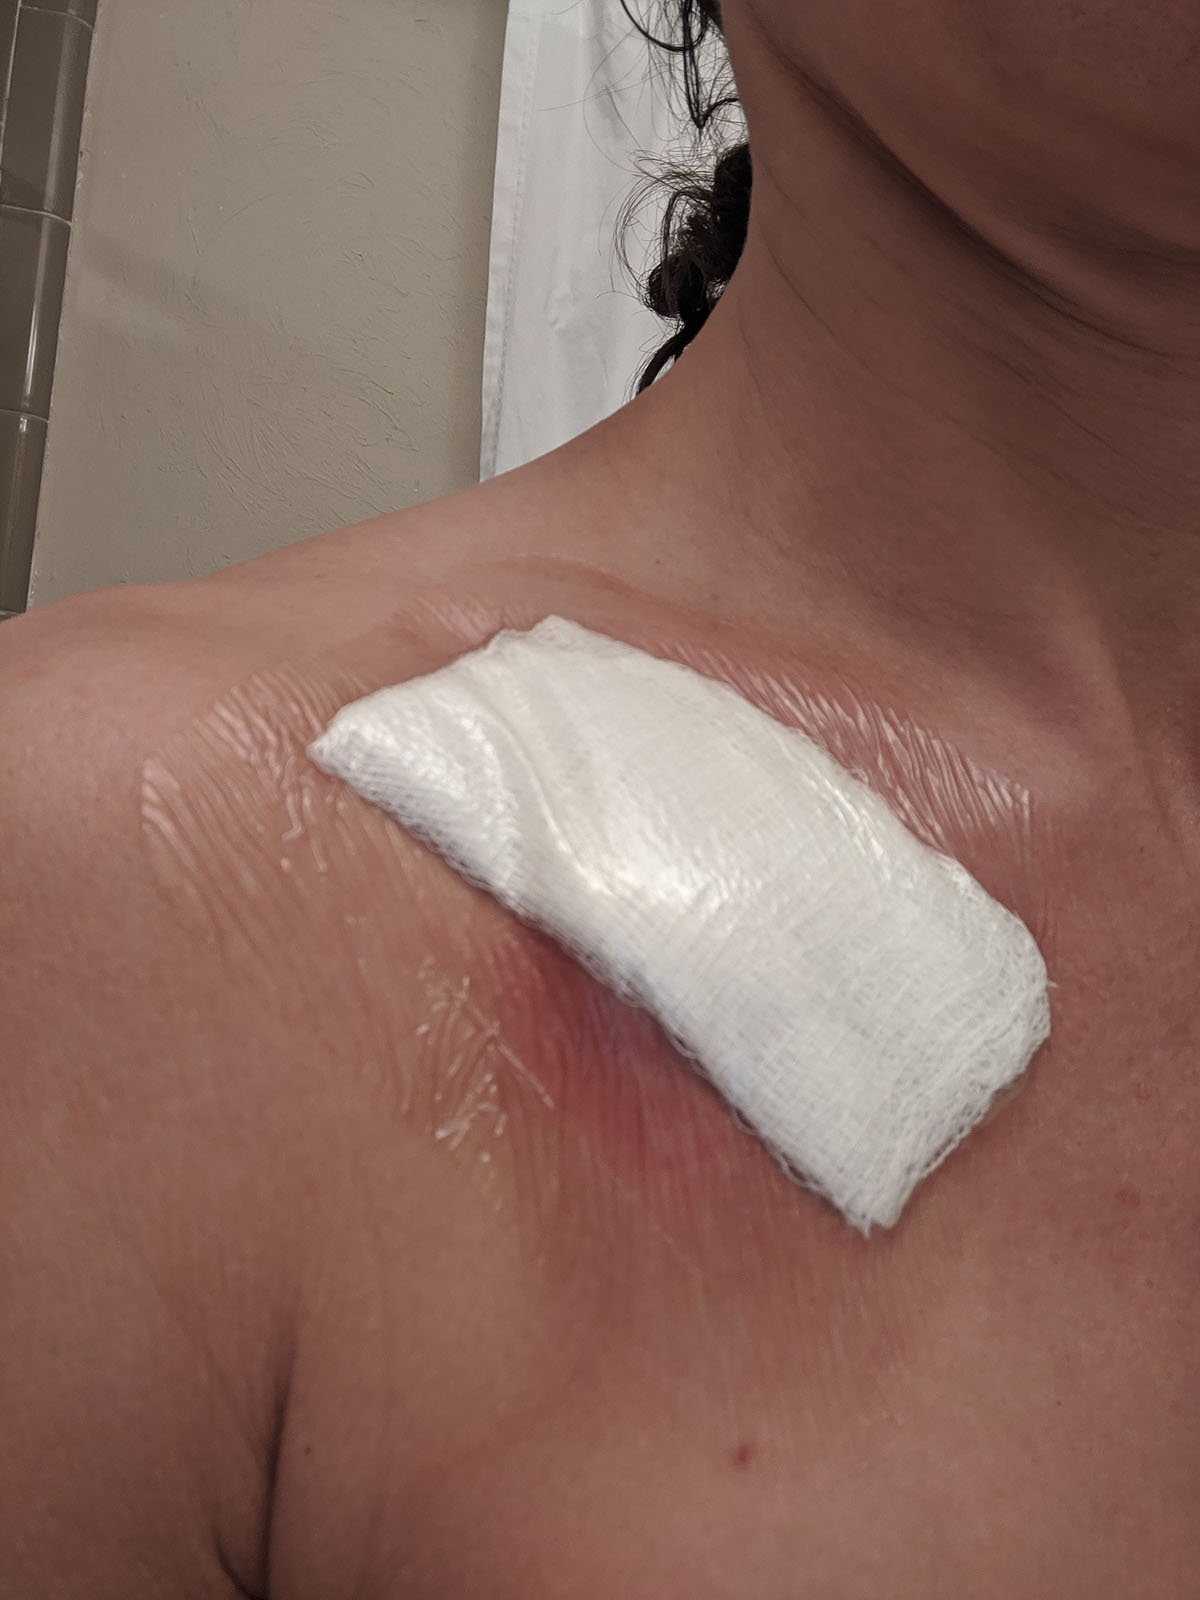
But then, it was finally time to take the bandage off and see what was under there. I was starting to itch from the adhesive on the bandage, and my doctor had said I could take it off this morning...I waited until about 3pm. I think maybe I was nervous about what I'd find.
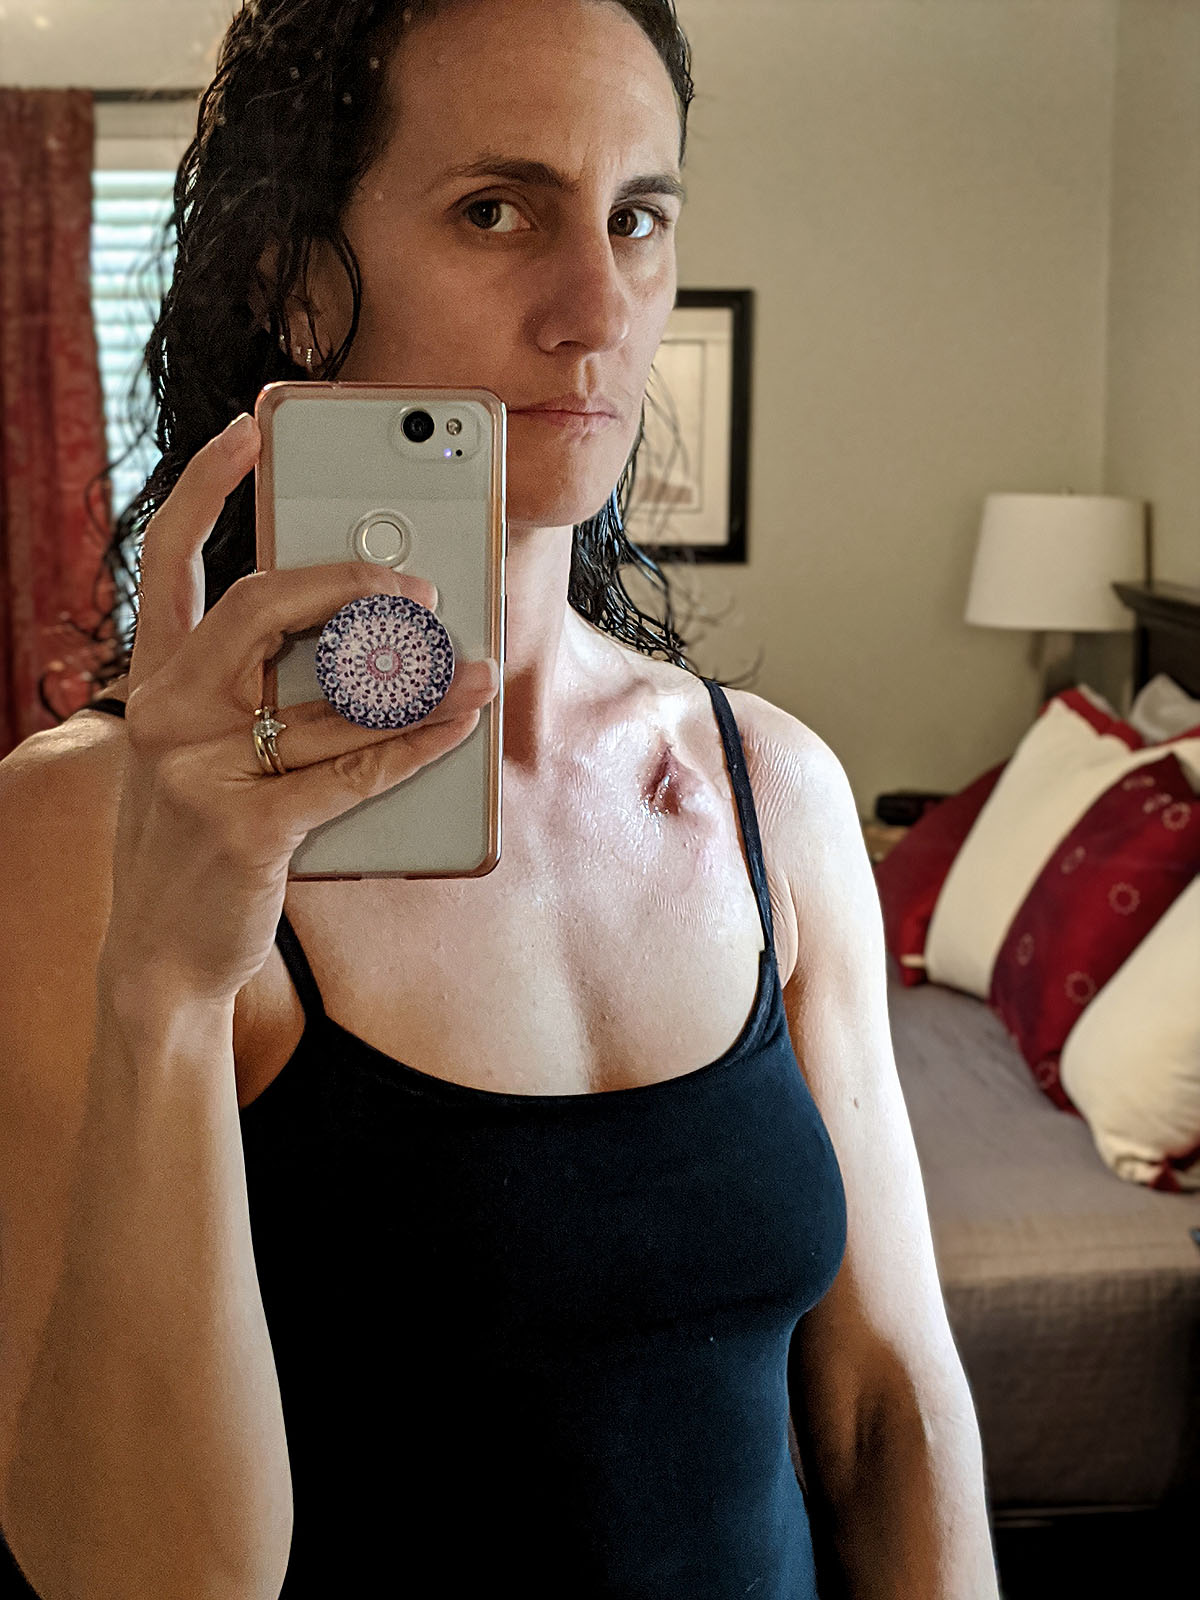
I feel a little like there's a little alien coming out of my chest. THAT'S gonna leave a mark! It's so much bigger and more prominent that I was expecting -- I wouldn't exactly call that quarter-sized.
I don't love it (who would?), but it didn't feel quite as traumatic as I thought it would. It is what it is....and this little bugger is going to be MUCH better than having the veins in my arm poked and prodded constantly for the next year.
First physical battle scar of this journey - check.
I expect it to be a week or two before this thing is totally healed...and that will be about the time I am recovering from my first round of chemo. Maybe I'll be able to get a decent workout in then? We'll see how that goes...
Port-a-Cath Insertion Surgery
Yesterday was my port-a-cath insertion surgery, and what feels like the beginning of a very long and difficult physical and emotional season.
The ride to the hospital was rough. I imagine it's how people feel on their way to check themselves into prison. When we got into the car the song "Rescue" by Lauren Daigle was playing. One day I'll go back and read the lyrics more closely and listen to that song and know that it was a well-timed message to me. But at that moment, I couldn't hear it. I tried to listen for a minute and just couldn't take it, so I turned the radio off.
We arrived at the hospital a few minutes earlier than we needed to be there, wearing our homemade COVID masks (thank you Christy Bain) as requested by the hospital.
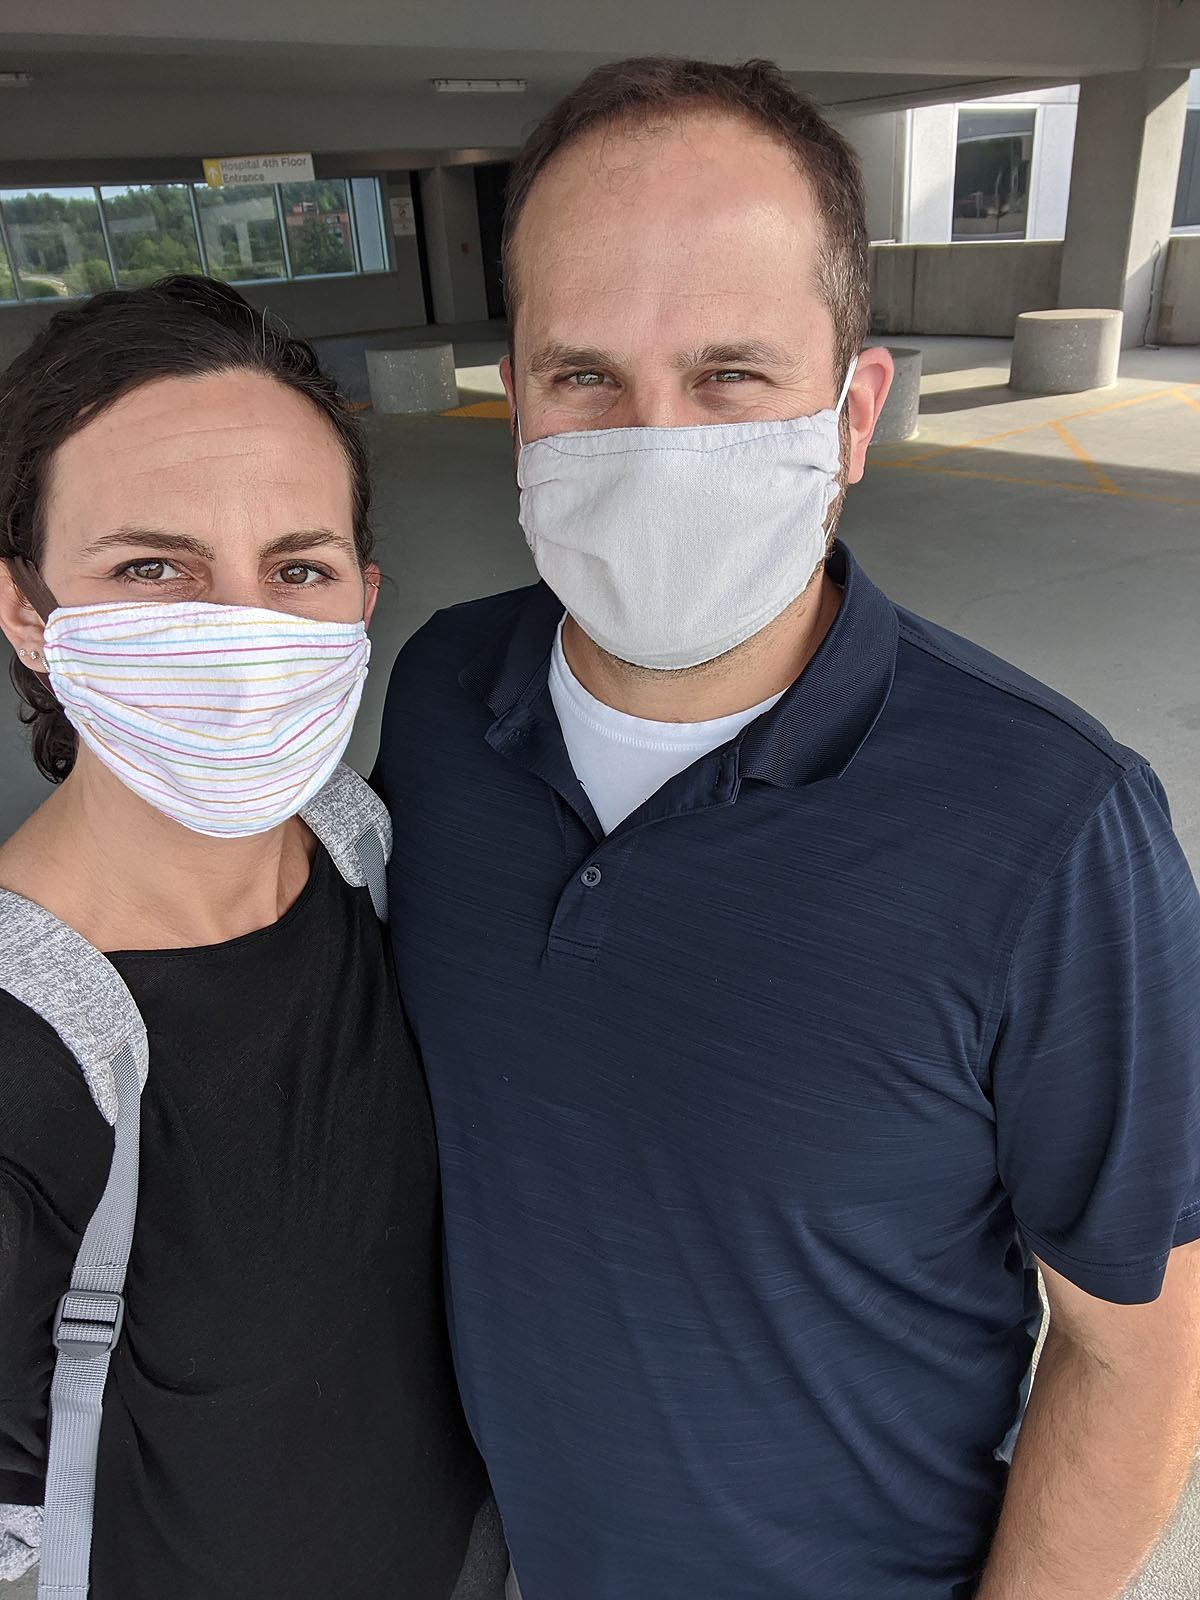
I felt like I was having an out-of-body experience walking in there. I was totally self-absorbed and was glad there weren't a ton of people everywhere...because even the few in the lobby made me angry. Not because they did anything wrong -- no one did, and in fact we ran into a friend we haven't seen in a long time, who we think very highly of. I just was angry and felt alone and scared and not wanting to start this process. Maybe having my face covered with a mask was good. Then my expression couldn't be seen by everyone else and I didn't have to politely smile.
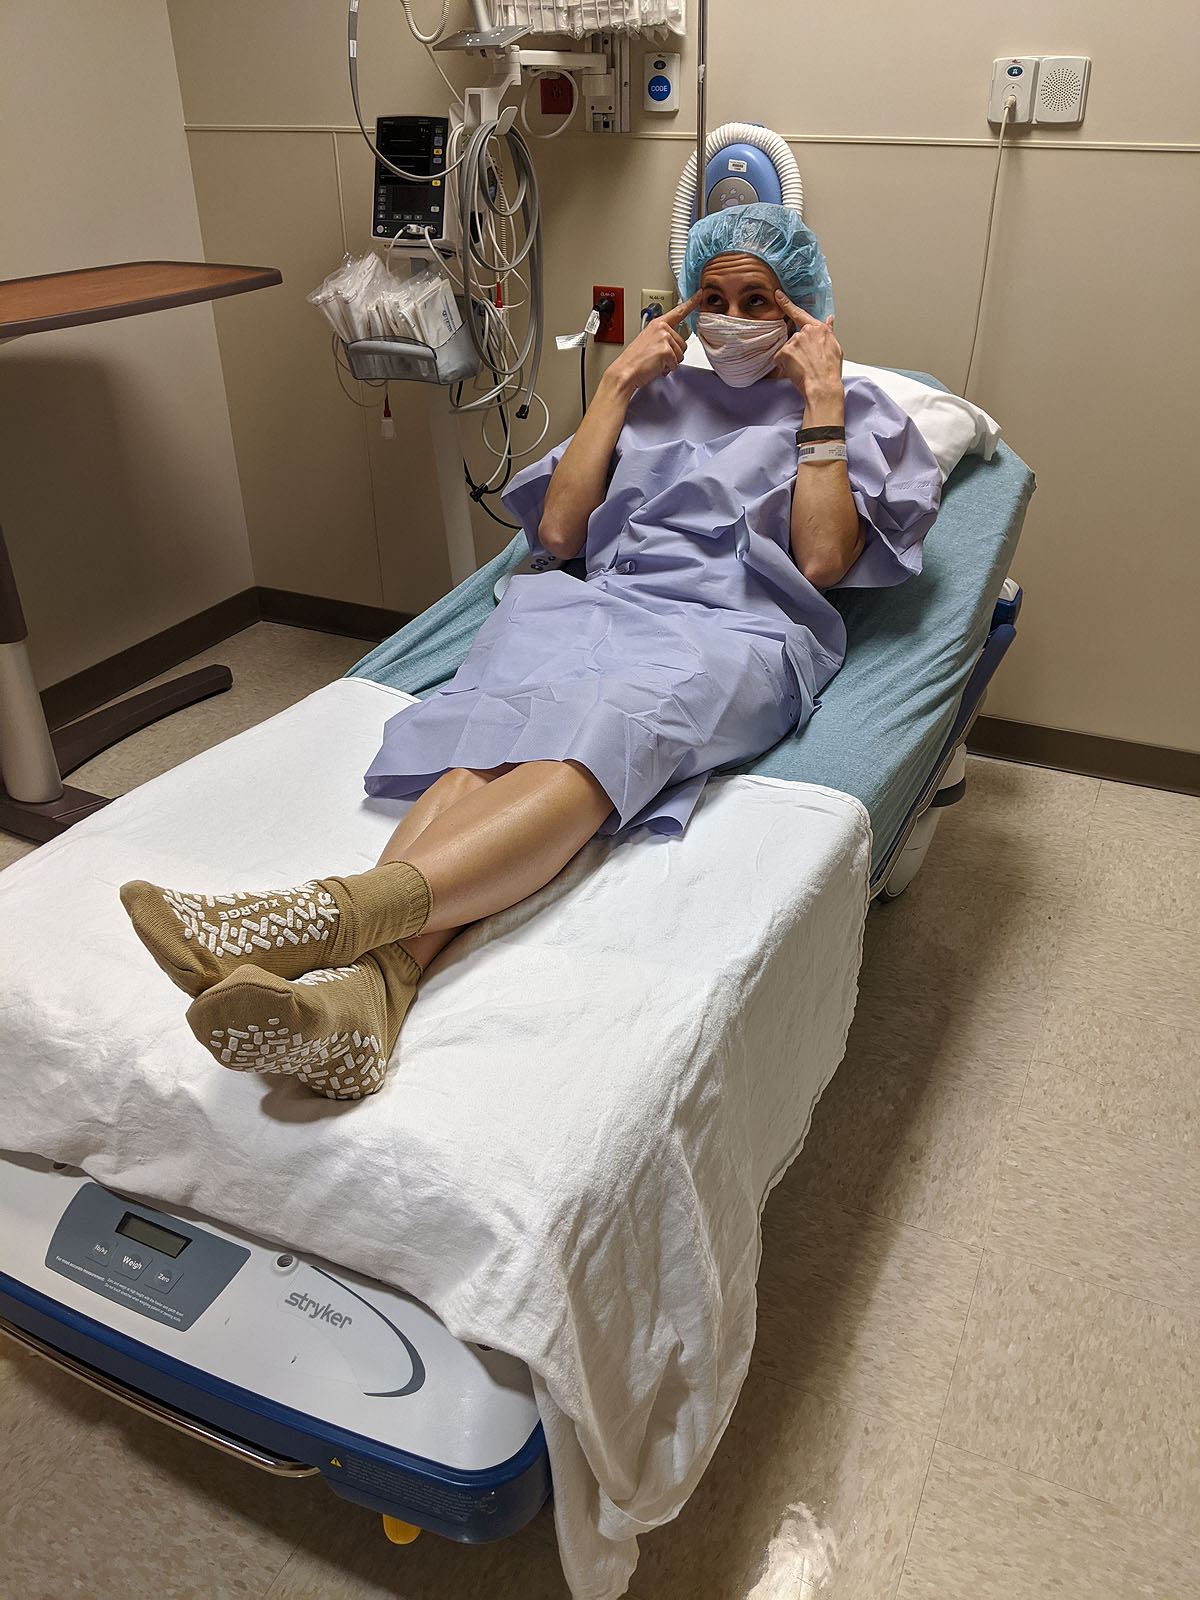
Once I was registered, we went into the pre-op room, where I had to strip down (including all of my jewelry, which for me makes me feel really "naked" more than anything...isn't that weird?) and put on a paper gown, hair net and grippy socks. Whoa. This is REAL surgery.
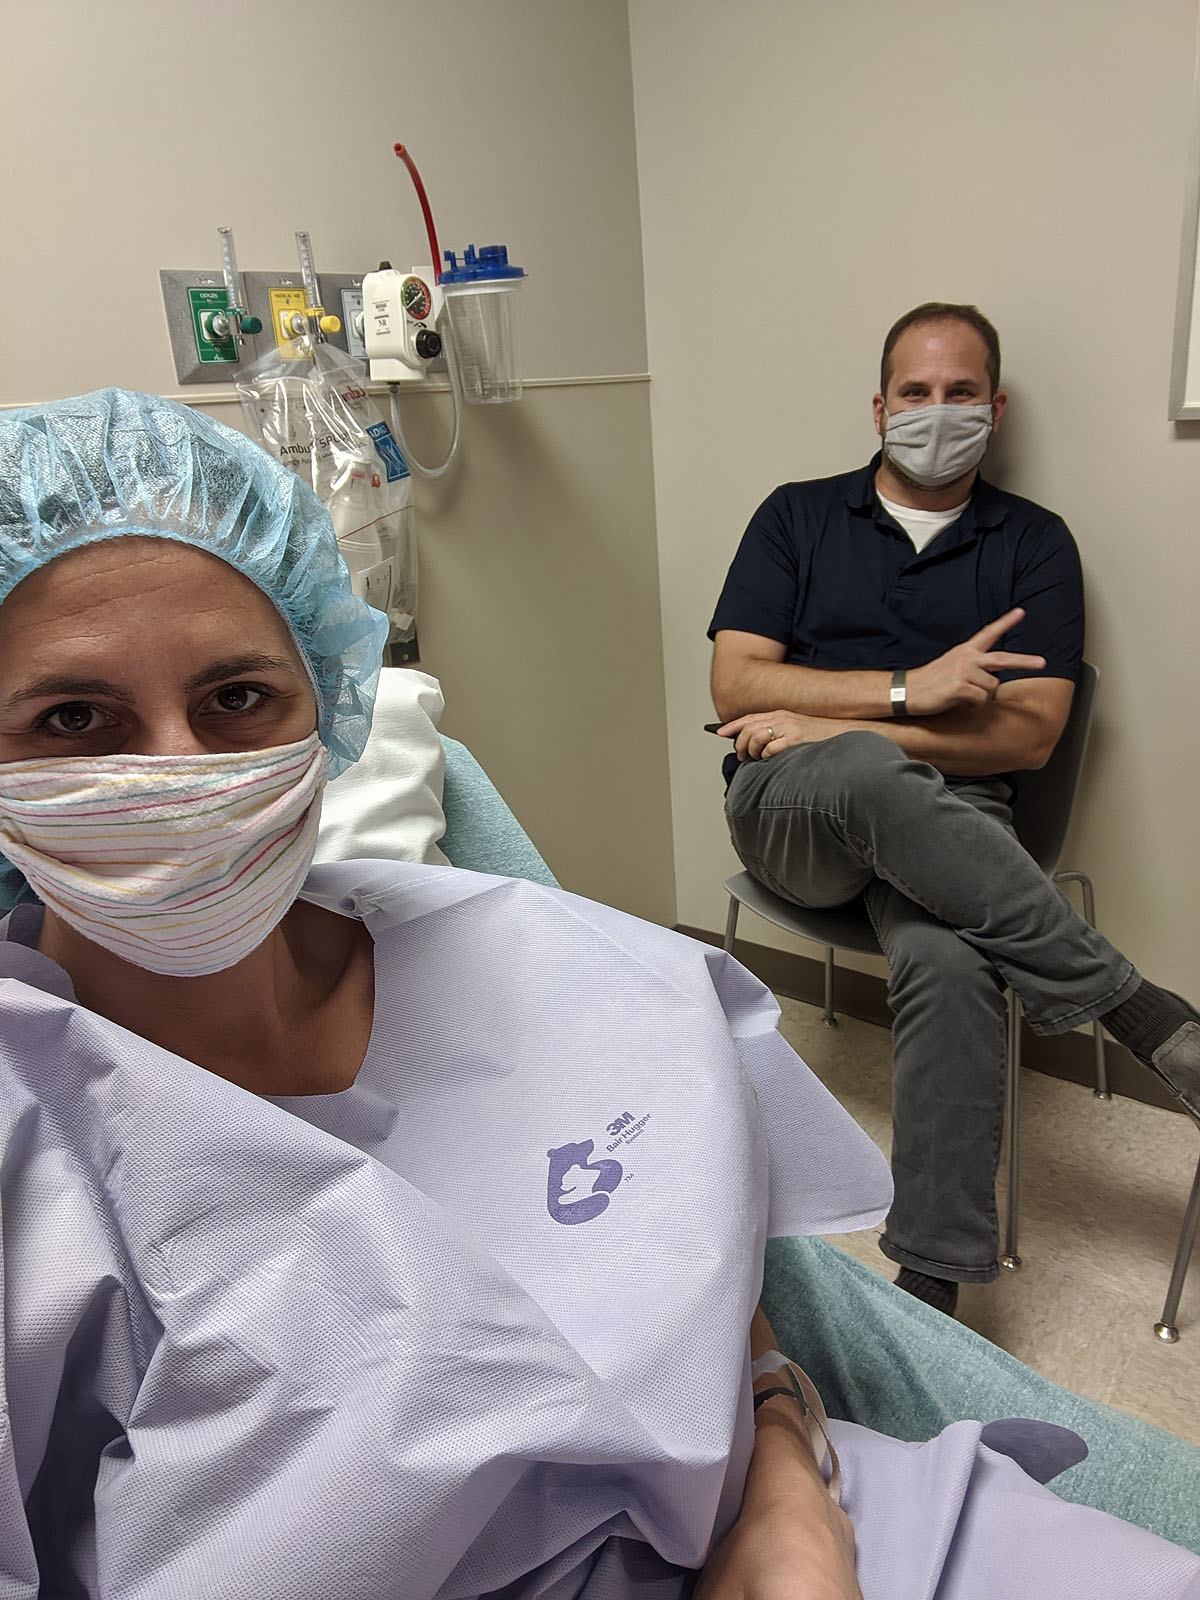
We weren't sure whether Ben would be allowed back with me, and I'm so glad he was. We sat in the pre-op room for about 3 hours waiting for the OR to be available, getting my IV, drawing blood, answering questions (3 different people asked me if I'd had a hysterectomy??), but mostly we were just waiting.
I received several nice texts from friends wishing me well and saying they were thinking about me, but I couldn't read or respond to them genuinely at that moment, because I was still just scared and angry, so mostly I put my phone away and didn't look at it. Eventually we changed the channel on the TV from HGTV (which I swear is what EVERY doctor's office, hair salon, dentists, etc. ALWAYS has playing -- why???) and found a King of Queens marathon. That's a show Ben and I love, and it was the perfect comic relief while we waited.
Finally, at about 11:30, the anesthesiologist came in and they started to get me ready to go to the OR. Ben left at that point and would meet me back in recovery after the surgery. When the anesthesiologist came in, I pretended he was Jason McKeown (my friend Tiffany's husband) -- even though he was FAR too short to be Jason -- and in a weird way, that made me feel better. He showed me a saringe and asked me if I wanted something to help me relax. My answer "Yes, give me whatever you've got."
The ride on the gurney into the OR was a very eery and scary feeling. I felt like I was in a scene from a television show. When we wheeled into the OR, I saw my surgeon, her nurse and the anesthesiologist & his nurse, lots of equipment and lights. I remember my doctor putting a few blankets over me (it was cold in that room) and then the anesthesiologist giving me a breathing mask. That's the last thing I remember.
They said I might sleep through the whole thing, or I might be in and out of consciousness throughout the surgery. Thankfully I don't remember a thing. The next thing I knew, he was waking me up and wheeling me back to the post-op area. I remember asking:
- What time is is? (12:50pm)
- Did everything go ok? (yes)
- Do I still have the IV? (yes)
They asked me if I remembered anything, and I told them no...and "wouldn't it be nice if I could sleep through the next 8 months too?
They observed me for a few minutes in a post-op bay and did a quick x-ray of my lungs (since she was working pretty close to them during surgery). My heart rate kept making the machine next to me beep -- it kept going below 50bpm, but no one seemed to concerned about that (and it's not that much lower than my normal 55-65bpm).
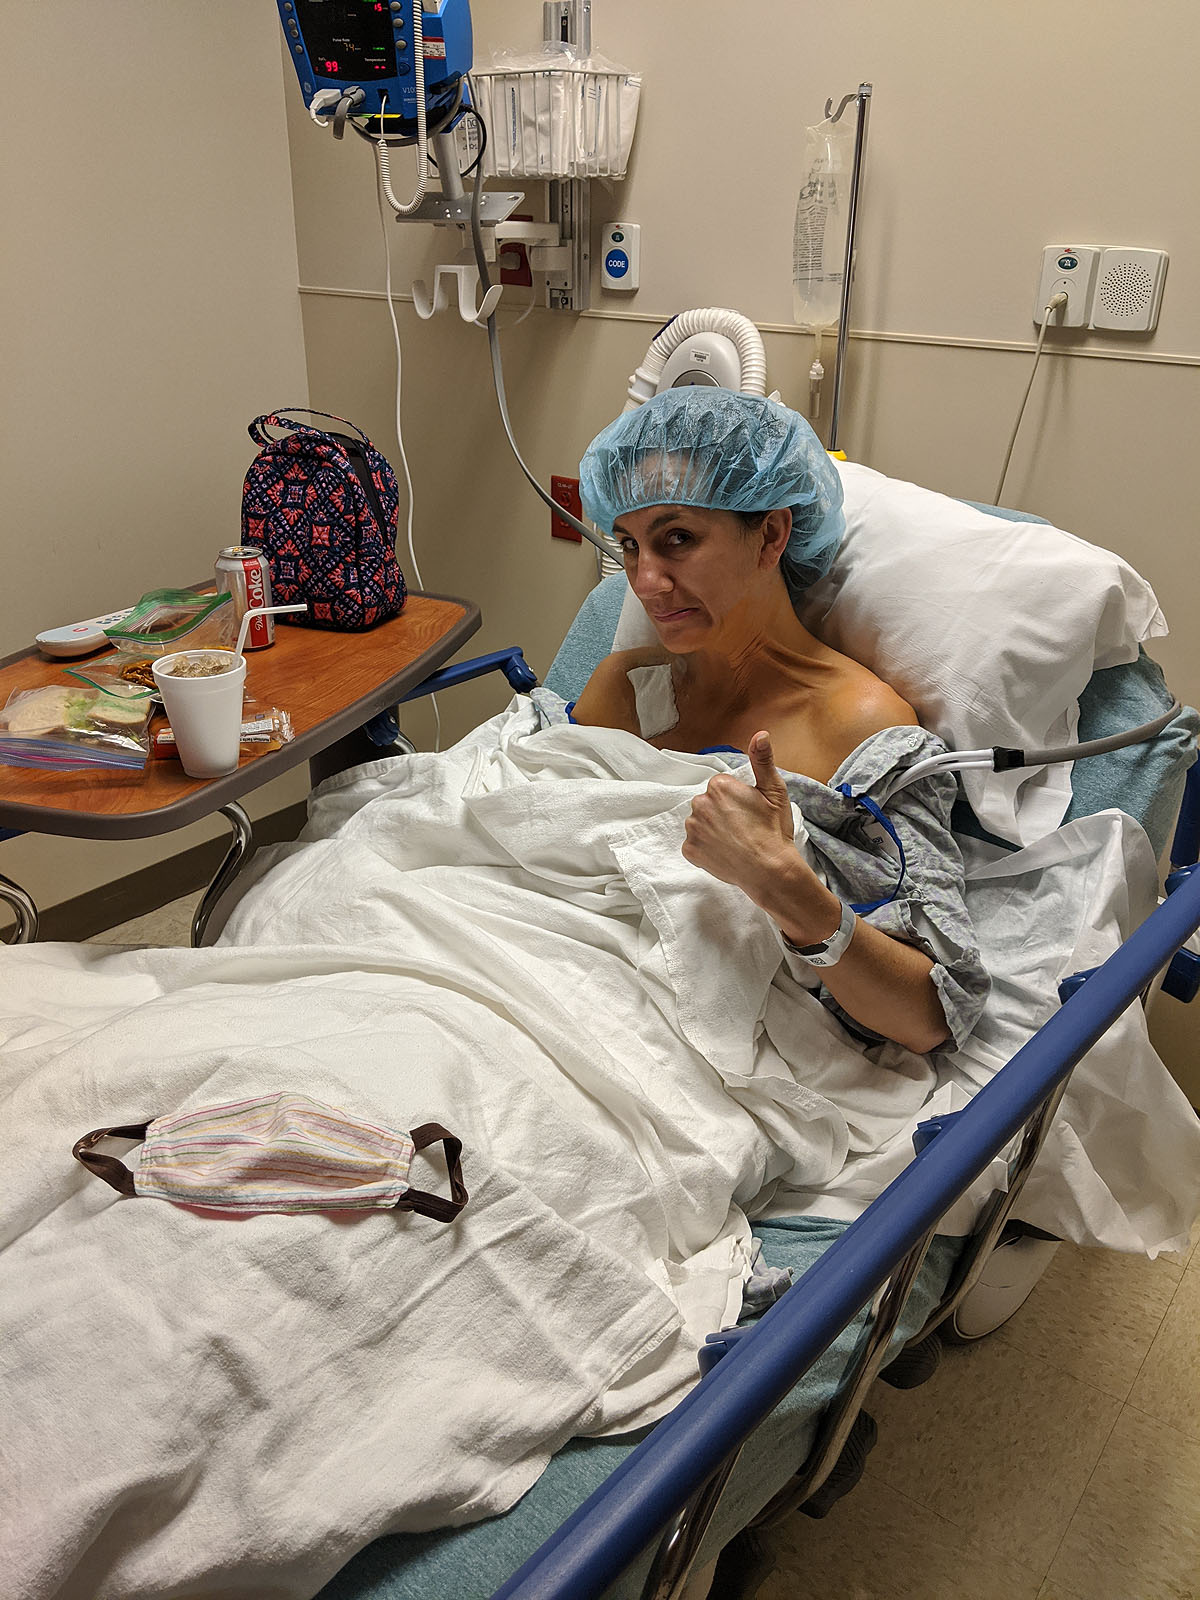
Before long, they moved me to a recovery room, where Ben was there waiting for me. I was able to eat (finally) some peanut butter crackers and Ben had made me a sandwich, and drink a diet coke.
Then I evaluated my physical status. Took a look at the bandage, and realized my port was IN, it was bigger than I expected (I kept hearing "quarter sized" and this looks more like a $2 stack of quarters!), and it was sore, but not excruciating. I mostly just didn't want to move my right arm, though I could...just slowly and gingerly, with less range of motion.
But, step 1 of this cancer trip was complete.
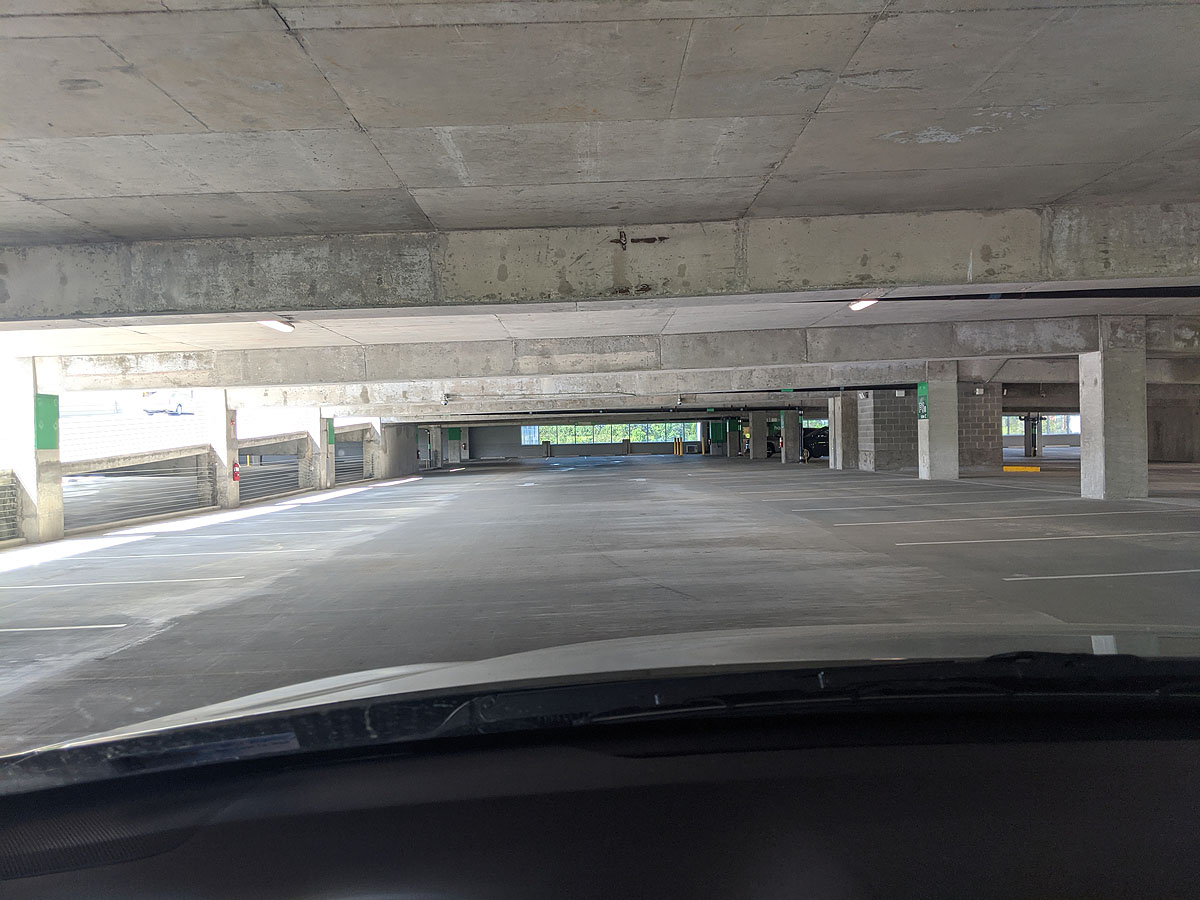
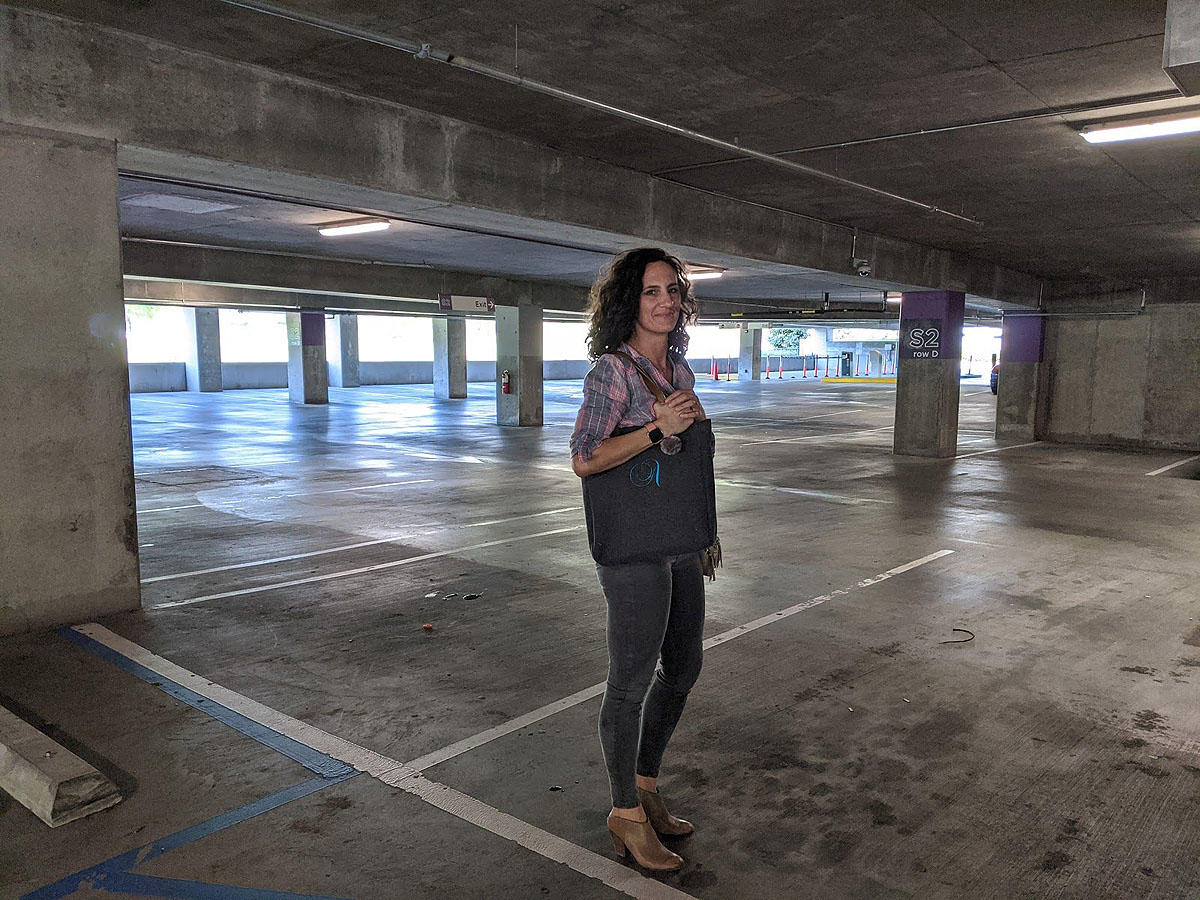
And in case you were wondering...this is what the hospital parking lot looks like during COVID quarantine:
Once I was in my own clothes (with all my earrings back in) and back home, I felt quite a bit more normal. I spent the rest of the afternoon moving very slow, sitting on the patio with Ben, Ayla & Paxton circling around while I stayed still. Kind of the opposite of normal around here.
Last night we had leftover Costa's for dinner (thank you Josh & Rachel!) and then the kids and I watched the documentary "Chasing Happiness" about the Jonas Brothers...which we all loved for our own reasons. It was a good relaxing way to hang out with the kids and do something fun.
I slept *mostly* well, but around 2am got up for more Tylenol and couldn't get comfortable. I kept wanting to stretch my arms and shoulders and back and just couldn't do it. I ended up making myself a pillow wedge so I could sleep partially sitting up, and that seemed to help for the rest of the night.
I woke up pretty stiff, but I'm slowly doing better, and even managed a shower (though I didn't dare tackle trying to wash my hair -- just putting it in a ponytail felt painful enough).
I've heard it takes 10-14 days for this port incision to heal...bandages can come off Monday. Until then, I think I'll be taking it nice and slow.
A (Tentative) Treatment Plan
Research has shown that when triple-negative breast cancer is treated with chemotherapy before surgery — what doctors call neoadjuvant chemotherapy — and there is a pathologic complete response, disease-free survival and overall survival are better.
One way for doctors to judge the effectiveness of neoadjuvant treatment is to look at the tissue removed during surgery to see if any active cancer cells are present. If no active cancer cells are present, doctors call it a “pathologic complete response” or pCR.
Disease-free survival is how long a person lives without the cancer recurring. Overall survival is how long a person lives whether or not the cancer recurs.
Third, in our current quarantine world, everyone I know is already practicing how to keep from getting each other sick, which will be particularly important for me as I go through both rounds of chemo. The kids being "homeschooled" for the next 9 weeks may actually turn out to be a major blessing to avoid bringing home all kinds of illnesses.
Meeting with the Surgeon
Today I met with my surgeon. She comes highly recommended by several people I've talked to, and after meeting her, I feel very comfortable with her.
After seeing my MRI, she seemed confident that my lymph nodes are not involved, even though we haven't officially received results from my lymph node biopsy. That will make surgery less complicated, only needing to remove the sentinel node, rather than several lymph nodes. That's particularly good news for my left arm recovery (which since I'm left handed, is pretty darn important to me).
She also said that the tumor is localized and not invading the chest wall or nipple (sorry...we're talking about breasts here), which is good news for removal, reconstruction, and possibly avoiding radiation. The tumor also measured slightly smaller in the MRI at 15mm instead of 25mm as reported in the ultrasound. All good things.
While she said I have the option of a lumpectomy or a double-mastectomy, she had two main concerns for recurrence, which might push me toward a double-mastectomy and definitely would warrant having chemo before surgery. One, she wanted to know whether my BRCA genetic testing was positive, which we don't know yet. And two, she had concerns that because my estrogen receptor "postitive" was weakly positive, which makes her think perhaps my cancer may be acting more like a triple negative cancer instead of an estrogen receptor positive cancer. Either way, she agreed with my medical oncologist, that because of my age and the grade and size of the tumor, that chemo is the best course of action and ought to be done *before* surgery.
So that gives me plenty of time to decide about a lumpectomy vs. a double-mastectomy (though I'm leaning toward a double-mastectomy w/reconstruction, which is a 3-6 month process in itself - it's not your standard boob job!)
And then I can tackle one challenge at a time. Chemo is my first battle. Until we go through a round of chemo and the first surgery, I won't know whether I'll need chemo again or radiation after the surgery. It will just depend on what they find and how well everything works.
One of the toughest things I heard today though was that in light of all the COVID virus issues, during chemo I will be significantly immuno-suppressed. Which means regardless of whether the rest of the world is in quarantine...I will *definitely* be in strict quarantine once my chemo treatment begins. No in-person socializing, no public events, wear a mask when/if I have to go out...the whole shebang.
Sigh.
That's gonna be rough.
The next step is to have another meeting with my medical oncologist and see when we can get all of this started. Maybe I can do it all while the whole world is quarantined! My FOMO would certainly be relieved if that's the case...