Andrea's blog
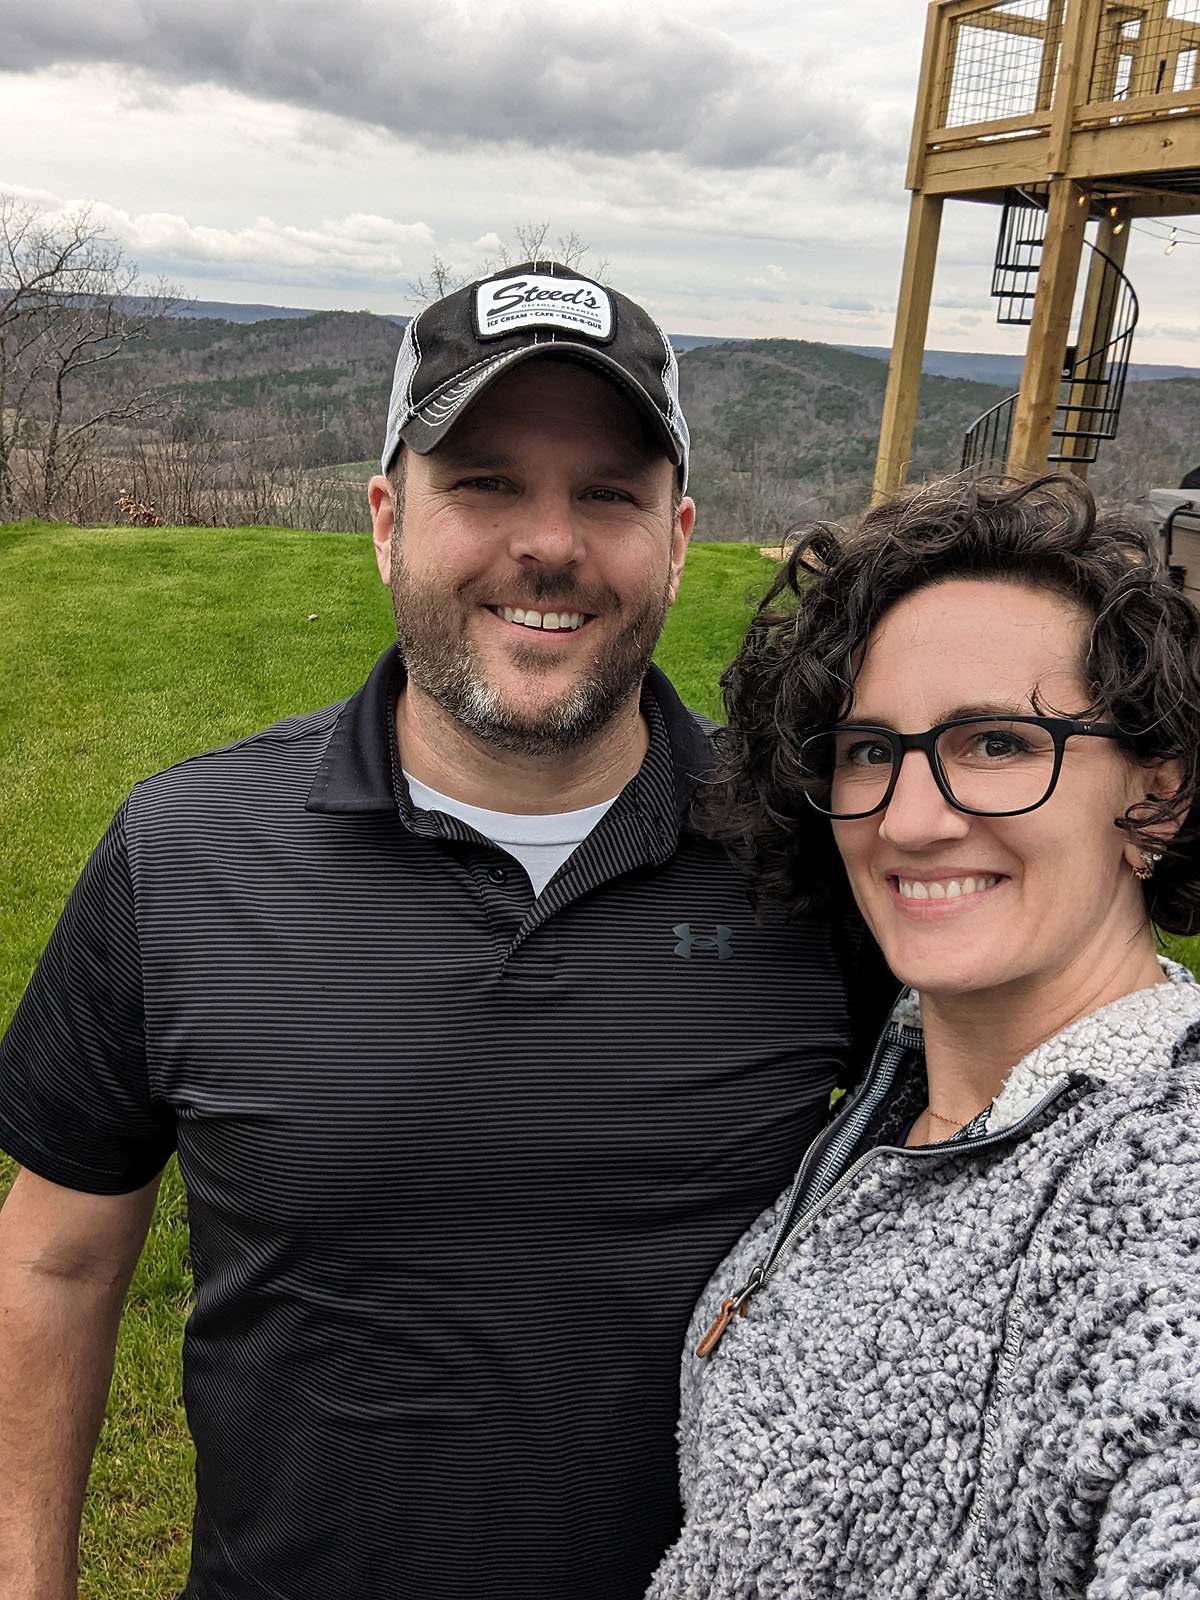
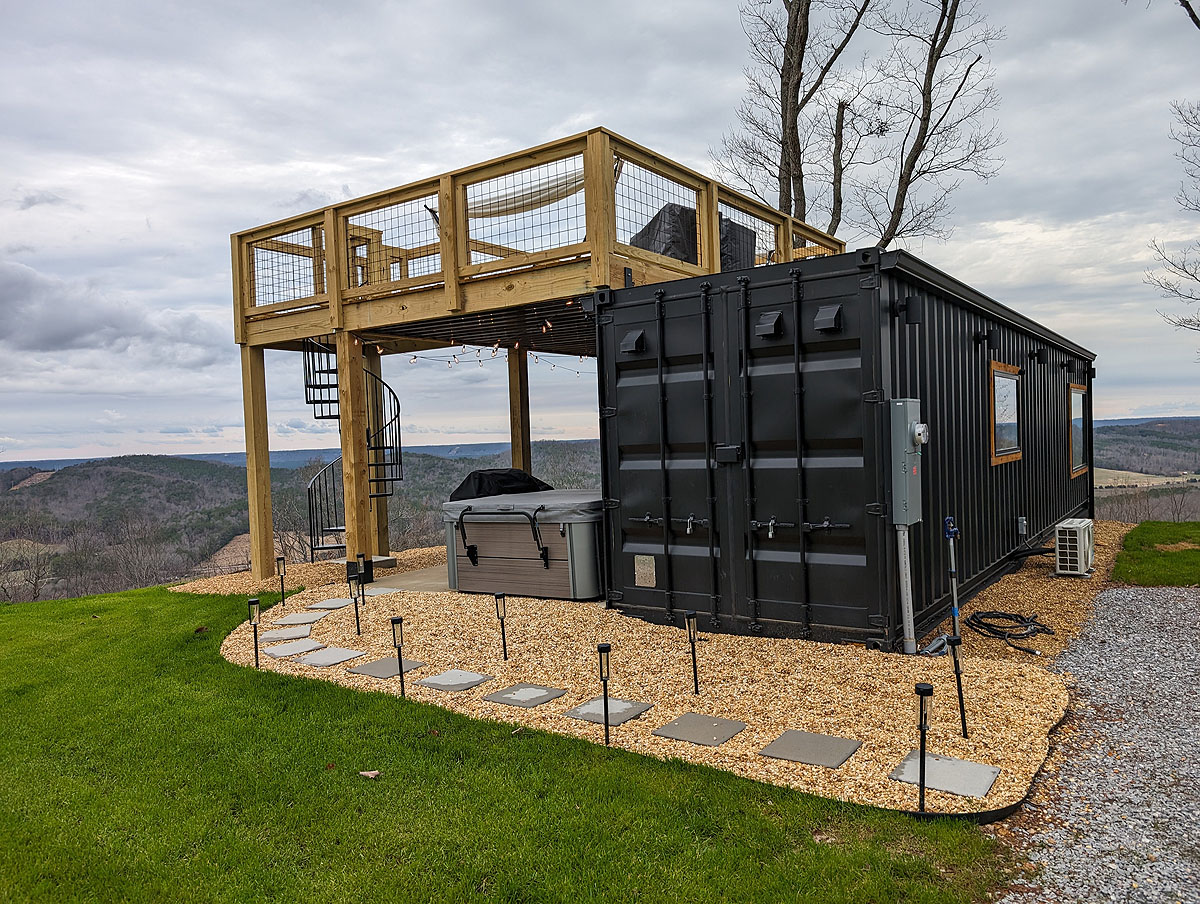
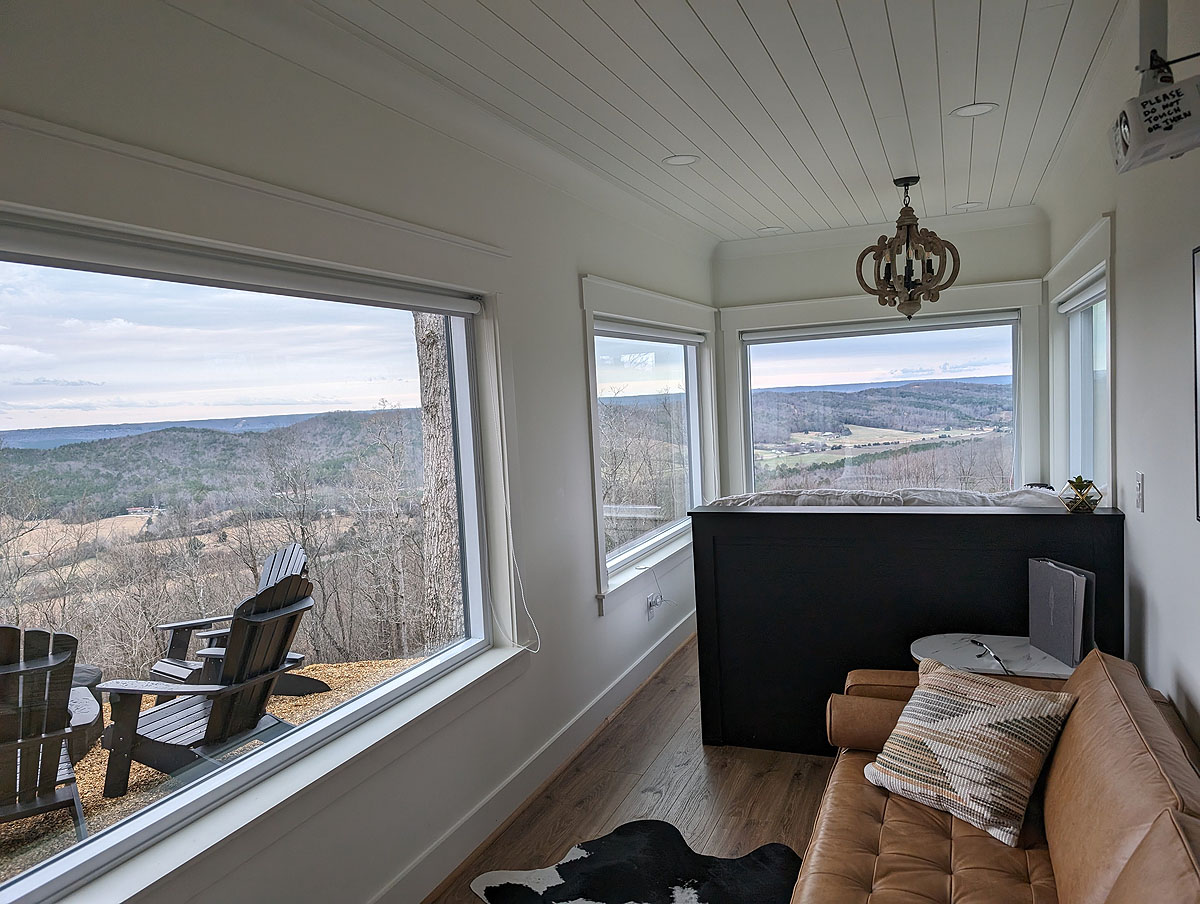
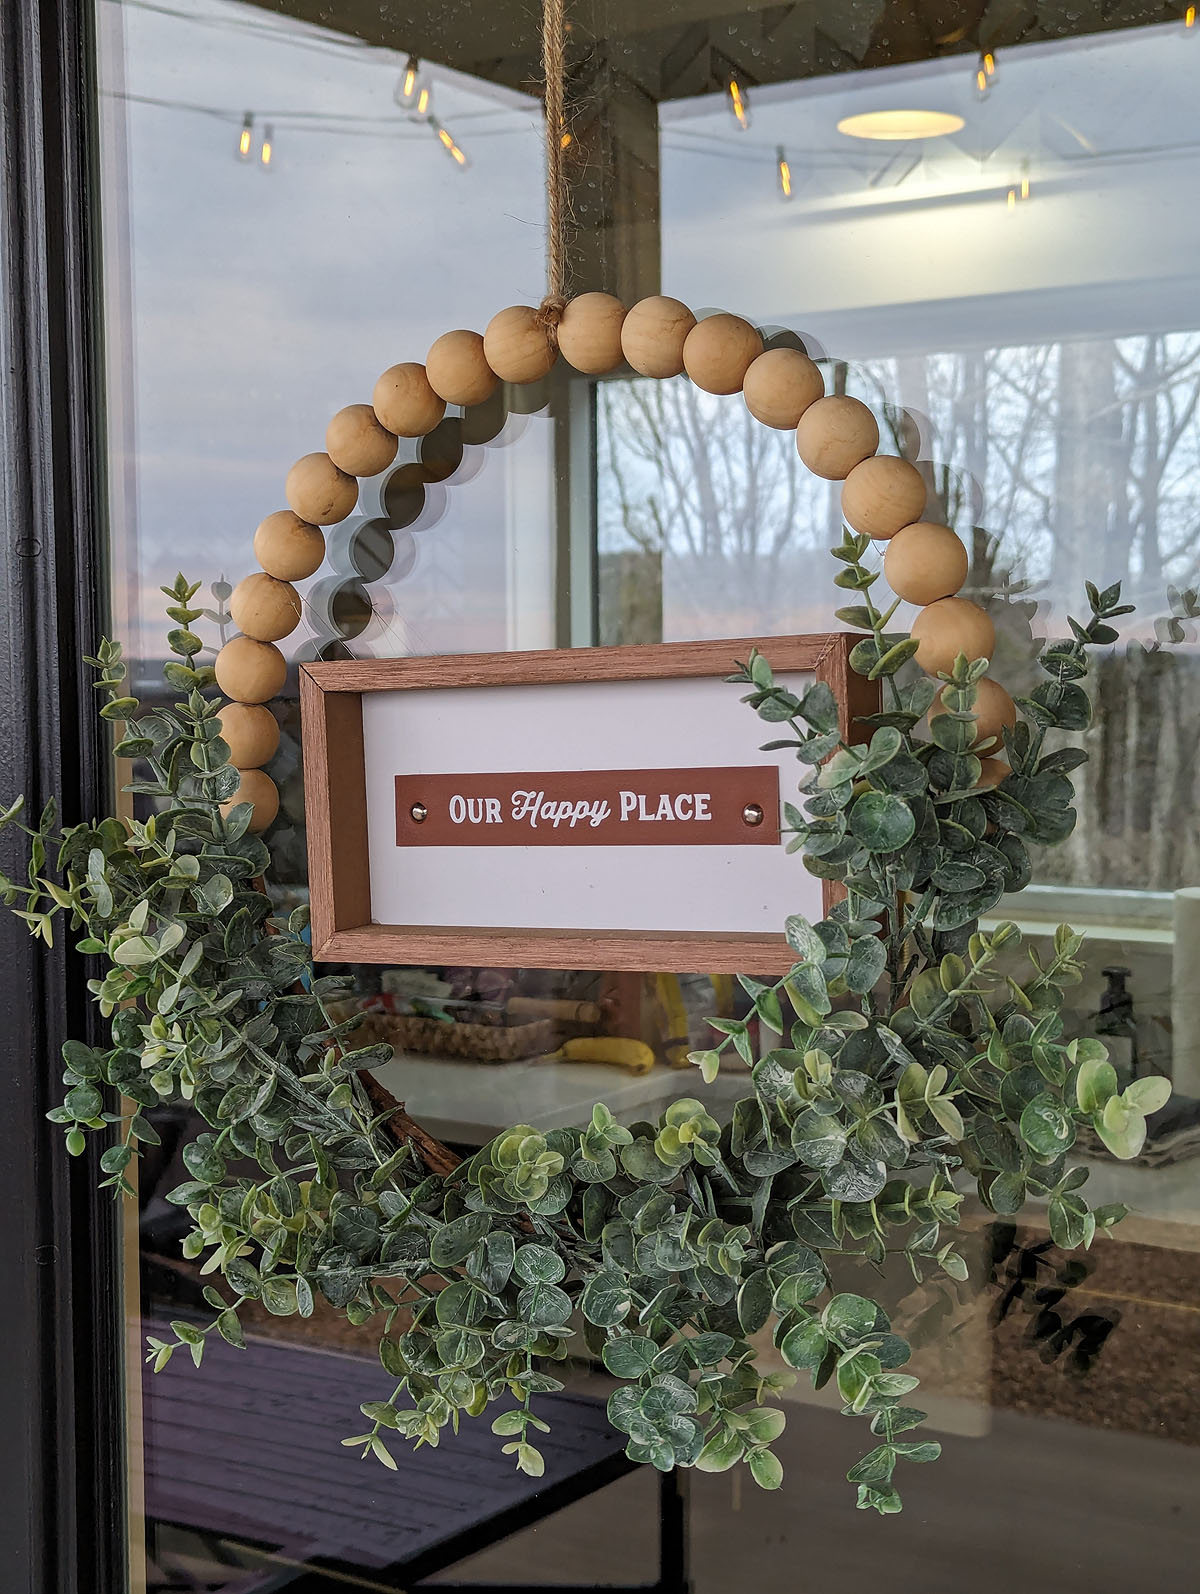
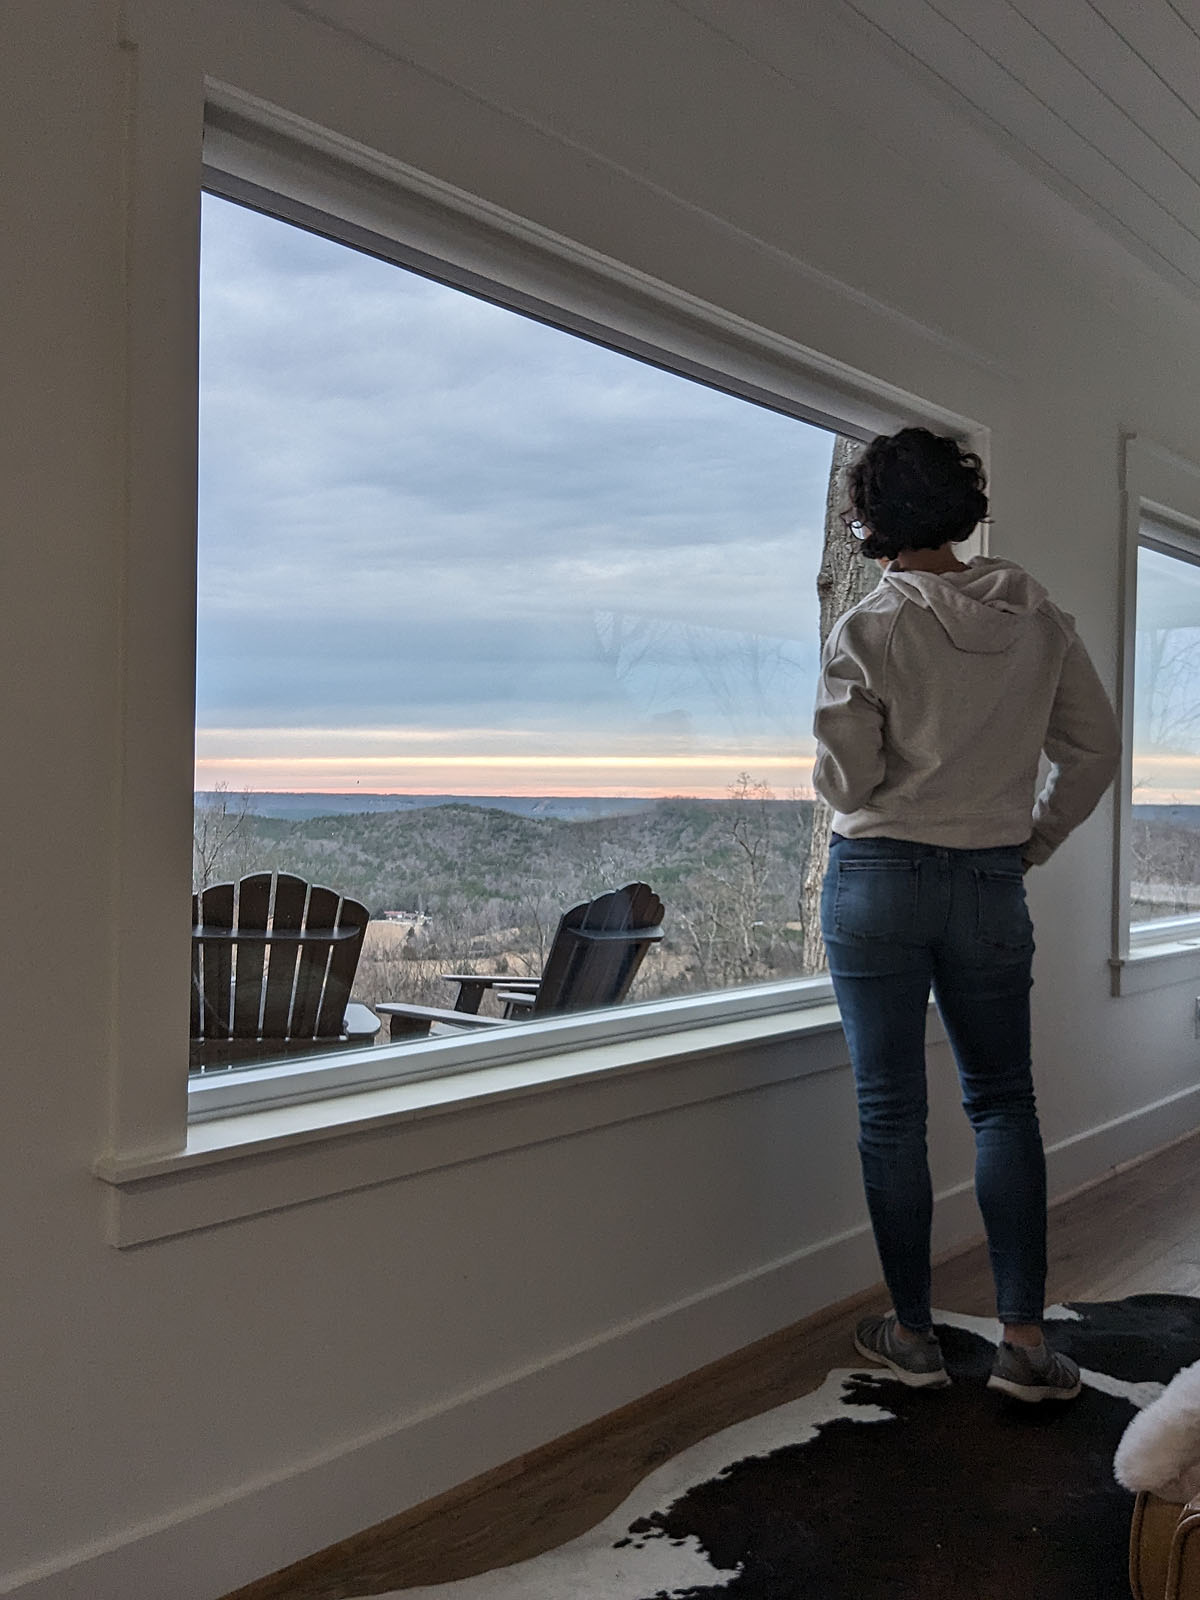
Beloved's Rest - Shipping Container AirBnB in Collinsville, AL
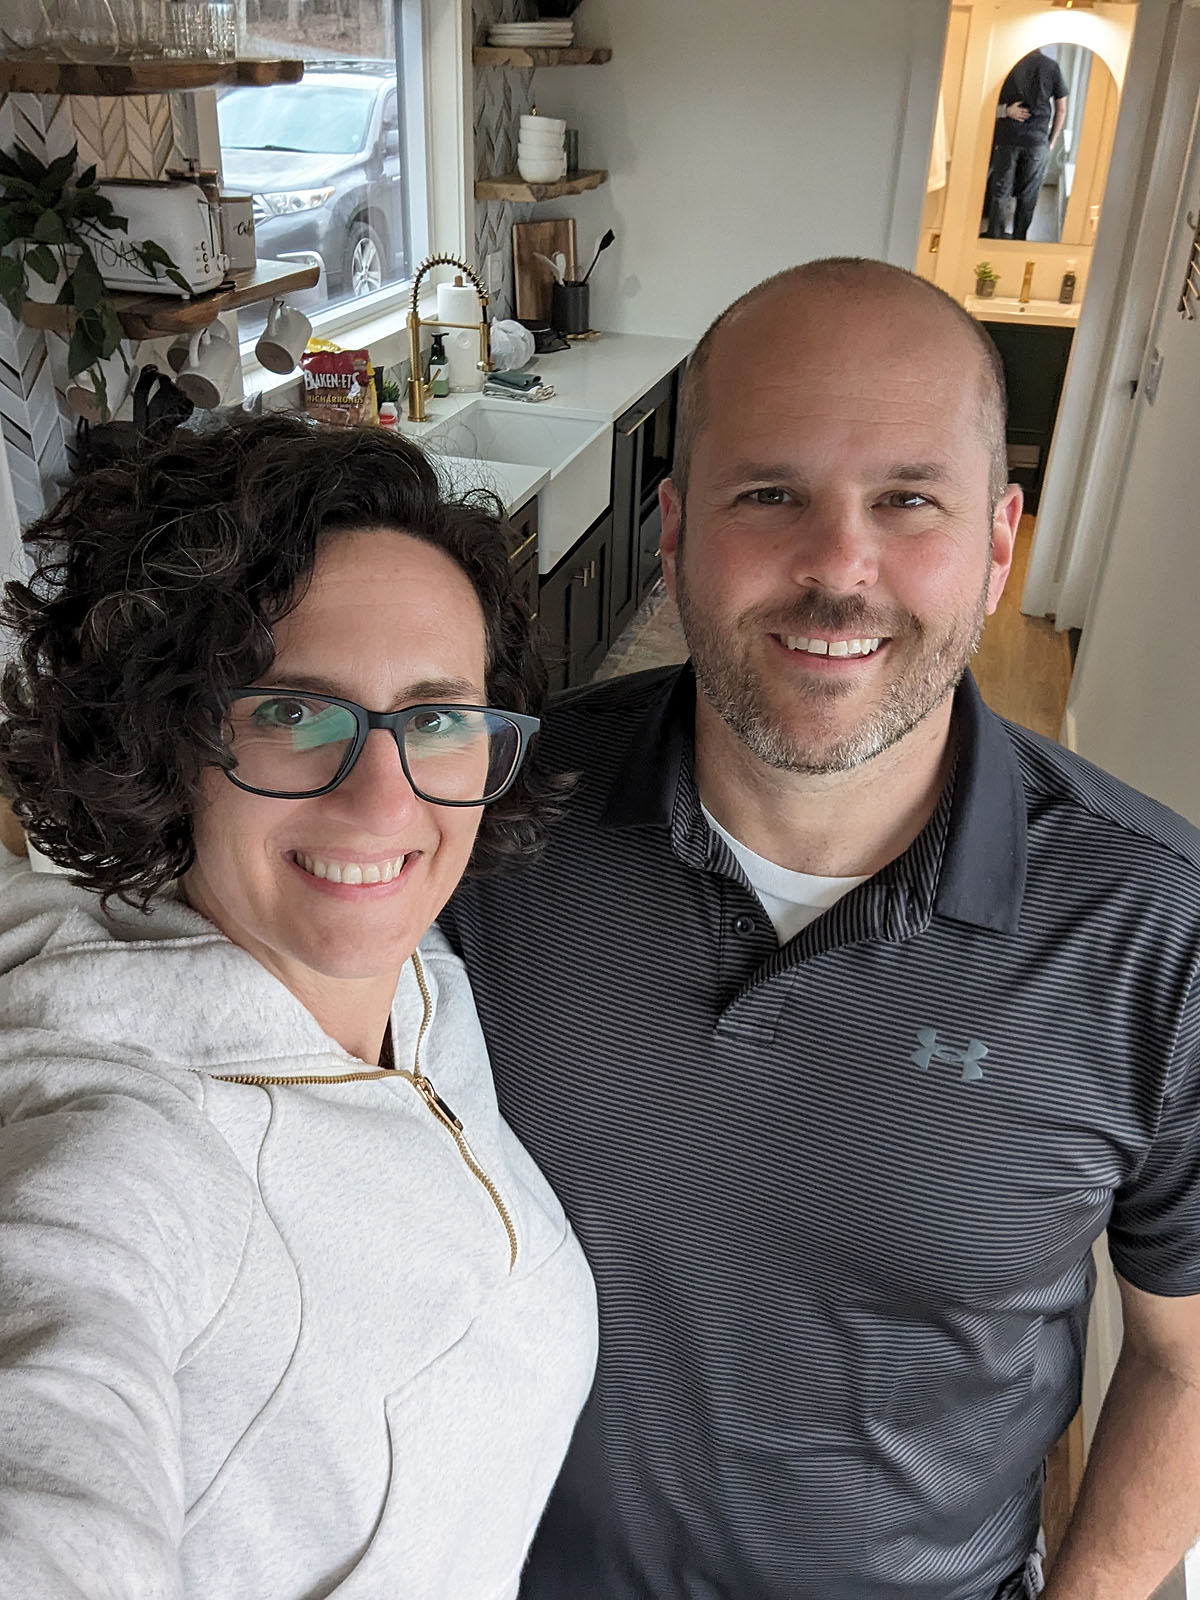
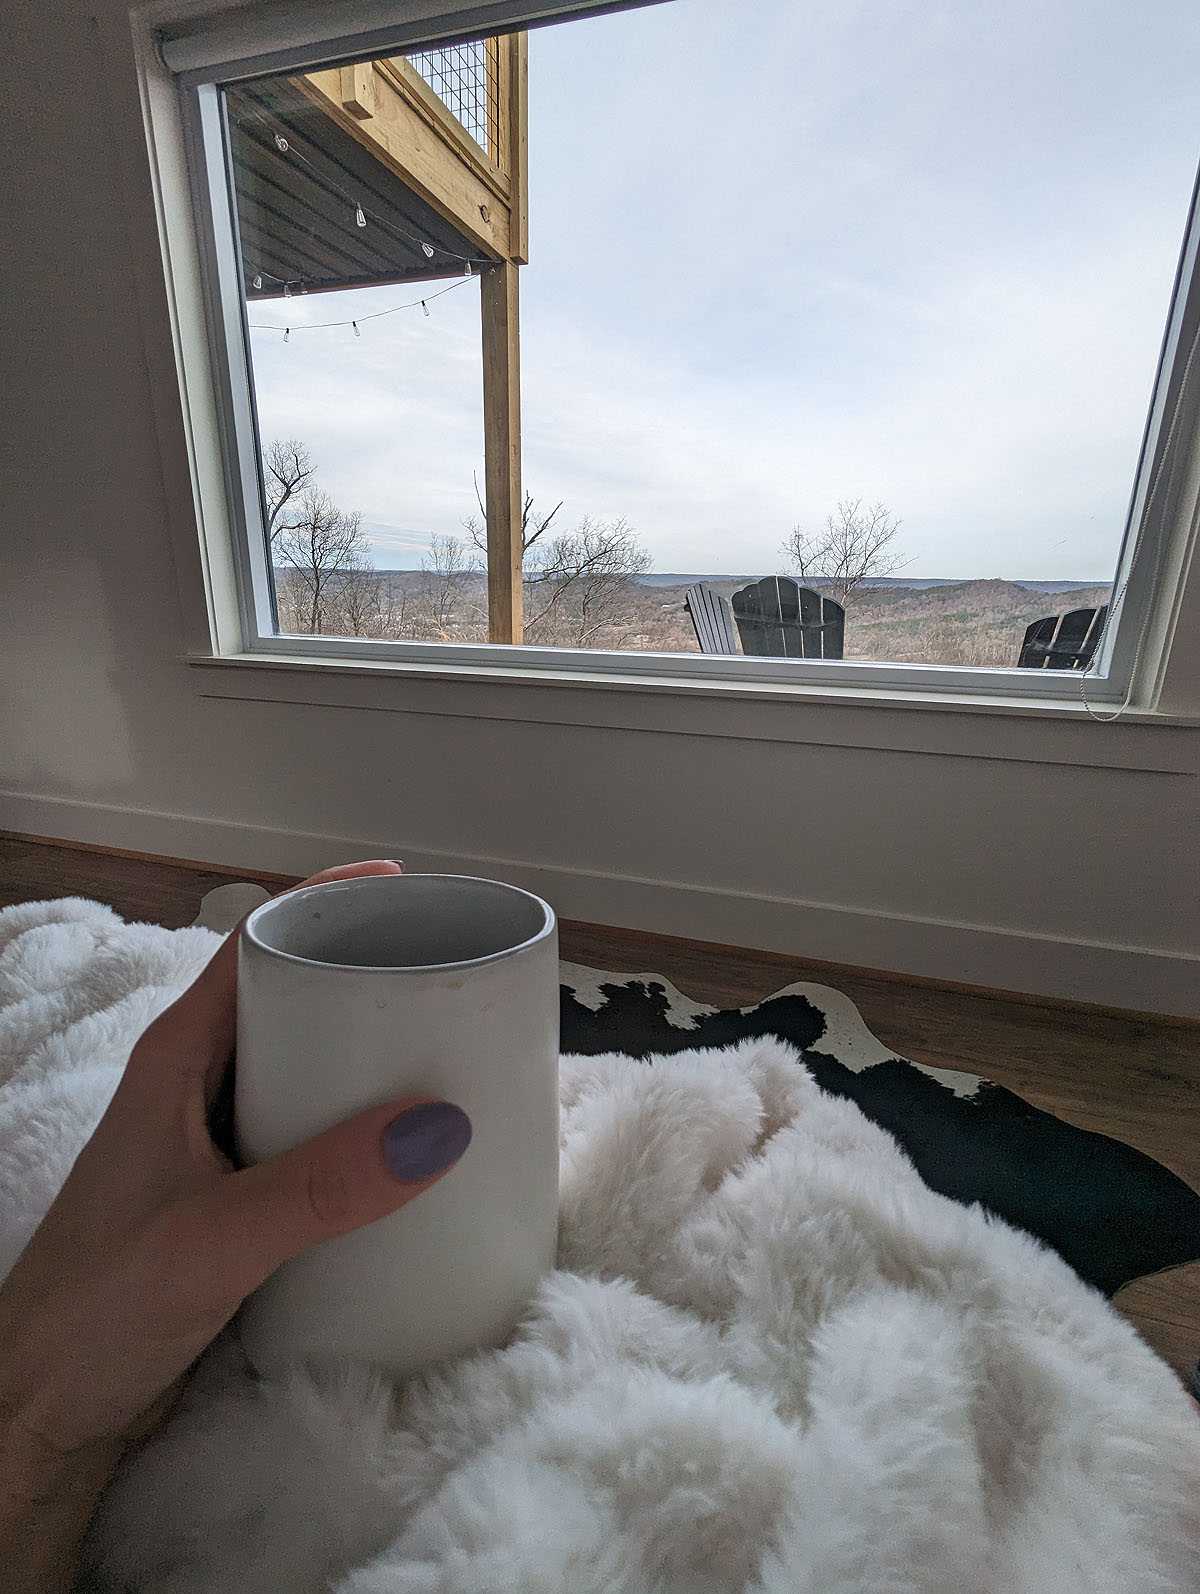
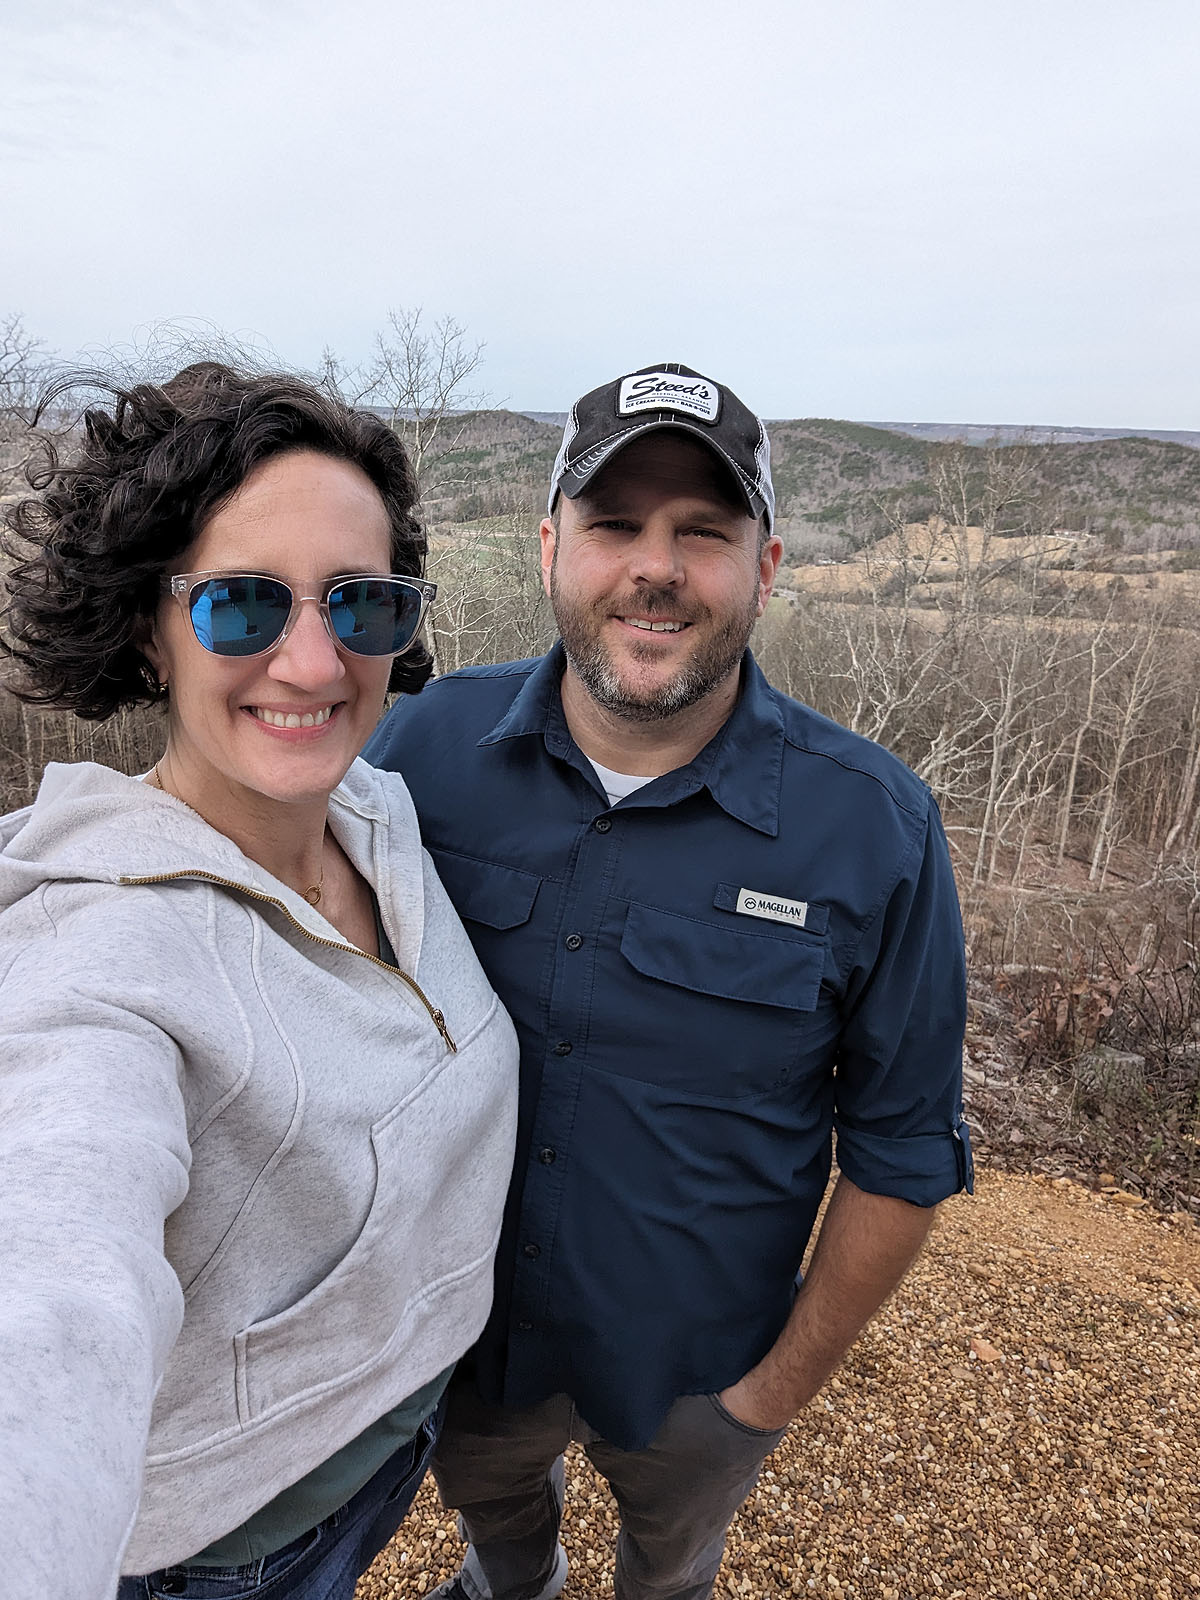
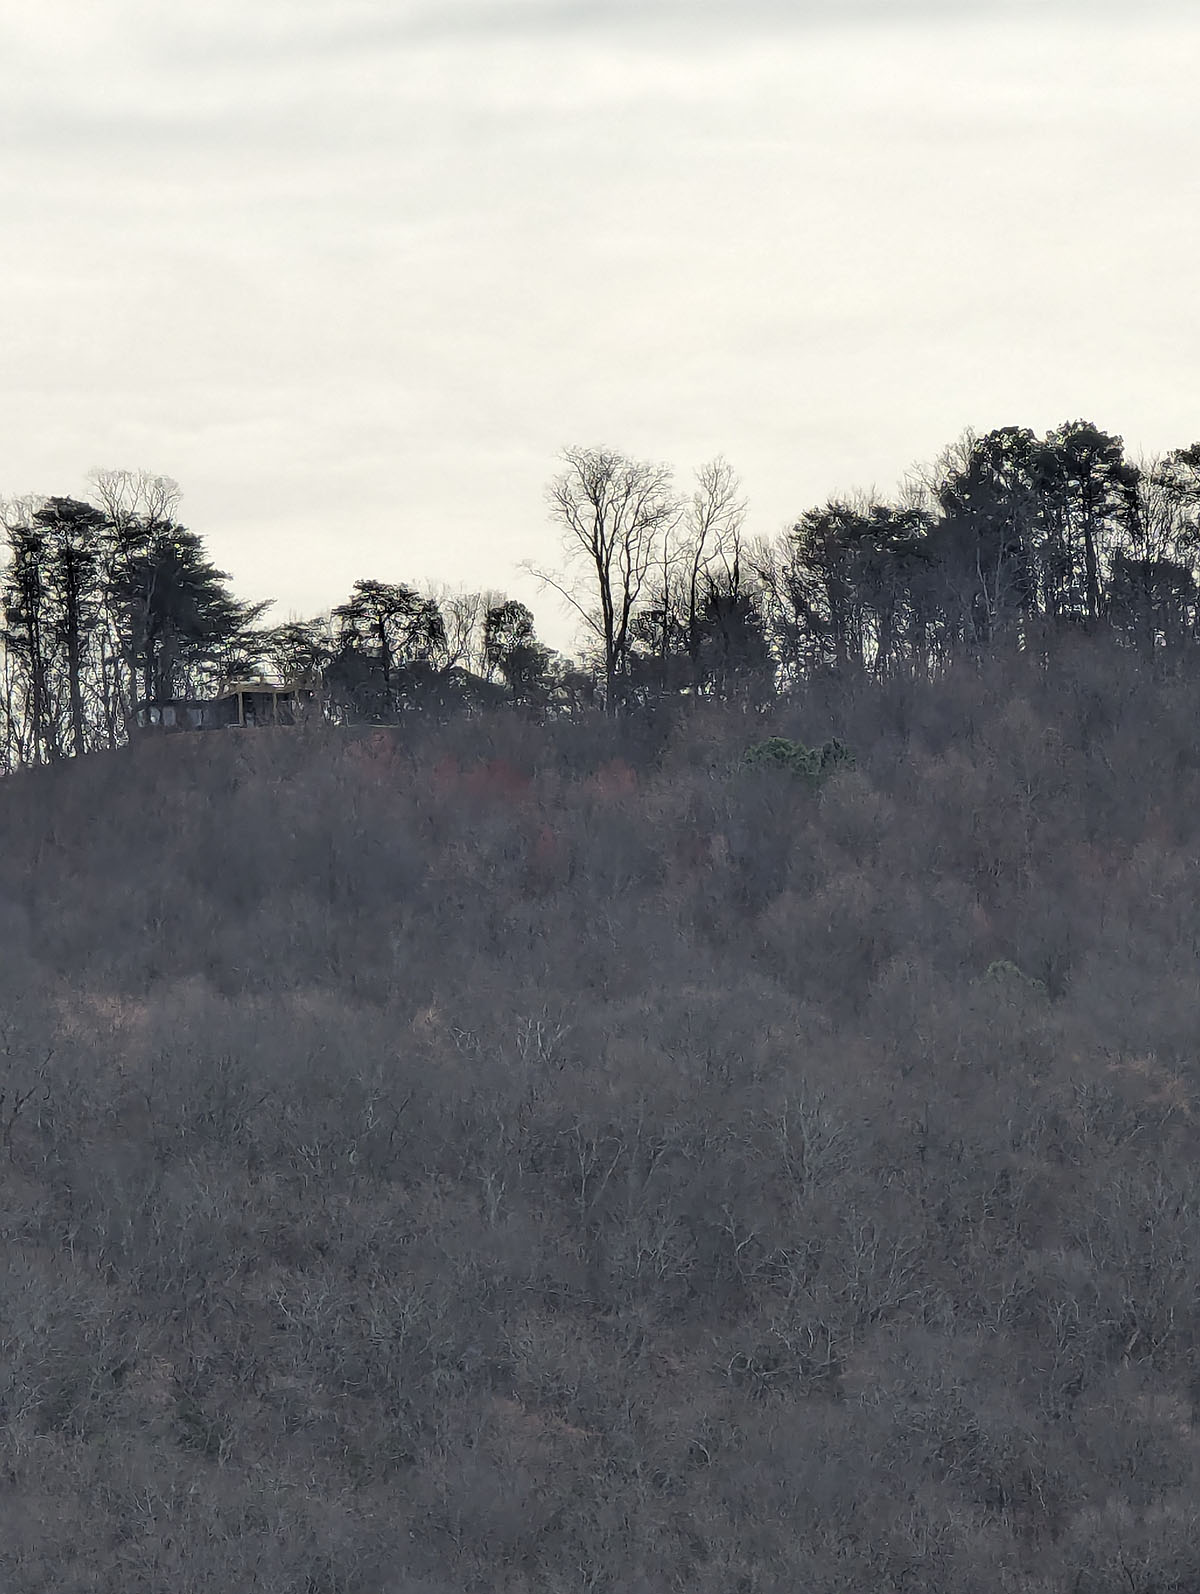
A co-worker of mine showed me this AirBnB link at the gym one day and mentioned that one of our members owns it and was offering our staff a discount to stay there -- only 1.5 hours away, and SUCH a cute little shipping container tiny house up on a mountain peak.
Beloved's Rest - Shipping Container AirBnB in Collinsville, AL
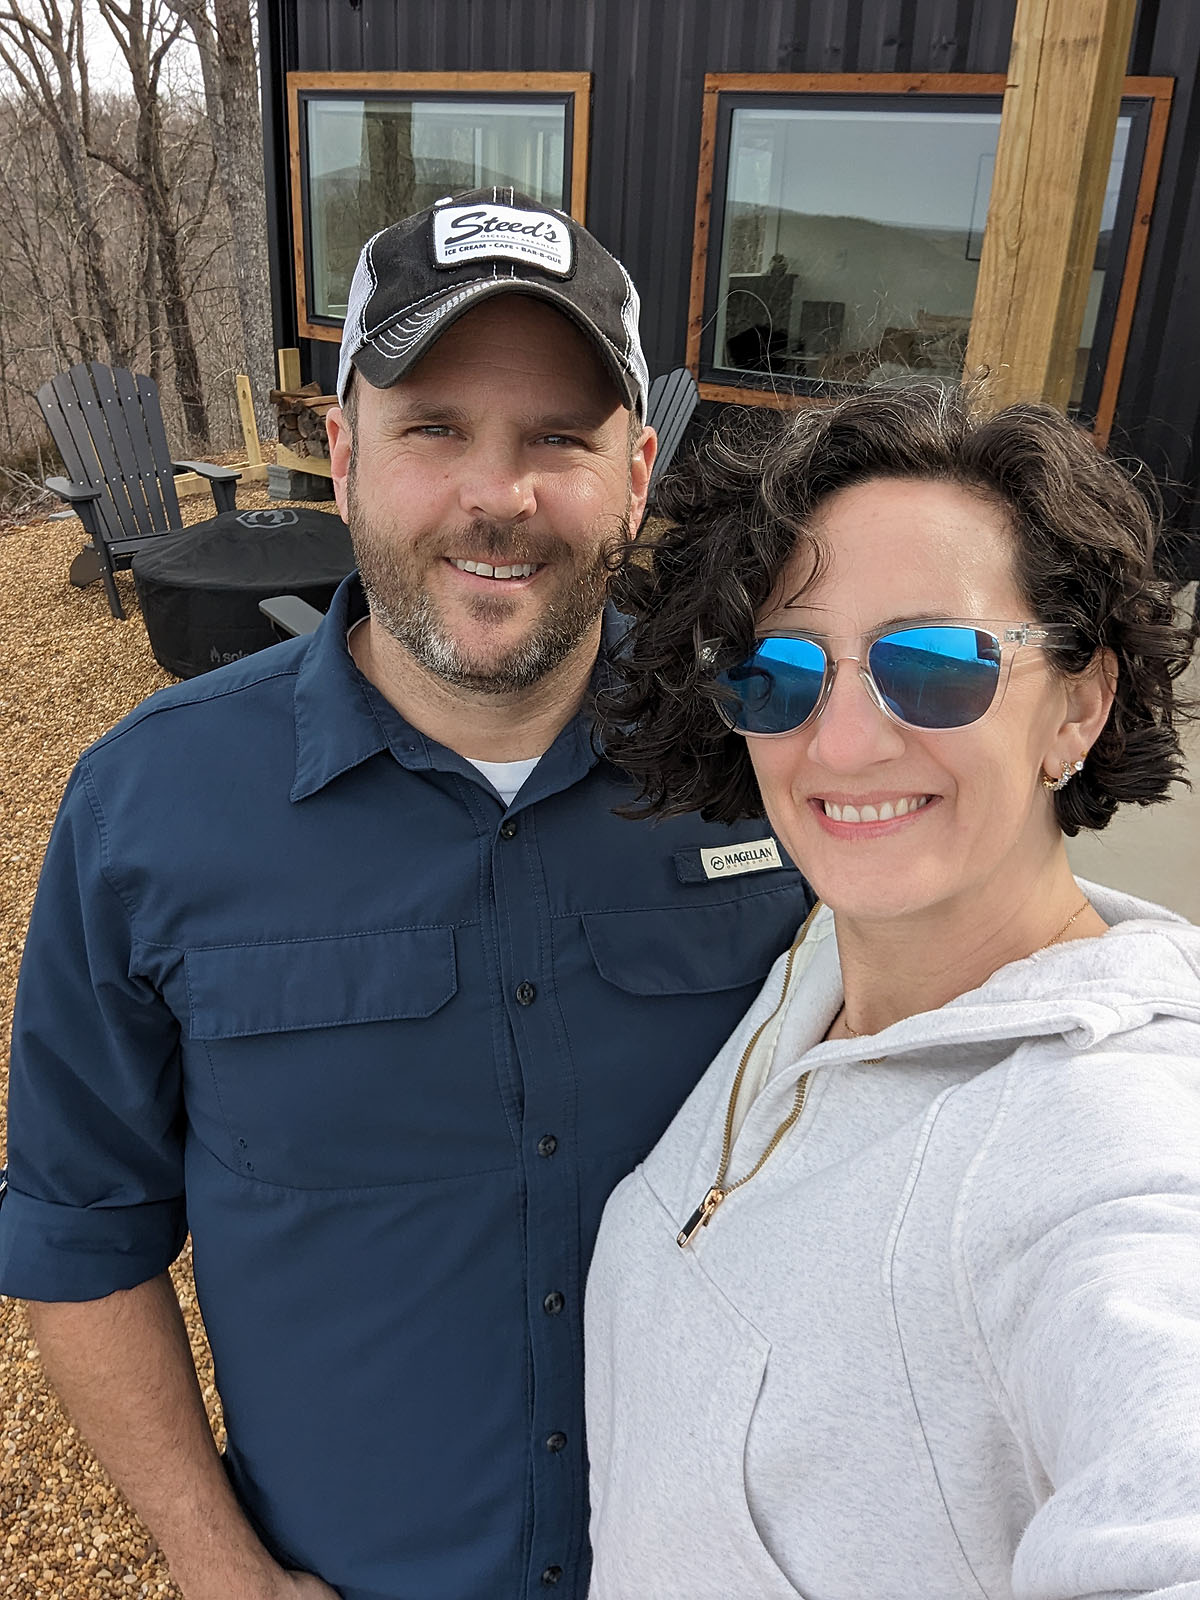
When I showed Ben, he immediately said, "Let's book it." So we did. We went up there on a Wednesday afternoon and spent the night in a shipping container.

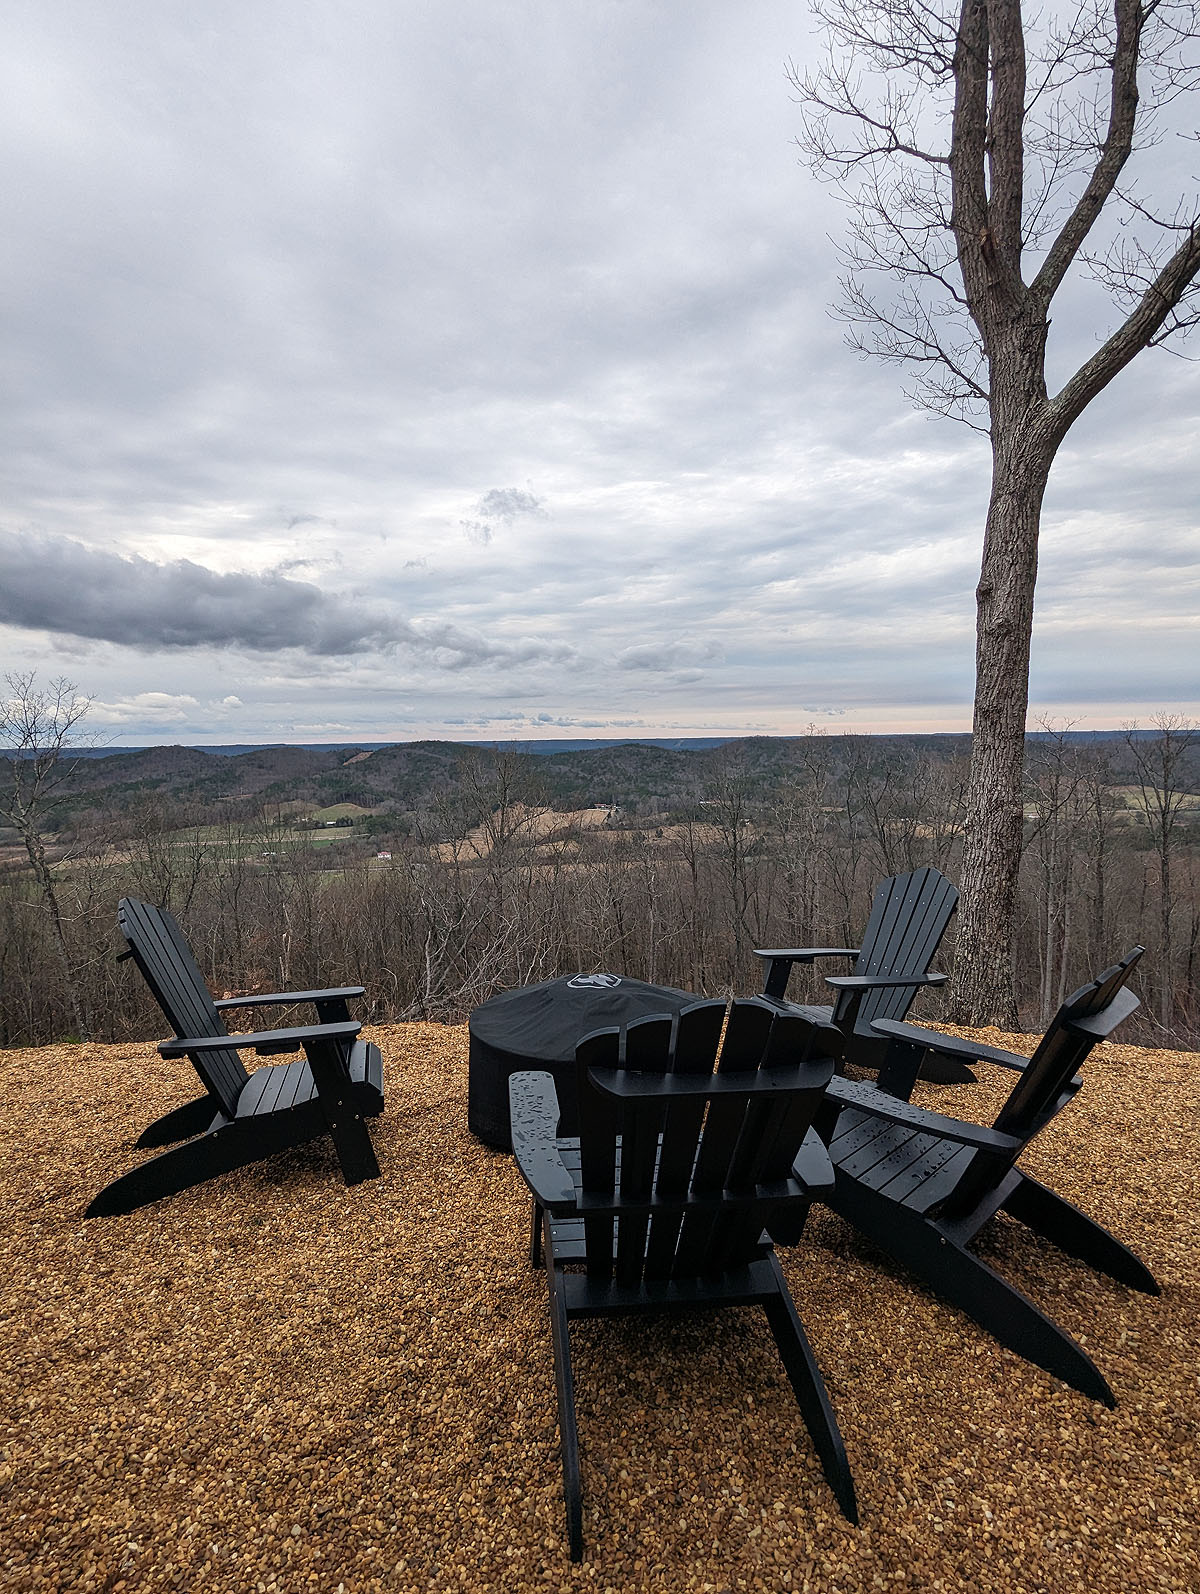
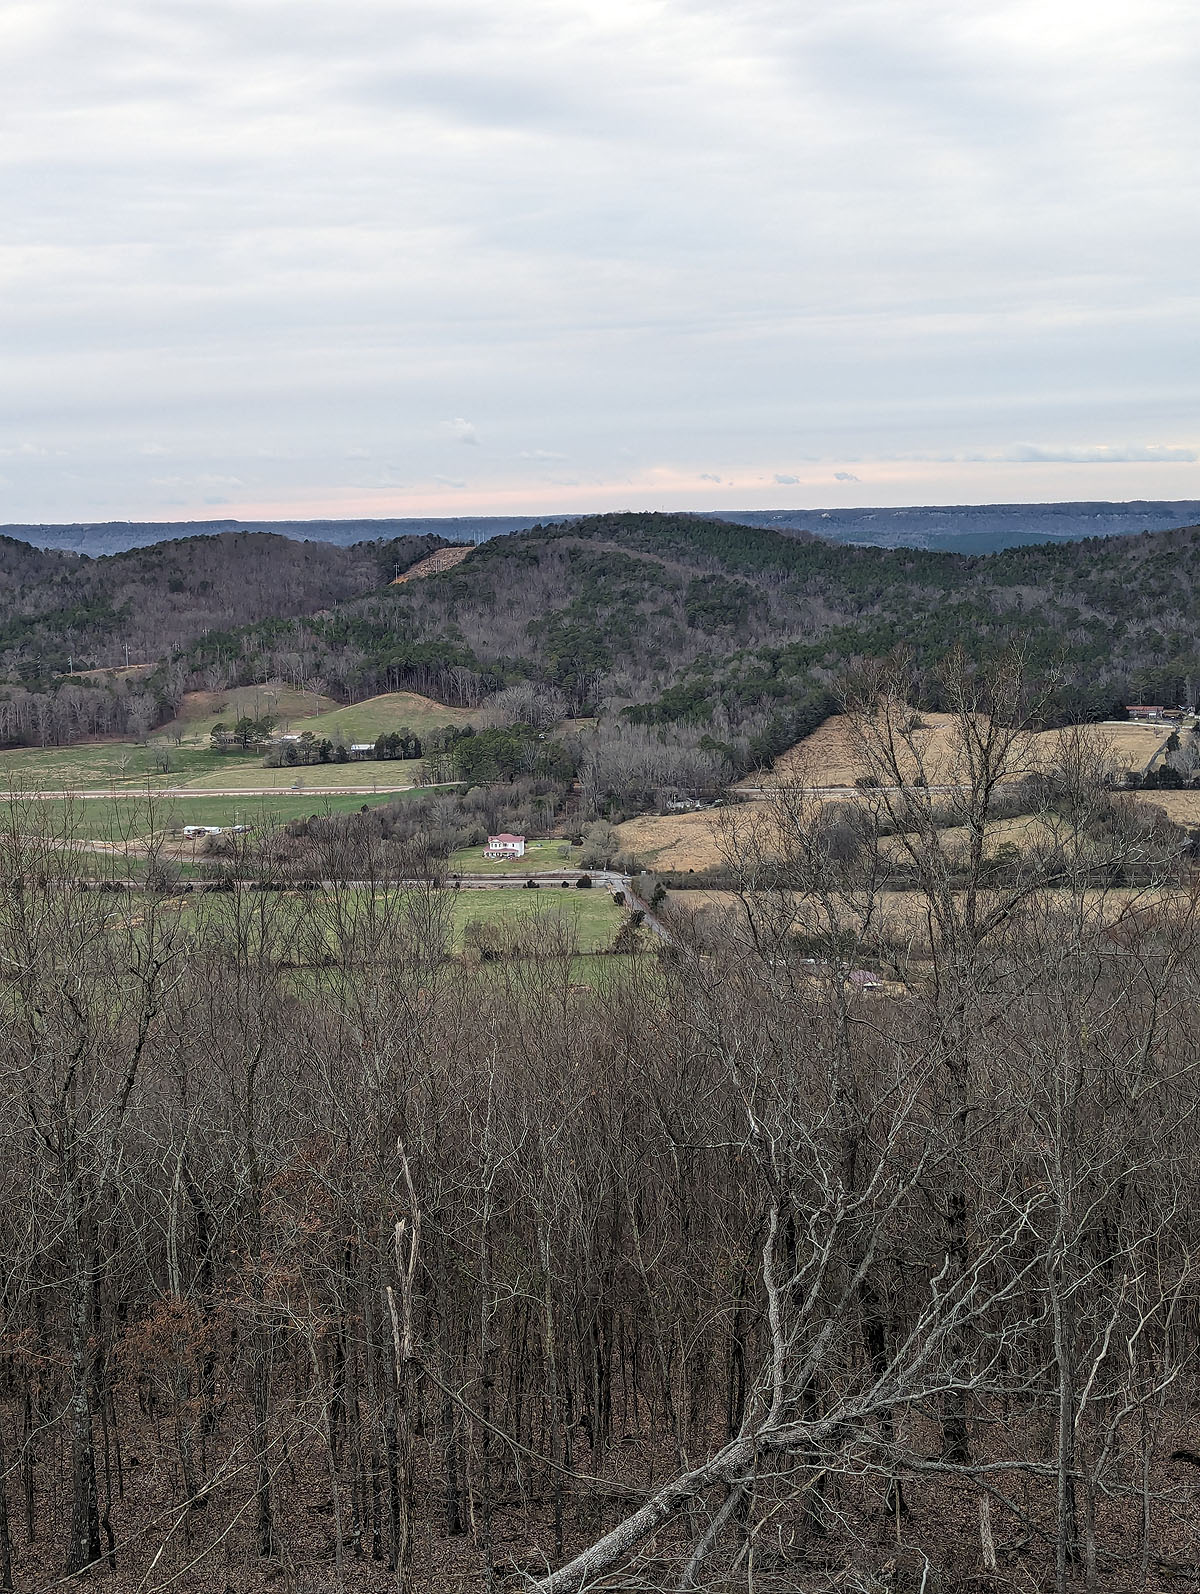
The video shows it best -- it was so comfortable, quiet, private and beauitful. With all the windows, it didn't matter that it was *very* cold and windy outside the night we stayed. The view was just as good from the warm couch as the outdoor firepit.
VIDEO TOUR: Beloved's Rest
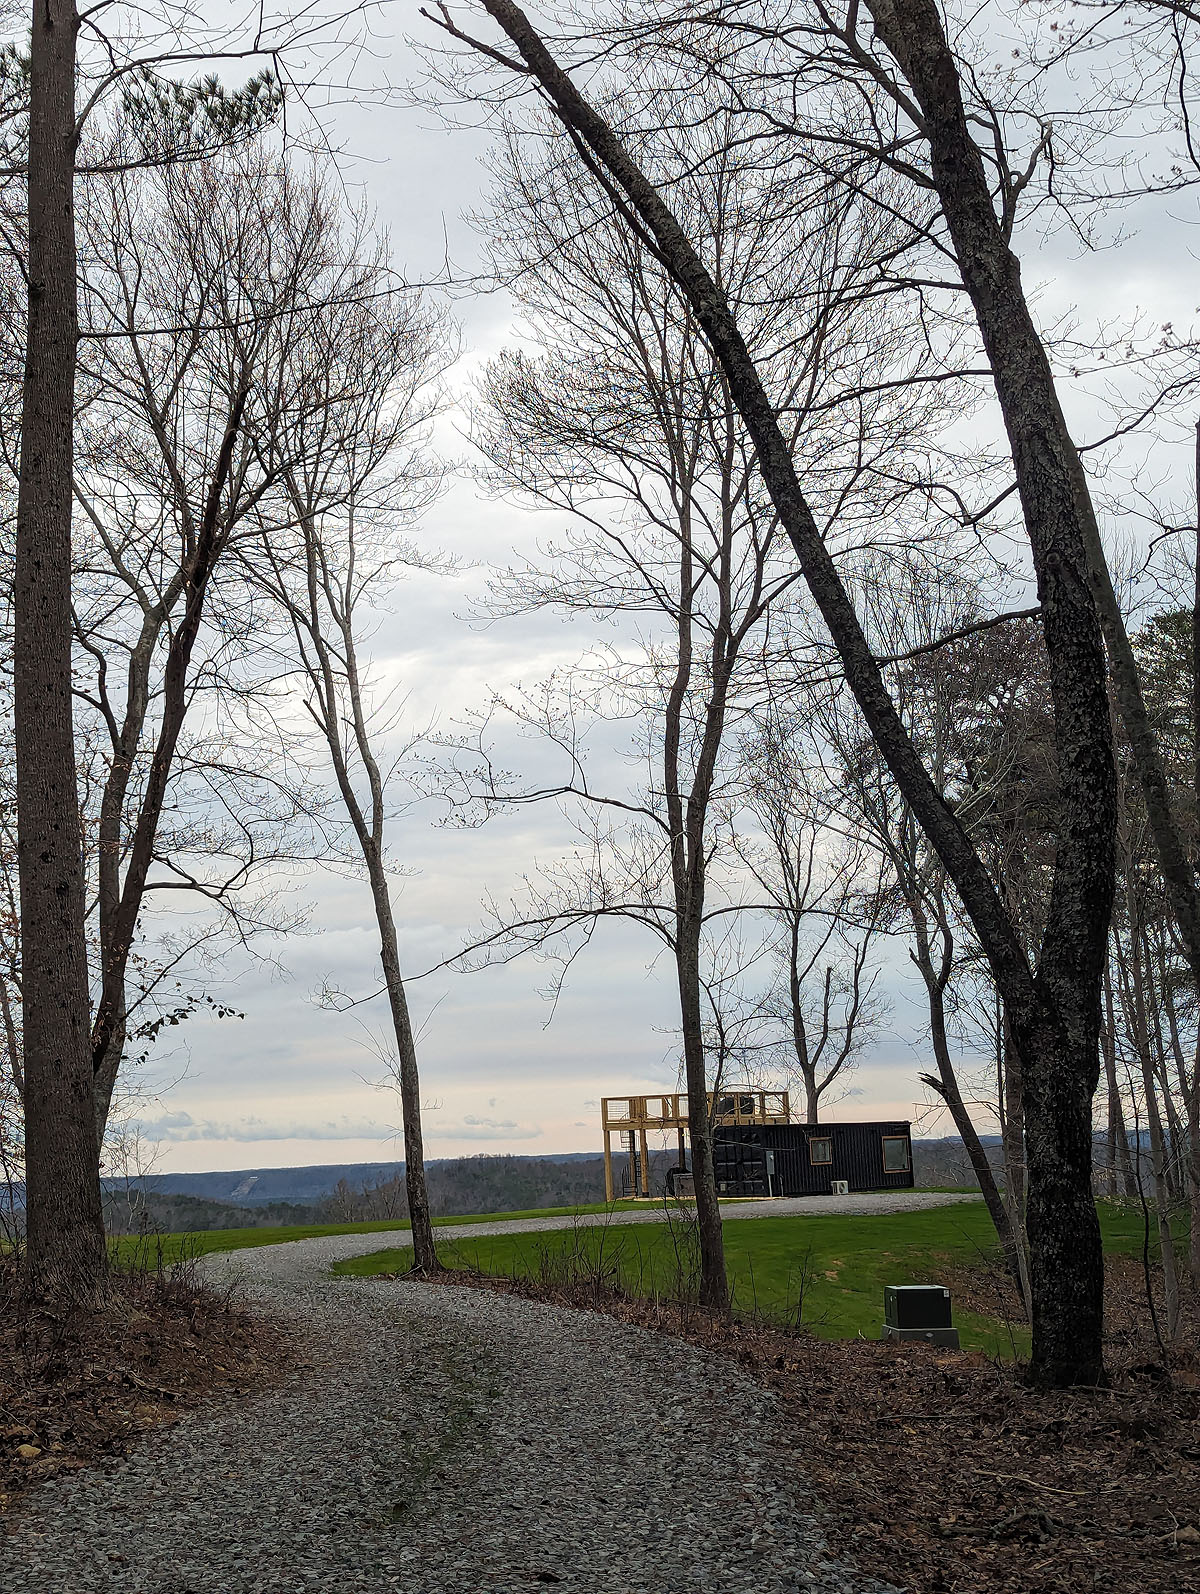
Mostly it was a nice getaway for us to hang out together, OUTSIDE of our house. We had a great trip up there, stopping for food and shopping, and then just relaxed and rested once we arrived.
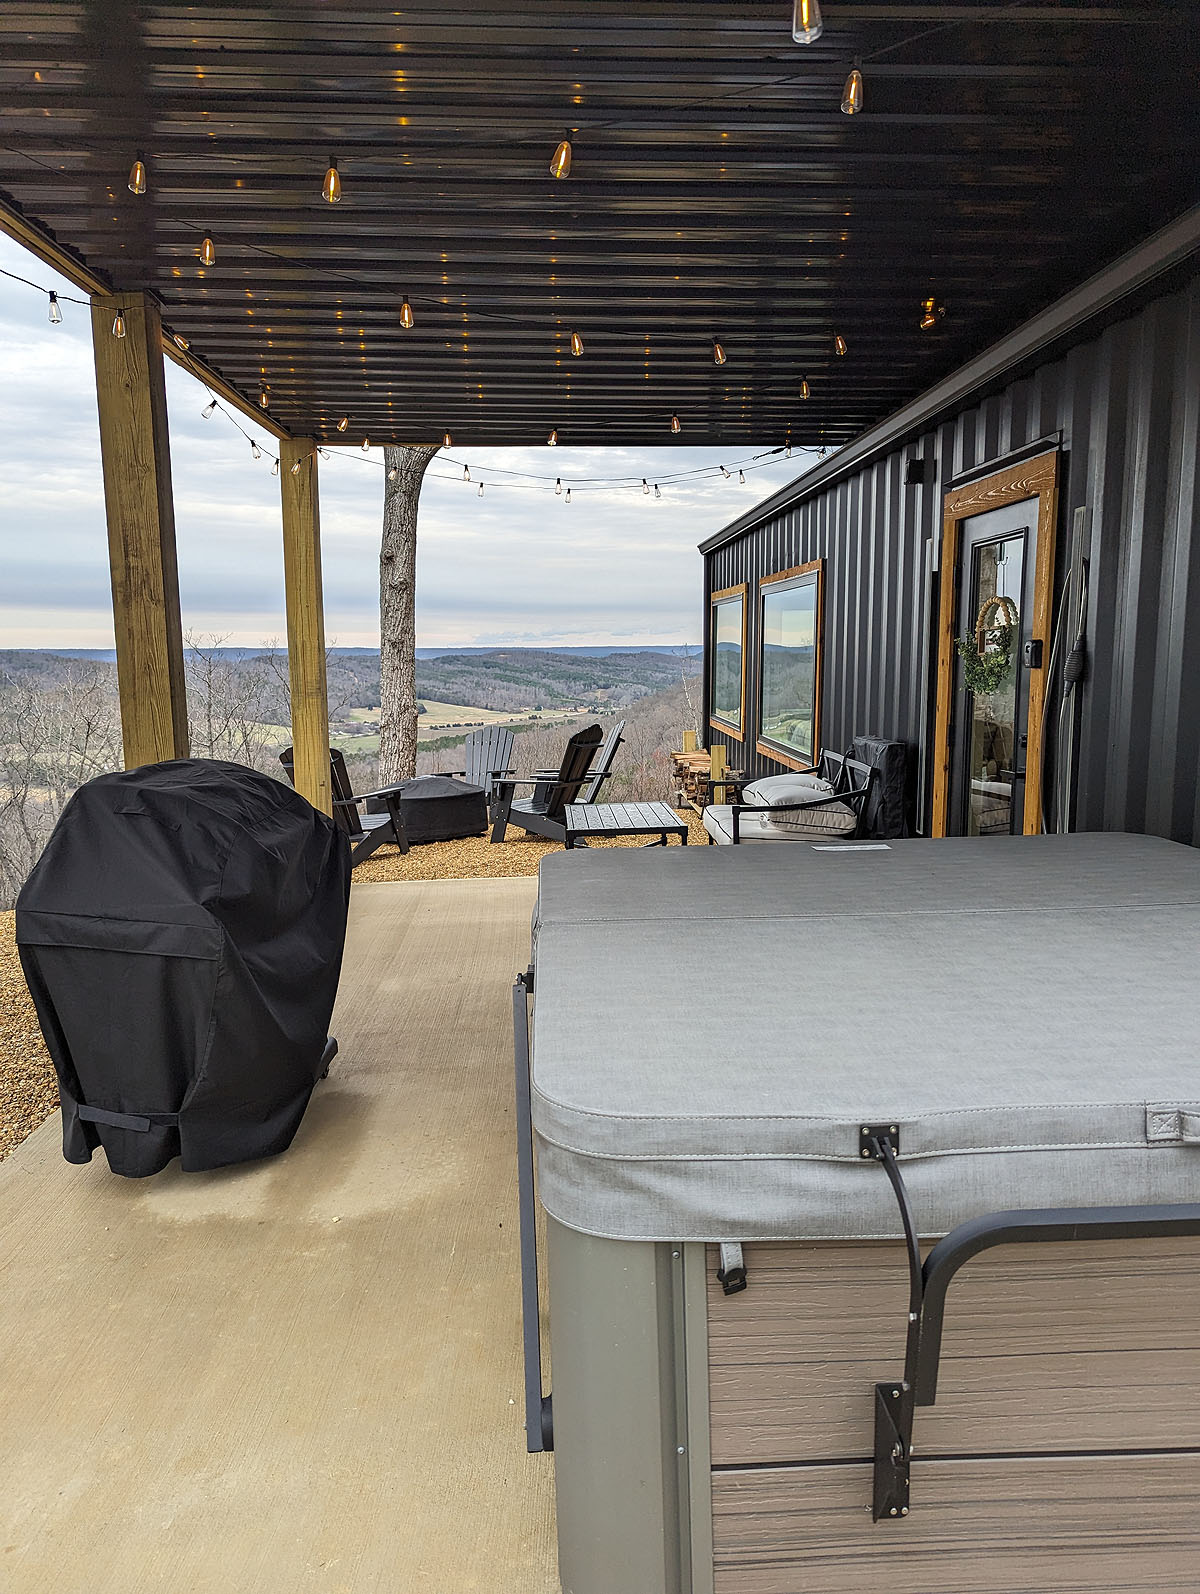


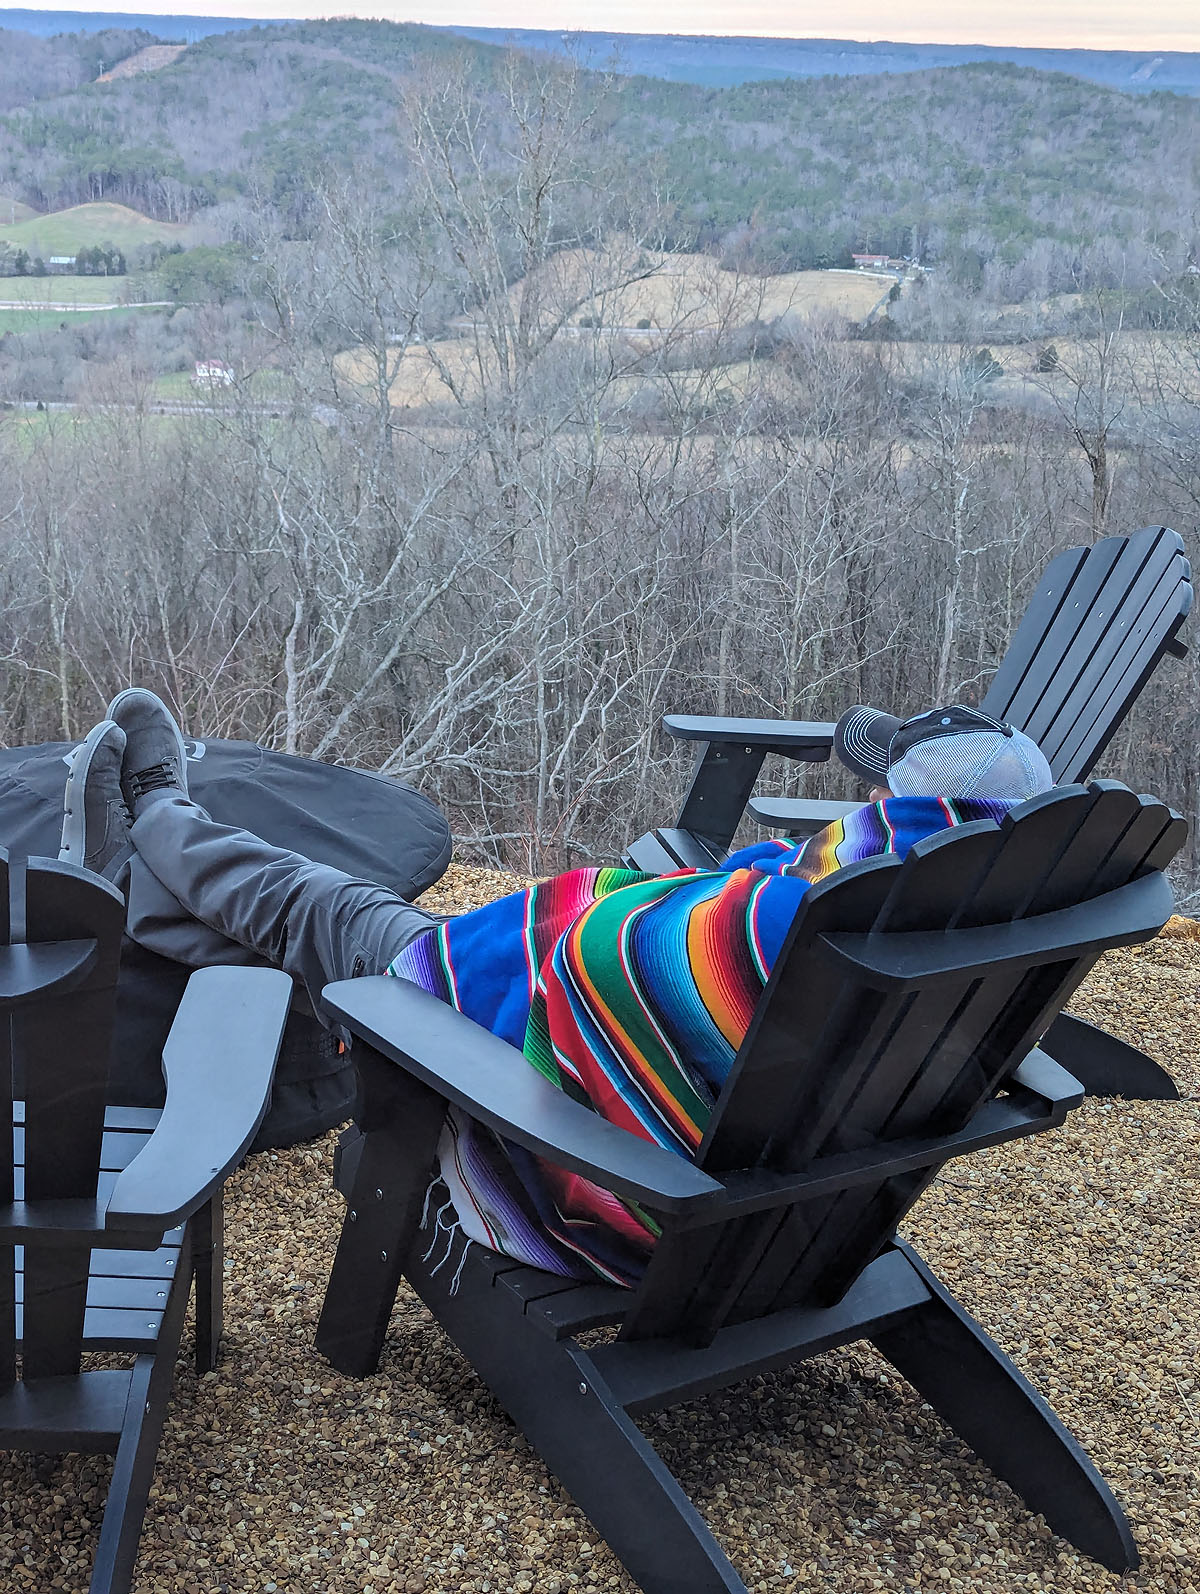
Ben insisted on enjoying the outside...even though he forgot a coat and had to borrow my sweatshirt and a car blanket to try and keep warm!
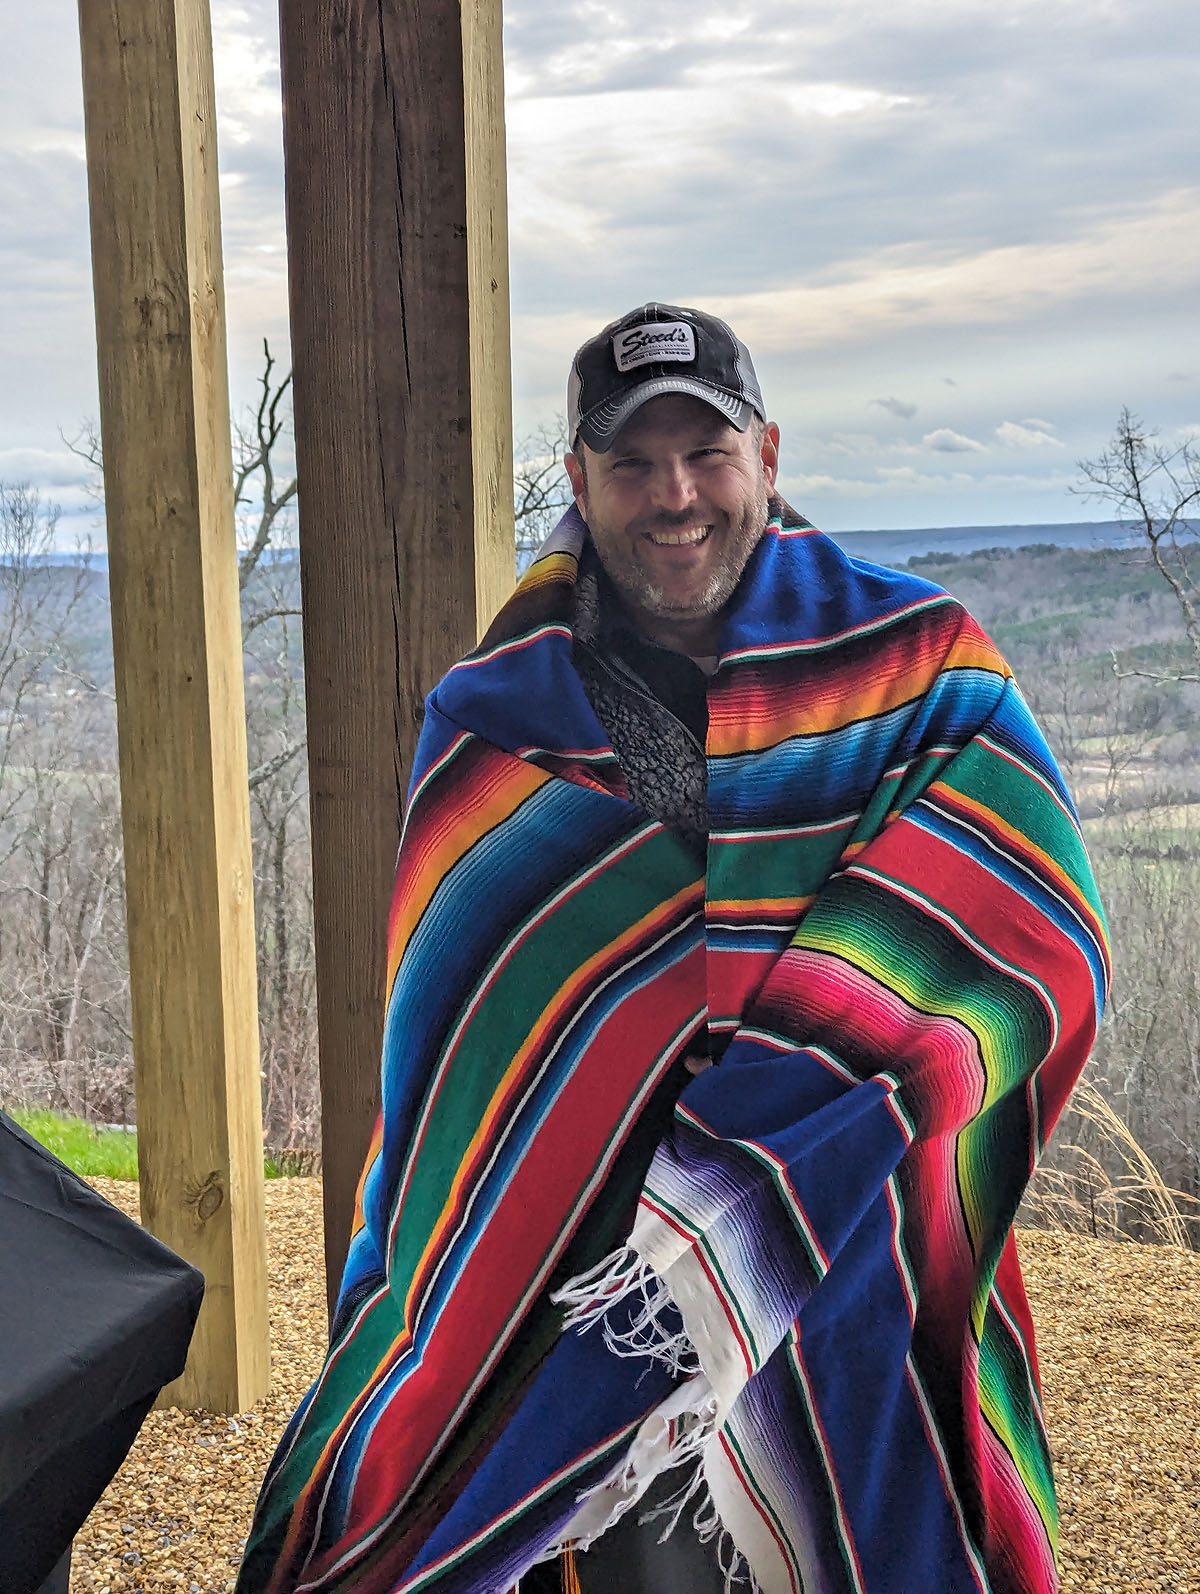
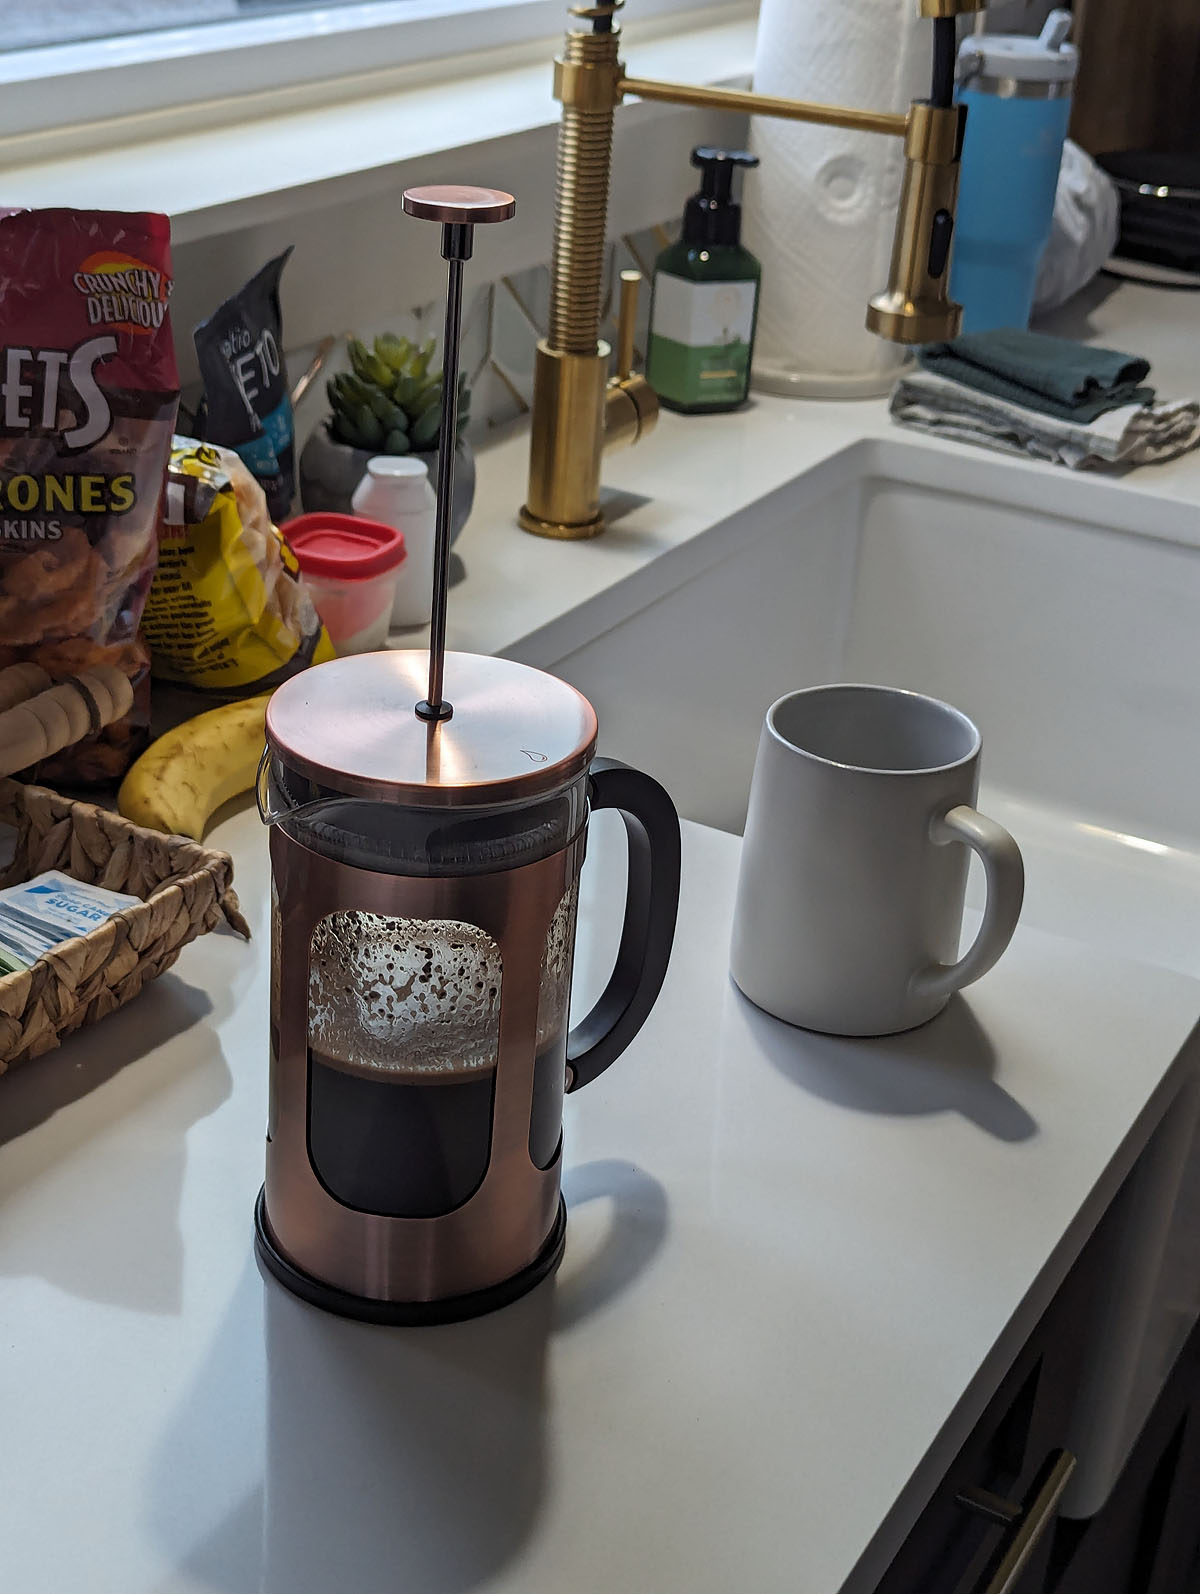
I was happy and warm from inside.
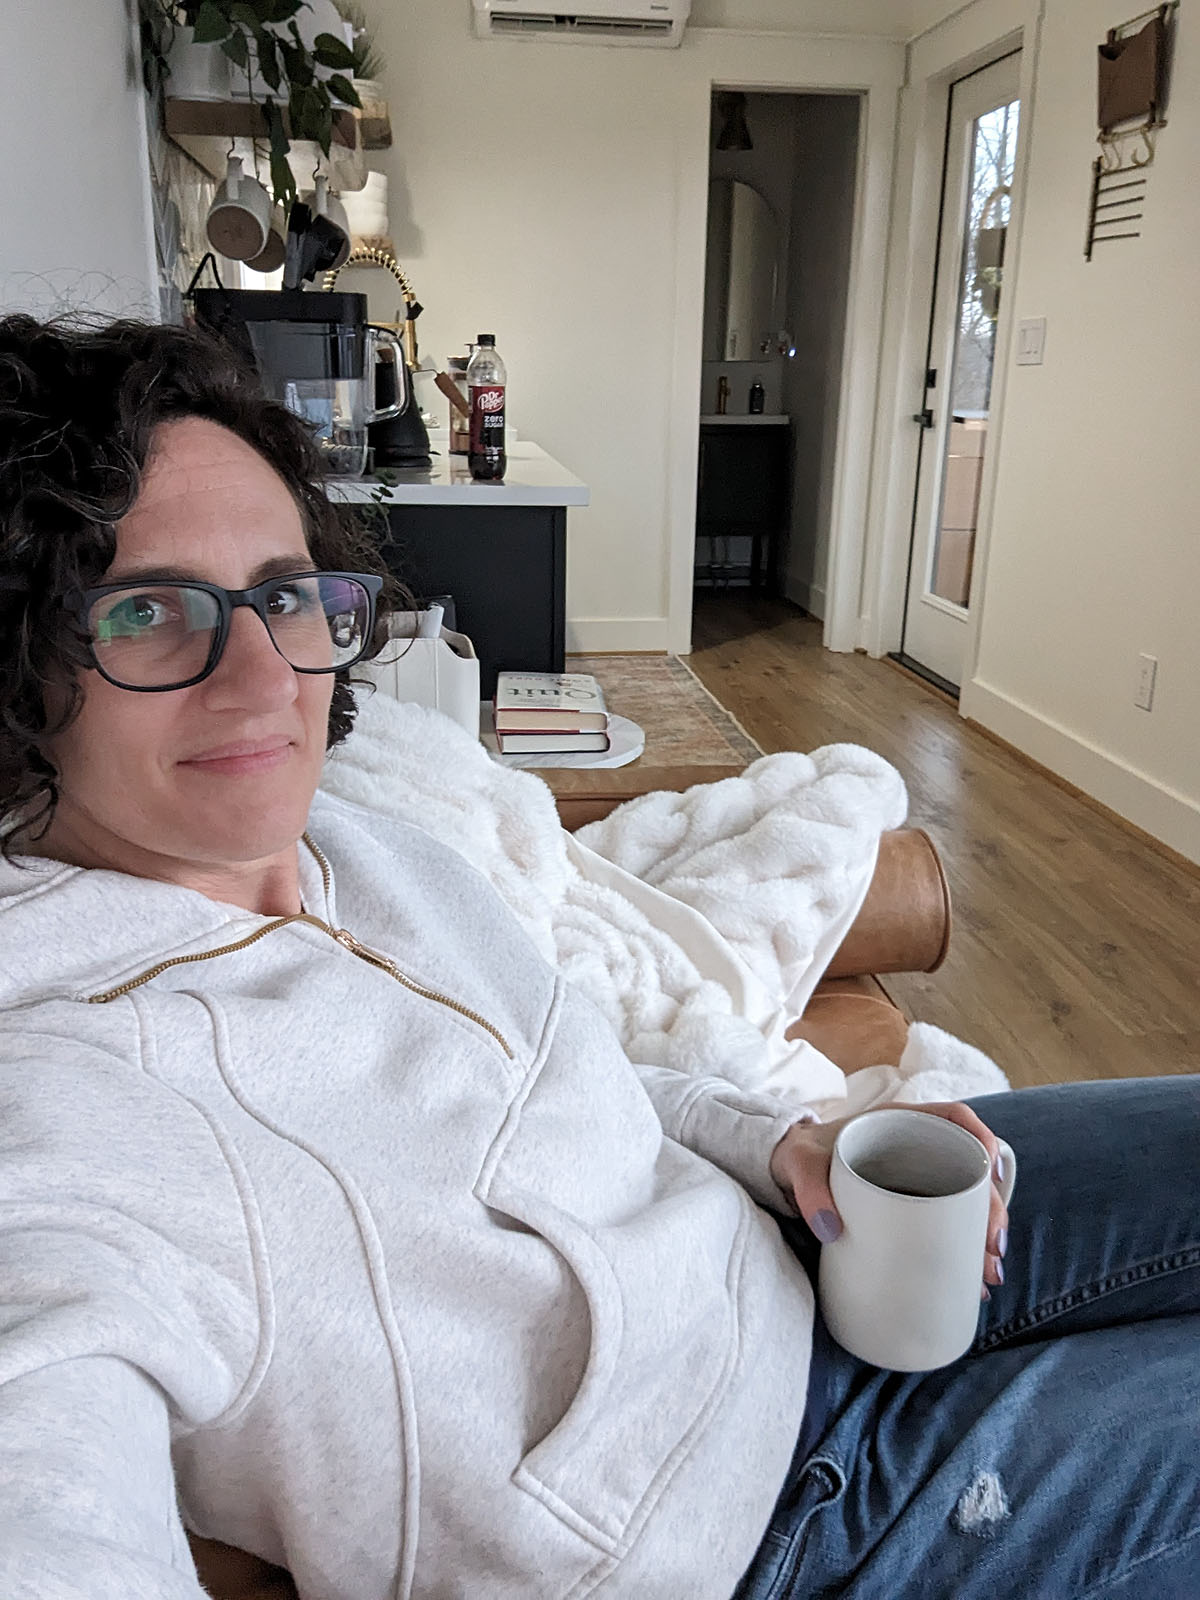
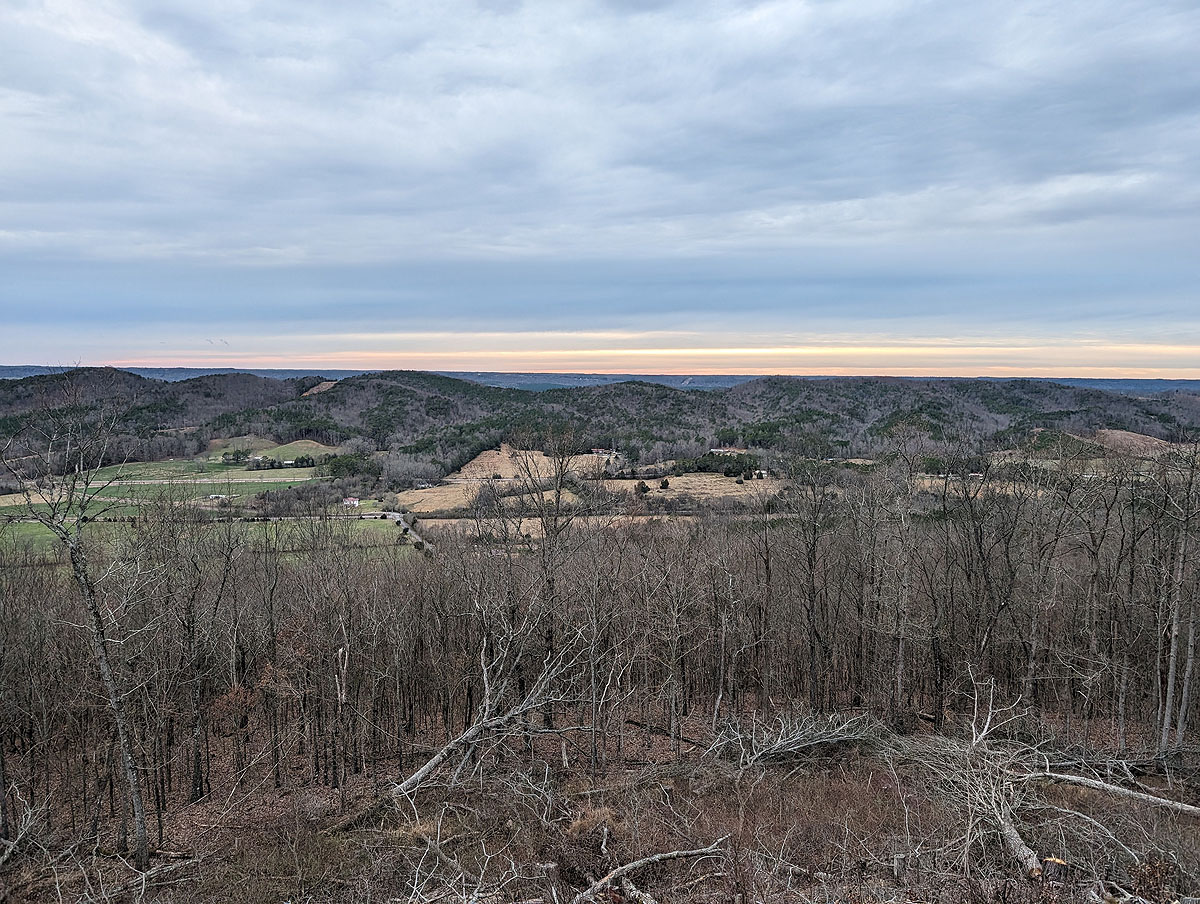
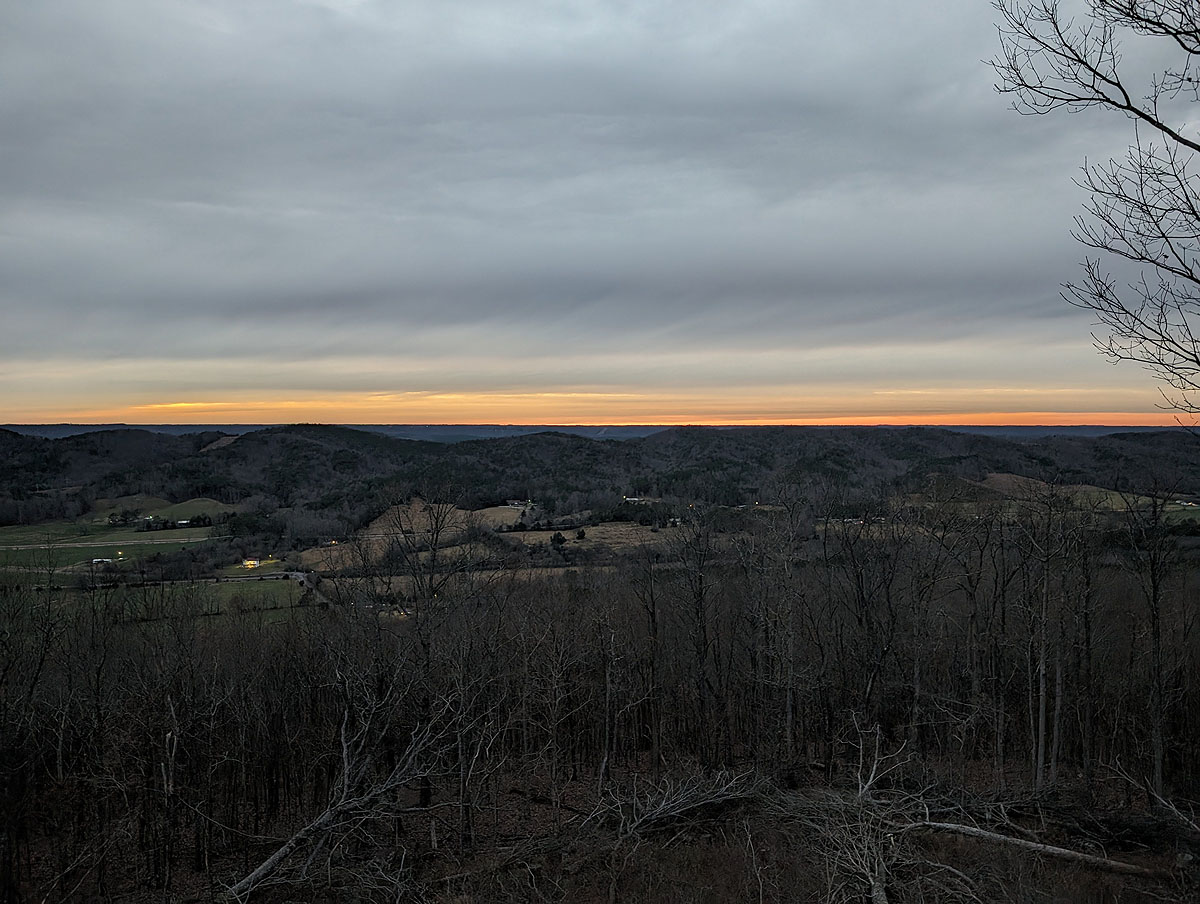

It was such a cool little spot, and I would definitely go back -- especially in the fall when you could see all the fall colors.

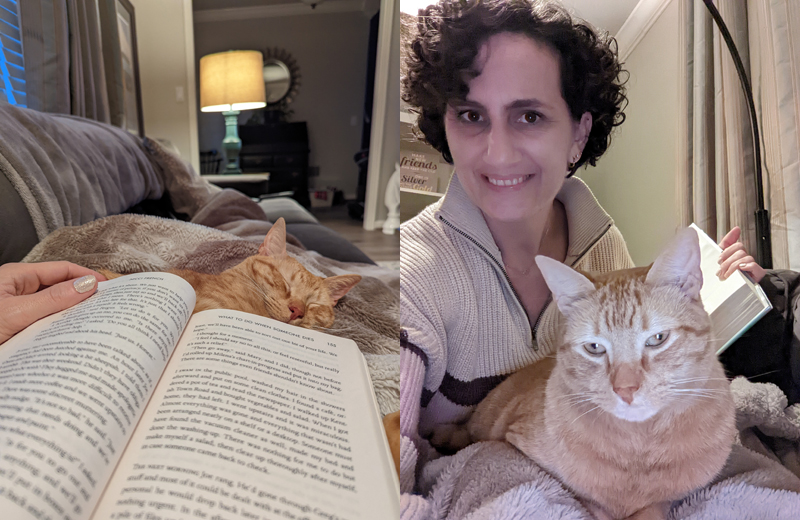
Time for a Haircut
Other than the front pieces, I'm officially cutting my hair now to *keep* it short and shaped. Since I started from bald, I consider that a winning accomplishment. In fact, I've gotten so used to having it OFF my neck and the ease of taking care of it, that I just don't see myself ever going much longer than I have it now. For reference, my hair started growing back after AC chemo almost exactly two years ago, and I've had several trims along the way to keep it shaped and to continue to grow out the top and front layers.
If you can believe it, I go to Great Clips for my haircuts, and since I don't color it, I just go whenever I start feeling annoyed with how it's laying. I like the immediacy of being able to walk in and get a haircut, though I do realize there's a risk of disaster in that process.
But, when I showed the girl who cut my hair today these photos, she appreciated the visual and did exactly what I asked her. I made sure to remember her name (Desiré) so I can go back to her again.

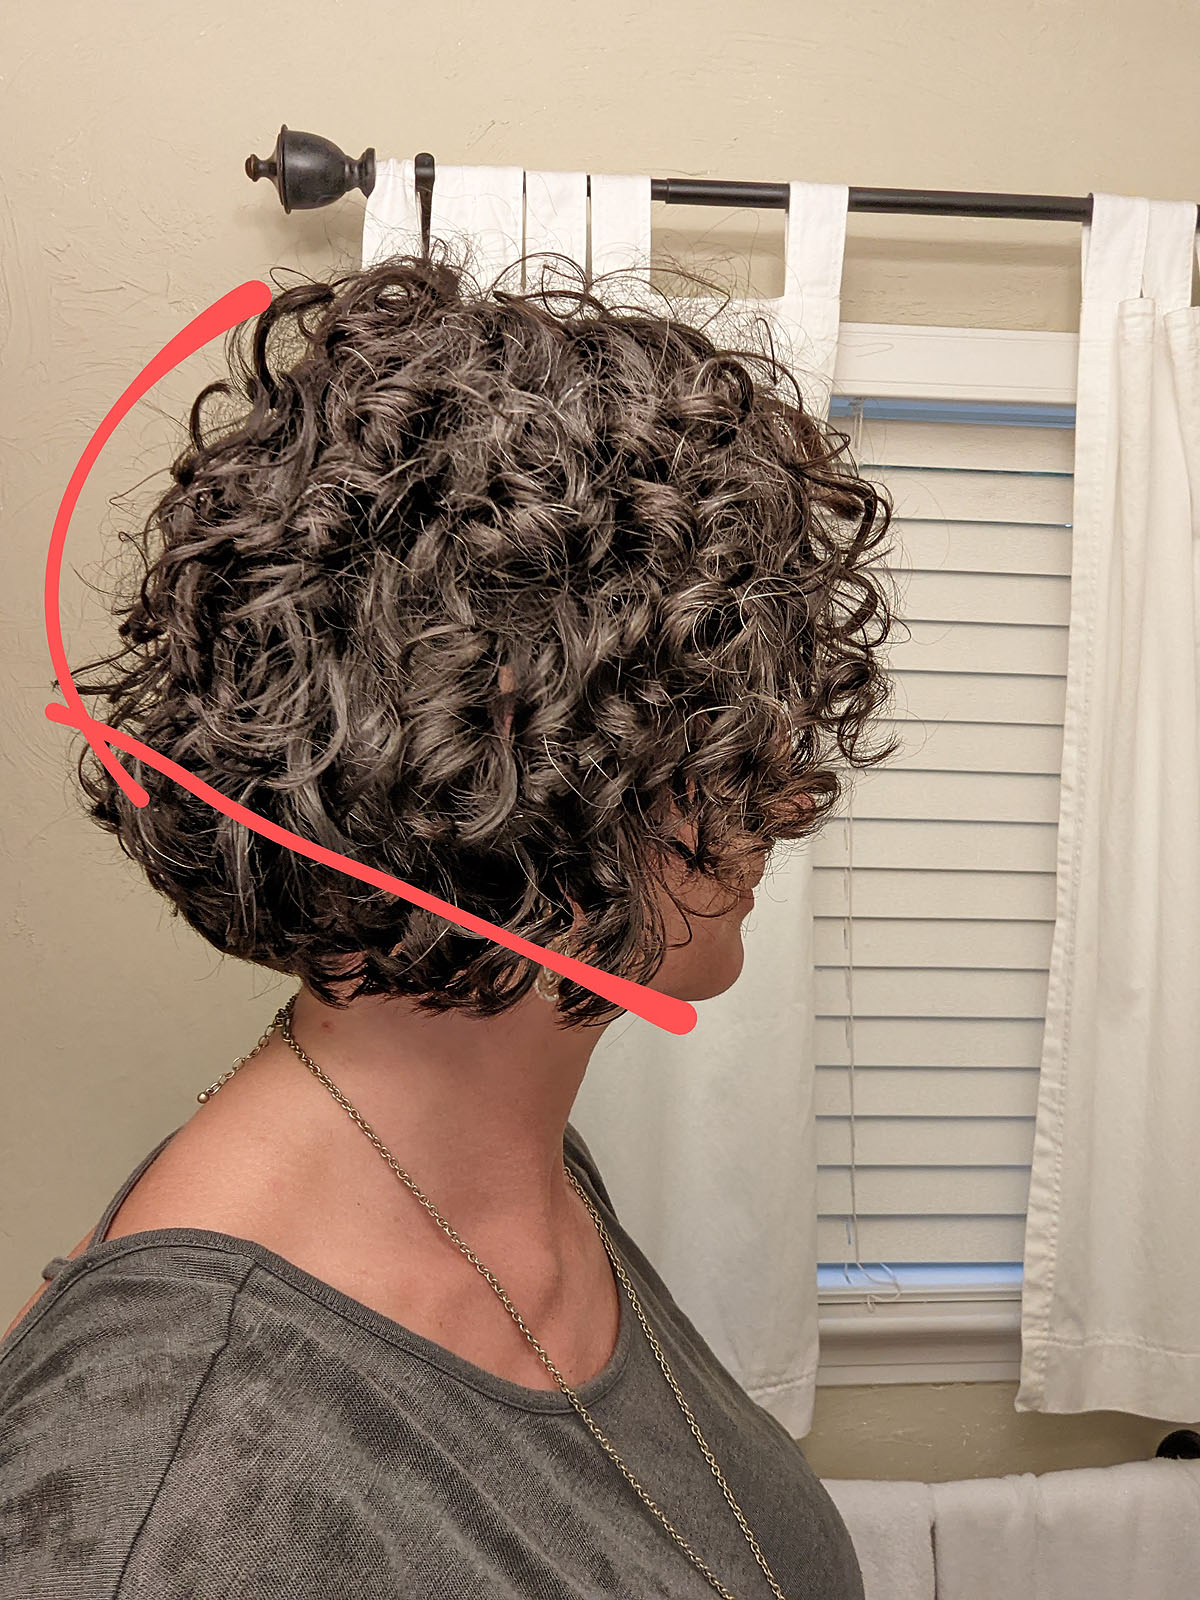
Lifted volume in the back and the length angling down to my chin.
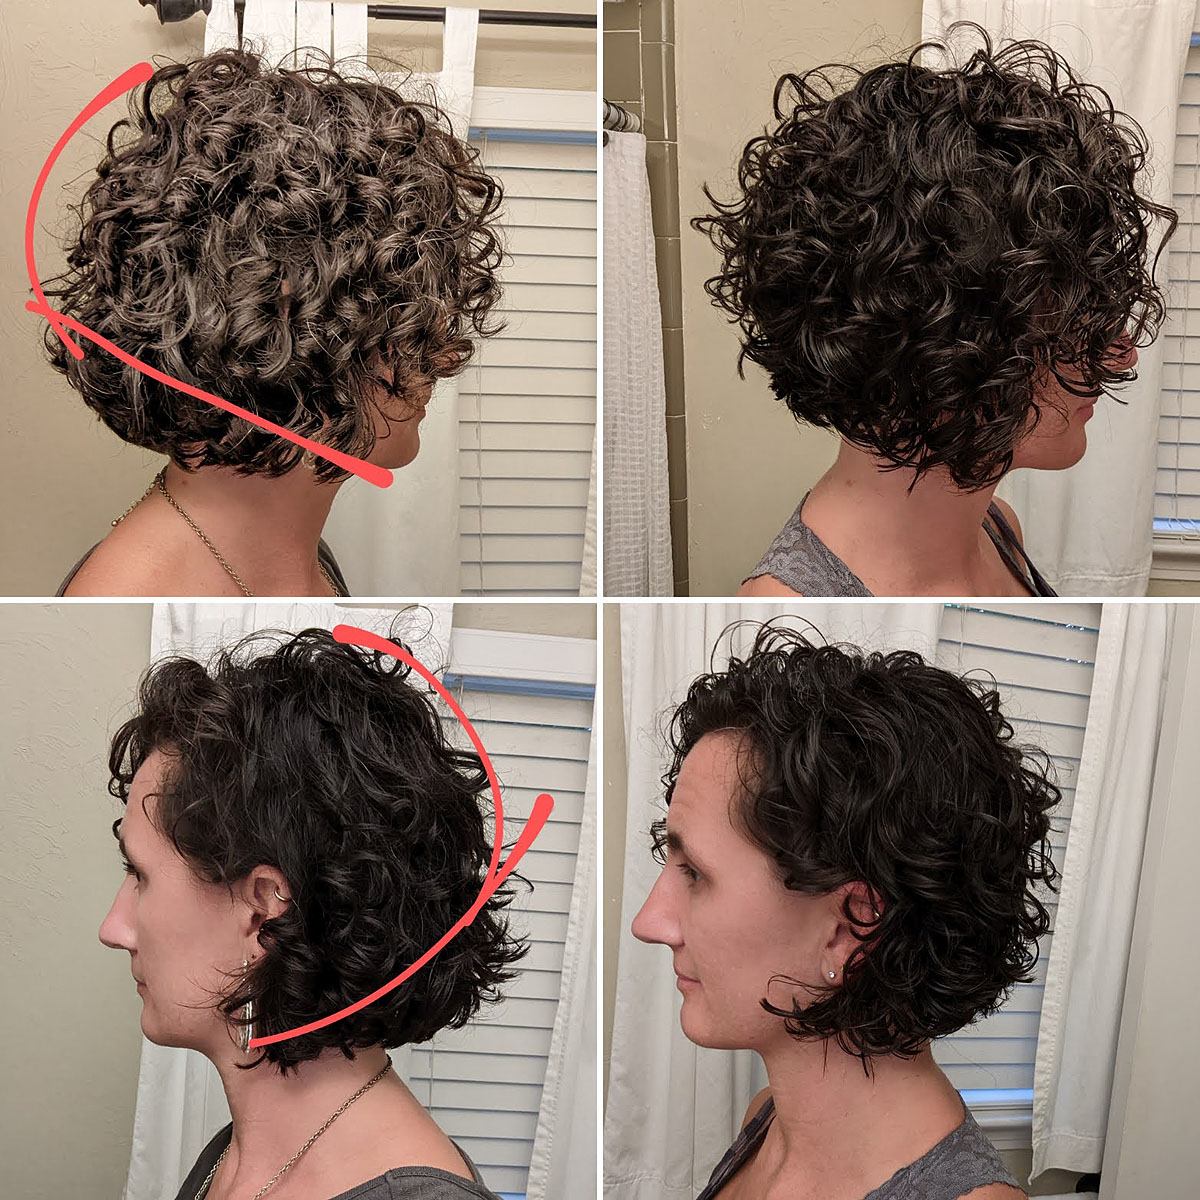
I also showed her these photos below on the left as examples (that's me, after my haircut on the right) for what I was looking for. I'd say she did a GREAT job!
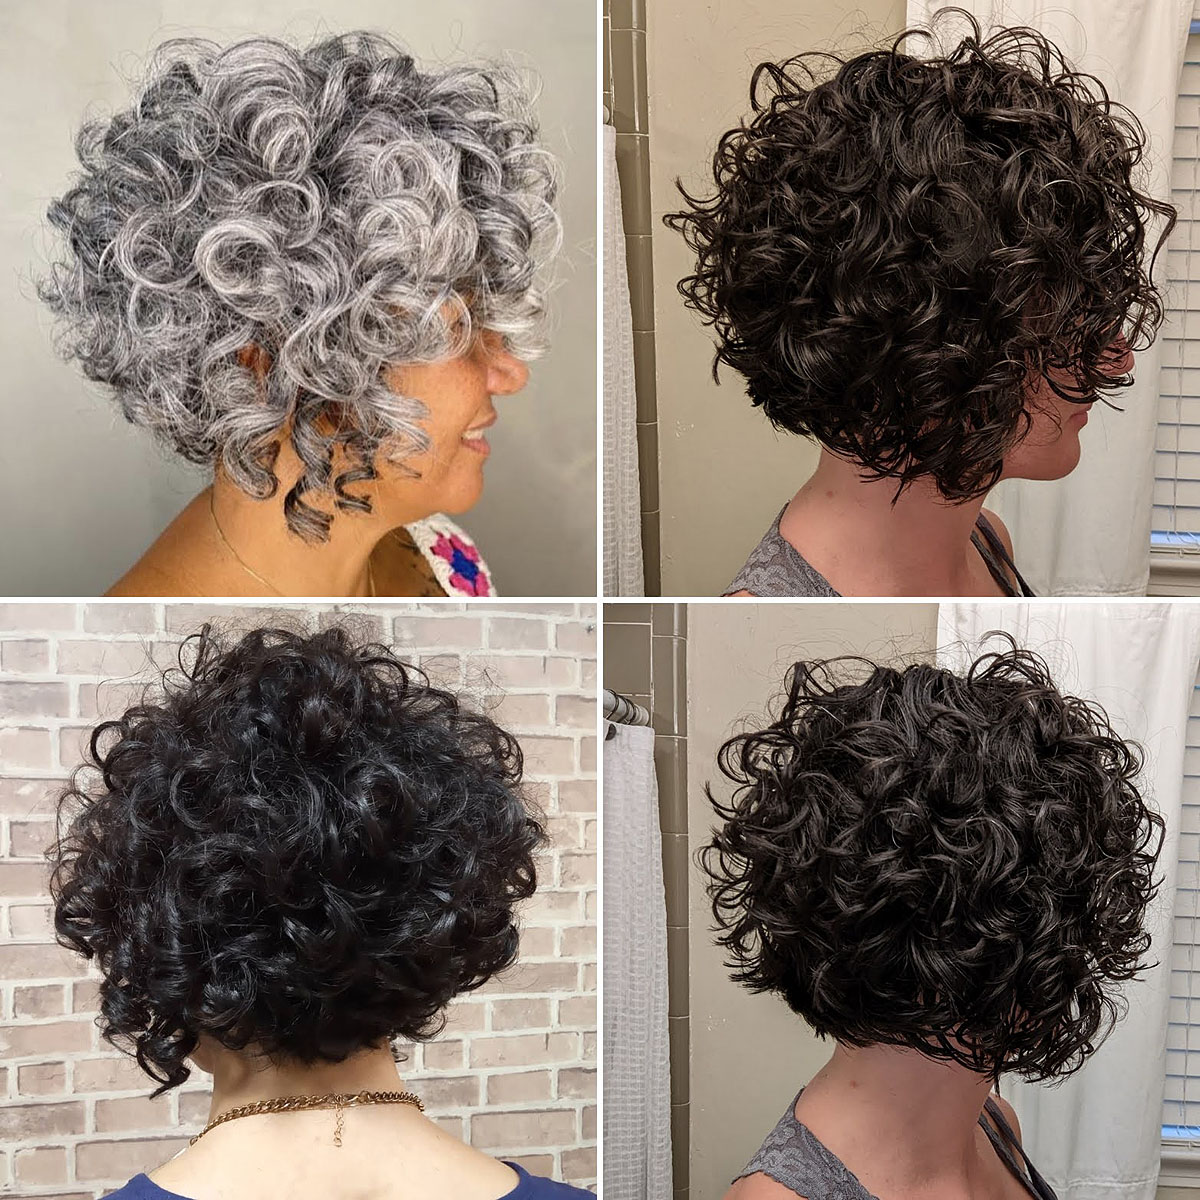
Current Hair Routine:
I wash it about twice a week. Otherwise, I just use dry shampoo and a diffuser and shake out the curls. I do use a small barrelled curling iron to clean up the top layer throughout the week when the curls start to wilt.
- Shampoo: Shea Moisture Curl & Shine Shampoo
- Conditioner: Shea Moisture Curl & Shine Conditioner
- Scrunch dry with a t-shirt.
- Scrunch in Curl Creme: Shea Moisture Curl Enhancing Smoothie
- Dry upside down about 80% of the way with a diffuser.
- Done.
I use a claw clip to hold the top section back when I'm working out, which doesn't destroy the curls much. And, I sleep on a regular pillow (not a satin one or anything fancy). The low-maintenance is wonderful, and I like the way it looks--feels very "me."
Going through the curly girl method process all those years ago set me up for a great head of naturally curly hair. Not everyone gets to start from scratch. Though it wasn't my favorite to go through chemo and lose my hair, it's turned out ok after all.
Health Update
I've been meaning to write a Health Update (or several) since about February, but have been perpetually behind on blogging and documentation this entire year. In a way, I guess the reason for that is part of the health update. So, I'm finally going to dive in and give it a try.
Physical Recovery
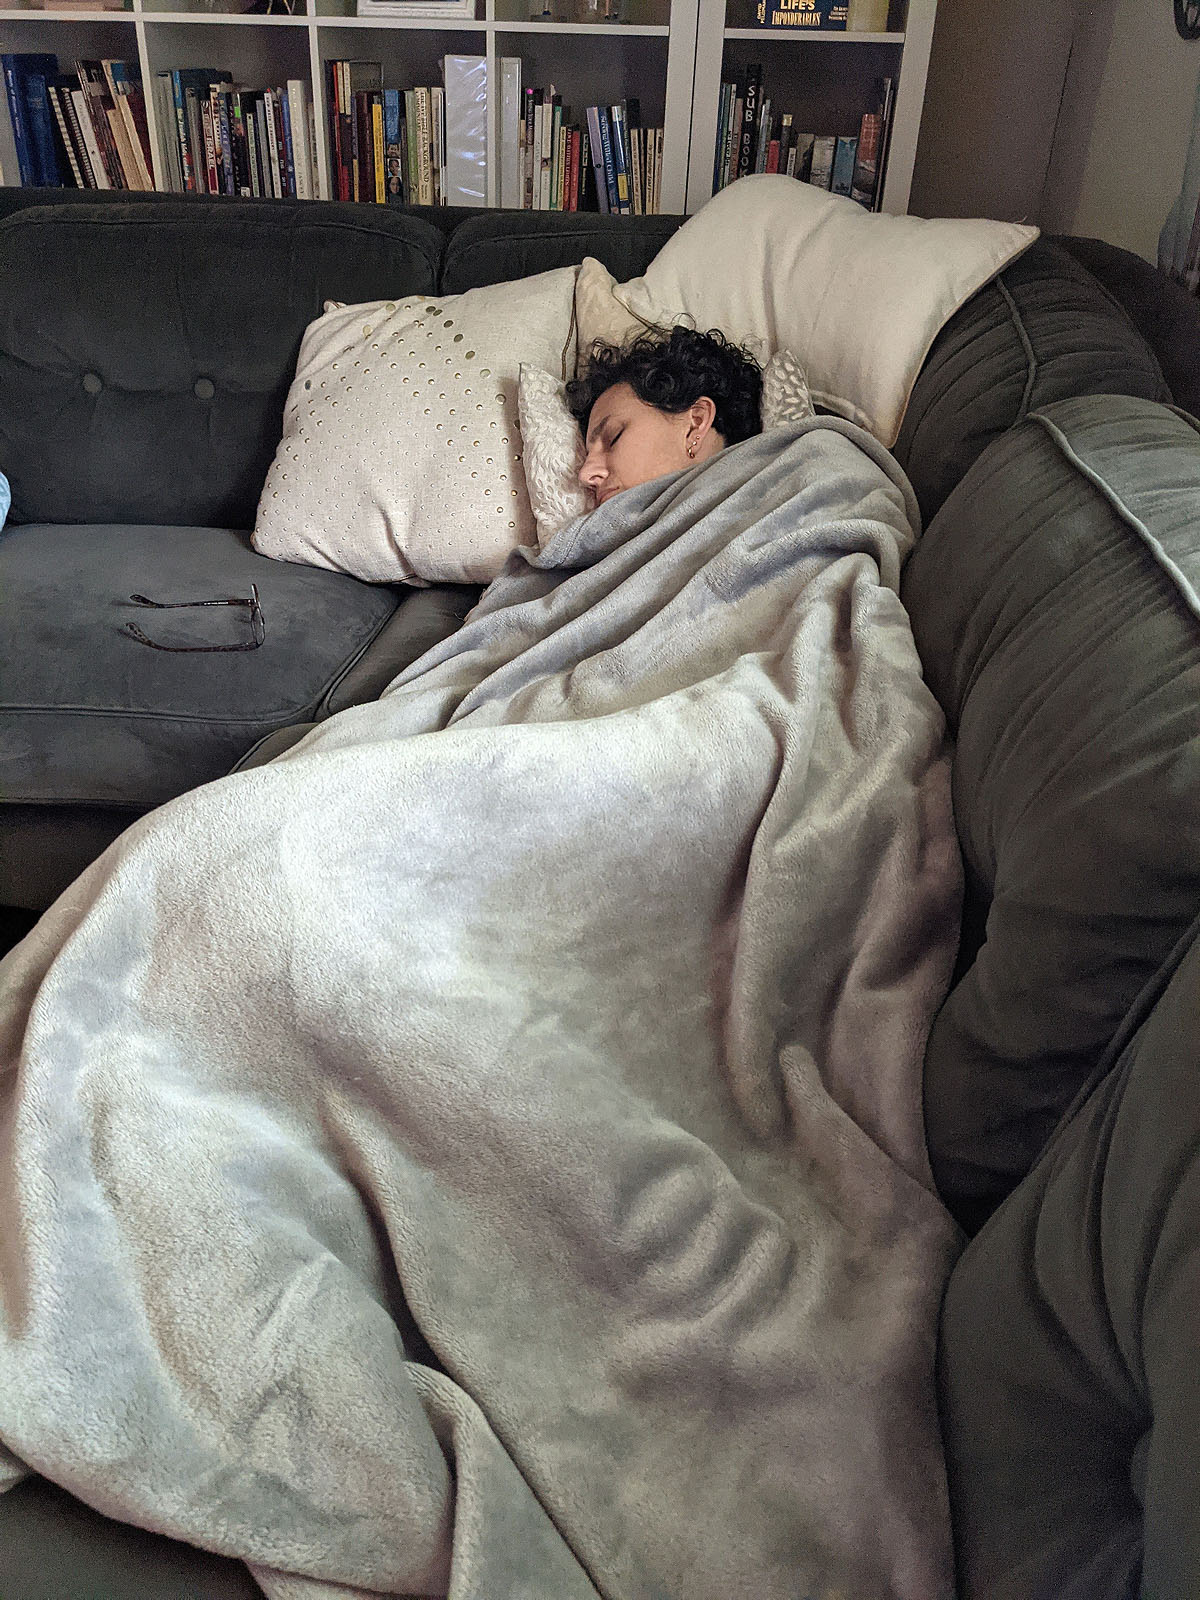
After I made the decision to close my sign-painting business, and we got through some home projects and the holidays, I spent December, January and February just trying to physically recover from the past two years of trauma. I quite literally slept most of January and February. Naps everyday, reading lots of books while laying on the couch, and disconnecting from everything else as much as possible. No matter how much I rested, I was always tired and had little to no capacity for anything other than just getting through each day. I remember having to give myself a huge pep talk while sitting in the Walmart parking lot, just to walk inside and do a quick grocery shopping trip. I could hardly make myself get out of the car.
Medication Adjustments
In February, I had an appointment with my oncologist, who after hearing about my steady decline in energy, suggested I stop taking Tamoxifen, the estrogen hormone blocking pill I'd been taking for the past year (and was scheduled to take for 5-10 years if it was tolerable). While initially it didn't seem to have much side effect, as the year went on, I became more and more sluggish, had constipation stomach issues, and continued confusion and trouble focusing. He said taking Tamoxifen was an "extra insurance policy" on what had already worked with chemo and surgery, and since my tumor was so mildly estrogen positive, he was 100% comfortable with me coming off of that medicine.
After about two weeks off of it, I noticed a big difference in my energy levels and finally started feeling a little more like my (albiet, older and a little beat up) self. A few weeks after that, I also stopped taking a probiotic I'd been on for a long time which significantly improved my stomach issues. Around March, I was down to taking only a daily multi-vitamin (1/2 dose), Claritin and 5mg of Methimazole for Graves Disease. It felt very good to be reducing my daily meds.
Spring in my Step
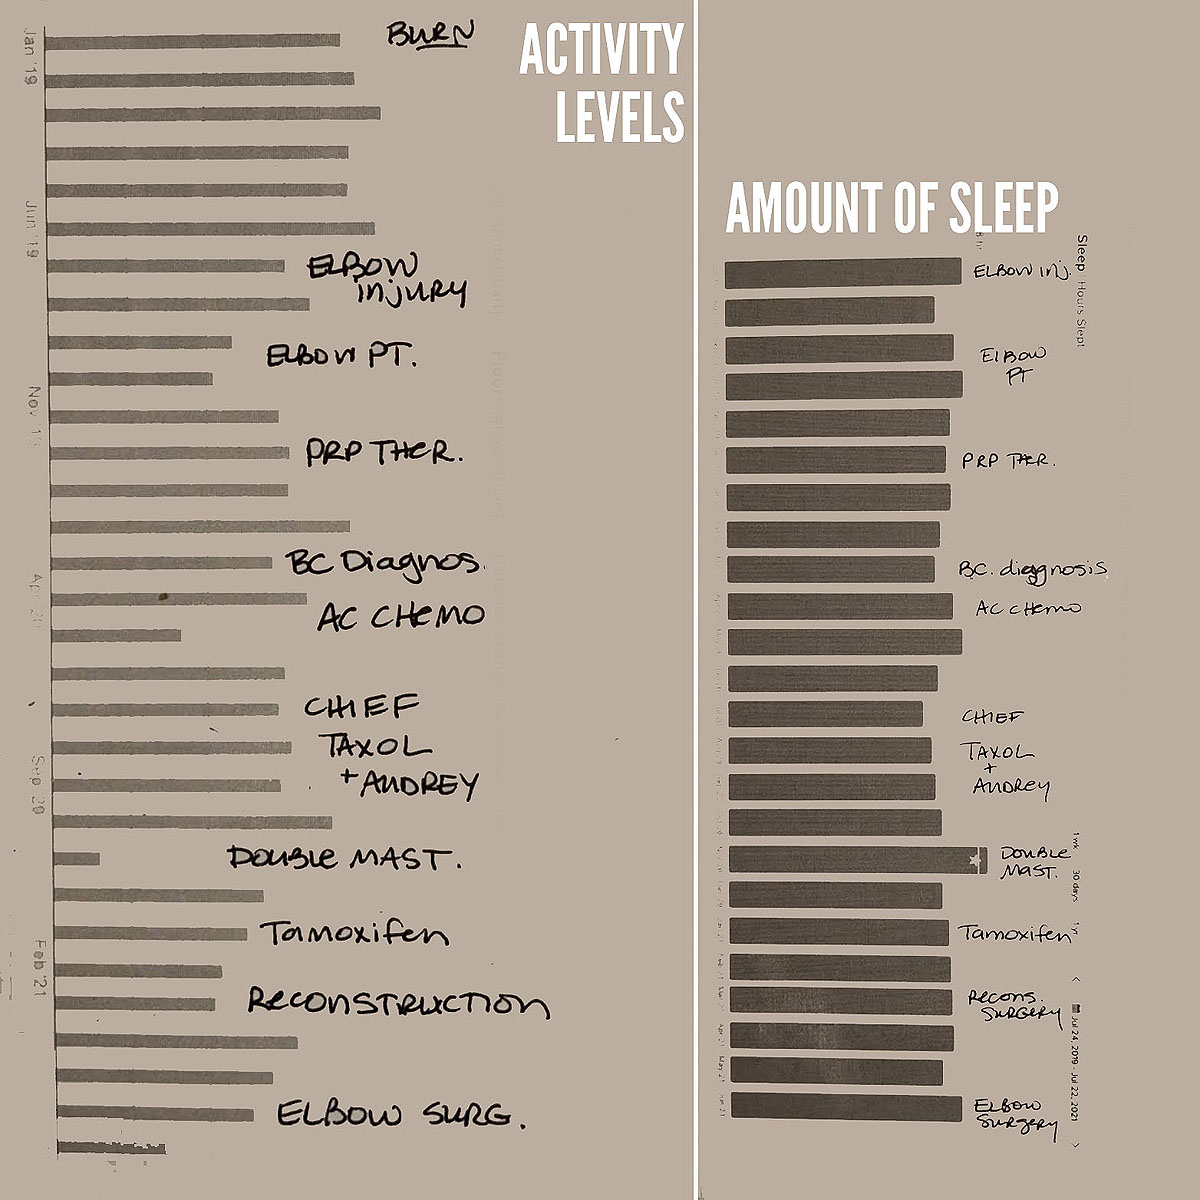
As the spring went on, I had several fun social events, trips and activities on the calendar that I was able to rally my energy and enjoy. Some took a LOT of prep and recovery to devote energy to them, and some were restorative and restful. I was intentional about not putting too much responsibility on my plate, to leave large blocks of time in the day and week empty for quiet, reading, and sleep. I've continued to exercise at Burn or walk 3-5 days a week all year. Some days I can do it all and have great energy. Other days, I'm struggling to do the minimum modifications. I've continued to deal with moderate elbow issues, both with my original injury on my left elbow and a new golfer's elbow development on my right elbow. I've been very thankful to be able to physically feel (mostly) good, feel like I *looked* good, and have the energy to enjoy all of those activities. But don't be fooled. In between each activity was a lot of laying on the couch, resting, and recovering.
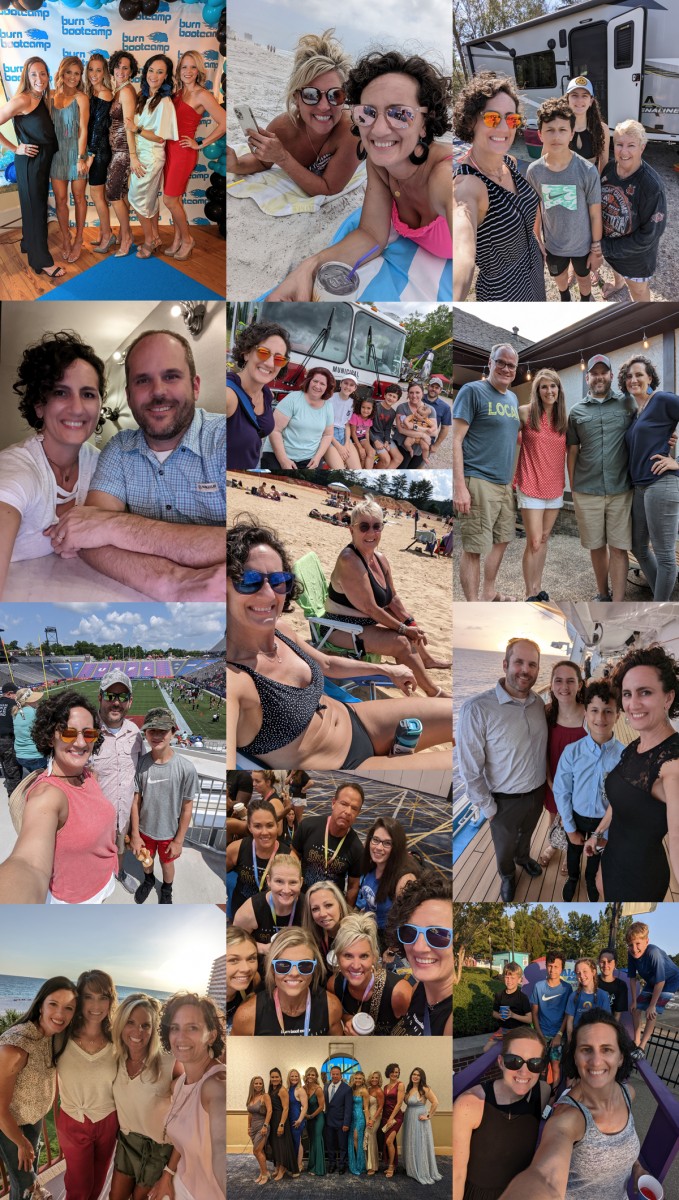
I have (finally) learned that I need to say NO more often in order to have enough energy to do the things I want to say YES to. This spring, that has meant I don't spend as much time cleaning and straightening and planning and prepping, I'm not likely to volunteer for extra jobs or responsibilities, I'm not good at regularly checking in on friends and family, I aim to accomplish only one or two things a day, I don't do as good of a job of documenting, taking photos and blogging, and honestly, I look a lot lazier and disconnected than I once prided myself in being. I've prioritized enjoyment and rest instead of productivity and dependability. For now, that's what I've needed to do.
Mental & Spiritual Health
Mentally and spiritually, I have continued to struggle. I'm not comfortable looking too far ahead into the future, making big plans, firm commitments, setting goals or having expectations. Day-to-day and week-to-week is about all I can (and want) to manage. I'm easily overwhelmed when there is too much to think about at once, especially if the topic is complicated or includes drama. I'm better at enjoying things in the moment, which is good, but I can tell that's because I'm only confident in the *right now*. I fully expect any long term plan or expectation to fall apart for one reason or another, or for life to throw another curveball that derails the entire thing. Instead of allowing myself to look down the road, I focus only on what is right in front of me, and the next step. Consequently, I have no idea where I'm going, and I remain afraid to allow myself to head toward anything I might want or need in my life, for fear that it too will be taken away from me.
After ALL the things, if I'm being honest, I feel angry and defeated and worn out more than I feel thankful and hopeful. While my instinct is to run away from God, church, and anything that gives up control over my own life, I have tried to heed the advice I was given early on in my breast cancer diagnosis: "The Lord will fight for you. You need only to be still." So, although yes, I'm physically healthy, cancer-free, and everything looks "good" and "fine" on the outside, I'm still waiting to be healed on the inside and while it is slowly improving over time, I have a long way to go.
Telling My Story
If you follow my personal accounts on Instagram or Facebook, you may have noticed my feed has all but stopped, which is atypical for me. Around May, when I found myself very behind here on my personal blog, I decided I would not post on Instagram or Facebook until I was caught up, because the documentation of our family's life events is ultimately for me and my own family. I wanted to prioritize that over sharing it immediately with everyone I'd ever met.
It took me until now (July) to catch up, and I found that in the meantime, I've really enjoyed the freedom of not having to immediately "wrap up" everything I did with a post of photos and writing and sharing in-the-moment stories of what is happening in my life.
For one, that practice has kept me more "in the moment" and interacting with the people I see in person and on a regular basis instead of communicating with such a wide variety of people on a constant basis.
Second, it allowed me to rest instead of "work" after each activity. My job with Burn keeps me on Instagram and Facebook writing and creating graphics and answering comments and DMs all day, every day, so by the time I was done working, I didn't want to do the same thing with my own photos and life.
And most significantly, if I was posting about all the fun things, I felt like I was telling only half of the story. That no one would understand that between each of the fun and pretty and active things were hard, slow, challenging days. I was worried that (like we all do), people would make up the story in their heads that if I was out having fun and looking good, and traveling and spending time with friends and family, I must be "all better"-- and that still doesn't really feel true.
After sharing some pretty raw and real parts of my life over the past couple of years, I'm just tired, and I don't want to use my limited energy to talk about those things as much--but they're still there. So I released myself of the responsibility to constantly tell that part of the story until I'm ready to tell it. And if those who are interested are willing to be patient, I know that eventually, I'll be ready and will. In fact, though this post is backdated to July, I'm not actually writing it until September 2022. Today I felt ready.
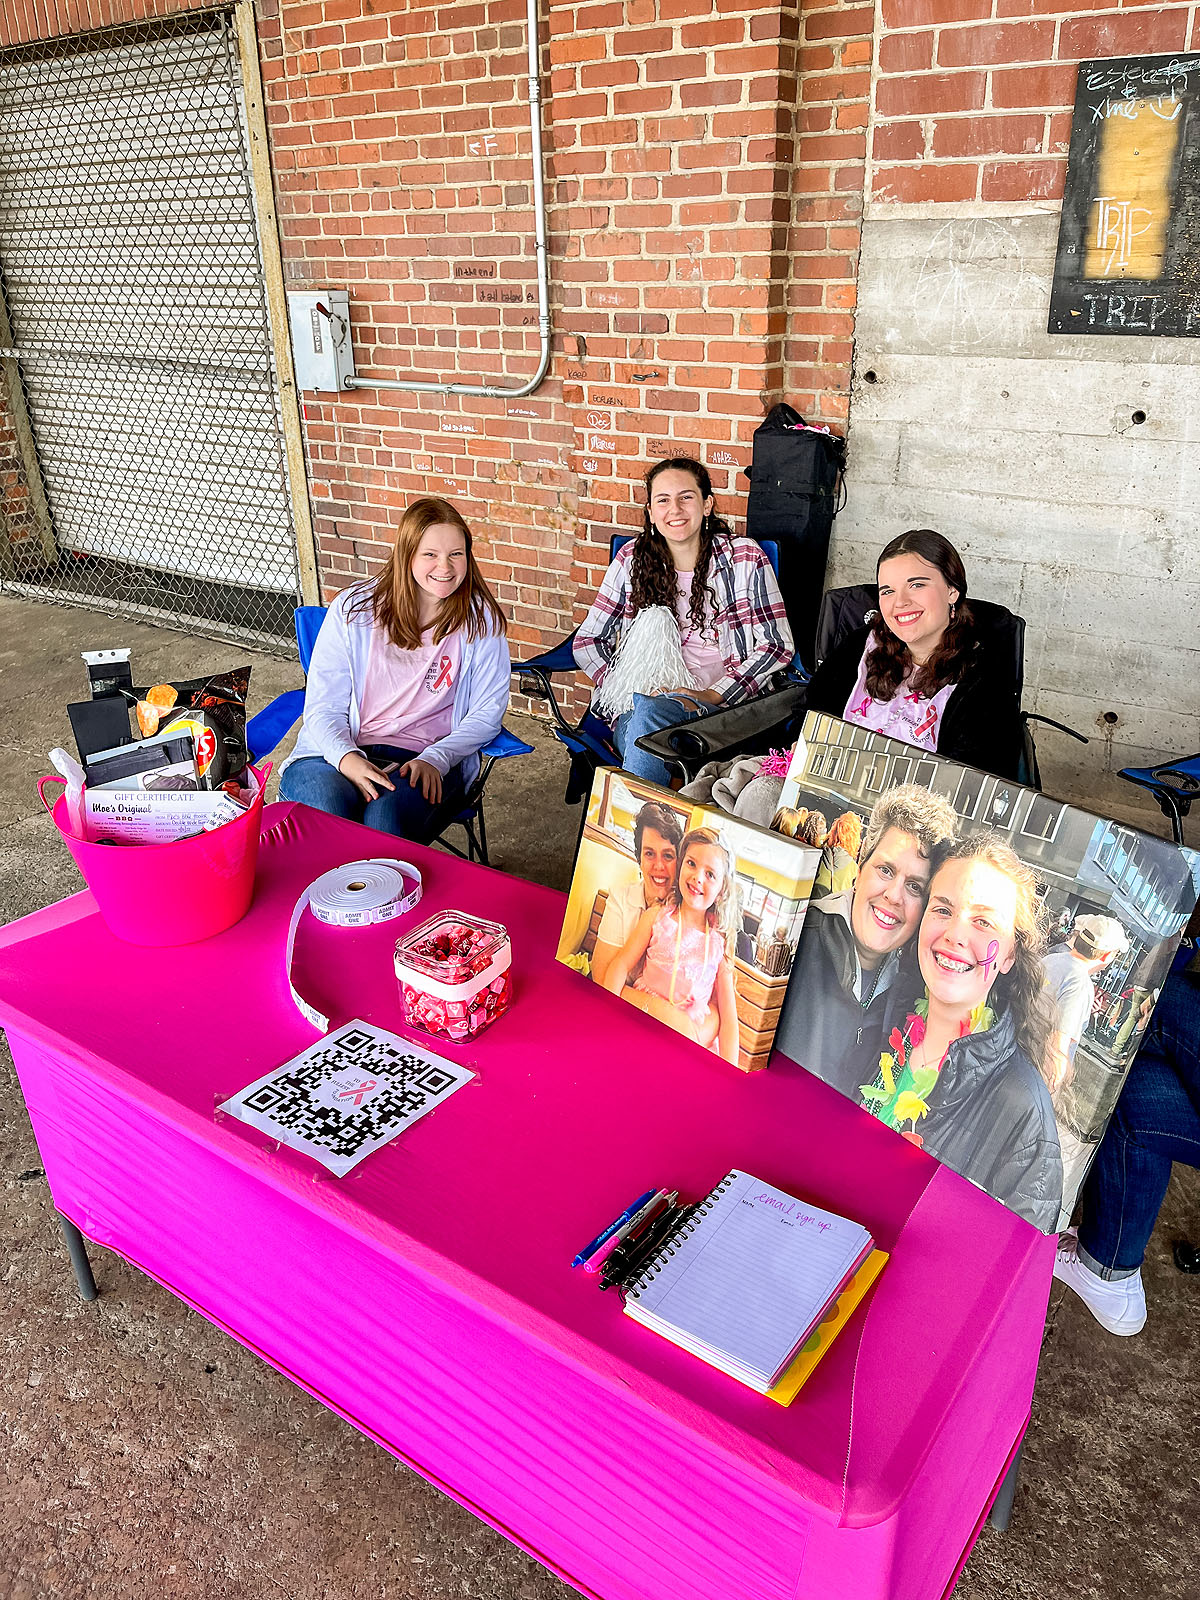
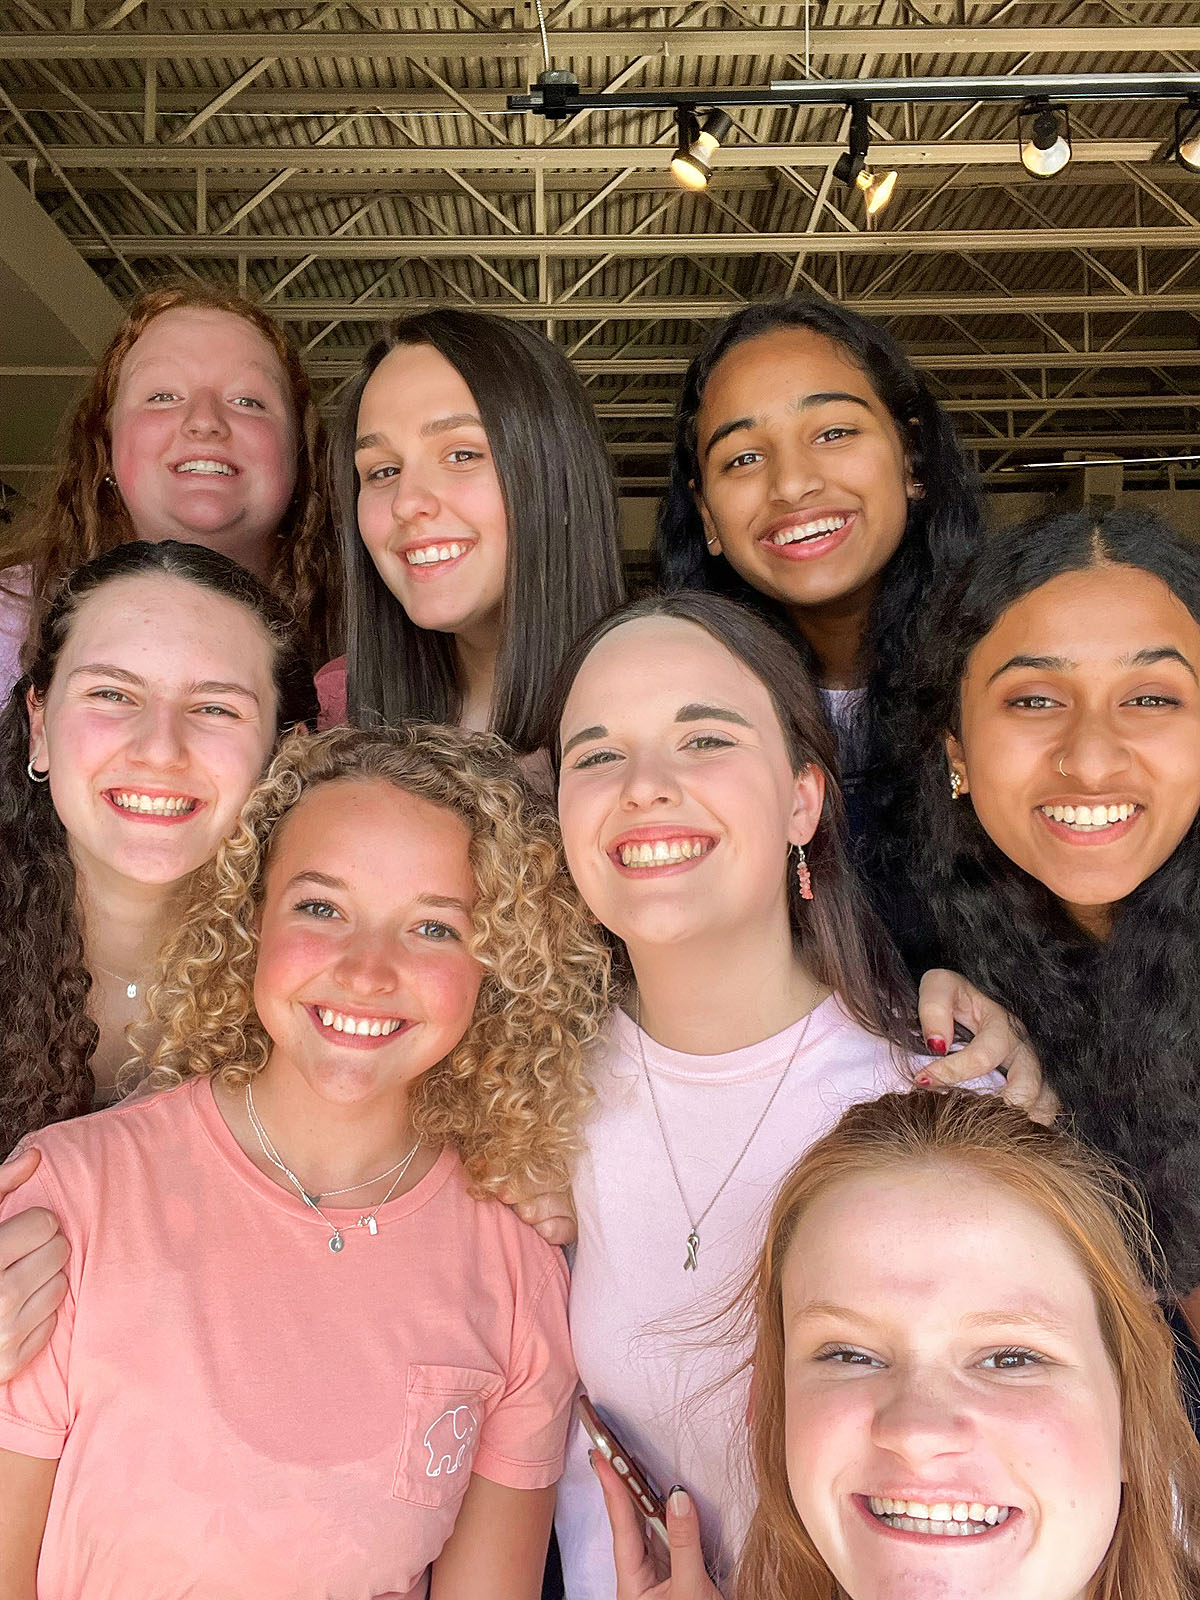
TTFF Cahabaque
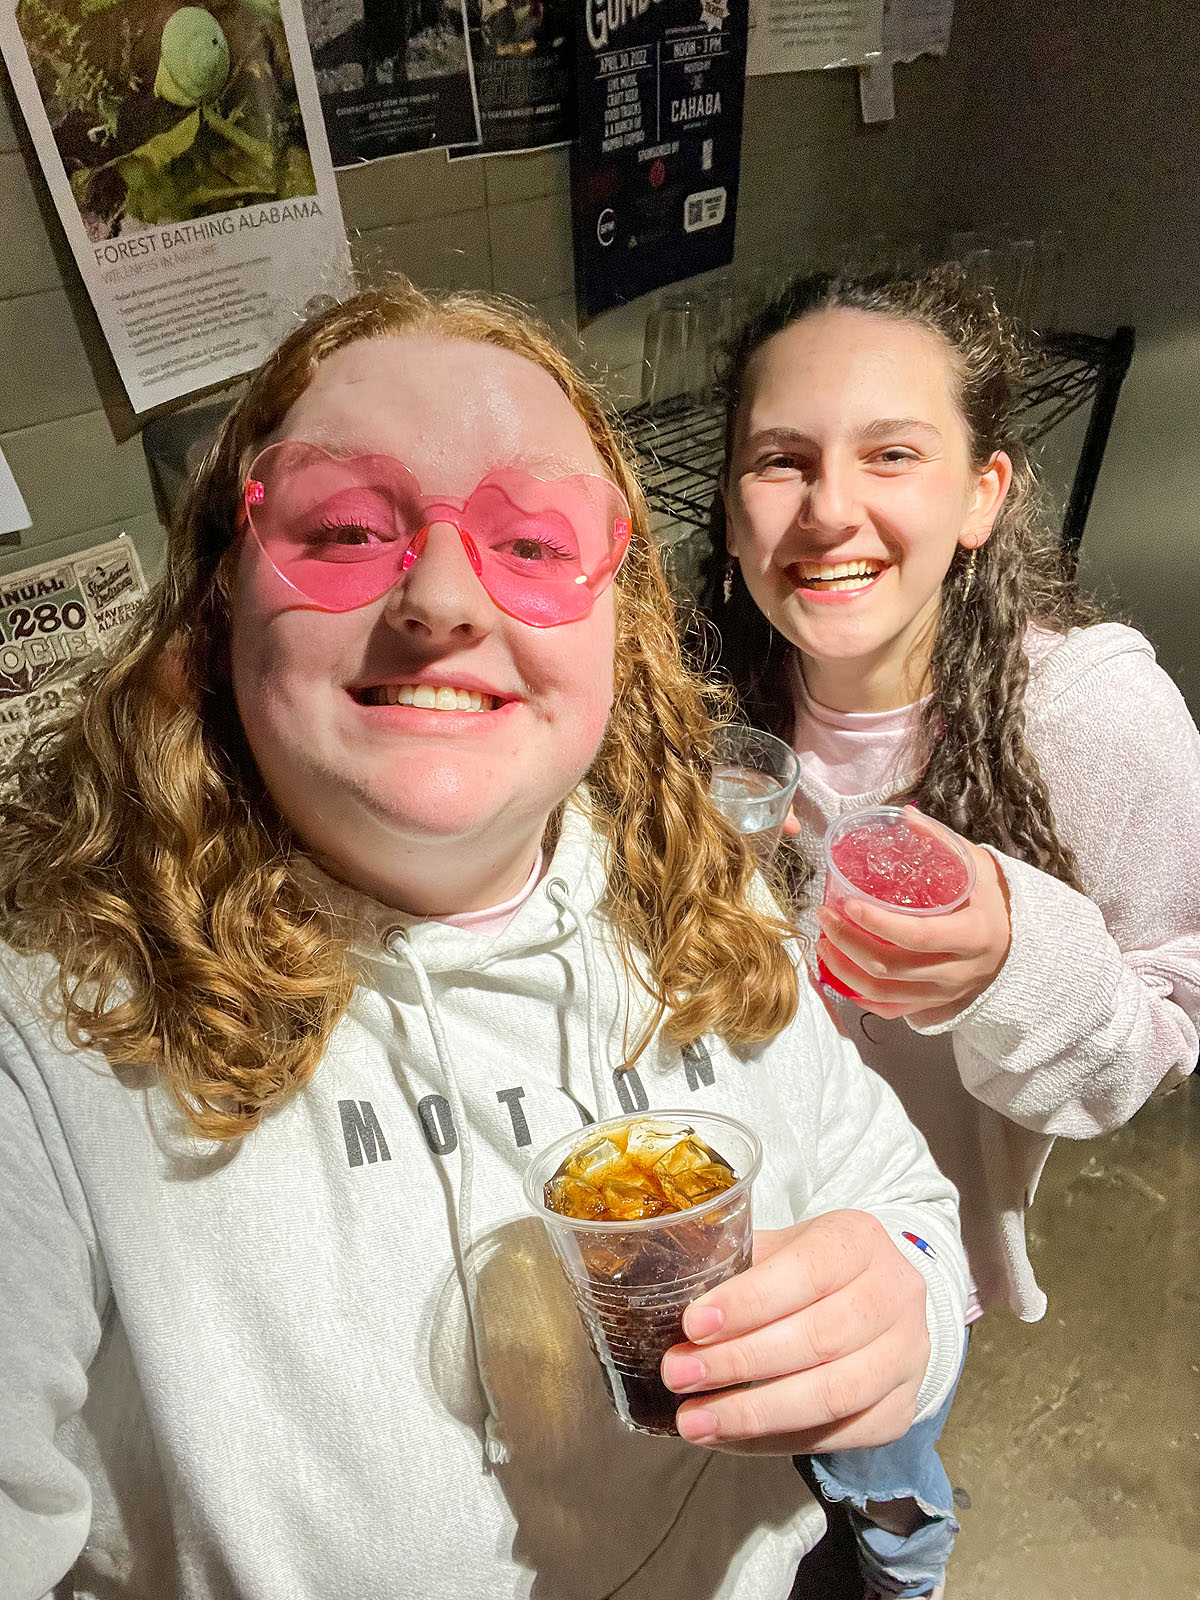
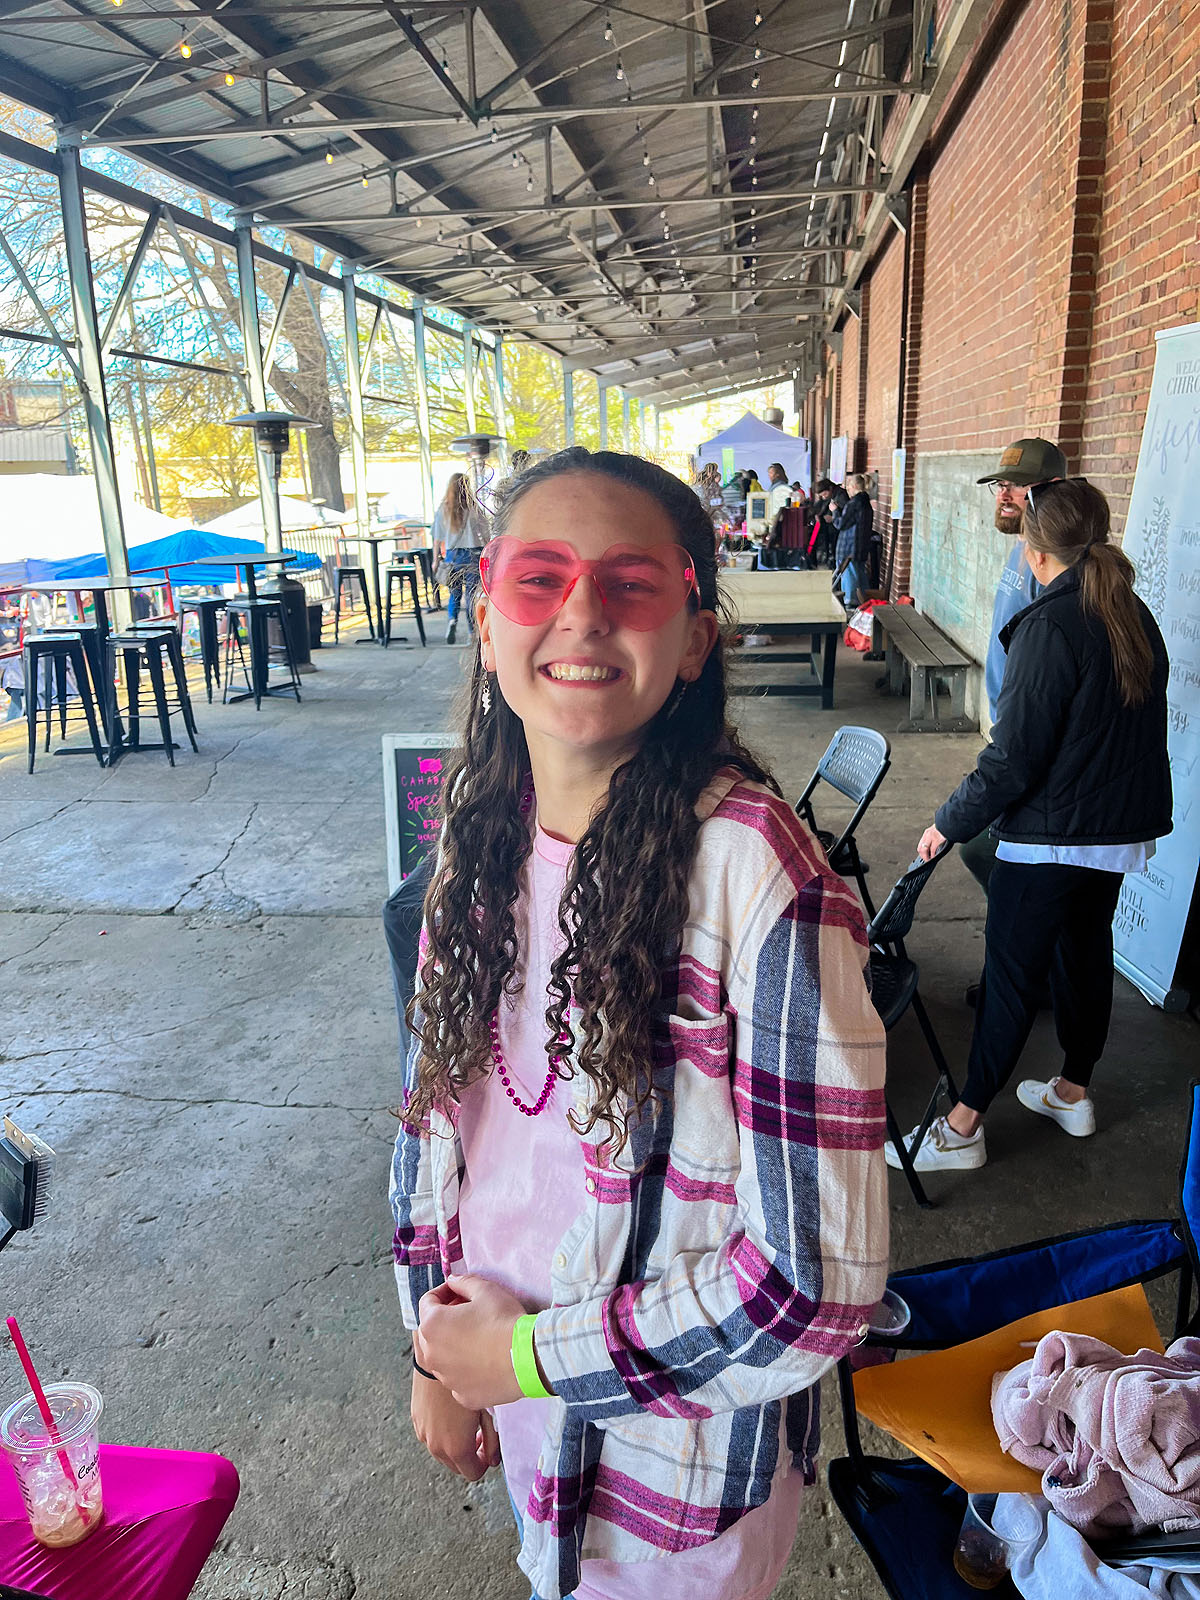
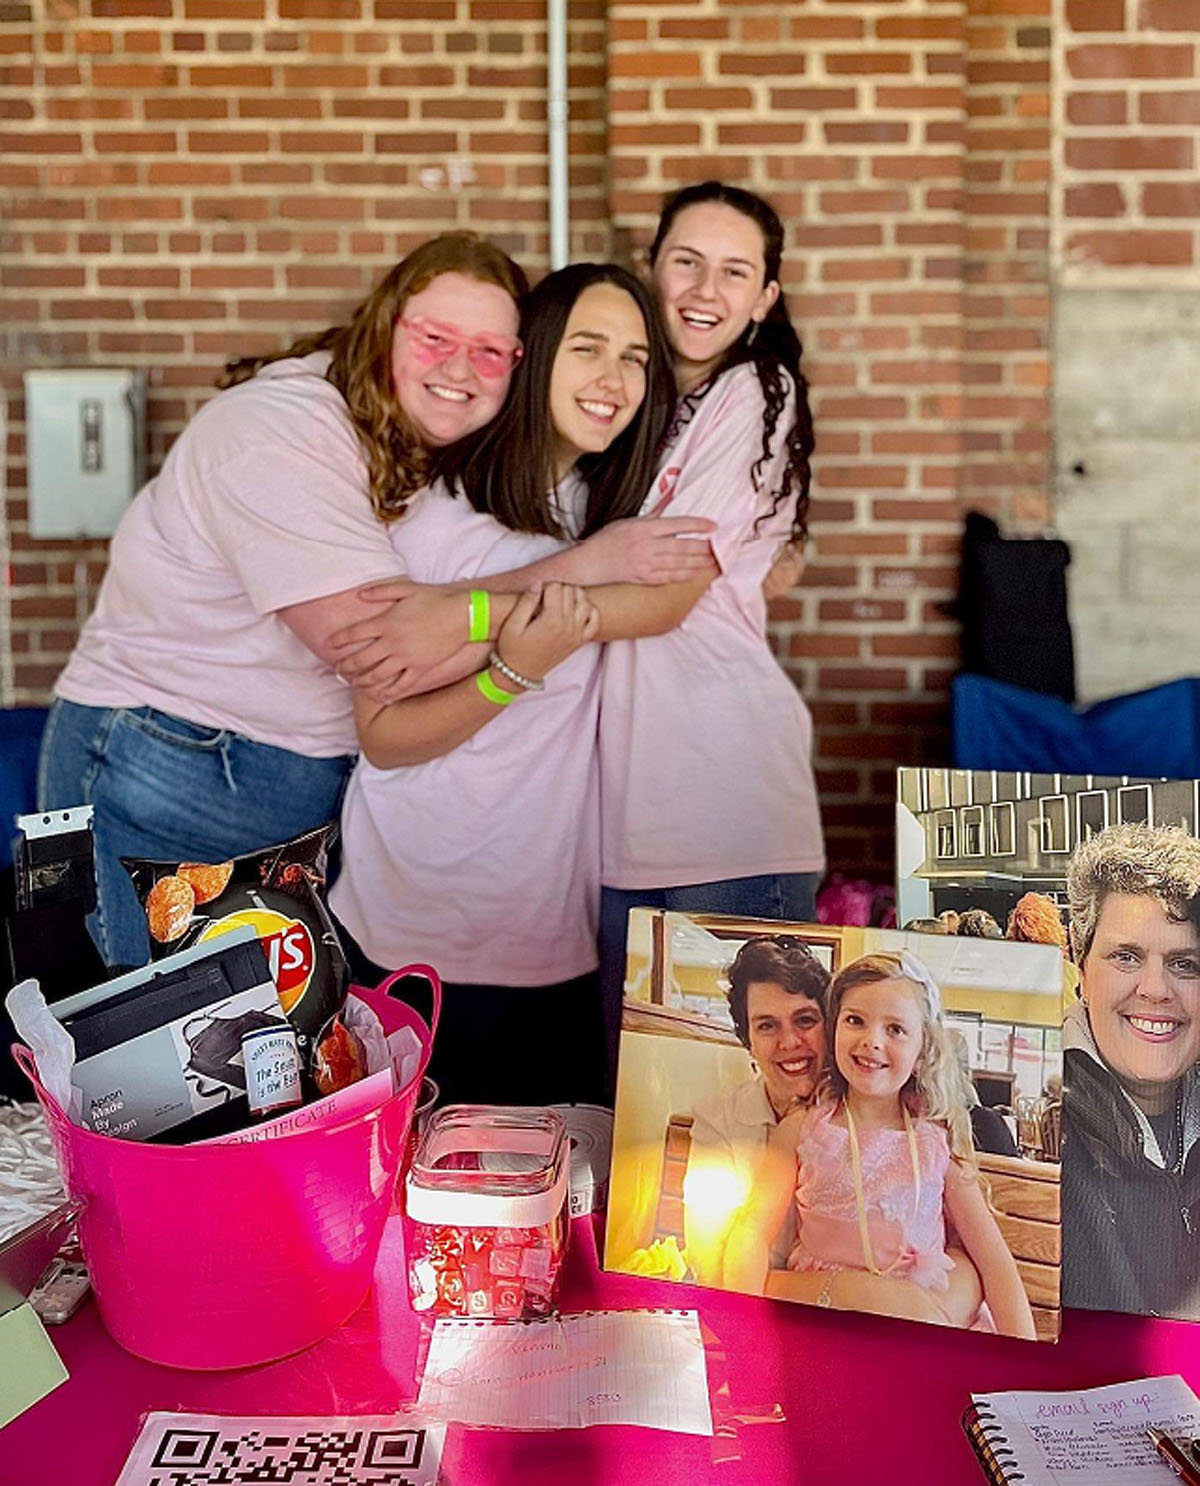
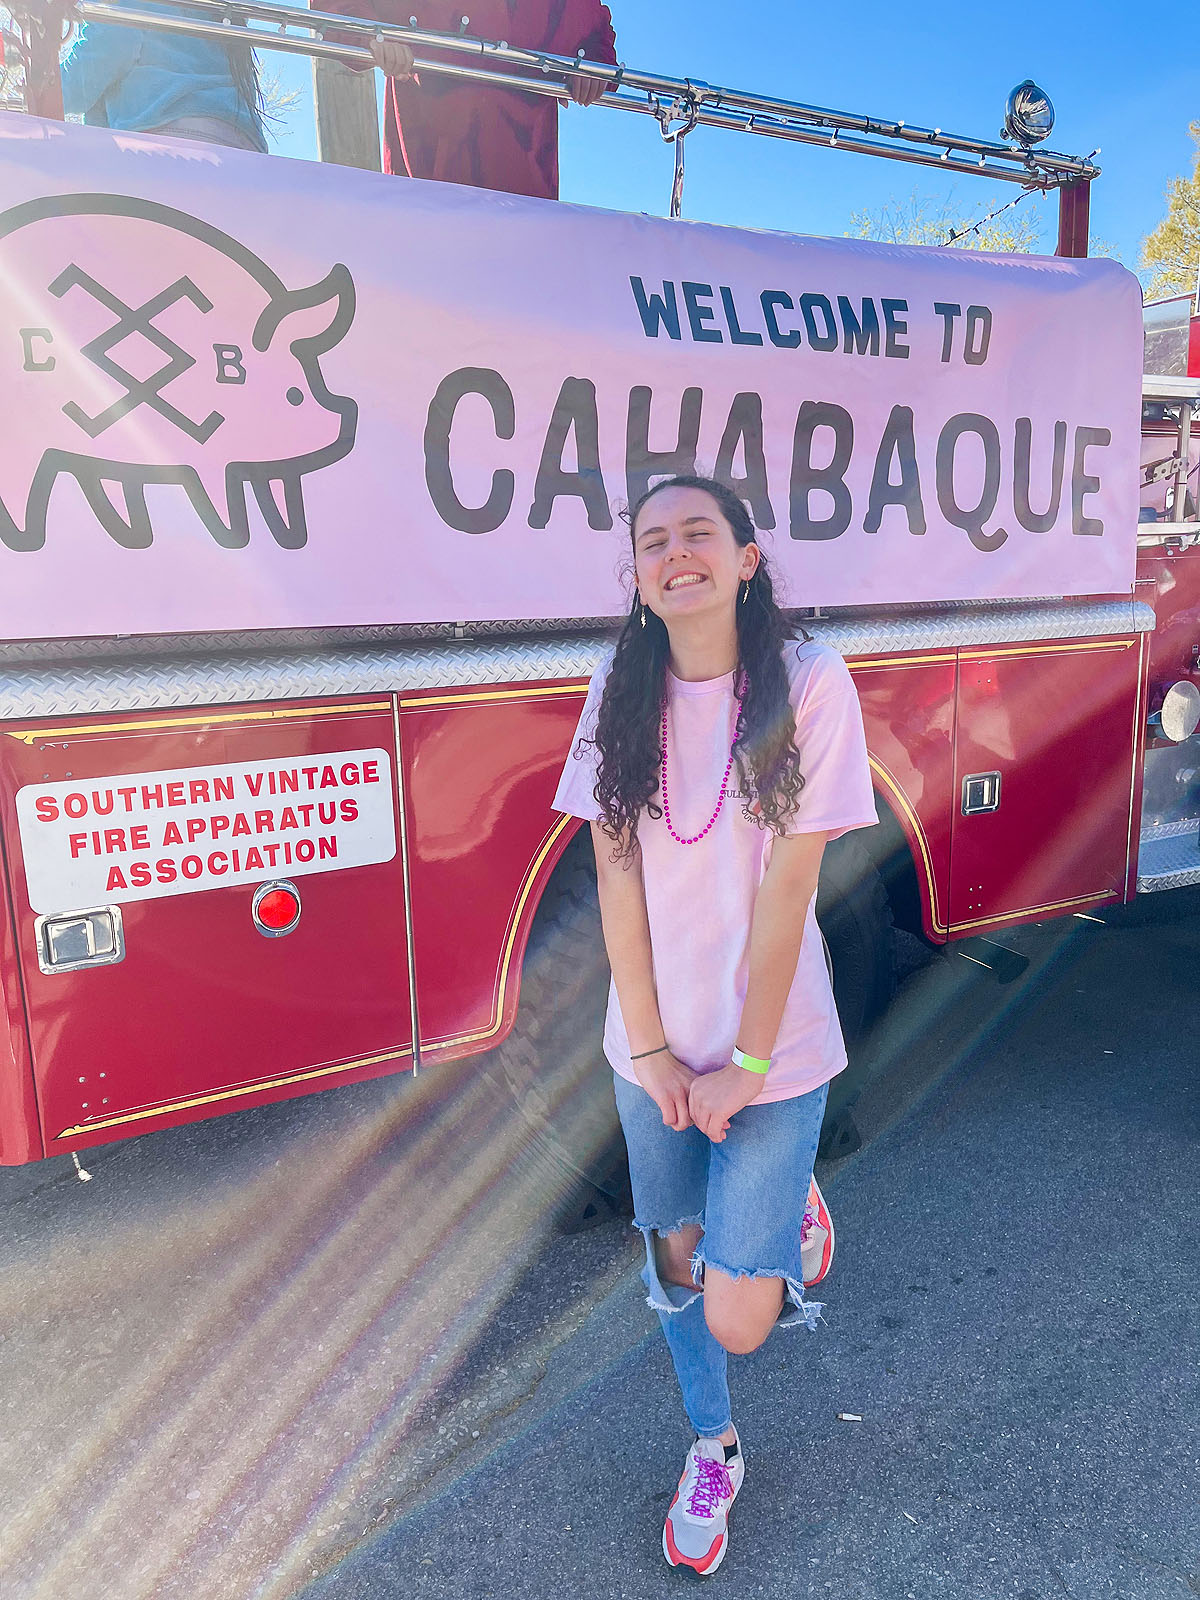
One of To The Fullest Foundation's first events was a table set up at Cahabaque, which is a fundraiser put on at Cahaba Brewing Company, specifically for breast cancer research with the Breast Cancer Research Foundation of Alabama. To the Fullest Foundation was invited to join them as well this year.
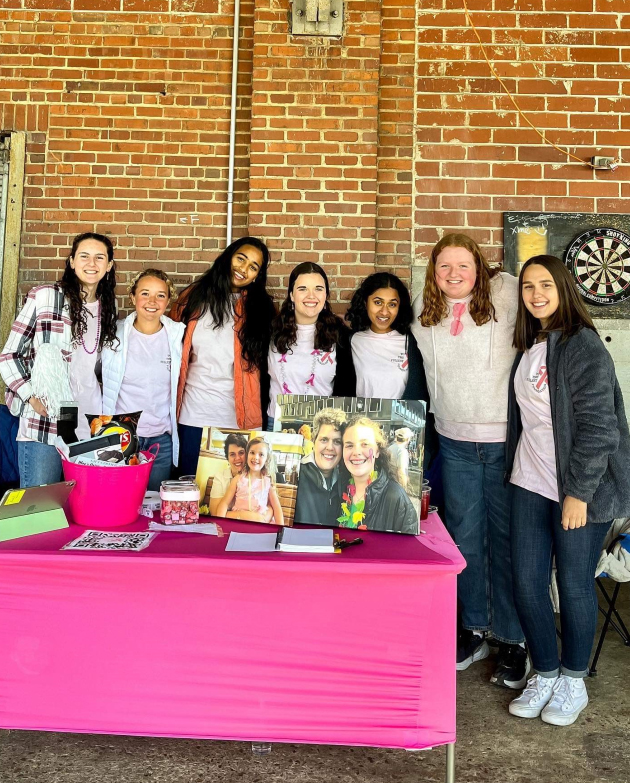
They spent the day collecting email addresses, telling people about who they are and what they're doing, and enjoying getting to hang out together.
Follow and support their efforts here:
Instagram: @tothefullestfoundation
Facebook: To The Fullest Foundation
Tiktok: @tothefullestfoundation

To The Fullest Foundation - Student-Led Breast Cancer Awareness Foundation
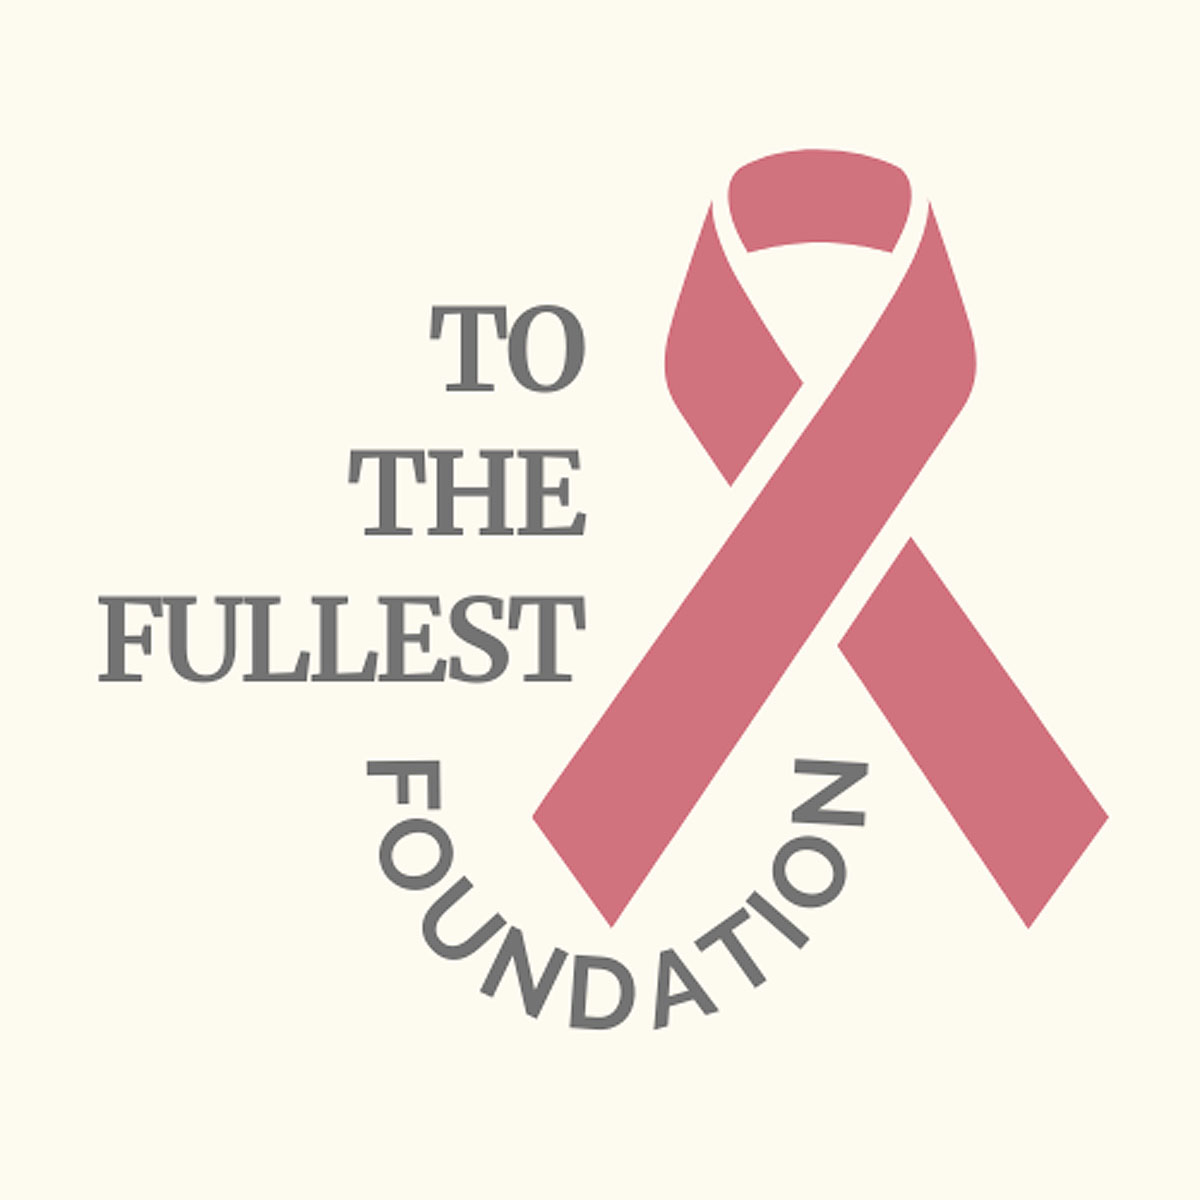
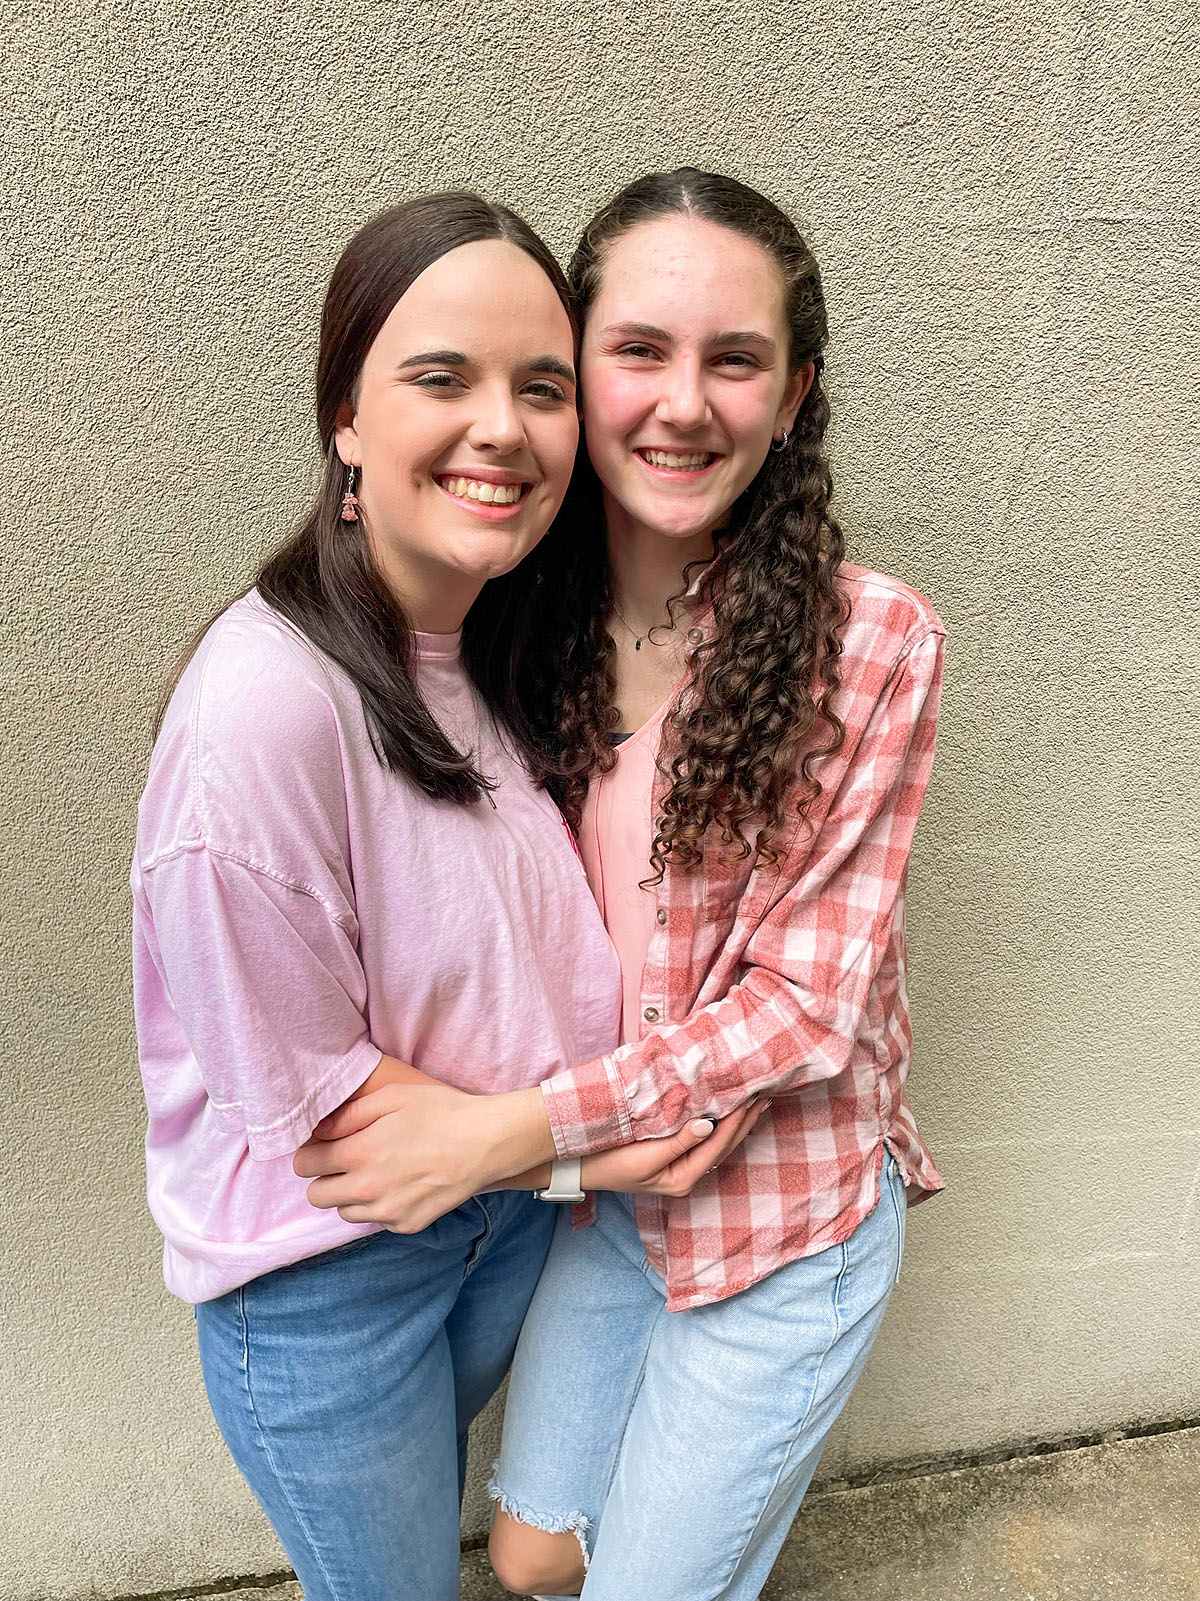
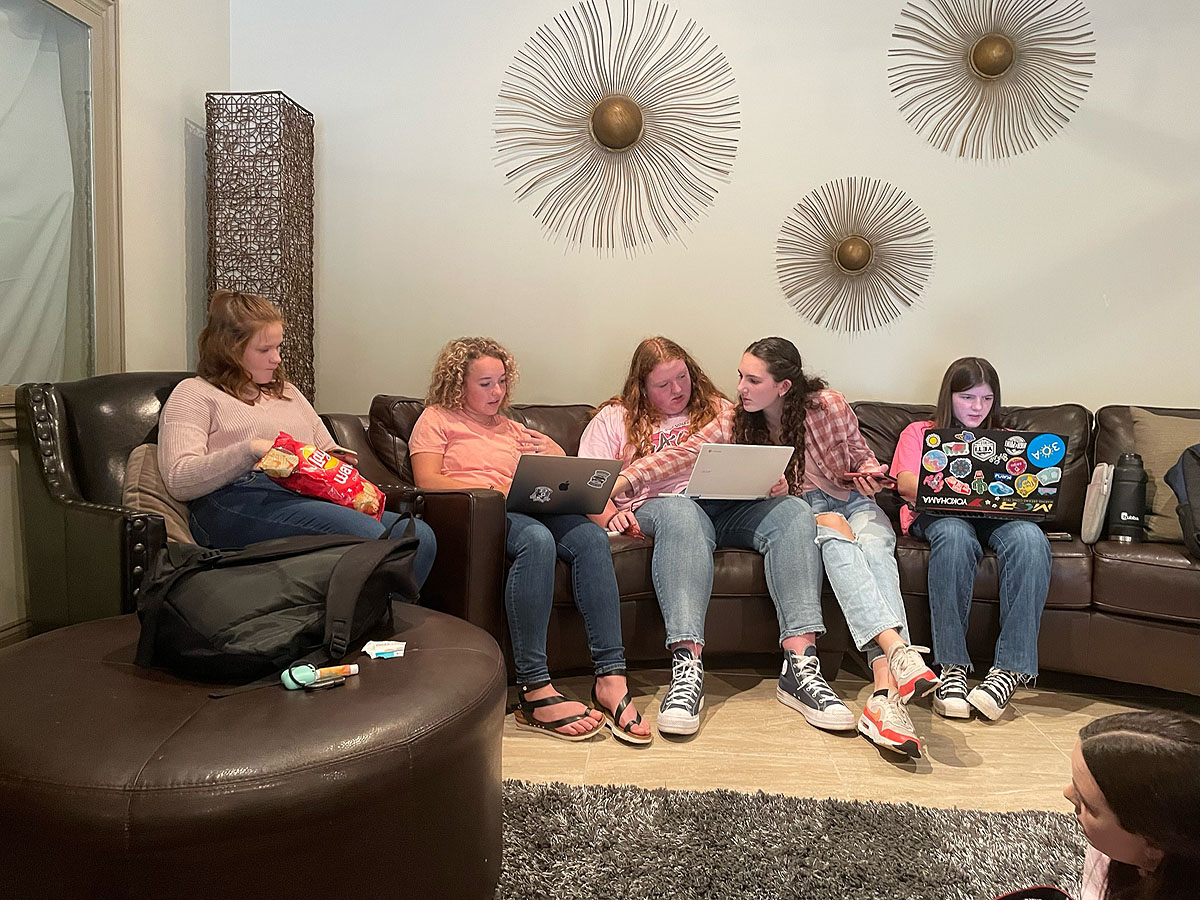
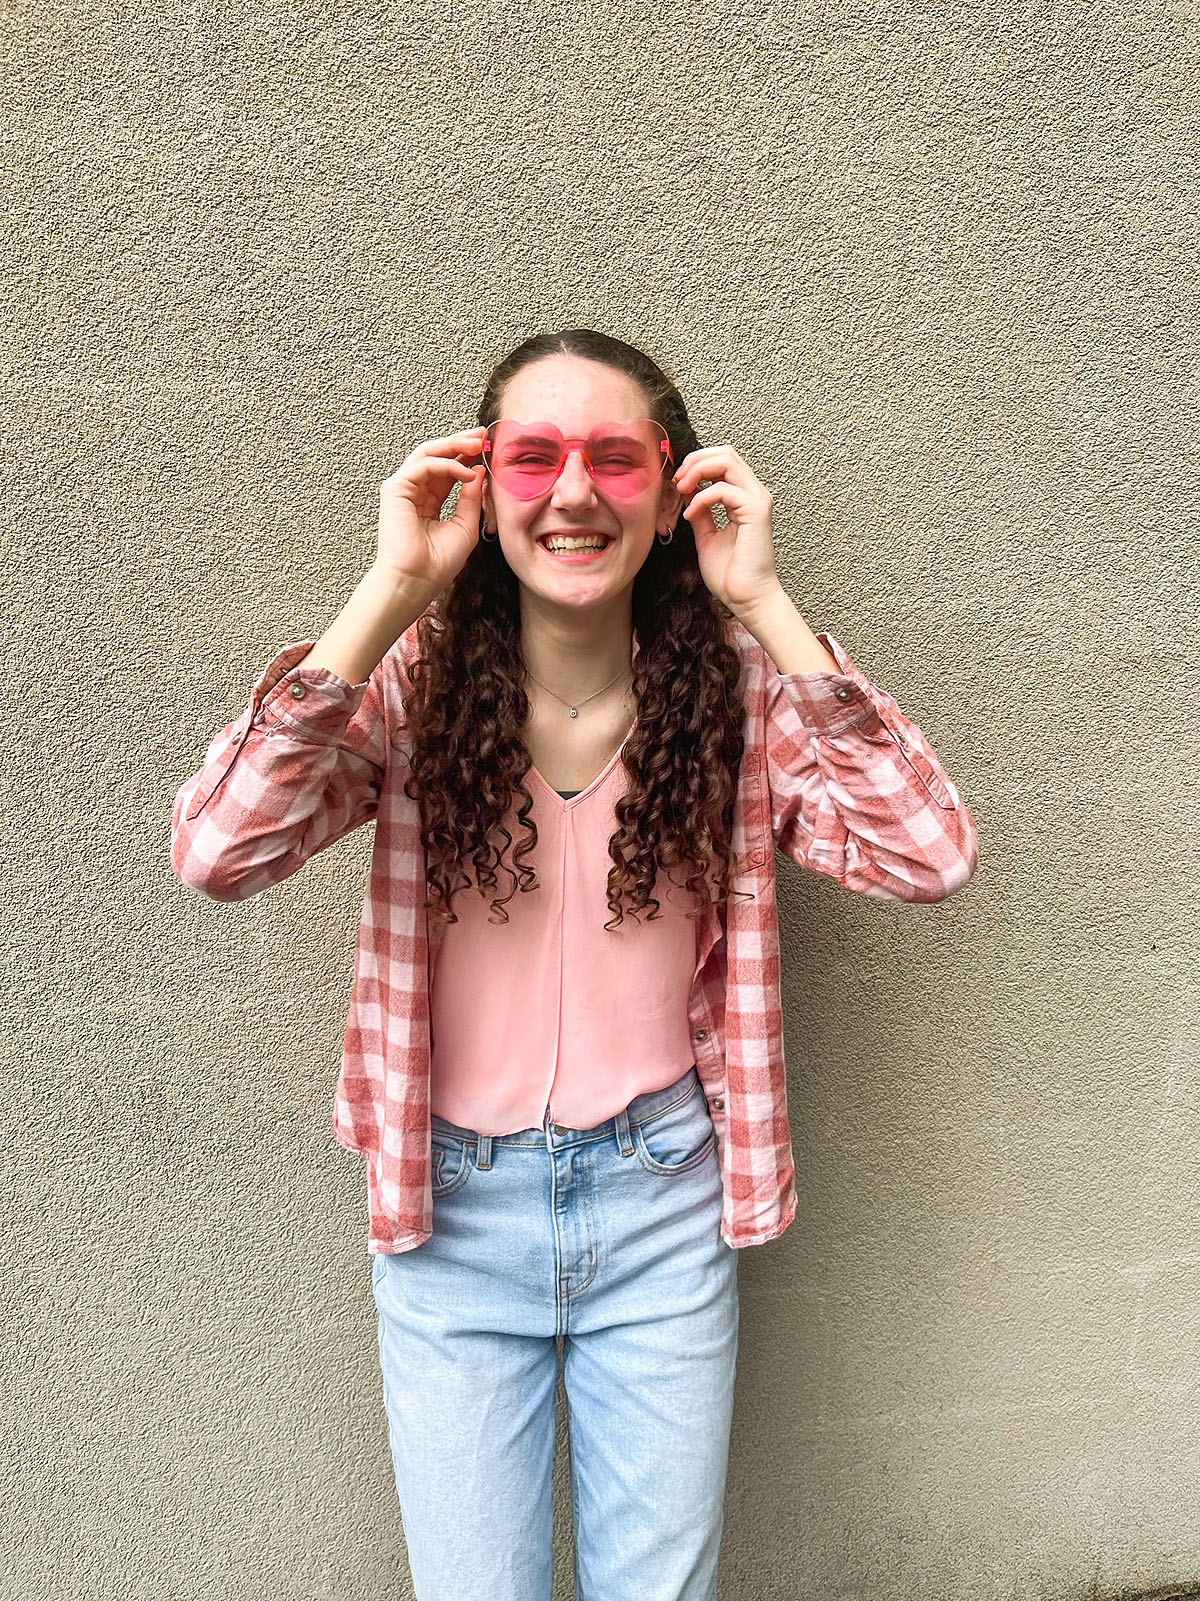
My daughter Ayla (currently 15 years old) is part of a newly formed non-profit called "To the Fullest Foundation" -- started by nine young high school women who are working to increase breast cancer awareness and raise funds for treatment research.
The foundation was established in honor of Theresa Hancock (mother of Sara Hancock, the Founder & President of TTFF) who encouraged her daughter to live life "to the fullest" even throughout her illness and battle with breast cancer.
Some of them have already lost far too much in their young lives to breast cancer, yet these ladies are leaning in and using their trials and gifts for a greater good!
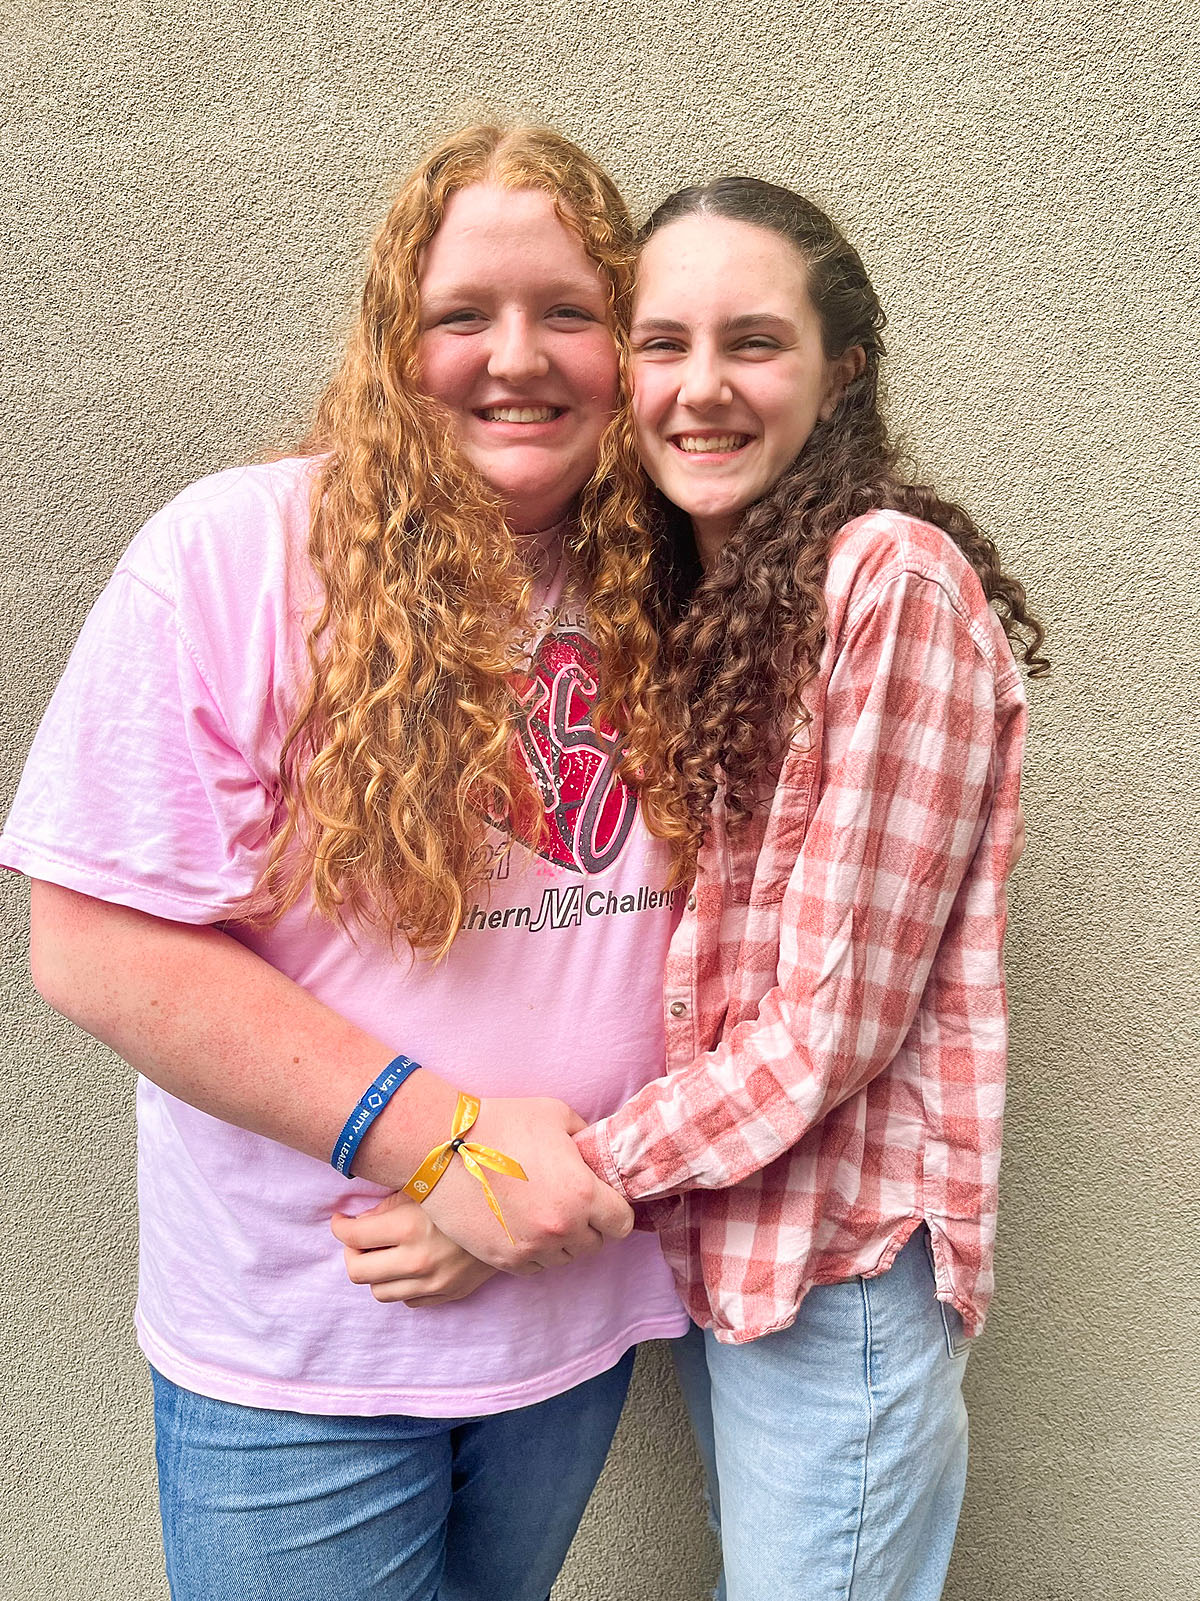
Ayla and her best friend Karis are Social Media/Marketing co-Directors of the Executive Committee for the foundation, and while they're all definitely having a lot of fun together, they take their jobs very seriously and are already doing a phenomenal job.
Speaking of social media, we would be honored if you would follow and support To The Fullest Foundation via the links below:
Instagram: @tothefullestfoundation
Facebook: To The Fullest Foundation
TikTok: @tothefullestfoundation
Website: http://tothefullestfoundation.org/
Obviously, the subject matter is very close to our own family, as I am now considered a "Breast Cancer Survivor" (you can read about my full journey through it at that link), so we are particularly proud of the stance and action Ayla has chosen to take on the subject.
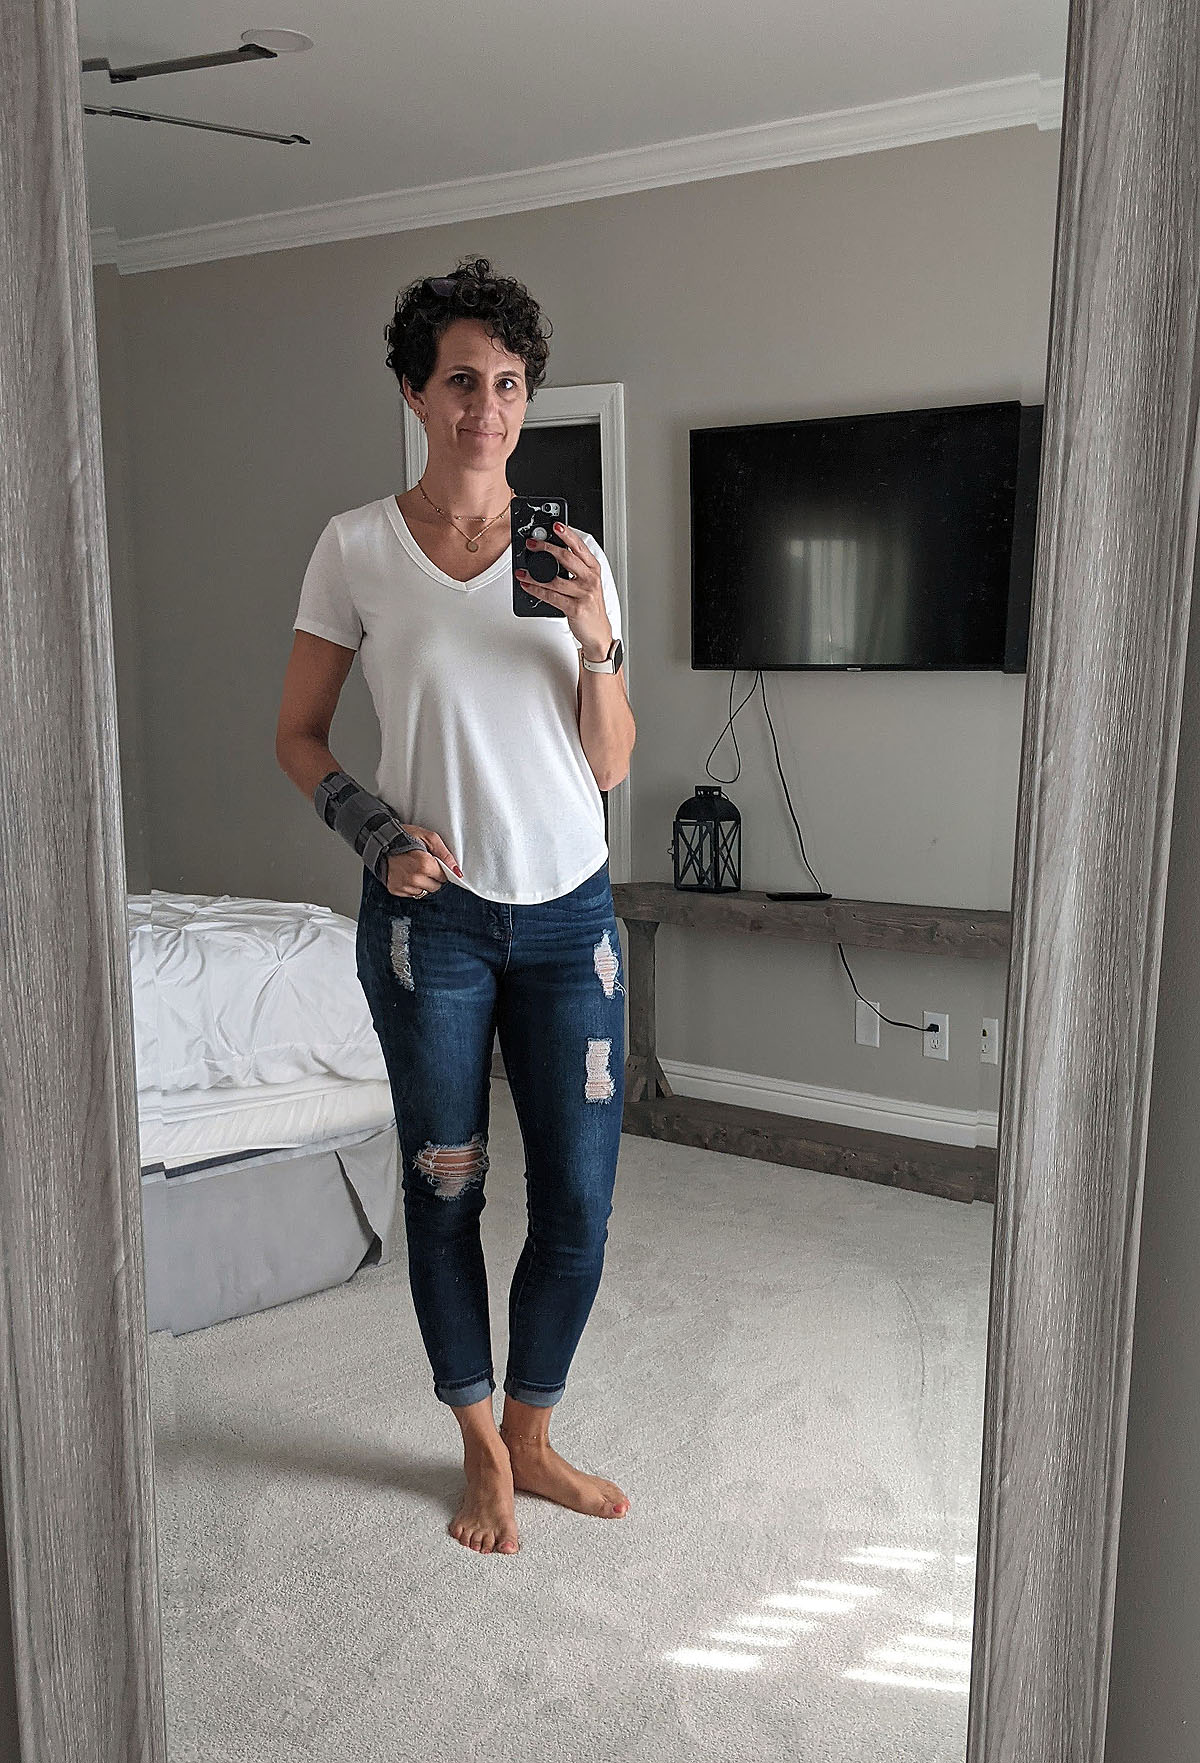
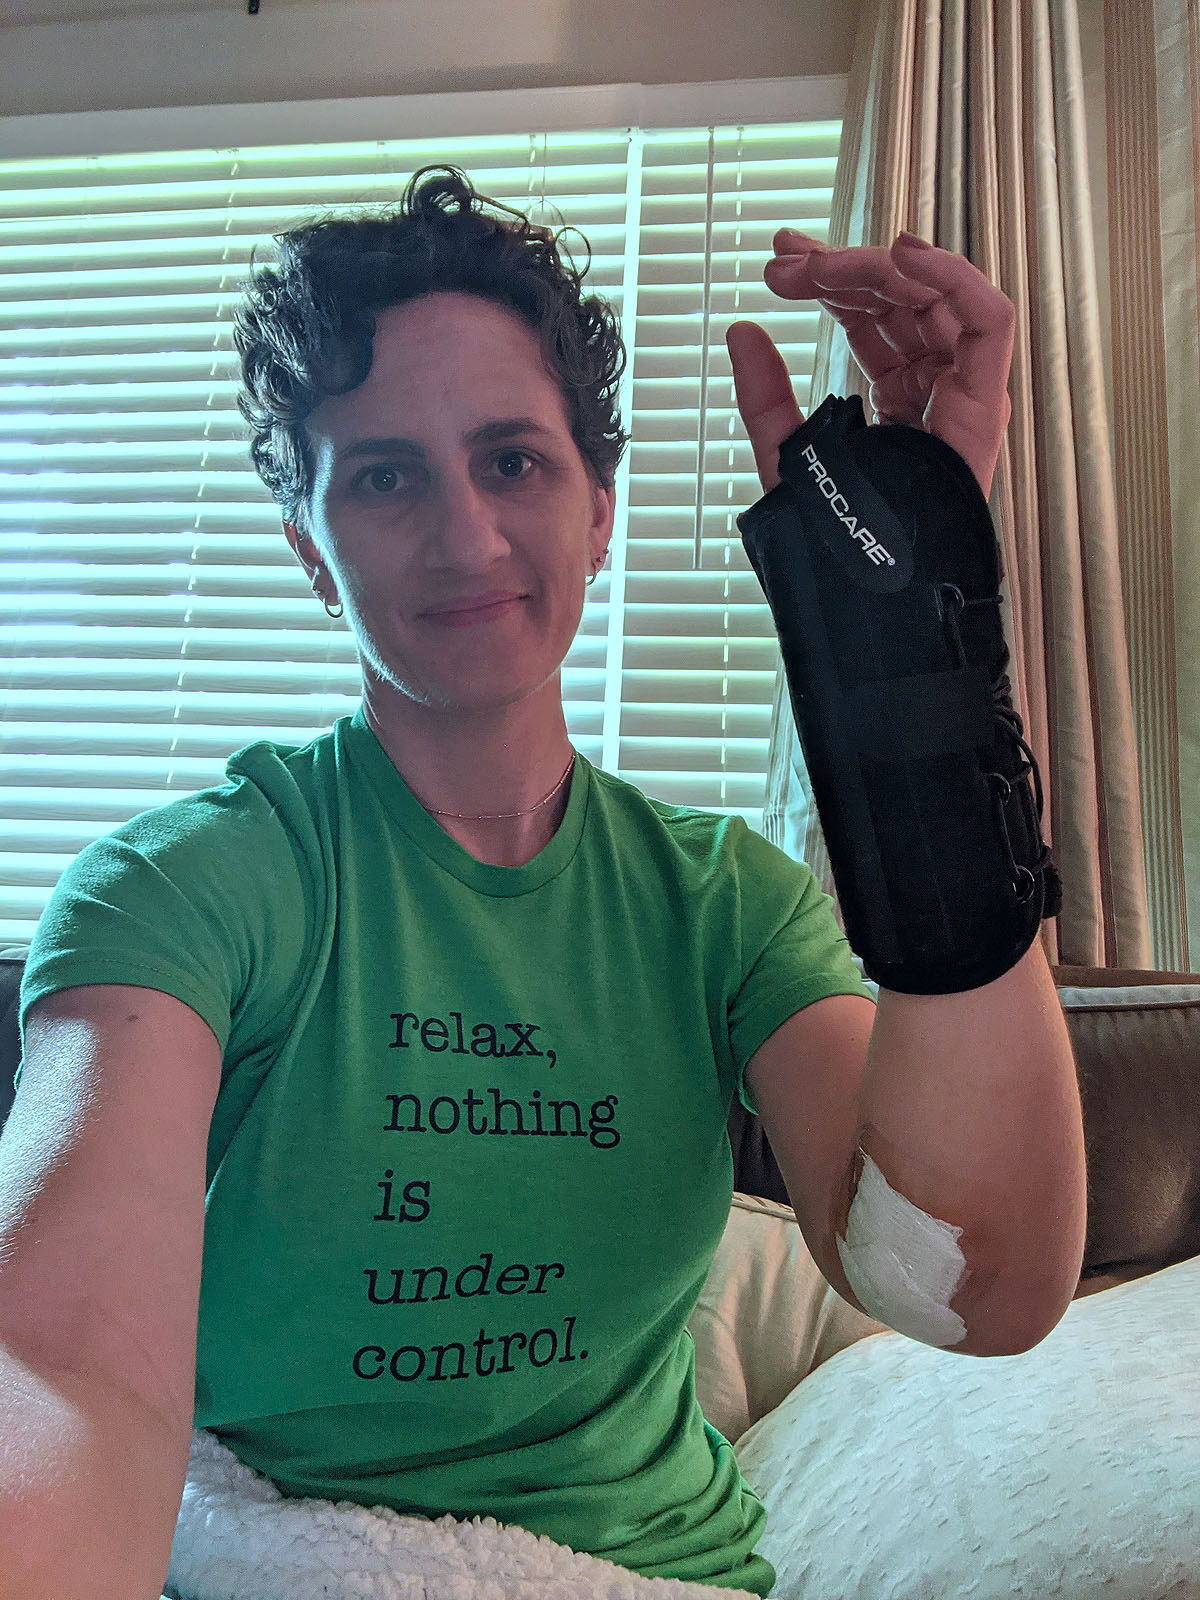
One Last Shot
Before the year ended, I decided to give my elbow one last shot -- quite literally. Ben came with me to my appointment for a steroid cortisone shot.
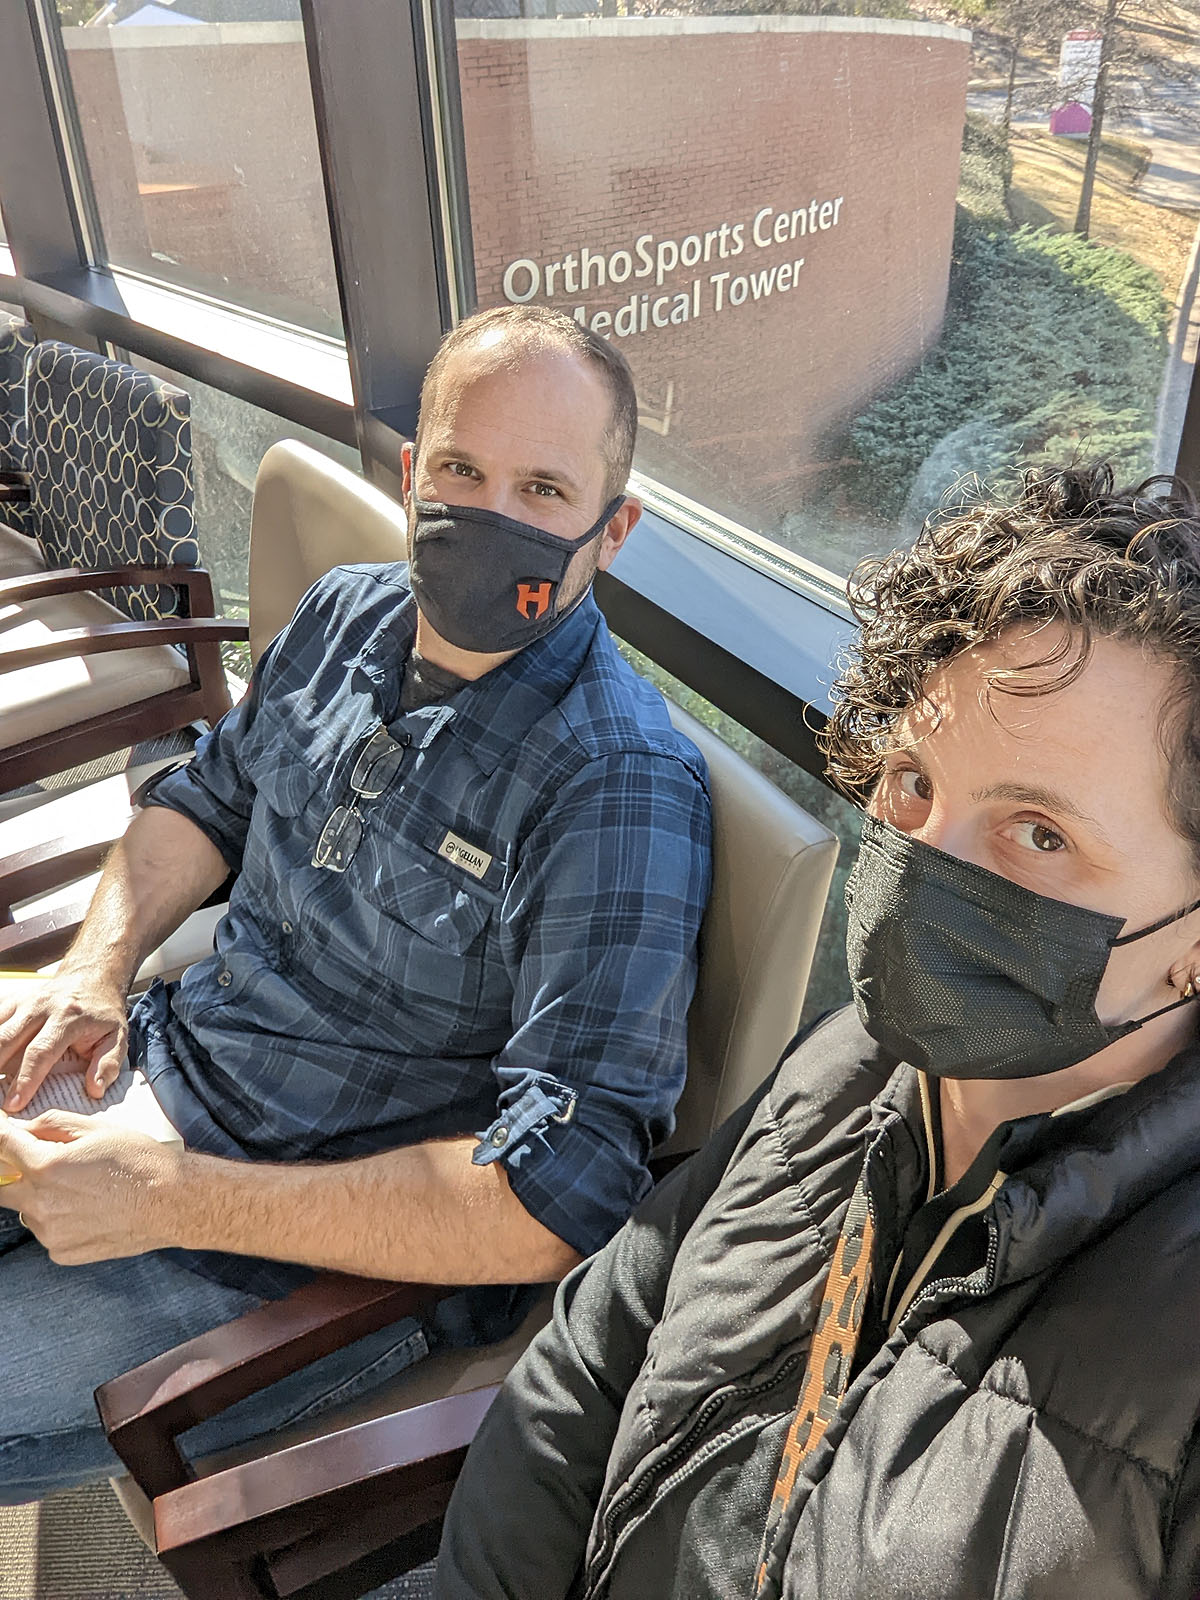
The thought is that this could help reduce the inflammation that was created (and hasn't resided completely) from the surgery, which was 6 months ago now.
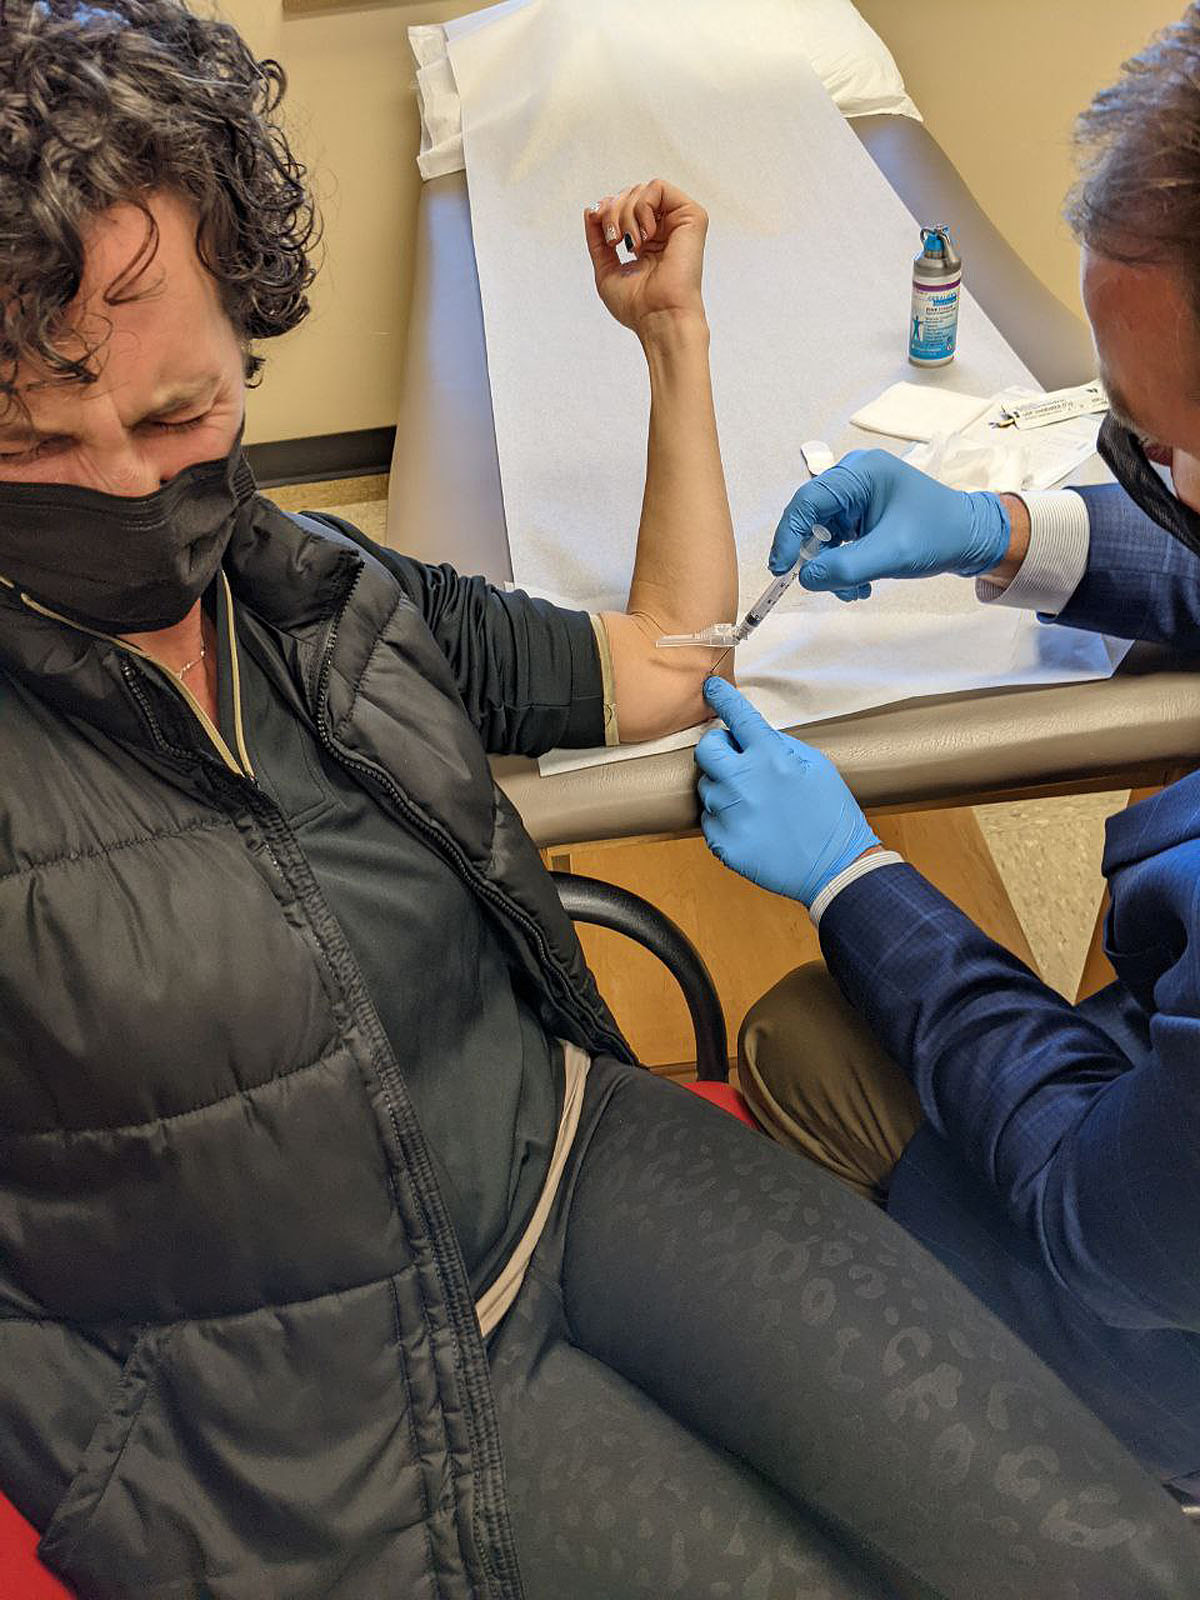
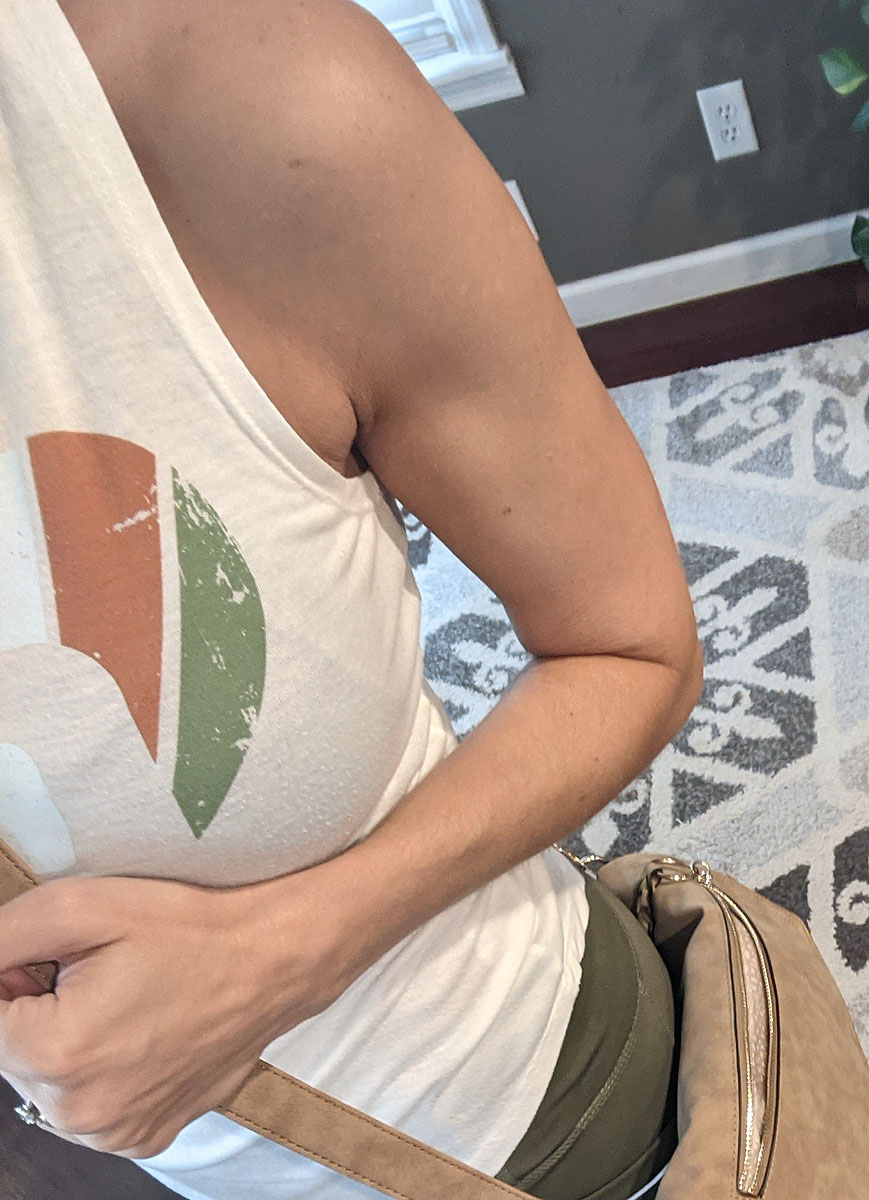
While it has finally improved some, it's still tender to the touch, weak, and the joint aches at night and in the mornings. I'm able to do most things as I was before the surgery without pain, but there is definitely still an uncomfortable "not right" feeling that persists. I would say overall it is a marginal improvement over pre-surgery and at this point, I'm not certain it was worth all the hassle if it continues to always bother me in some capacity. We couldn't know that at the time though.
So, before the years ends, I figured, one last shot to see if it'll speed up the process is worth it, and otherwise, I'm moving on and living with it as is.
Update: (1/6/22, two weeks post cortisone shot) I didn't notice much improvement or difference after the shot. So much for that. It is not a constant bother, and I'm not painting signs anymore, so that will surely help it have a chance to heal more completely over time. Meanwhile, I'll just slowly keep building back my upper body strength, with the expectation that it's going to always hurt or be uncomfortable on that arm. Getting old stinks.
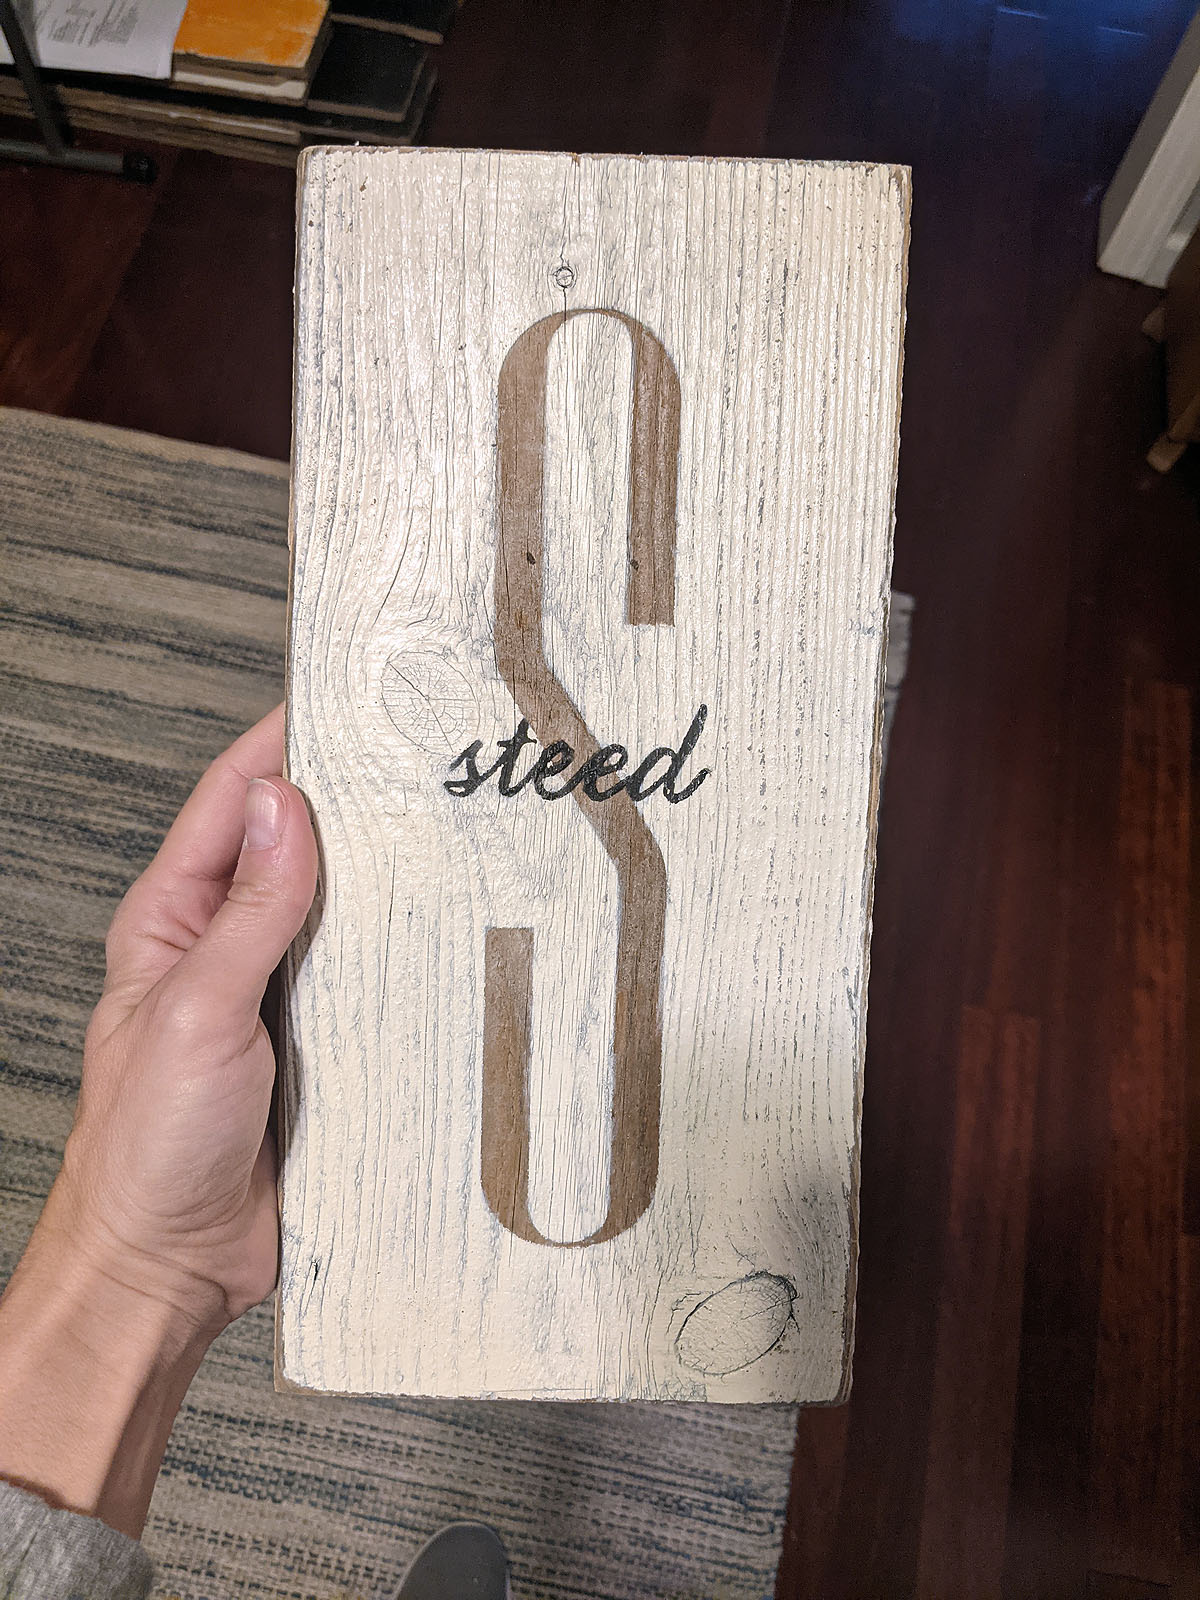
End of an Era - Signs By Andrea
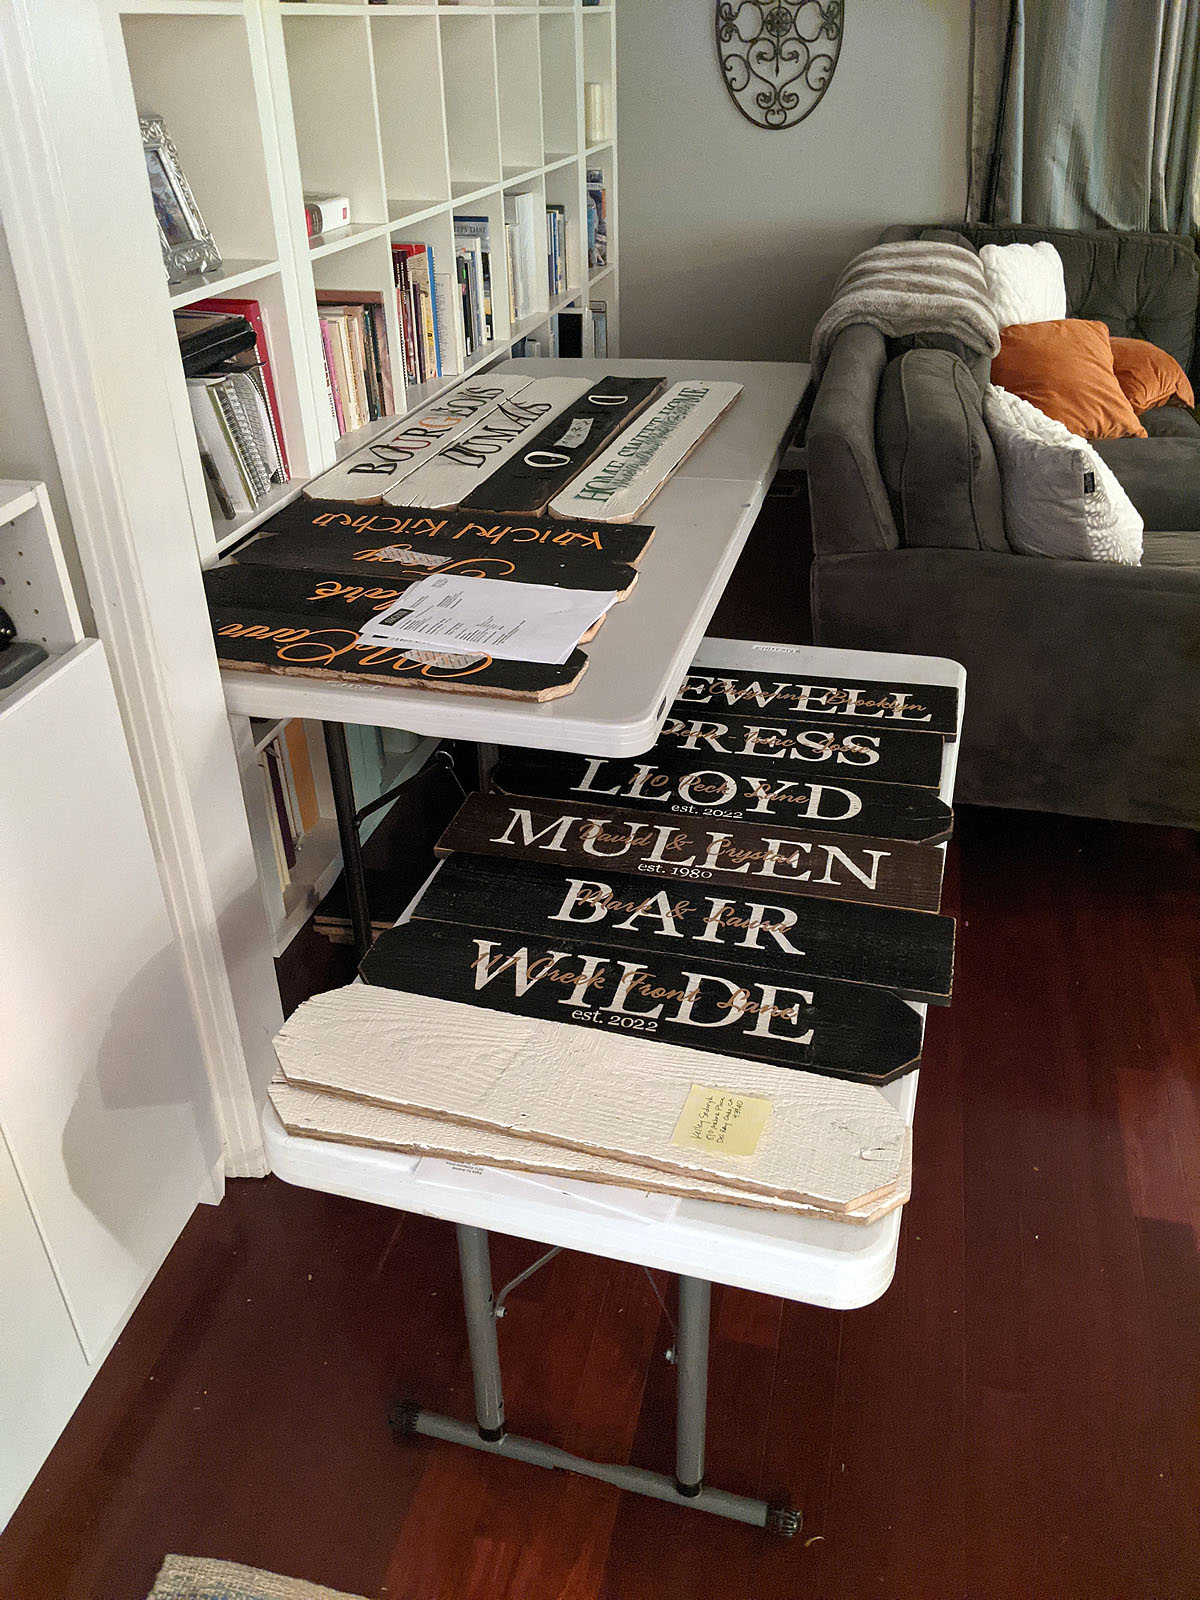
![]() It is with mixed emotions that beginning November 1st, 2021, I am no longer accepting wood sign orders. It's finally time (and I'm ready) to close up the shop and move on to a new chapter in my work life. I'm looking forward to more time for rest, less personal and physical stress, and having just one job to mentally focus on each week.
It is with mixed emotions that beginning November 1st, 2021, I am no longer accepting wood sign orders. It's finally time (and I'm ready) to close up the shop and move on to a new chapter in my work life. I'm looking forward to more time for rest, less personal and physical stress, and having just one job to mentally focus on each week.

So, I finished up my last round of orders with the wood I already had prepped and cut in the garage, and thankfully had plenty to complete them all.
I did have to turn ordering off a few days early before my sale was supposed to end though. I had too many orders to be able to complete before we left for our Las Vegas trip...and when we returned, we had scheduled to get new flooring and the exterior of the house painted. So my office and painting porch were both going to need to be completely dismantled for several weeks.
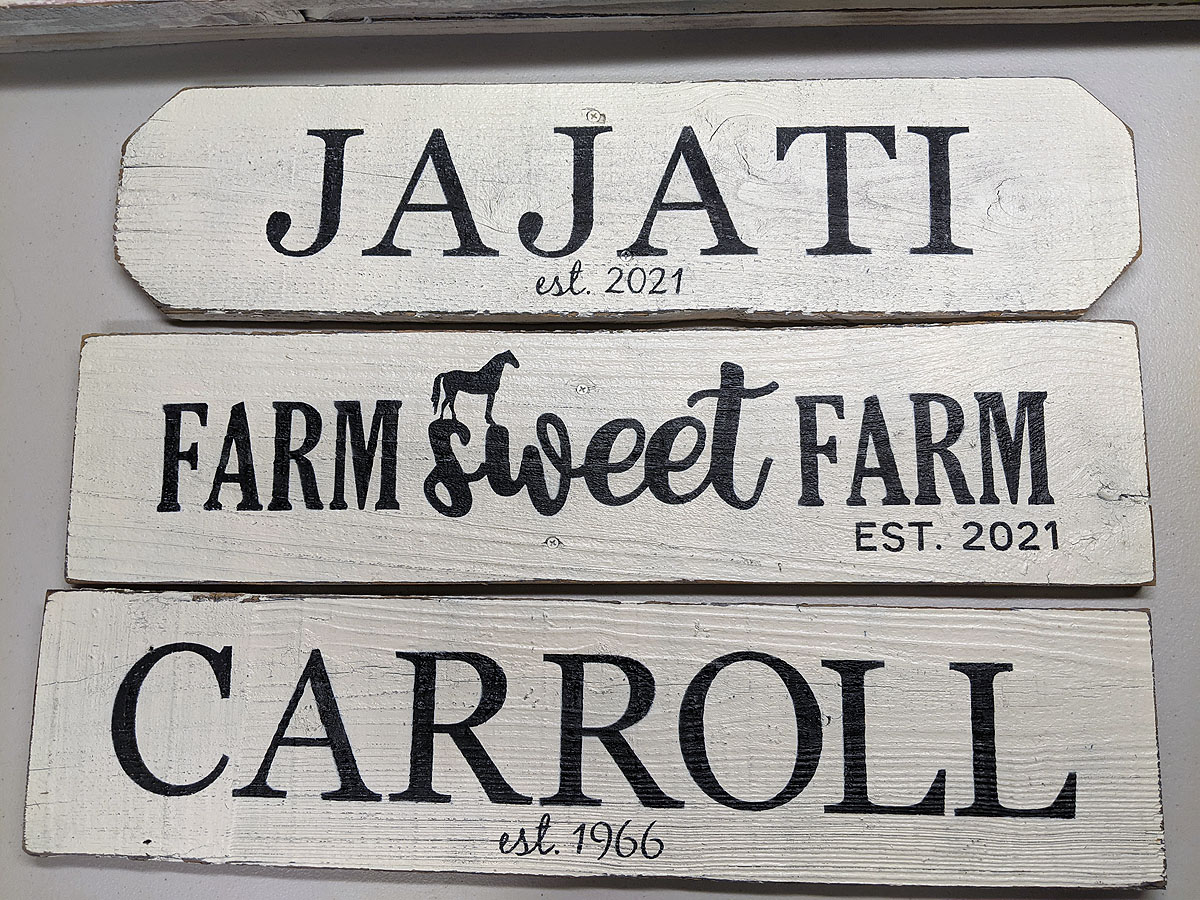
So, I spent about three weeks here at the end pressing through and painting 5 days a week (a huge increase from the 2.5 days I'd been doing more regularly). By the time I was done...I was ready to be done.
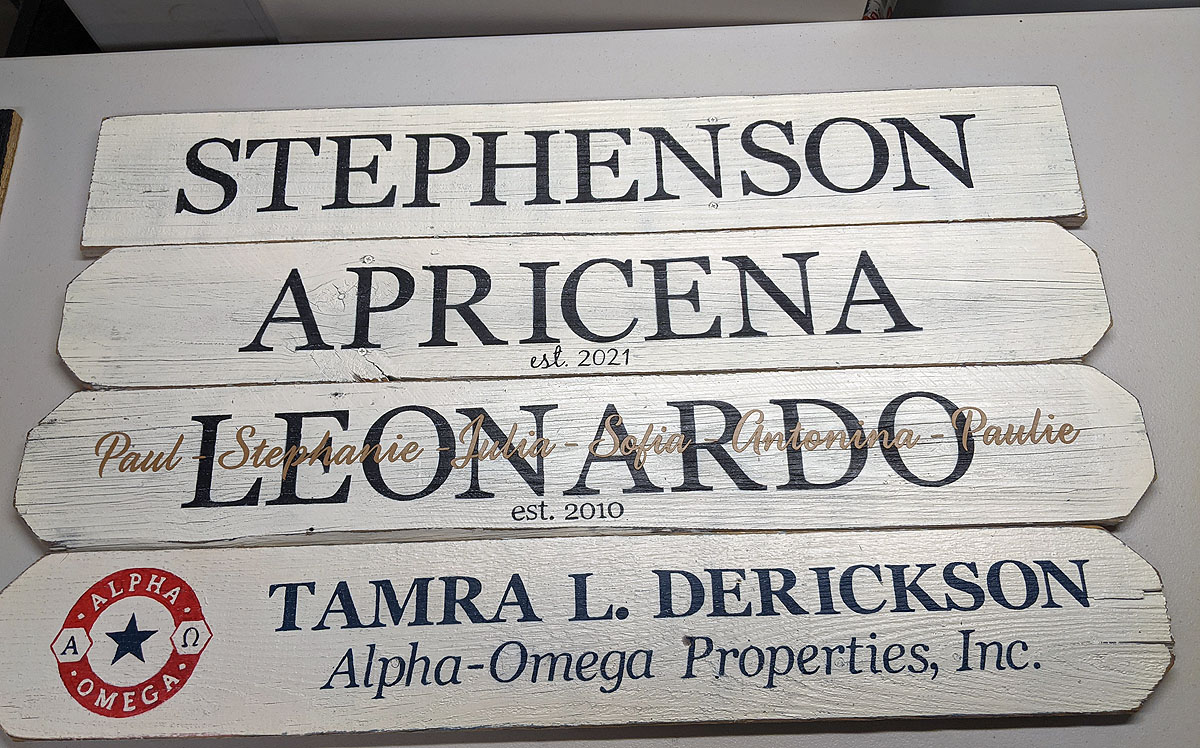
These are a few of the last orders I painted...no fancy photos, just snapped before shipping. As always...the custom designs were my favorites. I *will* miss making those.
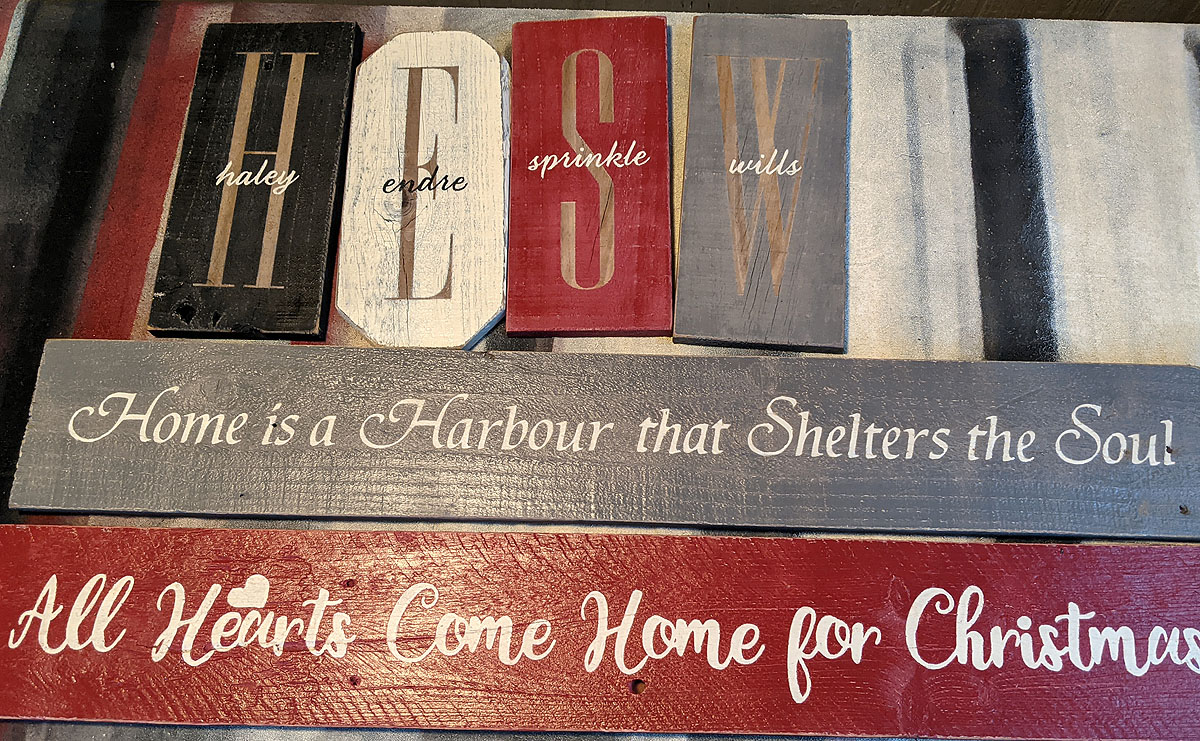
It's been a good long run. I'm very grateful for the life this business has given me, and the opportunities it has created for our family. Thank YOU for supporting me all these years by buying my signs as gifts for family and friends. It has meant the world.
I'm Not "Fine"
Octobers are going to be interesting. Let me lament a little bit...I think maybe it'll be therapeutic for me.
While I'm very thankful for the awareness and fundraising and research all the pink brings to Breast Cancer, the truth is that I struggle with seeing PINK everywhere when I'm doing my best (at least this year) to try and put my breast cancer experience behind me and move forward.
The pink bows and pom poms and cute shirts and products are so good for awareness, but the joyful nature of all of it can be a little off-putting to those of us who have been hit directly by it. It's most definitely a trauma trigger for me, that forces me to pause and reset my headspace, to remember that the pink is there because people care, not because anyone is trying to flash my trauma in front of me at every turn.
The flood of pink reminds me of all that was taken from me as I tried to maintain as much of "me" as I could while going through treatment. It reminds me that recurrence will always hang over my head. The pink reminds me of people I know and was close to who died because of this disease.
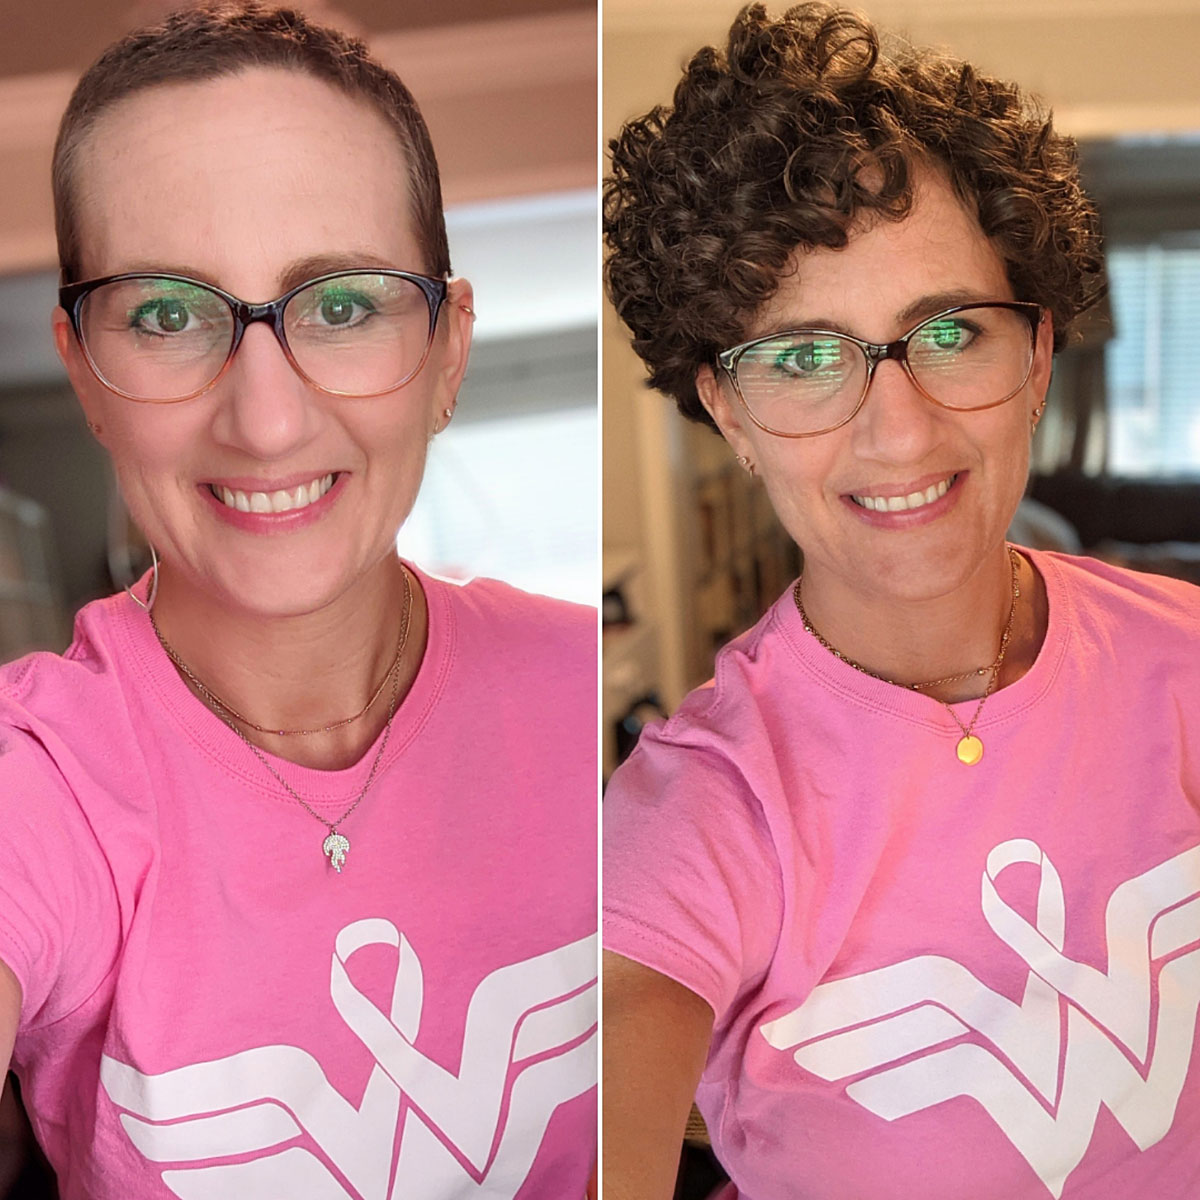
When I look at the picture on the left, which was taken last year in October 2020, just after I finished chemotherapy, I want SO BADLY to be more proud of where I am in the picture on the right, which was taken this October. I want to see "recovered" and "healed" and "whole". But, instead I see a tired, worn down, hurting, angry, and less hopeful person than I once was.
The truth is, I was in much better shape both mentally and physically last October than I am this year. Even though last October, I had just been through 14 weeks of chemo in the middle of the Covid pandemic, suffered through my father passing away from cancer, and caretaking for my mom while she was in the hospital. What could possibly be harder than all of that, I thought?
But since that photo was taken last October, my body has now been through three more surgeries, two were cancer-related and one was for my elbow injury (the first was incredibly difficult, the second much easier, and last has not gone as well). A week does not go by when I don't have a doctor's appointment of some sort to arrange the rest of my responsibilities around. Every single day is a constant evaluation of how I feel, what I'm capable of, and what I'm NOT capable of.
The "normal" that I thought I'd be able to return to when all of my treatment was finished just doesn't exist anymore, and I haven't successfully let go of that expectation. The capacity I have to be involved in all the things and people's lives and activities that I used to be a part of, that brought me joy and gave me purpose, is so significantly and disappointingly diminished. I just don't have the space for all of it, physically, mentally or practically. It feels like over the past couple of years my world has been forced to shrink considerably down to the bare minimums of health maintenance, work and carting kids around--and I think maybe that's been harder for me to accept than anything else.
I miss all the extra--the fun, the energy, the excitement, the wonder, the events, the get-togethers, the relationships, and the activities. Those aren't all gone--you can look at my Instagram and Facebook feed and see that there's plenty of things happening in my life that are fun and social and enjoyable and good. But my anticipation and participation in them has had to change. Instead of excited anticipation, I have to "fuel up" and reserve energy and say "no" to a lot of things I'd really like to say yes to. (Are you familiar with the Spoon Theory?)
I don't know if that's permanant, or maybe I just haven't recovered yet from all the things and need more time. Perhaps I shouldn't have expected to be "fine" yet. I just don't have as much bounce in my bounceback as I used to have. I guess that's normal and reasonable--in fact, I'm sure it is. It's what I'd say to anyone else telling me the same thing. But internally, it feels like a concession. Like giving up. Like being forced to accept myself as less than I think I *should* and *want* to be. And clearly I don't do that well or happily.
My body refuses to heal from this last surgery. My mind is often clouded and cynical--or just numb. My spirit is tired of fighting and believing and hoping for better. I spend everyday writing about and encouraging other women to take care of their bodies, to believe in themselves, and in what they can achieve and overcome, and yet, I'm wallowing in disappointment because my body and mind won't cooperate with what I think I deserve and am trying to achieve for myself.
I regularly ignore or get angry at this post it note I leave up in my office, posted right in front of all my upcoming labwork, doctors appointments and paperwork.
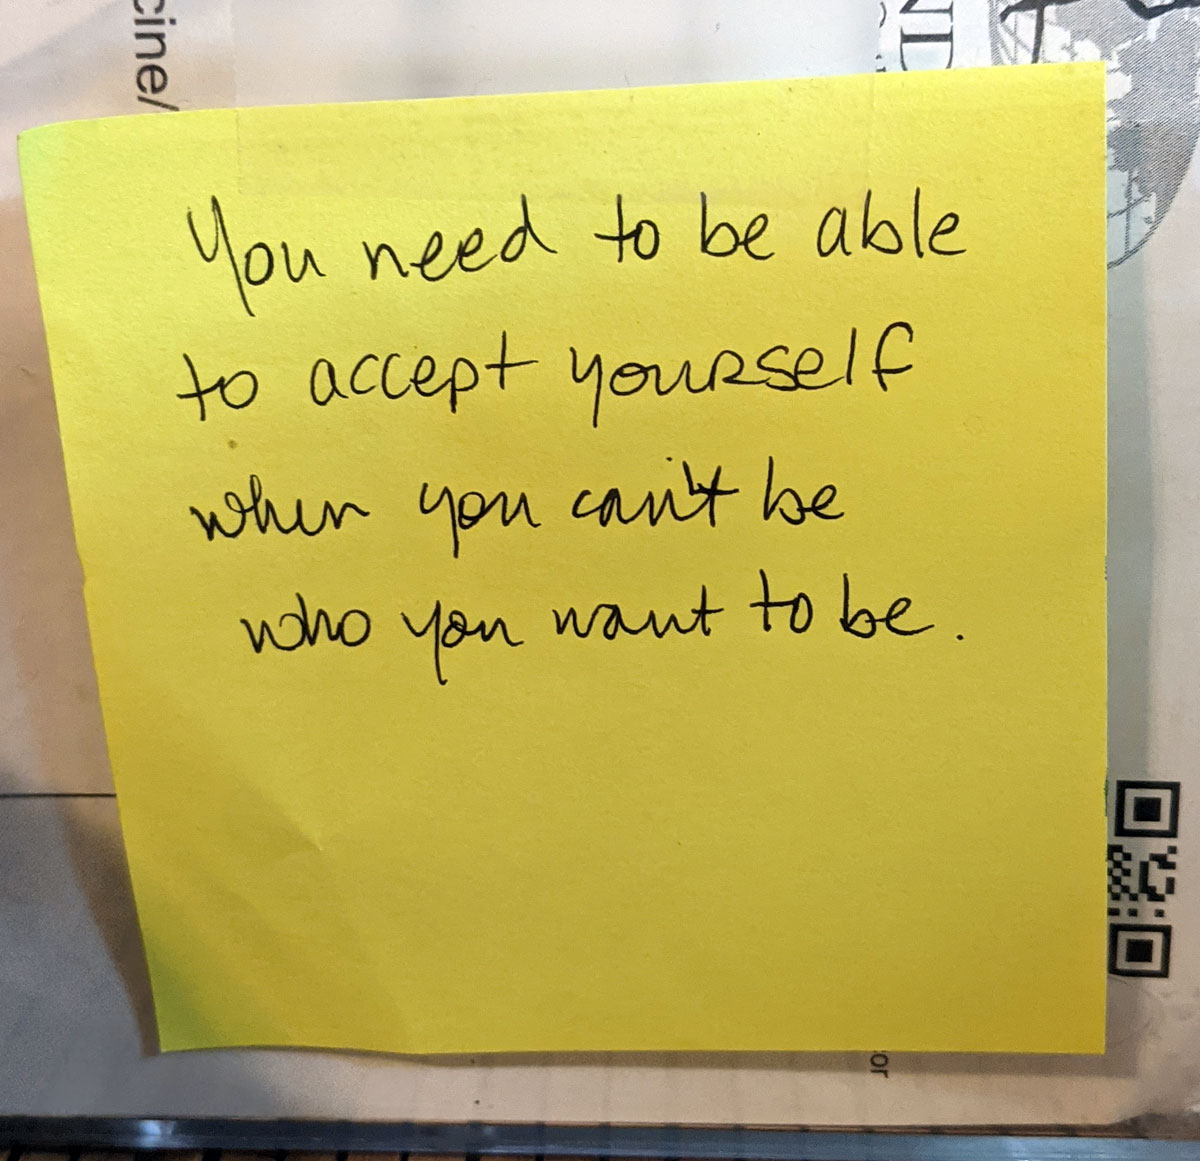
I don't know if I'll ever truly learn the lesson. I haven't yet.
Obviously, "pink" is not my problem...but more what seeing it brings up for me that IS the problem. It reminds me that I don't have as many spoons each day as I used to (seriously, read the Spoon Theory). It reminds me of all the trauma I've experienced over the past few years, not just cancer related. And it reminds me of the loss and disappointment that came with all that trauma.
I would love to be the face of encouragement and positivity, fight and success, especially in October--but today, I'm just not there. Maybe by next October...
===========
I appreciate you reading my lament, listening to my wailing heart, and maybe even relating to some of these feelings. It's taken me a long time to find the words, name the feelings, and be ready and willing to publicly express how I've been feeling in the aftermath of all of this, so I do it tentatively. But, it's a continuation of the story I started to share a year and a half ago. I feel like being transparent and honest throughout the journey might be helpful for someone else, somewhere--and maybe then they can cope better than I've been able to lately!
14 Week Post Elbow Surgery Update
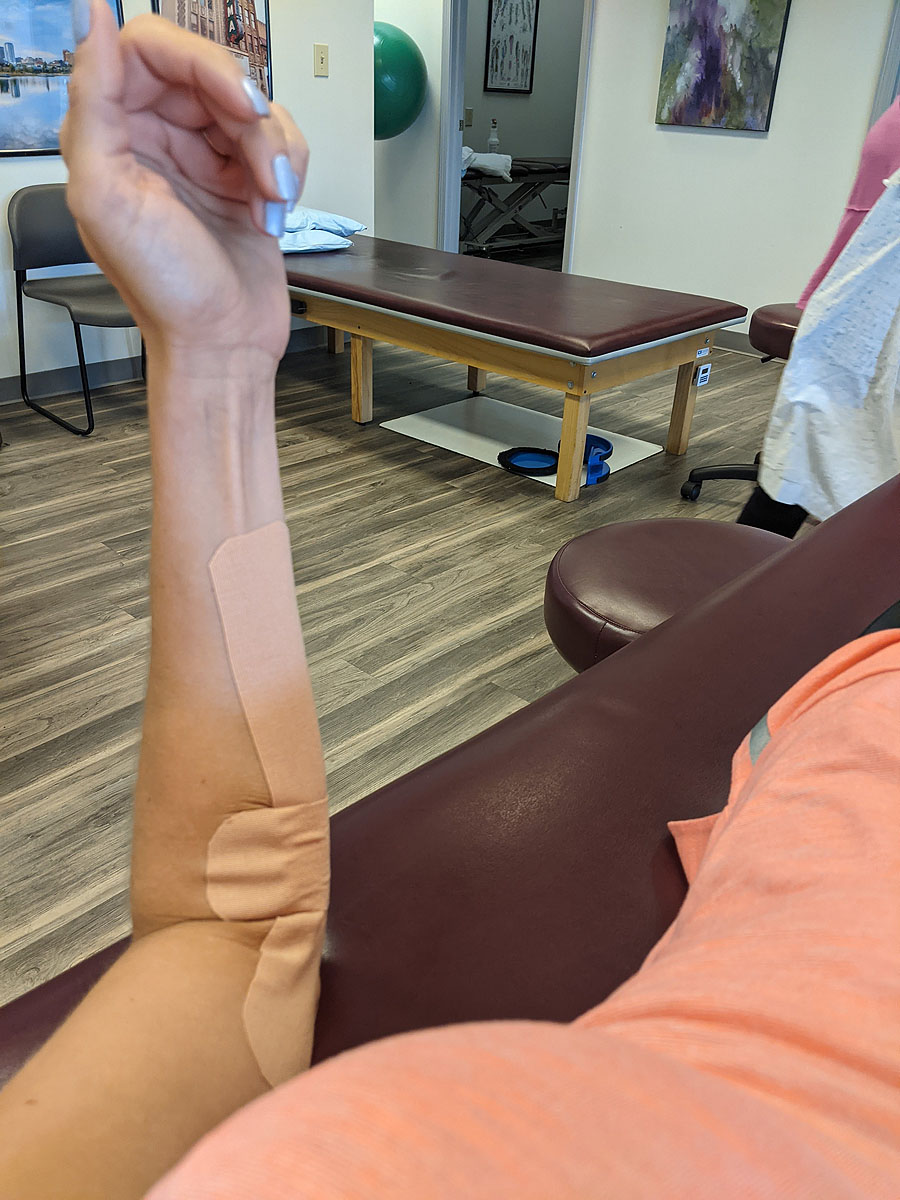
Week 12 to Week 14 - Saw the surgeon. Had another MRI. Taking lots of anti-inflammatories (naproxen & voltaren). Stopped PT and am trying to rest it as much as possible. Not much change.
Elbow Surgery (6-Week) Recovery & Health Update
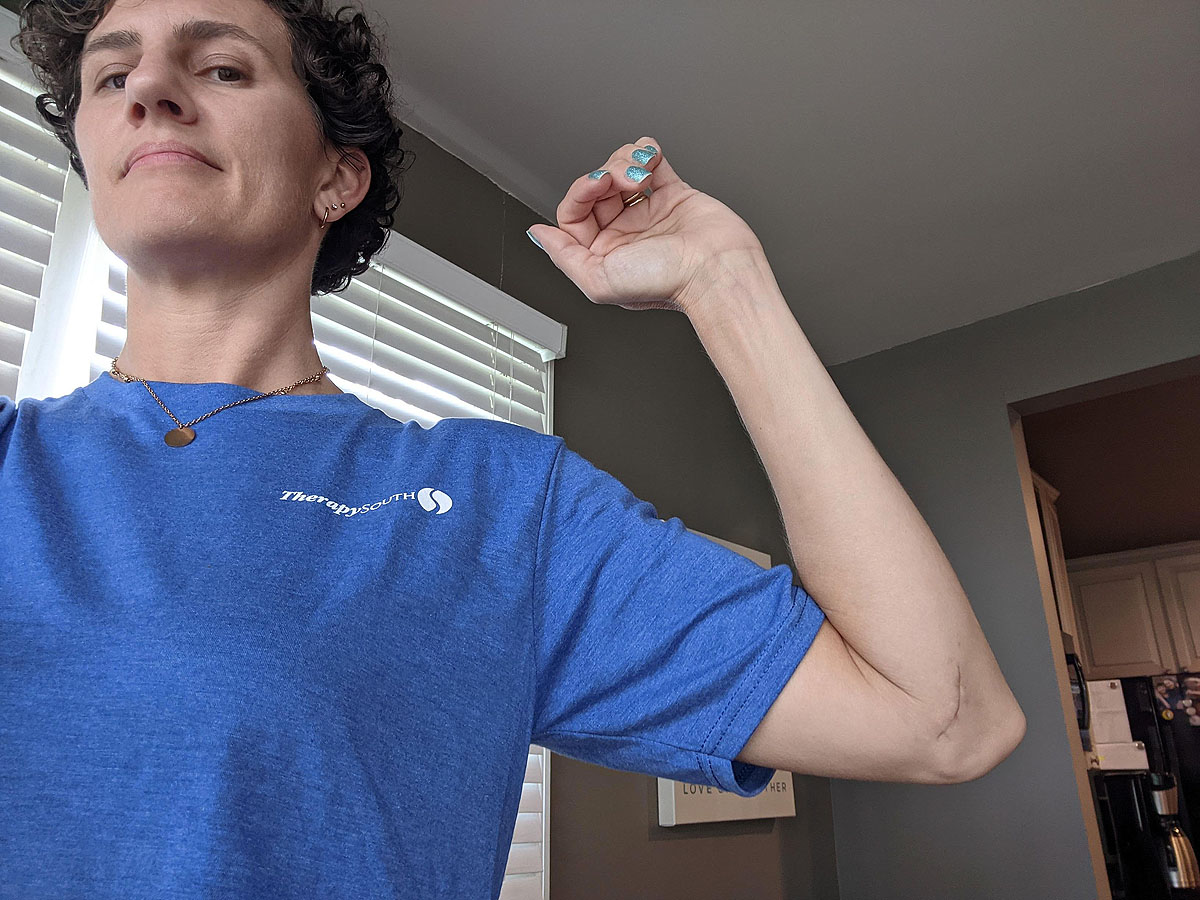
"You look so good!"
"I'm so glad you're doing well."
I hear that sentiment pretty often when I run into friends and acquaintances who know my story. Then I have to tell them that I'm the "healthiest-looking sick person you'll meet."
Week by Week Healing Process
Lacertus Syndrome Release & Epicondyle Debridement Surgery Recovery
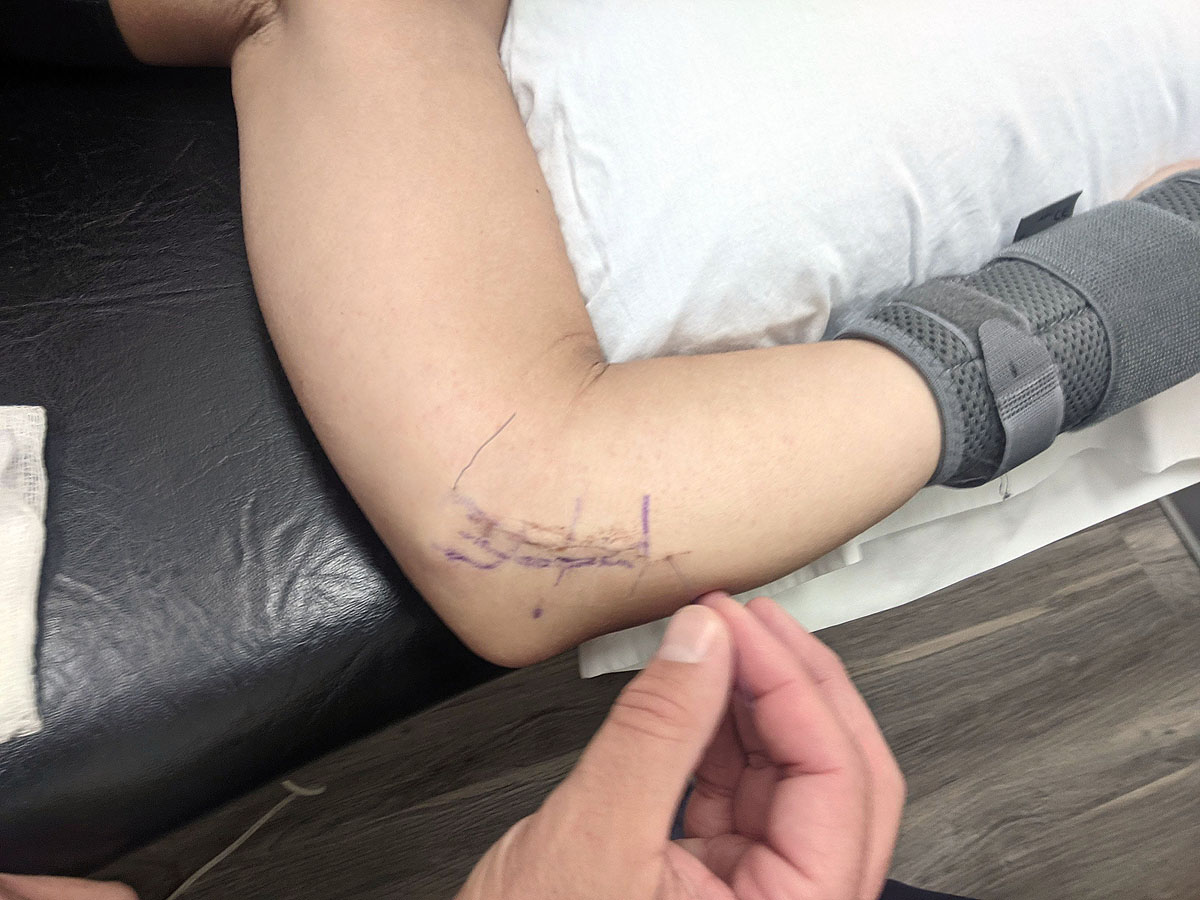
6 Week Evaluation