Quick & Easy Rope Braid Tutorial
When your hair is as long and as curly as mine is, you tend to look for a hairstyle that looks decent, tames the mane, and most importantly is FAST and EASY. A plain ponytail just looks messy on me, so this Rope Braid (I also call it my "Katniss Braid"--but it's not exactly like hers) has become my go-to hairstyle on days when I don't have time to mess with wearing (and fixing) my hair down.
People ask me how to do this ALL. THE. TIME.
It literally takes less than 2 minutes--and you don't even have to have clean hair or even brush it! Sometimes I even put it up like this straight from the shower while my hair is still wet.
All you need is a ponytail holder...and maybe a clip (if you aren't like me--I just use my teeth...You'll see.)
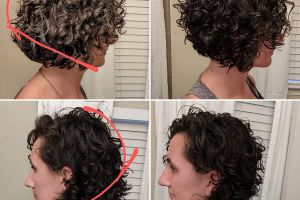
So, first...here's what it looks like from the back:
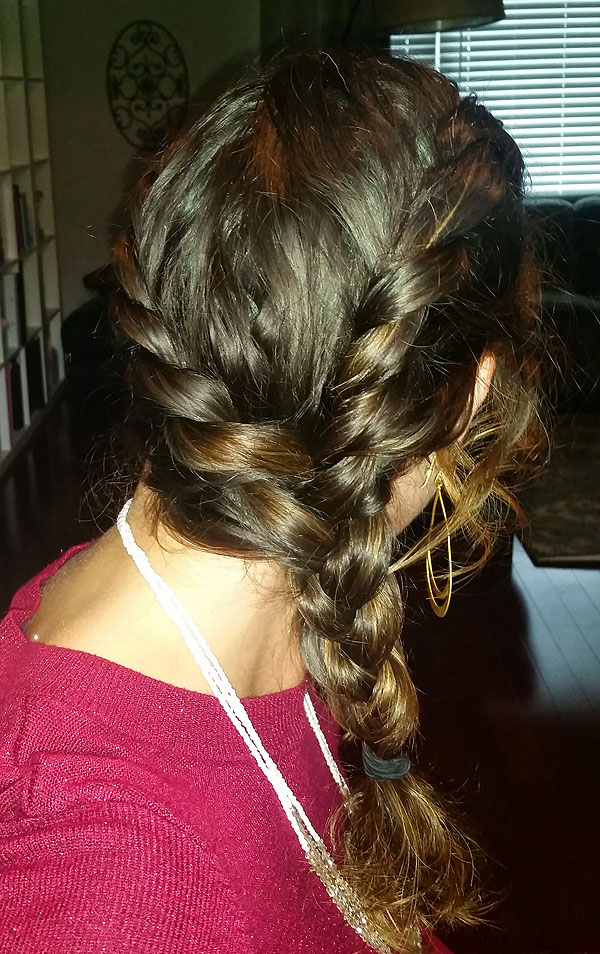
Pretty, right? Looks complicated...but it's really not.
I had Ayla (my 8-year-old) help me make a quick video tutorial one day when I was fixing my hair. I'm SO not a video-blogger, so this is a VERY basic and non-professional video. Ayla seemed to have a little trouble holding the camera up high enough (even though she was standing on the toilet), which is why I spent a lot of the video bending down to make sure my hair is actually in the frame! :) She did good though...
Here's how it's done...
In case you have trouble understanding me, or if I talk too fast or don't explain well enough in the video what I'm doing, here are the step-by-step instructions, written out:
- Part your hair to one side and separate out a small bit of bangs (if you want) on the deeper side of the part.
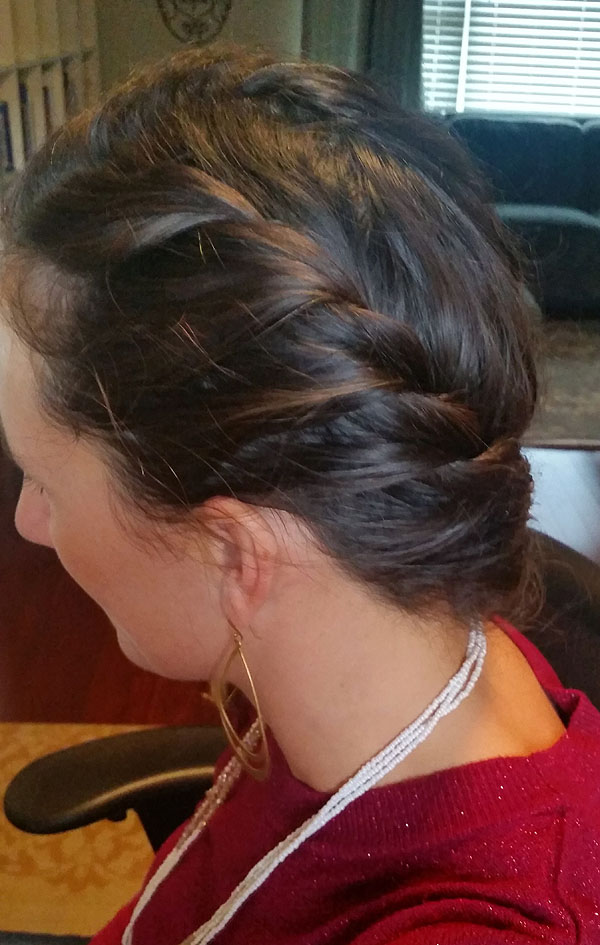
- Start your twist on the narrow side of the part and section out two small pieces from the top, around your face.
- Twist the lower piece (B) over the upper piece (A), letting the top piece (A) come down.
- Add another small section from the front of your hair to the piece that was twisted around (A).
- Then twist that piece (A) over piece (B).
- Add another section of hair to piece (B) and twist again.
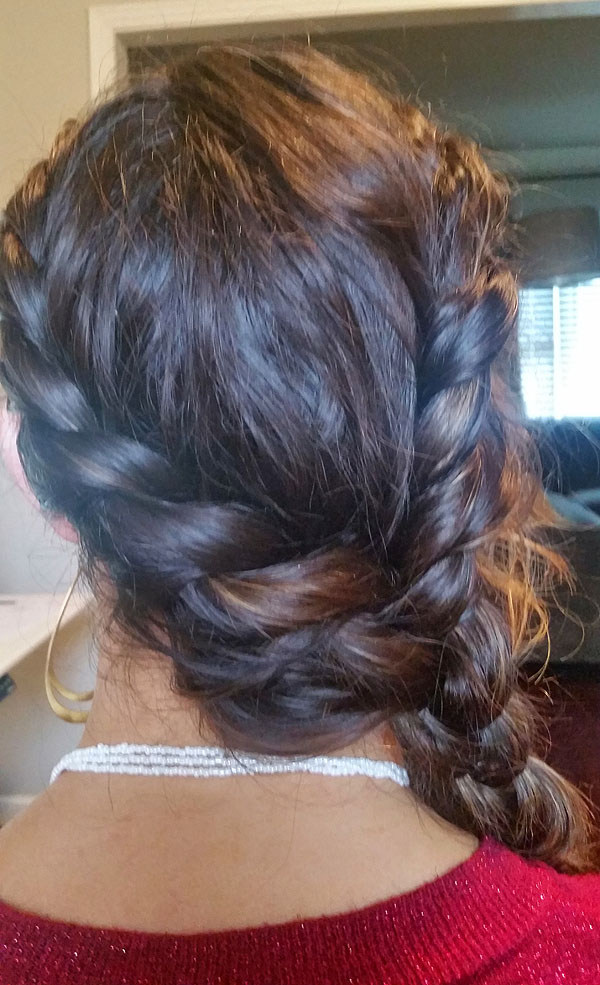
- Continue all the way around your head until you reach the other side of your neck.
- Twist that piece to hold it all together and either clip it in place, or do like I do, and hold it in your teeth while you twist the other side. :)
- Leaving the bangs out, begin again on the other side of your head, twisting the lower section over the upper section until you reach the bottom of your neck.
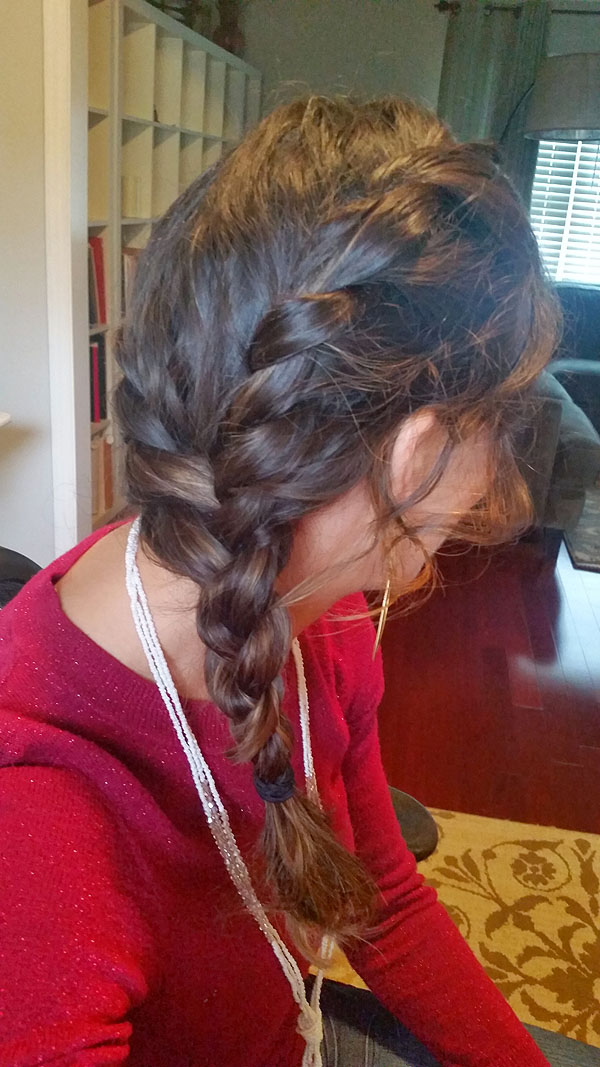
- At this point, you will have three pieces sectioned. The original twist from the narrow side of your part, and the two pieces you have been twisting from the deep side of your part. Braid them with a normal 3-strand braid to finish it off. If the three sections are uneven, you can re-section them with your fingers before you start the braid.
- I like to curl my bangs back with a large-barrel curling iron to finish off the look.
Viola!

An easy, fast hairdo that stays put all day, keeps your hair off your neck, and looks pretty fancy! :)
This style is great for layered hair, since it pulls in the layers as you twist around your face.
If your hair is shorter, you can just put it into a ponytail at the bottom instead of continuing a braid down your shoulder.
Natalia at MaNouvelleMode has a great tutorial on how to do a version of this as well as well as tons of other great hair tutorials! Check hers out too!


1 comment so far:
Angela Grace said:
You have FABULOUS hair!
Post new comment